

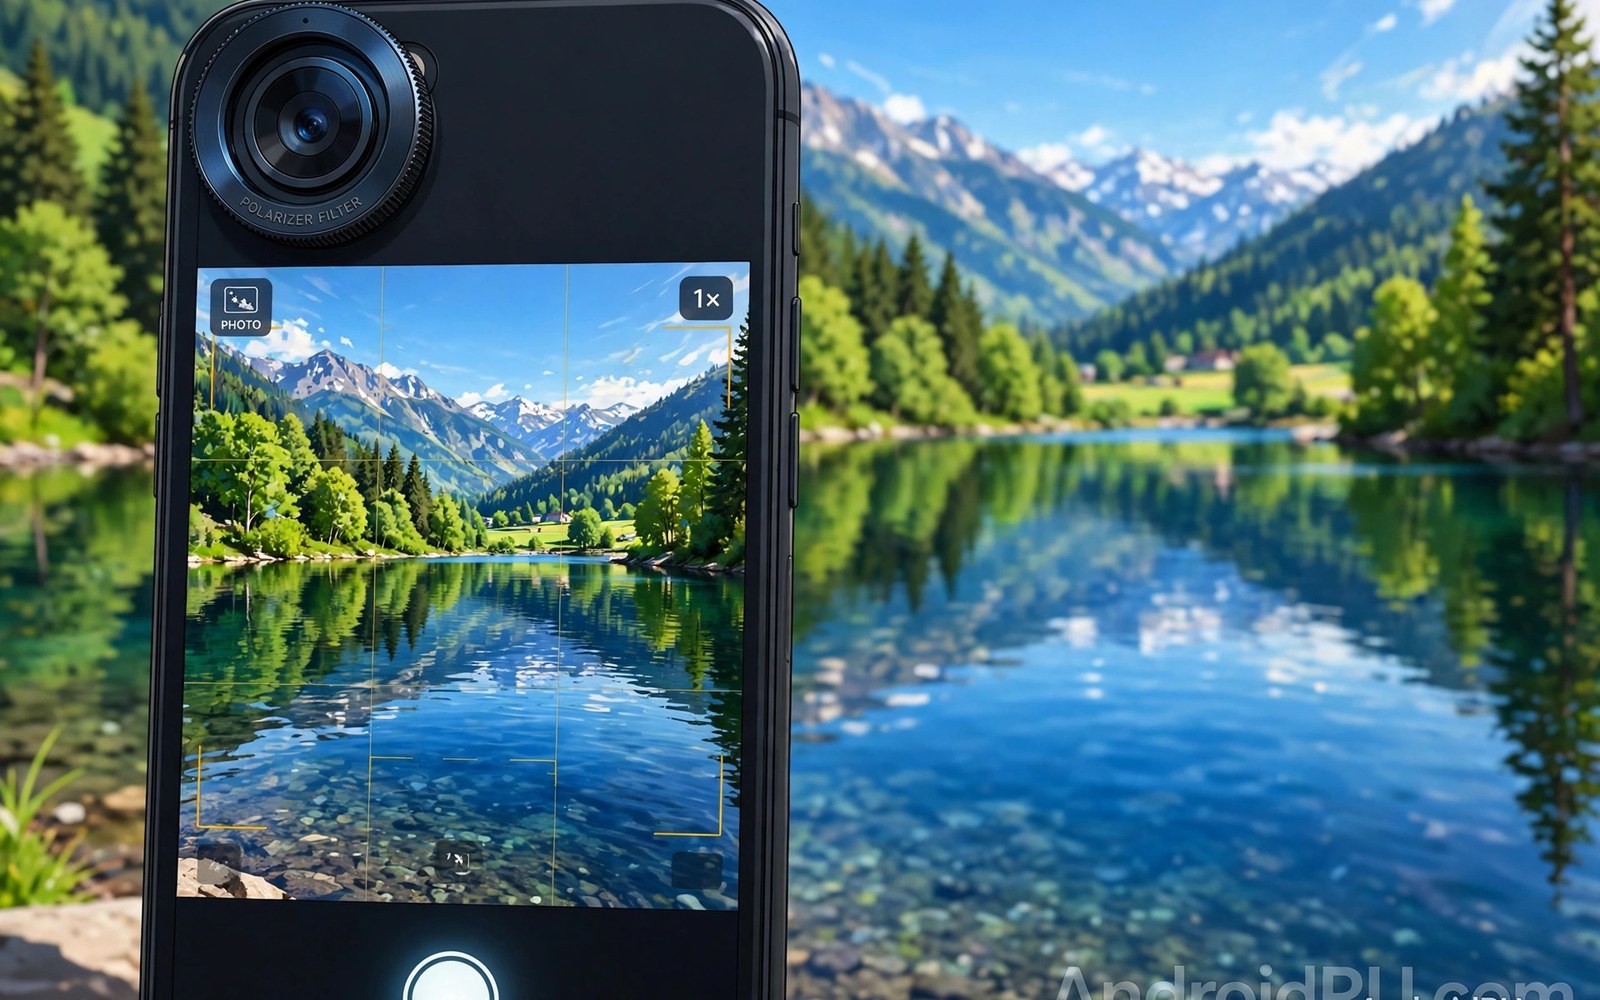
Reflections spoil otherwise strong phone photos. A shop window throws back the street behind you. A lake surface hides the stones below it. A car windscreen glares white in sunlight. Two simple tools fight these problems and they work best together.
A lens hood blocks stray light from outside the frame. A polarizer filter cuts reflected light from surfaces within the frame. The hood prevents flare while the polarizer reveals what reflections hide. Both tools are small and cheap and easy to carry.
This guide explains how each tool works and how to use them well. It covers polarizer rotation and colour effects and the situations where each tool helps most. It also covers the limits that no filter can overcome.
How Stray Light Creates Flare
Flare happens when bright light outside the frame hits the front lens element. The light scatters inside the lens and draws streaks and hazy patches across the image. Sunlight and street lamps cause the worst flare. A clean lens flares less but never becomes immune.
A hood extends the lens barrel forward and shades the front element. Light from outside the frame hits the hood instead of the glass. The frame itself stays unchanged because the hood sits outside the field of view. A well sized hood blocks the most flare without darkening corners.
Phone hoods are small because phone lenses are small. They mount with a clip or a case thread over the camera area. A hood that is too long vignettes the corners. A hood that is too short blocks little light. Test any hood on a plain sky before trusting it.
A hand shade works as an emergency hood when no accessory is handy. Hold a hand above the lens outside the frame to block the sun. Check the preview to confirm the hand stays out of the shot. This trick saves many backlit photos.
How Polarizers Cut Reflections
Reflected light vibrates mainly in one direction. A polarizer filter passes light vibrating in one direction and blocks the rest. Rotating the filter changes which direction passes. At the right angle reflections from water and glass weaken dramatically.
The effect is strongest when shooting at an angle to the surface. A lake shot from a low angle across the water shows a strong polarizer effect. A shot straight down at water shows little effect. Angle decides how much reflection the filter can remove.
Skies gain deeper blue colour through a polarizer. The filter cuts scattered skylight and raises contrast between sky and clouds. Landscapes look richer with a polarizer in bright sun. The effect can look unnatural when pushed to maximum so rotate gently.
Polarizers also cut glare from foliage and wet roads. Leaves look greener and roads look darker and less washed out. The filter helps any scene with shiny surfaces under bright light. It is one of the most useful filters a phone shooter can own.
Rotating and Setting a Polarizer
Mount the polarizer over the main camera and open the camera preview. Rotate the front ring slowly while watching reflections in the preview. Reflections fade at one angle and return at another. Stop at the angle where the desired surface looks clearest.
The best angle changes with the sun position and the surface angle. Reset the rotation for every new scene rather than leaving one setting all day. A quick preview rotation takes seconds and transforms the result. Treat rotation as part of framing the shot.
A polarizer cuts overall light by one to two stops. The phone compensates with longer exposure or higher sensitivity. In bright sun this costs nothing noticeable. In dim light the cut can add noise so remove the filter indoors.
Two polarizers stacked together create a variable ND effect but also risk uneven colour. Avoid stacking unless you understand the trade-offs. A single polarizer used well beats a stacked pair used carelessly. Keep the setup simple for reliable results.
Hoods and Polarizers Together
A hood plus a polarizer covers both flare sources at once. The hood blocks outside light and the polarizer handles surface reflections. The combination suits lakeside and city shooting in strong sun. Mount the hood outside the polarizer when the design allows it.
Check vignetting whenever both tools mount together. Extra depth in front of the lens narrows the effective view. Test on a plain sky and inspect corners before a real shoot. Drop the hood when the polarizer alone does the job.
Clean both tools before use because extra glass adds flare risk when dirty. Fingerprints on a polarizer scatter light badly. A microfibre wipe before mounting prevents most problems. Store filters in a case to avoid scratches.
Remove both tools in low light. Each tool costs light and the phone needs all available light indoors. Filters are outdoor tools for bright conditions. A drawer at home is better than a filter on the lens at night.
- Rotate the polarizer slowly in preview until reflections fade to their minimum.
- Shoot surfaces at an angle since straight-down shots show little polarizer effect.
- Test hood and polarizer together on a plain sky for corner darkening.
- Clean filter glass before every use to avoid flare from fingerprints.
- Remove filters indoors where their light loss only adds noise.
Situations That Benefit Most
Lakes and rivers benefit hugely from a polarizer. The filter reveals stones and fish below a surface that otherwise mirrors the sky. Landscape photographers carry a polarizer for water above all else. The difference between filtered and unfiltered water shots is dramatic.
Shop windows and museum glass benefit when photography through glass is allowed. The polarizer cuts the reflection of the photographer and the street. Exhibits behind glass become visible instead of mirrored. Angle and rotation both need care for the best result.
Car photography benefits from reflection control on paint and glass. A polarizer deepens paint colour and clears windscreen glare. Showroom and street car shots look more professional with filtered light. Rotate slowly to balance paint shine and reflection removal.
Skies and clouds gain contrast that flatters travel photography. A polarizer deepens blue sky without darkening the land excessively. The effect looks best with the sun to one side of the camera. Shooting directly toward the sun weakens the effect.
REFLECTION CONTROL CHECK
1 Hood mounted to block stray light
2 Polarizer rotated in preview to minimum reflection
3 Surface angle checked for polarizer effect
4 Corners inspected on plain sky for vignetting
5 Filter glass clean before mounting
6 Filters removed for indoor and low light work
Polarizers for Portraits and Skin
Polarizers help portraits outdoors by cutting glare from skin oils. Oily skin reflects sunlight harshly and creates bright patches. A polarizer reduces these patches and evens skin tone. Rotate gently because full polarisation can look unnatural on faces.
Sunglasses and glossy clothing also benefit from polarisation in portraits. Reflections on glasses hide the eyes without a filter. A polarizer rotated carefully can reveal eyes through lightly tinted lenses. Dark sunglasses resist the effect because their own tint dominates.
Portrait backgrounds with foliage gain richer colour through a polarizer. Leaves lose their waxy glare and show deeper green. The subject stands out against a richer background. Use moderate polarisation for natural-looking portraits.
Hoods for Night Shooting
Night shooting suffers flare from street lamps just outside the frame. A hood blocks these lamps from hitting the lens directly. The result is cleaner night photos with less haze. Hoods help night work as much as daylight work.
A hood also shields the lens from rain drops at night. Drops on the front element create huge blurred spots under lamps. The hood keeps most drops off the glass. Wipe the lens between shots on rainy nights regardless.
Test hood fit at night because vignetting hides in dark previews. Shoot a lit wall with the hood mounted and inspect corners. A hood that vignettes wastes frame edges silently. Daylight testing catches problems that night previews hide.
Filter Care and Storage
Polarizers scratch easily because their front surface is relatively soft. Store them in individual cases rather than loose in a bag. A scratched polarizer flares in sunlight and ruins its benefit. Case storage costs nothing and preserves the filter for years.
Clean polarizers with a blower first and a microfibre cloth second. Never wipe a dusty polarizer dry because grit scratches the surface. Stubborn smudges need optics fluid on the cloth. Gentle handling preserves the polarising layer.
Label filters by type and size when the collection grows. A drawer of unlabelled filters wastes time on every shoot. Small labels on cases speed up selection. Organisation matters once filters number more than two or three.
Polarizers for Car Photography
Car paint reflects sky and surroundings strongly under bright sun. A polarizer cuts these reflections and deepens paint colour dramatically. Rotate slowly while watching the paint in preview. The best angle balances reflection removal with natural paint shine. Over-polarised paint looks flat and lifeless.
Car glass benefits from polarisation when shooting interiors through windows. Dashboard reflections on windscreens hide interior details. A polarizer rotated carefully clears the windscreen view. Angle matters because straight-on shots show little polariser effect. Shoot windscreens from a slight angle for the strongest result.
Chrome trim and bright details can still blow out even with a polarizer. Expose for the bright trim rather than the paint when both matter. Bracket exposures when the phone allows it and blend later. Polarizers help reflections but cannot fix extreme dynamic range alone.
Hoods for Clip-on Lenses
Clip-on lenses flare badly because their front glass sits exposed. A small hood over a clip-on lens blocks stray light effectively. Hoods for clip-on lenses mount with clips or threads depending on design. Test hood fit carefully because a hood that vignettes ruins the wide view. A well-fitted hood transforms backlit clip-on results.
Hoods also protect clip-on glass from rain and fingerprints during handling. Front glass touched during mounting smudges easily. A hood creates a physical barrier around the glass. The barrier reduces accidental touches significantly. Protection is a secondary benefit worth having.
Remove hoods when using clip-on lenses indoors or in low light. Hoods cost no light themselves but they add bulk that complicates indoor work. Indoor flare is rare because light sources are weaker. Simplify the rig indoors and reserve hoods for bright outdoor scenes.
For bright outdoor video exposure, see variable ND filters for outdoor smartphone videography which cut light for smooth motion.
For creative front glass, see clip-on lenses for macro and wide-angle and anamorphic looks and change framing with filters in mind.
For clean glass habits, see cleaning kits for phone camera glass maintenance which keep filters and lenses spotless.
The steps above follow the approach described in the official developer documentation and standard manufacturer guidance for camera filters and mobile optics. The rotation routine and hood advice reflect common practice for reflection control on phones. Use them as a baseline and adapt the setup to your phone model and your shooting conditions.

