

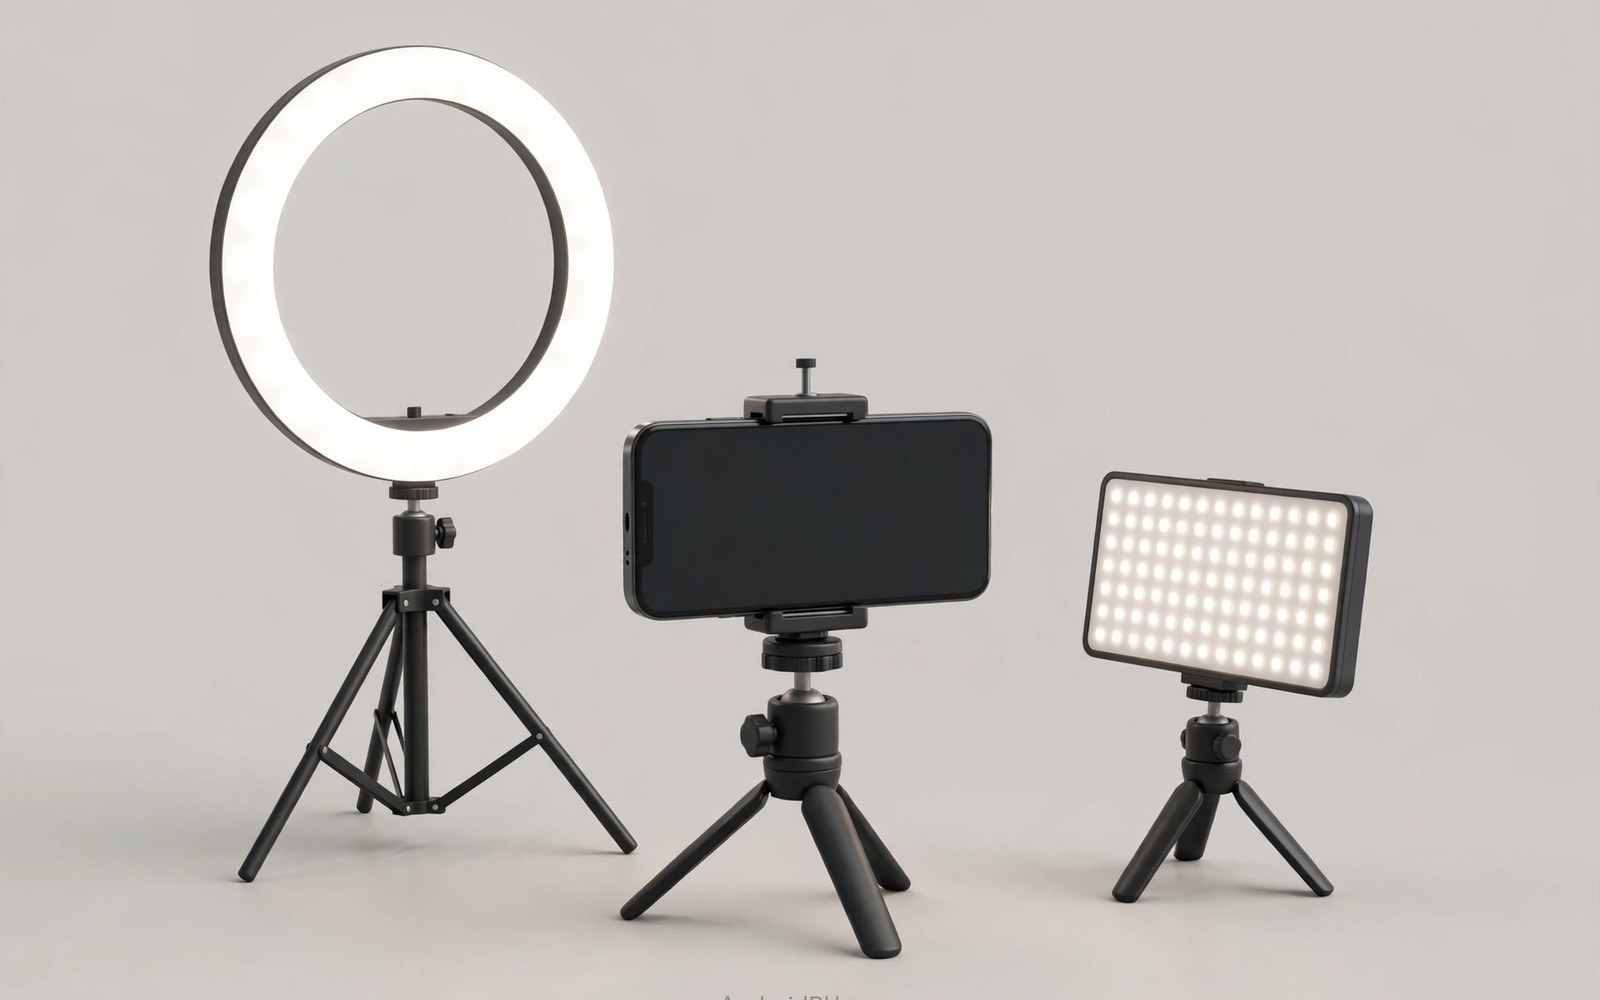
Good light improves phone video more than any other single accessory. Phone sensors are small and noise grows fast in dim rooms. A light placed near the phone lifts the subject and cleans up skin tones and colour. Viewers forgive a shaky frame sooner than a dark muddy face.
Ring lights and LED panels solve lighting differently. A ring light surrounds the lens with even light and creates a bright catchlight in the eyes. A panel throws a shaped beam that can sit to one side and sculpt a scene. Both pack small enough for a bag and run on batteries.
This guide compares the two tools across face lighting and scene lighting and colour control and power. It also covers placement habits that matter more than brand or price. The goal is a simple kit that makes every mobile shot look cleaner.
Why Ring Lights Flatter Faces
A ring light places light in a circle around the camera. Light reaches the face from all directions at once and softens shadows under the chin and nose. Skin looks smooth and even without heavy editing. The effect suits talking head video and beauty content and video calls.
The circular catchlight in the eyes is a signature ring light trait. Eyes gain a bright ring reflection that looks lively on camera. Some creators love this look and build their whole style around it. Others find it artificial and prefer a panel placed off axis.
Ring lights work best at close range with the phone in the centre. The subject should sit within an arm length or two of the ring. Greater distance weakens the light fast and the softening effect fades. Small rings suit desks while large rings suit standing presenters.
A ring light alone can flatten a scene because shadows disappear. Flat light hides facial shape and room depth. Adding a second small light or a window from the side restores some shape. Balance flat and directional light rather than relying on one ring only.
What LED Panels Add
An LED panel is a flat board of many small lights behind a diffuser. It produces a soft directional beam that you can aim and shape. Place it to one side and the subject gains depth through gentle shadow. Panels suit interviews and product shots and moody scenes.
Panels vary in size from pocket cards to tablet-sized boards. Larger panels give softer light because the source is bigger relative to the subject. Pocket panels suit travel and fill light. Larger panels suit key light duty in a home studio.
Many panels offer adjustable brightness and colour temperature. Brightness control lets you match the room instead of overpowering it. Colour temperature control shifts the light from warm indoor tones to cool daylight tones. Matching the room light prevents odd colour casts on skin.
Panels mount on tripods and cold shoes and stands. A panel on a small stand to one side of the phone creates a classic interview setup. A panel on the phone rig works as a run and gun fill light. Mounting choice shapes the look as much as the panel itself.
Colour Temperature and Skin Tones
Colour temperature describes whether light looks warm orange or cool blue. Indoor bulbs often run warm while daylight runs cooler. A phone camera balances colour automatically but mixed sources confuse it. Match your video light to the dominant room light for natural skin.
Adjustable panels make matching easy. Dial the panel warmer in a lamp-lit room and cooler near a window. A ring light with fixed colour needs gels or a matching room to avoid casts. Check skin on the phone preview before recording rather than trusting numbers alone.
Colour accuracy is measured by how truly colours render under the light. Cheap lights can turn skin greenish or grey even at the right temperature. Look for a high colour rendering rating when specs publish one. Real preview checks beat spec claims for skin work.
Mixed lighting still happens in real rooms. A warm lamp plus a cool window plus a video light creates competing casts. Turn off or dim the weakest source to simplify the mix. Two matched sources beat three clashing ones.
Power Options on the Move
Small ring lights often run on USB power from a power bank or a laptop. This suits desk work and long indoor sessions. Battery powered panels suit outdoor shoots where no outlet exists. Check runtime at full brightness because makers often quote dim settings.
Carry a power bank with enough capacity for the light plus the phone. A light that dies mid-take ruins a segment. A ten thousand unit bank covers a small light for hours in most cases. Keep the bank and cable tidy so they never enter the frame.
Rechargeable panels with built-in cells pack neatly but cannot swap cells in the field. Panels with removable cells let you carry spares and shoot all day. Choose built-in cells for short sessions and removable cells for event days.
Heat builds up in small lights at full brightness. Panels with metal bodies shed heat better than plastic ones. Dim the light slightly when it feels hot to protect the cells and the LEDs. A slightly dimmer light that lasts beats a bright light that shuts down.
- Place the key light near the phone for faces and to one side for depth.
- Match light colour to the room light before recording a single frame.
- Check skin tones on the phone preview rather than trusting spec numbers.
- Carry power for the light plus the phone on every outdoor shoot.
- Dim a hot light slightly to protect battery life and LED health.
Placement Habits That Matter
Raise the light slightly above eye level and angle it down toward the face. Light from below creates unflattering shadows under the nose and chin. Light from directly above creates deep eye shadows. A gentle downward angle from the front flatters most faces.
Move the light closer for softer light and further for harder light. Distance changes softness more than diffuser size alone. A close small light can look softer than a distant large light. Experiment with distance before buying a bigger panel.
Use a wall as a free bounce surface when you lack a second light. Aim a panel at a white wall and the wall becomes a large soft source. Bounce light loses strength but gains softness. White walls work best while coloured walls tint the light.
Keep lights out of the frame and out of reflective surfaces. A ring reflection in a window or a mirror behind the subject distracts viewers. Shift the angle a few degrees to hide the reflection. Check the full frame edges before recording.
MOBILE LIGHTING SETUP CHECK
1 Key light placed near phone and slightly high
2 Colour temperature matched to room light
3 Skin tones checked on phone preview
4 Power bank packed for light and phone
5 Lights hidden from frame and reflections
6 Test clip reviewed before the real take
Diffusers and Softboxes for Phones
A diffuser spreads light from a small panel into a softer source. Clip-on diffusers fit over pocket panels and soften harsh edges on skin. A small softbox folds flat for travel and opens over a panel on location. Diffusion costs some brightness but gains flattering softness.
Diffusion distance changes softness as much as diffuser size. A diffuser close to the subject softens more than the same diffuser far away. Move the diffused panel close for portraits and further for group shots. Experiment with distance before buying larger gear.
Homemade diffusion works in a pinch with white paper or a shower curtain layer. Keep homemade materials clear of hot lights to avoid heat damage. LED panels run cool enough for paper diffusion in most cases. Test homemade diffusion for colour shifts before a real shoot.
Lighting for Product Shots
Product shots need even light across the whole object without hot spots. Two panels at equal angles from the sides create even coverage. A white background reflects light back and fills shadows gently. The phone on a tripod keeps framing identical across products.
Small products benefit from a light tent that surrounds the object with diffusion. A collapsible tent packs flat and sets up in a minute. Place panels outside the tent walls for soft even light. The tent removes background clutter at the same time.
Shiny products need special care because every light appears as a reflection. Move panels until reflections sit where they flatter the product. A long thin reflection along a bottle looks intentional. A random bright blob looks like a mistake.
Outdoor Lighting Challenges
Outdoor light changes minute by minute as clouds pass and the sun moves. A panel that matches the sun at noon looks wrong under cloud cover. Adjust panel brightness and colour often during outdoor sessions. Check the preview after every major cloud change.
Wind shakes light stands and panels on location. Weigh down stand bases with bags on breezy days. Handheld panels avoid stand problems but tire arms quickly. A helper holding a panel can follow the subject better than any stand outdoors.
Battery life drops in cold outdoor weather. Keep spare cells warm in a pocket between uses. A panel that lasts hours indoors may last far less in winter wind. Plan power for the worst weather rather than the best.
Lighting Small Spaces
Small rooms challenge video lighting because lights sit close to walls and subjects. Close walls bounce light back and create hot spots. A dimmer panel placed further from the wall gives more even coverage. Angle panels toward the subject rather than straight at walls. Small adjustments transform cramped room lighting dramatically.
Low ceilings limit light placement height in small rooms. A light that cannot rise above eye level creates unflattering upward shadows. Bounce light off a white ceiling to simulate a higher source. Ceiling bounce softens light beautifully in small rooms. White ceilings work best while coloured ceilings tint the bounce.
Cluttered backgrounds distract more under bright video light. Light reveals every object behind the subject. Tidy the visible background before adding light rather than after. A plain wall section or a curtain simplifies the scene. Clean backgrounds make modest lighting look professional.
Video Light Colour Gels
Colour gels are thin coloured sheets placed over a light panel. They shift the light colour for creative effects or for matching room light. A warm gel over a daylight panel matches indoor lamps. A cool gel over a warm panel matches window daylight. Gels cost little and expand lighting control greatly.
Creative gels add colour washes to backgrounds for music videos and stylised content. A blue gel on a background wall creates mood without affecting the subject. Keep coloured light off faces because skin looks wrong under strong colour. Background colour plus natural face light is a classic combination.
Gel holders clip over panels or tape to panel edges. Heat from LED panels is low enough for gel sheets in most cases. Check gel condition after long sessions because heat can warp thin sheets. Replace warped gels before they sag onto the panel. Spare gels pack flat and weigh nothing.
For mounting lights on a rig, see cold shoe mount adapters for lights and mics on phone rigs which hold panels above the phone.
For clearer voice to match better light, see external lavalier microphones that improve audio clarity in mobile vlogs and upgrade sound with picture.
For overhead desk scenes, see studio tabletop arm stands for overhead smartphone video capture which pair well with a panel light.
The steps above follow the approach described in the official developer documentation and standard manufacturer guidance for video lighting and mobile capture. The placement habits and colour advice reflect common practice for small LED sources with phones. Use them as a baseline and test each setup on your own face and room before publishing.

