

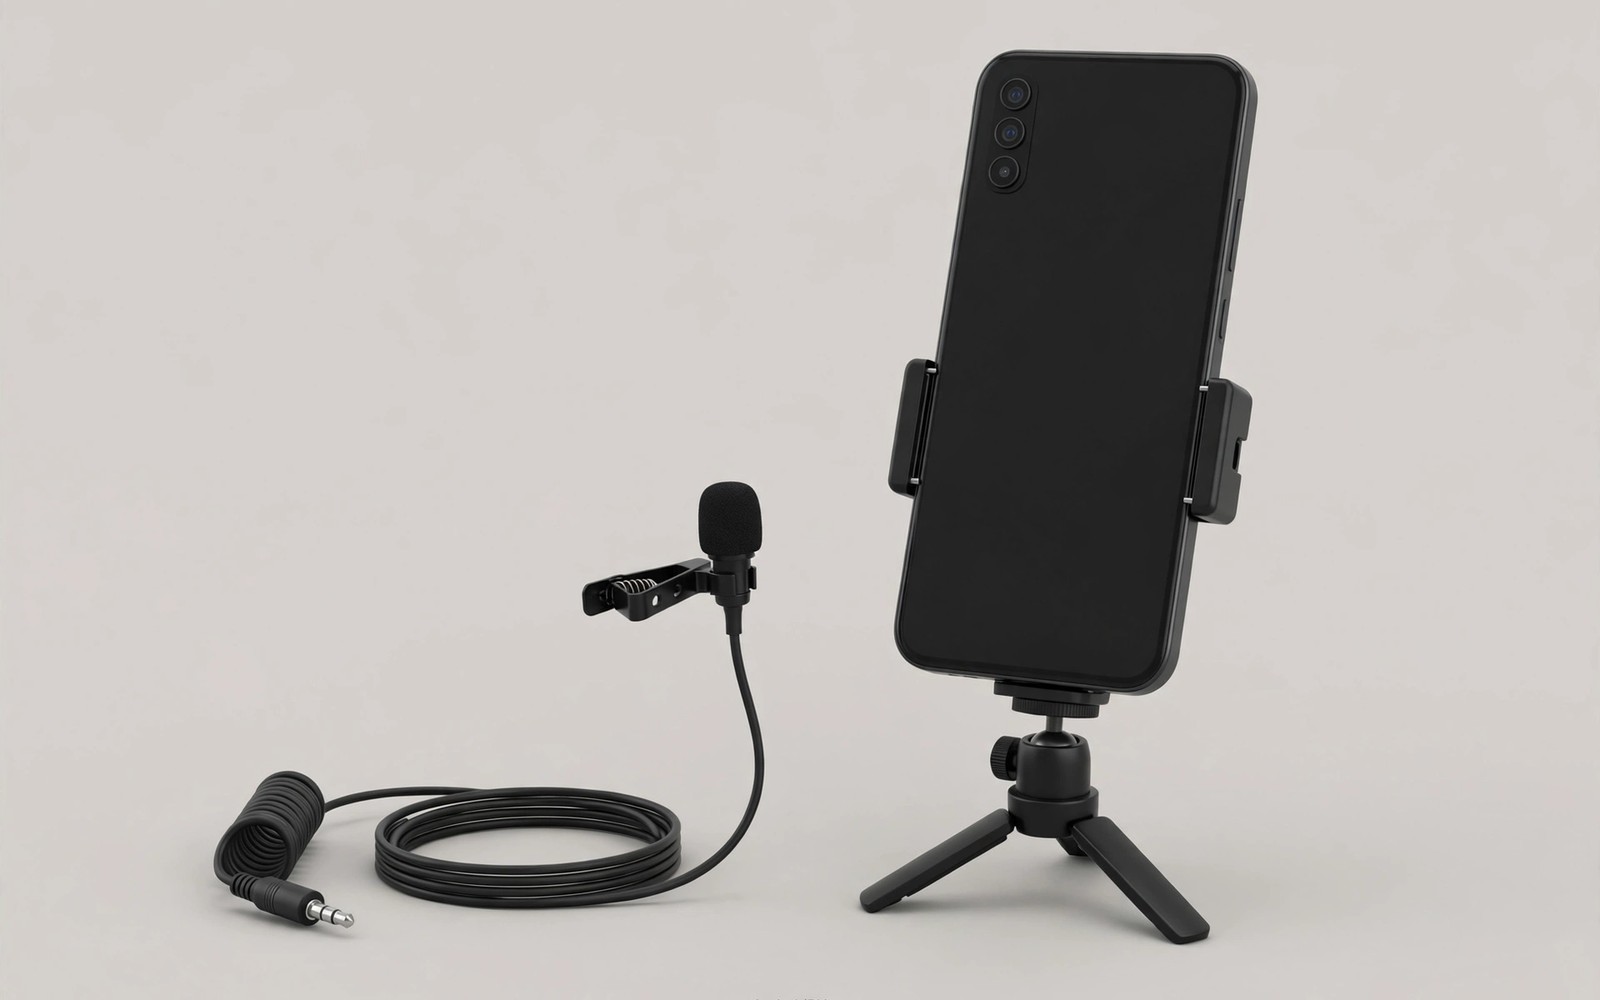
Viewers forgive imperfect video far sooner than imperfect audio. A vlog with muffled or echoey voice loses viewers within seconds. A phone microphone sits far from the speaker and gathers room noise and wind. A lavalier microphone fixes this by sitting centimetres from the voice.
A lavalier is a tiny microphone that clips to clothing near the chest. It captures speech directly while room noise fades into the background. The voice sounds close and clear even in a busy street or a large hall. The improvement over a built-in phone mic is immediate and large.
This guide compares wired and wireless lavaliers and explains placement and wind protection. It also covers monitoring and sync habits that keep audio clean. By the end you can record vlog audio that sounds professional with a pocket-sized kit.
Why Close Miking Wins
Sound level falls fast as distance grows between voice and microphone. A phone held at arm length captures far more room echo than voice. A lavalier at chest height captures voice strongly and room sound weakly. The ratio of voice to noise decides clarity more than any other factor.
Rooms add echo that no later processing fully removes. Hard walls and floors reflect voice back into the microphone with delay. A close microphone captures the direct voice before reflections dominate. Soft rooms help too but close miking helps everywhere.
Outdoor noise competes with voice in the same way. Traffic and wind and crowds sit at similar levels to a distant phone mic. A chest microphone lifts voice well above that noise floor. Listeners follow speech easily even on a busy street.
Close miking also allows lower recording levels that avoid distortion. A distant mic needs high gain that amplifies noise along with voice. A lavalier needs modest gain and stays clean. Clean gain is the foundation of professional sounding vlogs.
Wired Versus Wireless Lavaliers
Wired lavaliers connect to the phone with a cable and an adapter when needed. They cost less and never suffer wireless dropouts. Their weakness is cable management and limited movement range. A wired lavalier suits seated vlogs and interviews and desk work.
Wireless lavaliers use a small transmitter on the speaker and a receiver on the phone. They free the speaker to walk and gesture without cable worry. Their weakness is battery life and occasional interference in crowded wireless environments. A wireless set suits walking vlogs and demonstrations.
Battery planning matters for wireless sets. Transmitters run for several hours on a charge in most models. Receivers draw power from the phone or their own cell depending on design. Charge both parts before a shoot day and carry a power bank for long sessions.
Latency is low on modern wireless lavaliers and rarely causes lip sync trouble. Cheap sets can add a small delay that shows on close inspection. Test any new wireless set with a clap at the start of a clip. A visible clap sync check reveals delay before it ruins an interview.
Placement for Natural Sound
Clip the lavalier to clothing about a hand span below the chin. Centre placement suits most voices and clothing styles. Side placement near a collar works when centre mounting is impossible. Keep the microphone clear of necklaces and lanyards that rub and rustle.
Point the microphone capsule toward the mouth for best tone. Some lavaliers are omnidirectional and capture sound from all sides evenly. Others are directional and need aiming. Check your model type and aim directional capsules carefully.
Hide the cable under clothing when the shot allows it. Run the cable inside a shirt or jacket to the transmitter or phone. Hidden cables look cleaner and snag less during movement. Leave a small slack loop near the clip so head turns never tug the microphone.
Test placement with a short recording before the real take. Listen for rustle from clothing and breath noise from the nose. Move the clip a few centimetres when rustle appears. Small moves solve most placement problems fast.
Wind Protection Outdoors
Wind noise ruins outdoor audio faster than any other single factor. A bare lavalier in breeze produces loud low rumble that masks speech. A foam cover helps in light breeze. A furry cover handles stronger wind far better.
Furry covers are often called dead cats because of their fluffy shape. They break up wind before it hits the capsule. Use a furry cover for every outdoor shoot even when the air feels calm. Gusts arrive without warning and a cover costs nothing to wear.
Position the body to block wind when gusts strengthen. Turn slightly so your back faces the wind source. A wall or a vehicle can serve as a windbreak. These small choices matter as much as the cover itself.
Check wind handling with a test recording at the location. Walk the exact path of the shoot while recording a voice test. Listen for rumble at the worst spots and adjust cover or position. Location tests prevent surprises during the real take.
- Clip the microphone a hand span below the chin and clear of rustling clothing.
- Use a furry wind cover for every outdoor shoot even in apparently calm air.
- Test placement and wind handling with a short recording before the real take.
- Charge wireless parts fully and carry a power bank for long shoot days.
- Monitor audio with earphones when the setup allows live listening.
Monitoring and Sync Habits
Monitoring means listening to the recording live through earphones while shooting. It catches rustle and wind and dropouts before they ruin a take. Not every phone setup allows live monitoring. Use it whenever your adapter and app support it.
Record a sync clap at the start of any take with separate audio. Clap once on camera so picture and sound align easily in editing. This habit saves time even when the phone records audio directly. Sync marks cost one second and prevent long alignment work.
Keep a backup audio track when the shoot matters. The phone internal microphone can record as a safety track in some apps. A backup saves the take when a lavalier fails mid-interview. Redundancy feels excessive until the day it rescues a project.
Label recordings clearly after each take. Note the speaker and the location and the take number in the file name or a shot log. Clear labels prevent confusion when many clips share similar content. Organisation is part of audio quality.
LAVALIER VLOG AUDIO CHECK
1 Microphone clipped a hand span below chin
2 Cable hidden with slack loop near clip
3 Furry wind cover fitted for outdoor work
4 Test recording checked for rustle and wind
5 Wireless parts charged and spare power packed
6 Sync clap recorded at start of take
7 Live monitoring used when setup allows it
Recording Interviews with Two Lavaliers
Two-person interviews need two lavaliers for balanced voice levels. Each speaker wears one microphone at the same chest position. Matching positions keeps both voices at similar levels. Mismatched positions make one voice dominate the mix unfairly.
Wireless sets with two transmitters simplify two-person recording. Each transmitter pairs to one receiver on the phone. Label transmitters per speaker to avoid confusion during setup. A quick voice test per speaker confirms levels before the interview starts.
Wired two-microphone setups need a splitter or a small mixer. A splitter merges two microphones into one phone input. Levels cannot be adjusted separately through a simple splitter. A tiny mixer allows per-speaker level control when quality matters.
Lavalier vs Shotgun for Vlogs
A shotgun microphone suits vlogs where the speaker moves far from the camera. It captures voice from the camera direction without wearing anything. Its weakness is room echo because it sits far from the voice. Shotguns suit outdoor vlogs better than echoey rooms.
A lavalier suits vlogs where the speaker stays on camera and voice clarity leads. It rejects room echo far better than a distant shotgun. Its weakness is visibility and clothing rustle. Careful placement hides both problems well.
Many vloggers carry both types and choose per location. A lavalier serves indoor talking segments. A shotgun serves walking segments where wearing a mic is awkward. Owning both costs less than reshooting a vlog with bad audio.
Cleaning and Storing Microphones
Lavalier capsules collect skin oils and dust from clothing contact. Wipe the capsule housing gently with a dry cloth after shoots. Never poke the capsule grille with sharp objects. Blocked grilles muffle sound permanently.
Store lavaliers loosely coiled rather than tightly wound. Tight coils stress cables at the microphone end. Cable breaks near the capsule are the most common lavalier failure. Loose coils and a small pouch extend cable life greatly.
Wind covers need washing after outdoor use because dust and sweat accumulate. Wash foam covers in mild soapy water and dry fully before reuse. Furry covers need gentle hand washing and air drying. Clean covers sound better and last longer.
Lavalier Cable Management
Lavalier cables tangle easily because they are long and thin. Coil cables loosely in figure-eight loops for storage. Figure-eight coils resist tangling better than round coils. A cable that deploys without knots saves setup time and frustration. Tangle-free cables also last longer because they suffer less pulling.
Route wired lavalier cables inside clothing to hide them from the camera. Run the cable down inside a shirt to the phone or recorder. Leave slack near the microphone so head movement never tugs the capsule. A cable clip on the shirt anchors the run and prevents swaying. Hidden cables look professional and snag less during movement.
Secure excess cable length with a small velcro tie rather than stuffing it in a pocket. Stuffed cable bunches pull on the microphone during movement. A tied coil sits flat against the body. Neat cable management separates amateur audio from professional audio visually and sonically.
Recording Voiceovers with a Lavalier
Lavalier microphones record voiceovers well because they sit close to the voice. A quiet room with soft furnishings gives clean voiceover audio. Record voiceover in the same room position as the original video when matching tone matters. Consistent acoustics make voiceover blend seamlessly with live audio.
Hold a consistent distance from the microphone throughout a voiceover session. Moving closer and further changes level noticeably. A fixed clip position maintains consistent distance naturally. Read scripts at a steady pace with natural pauses. Rushed voiceover sounds anxious while measured pacing sounds confident.
Edit voiceover breaths lightly rather than removing them entirely. Natural breaths keep voiceover human and listenable. Aggressive breath removal creates an unnatural robotic rhythm. Reduce loud breaths by a small amount and leave quiet ones alone. Subtle editing beats heavy processing for voice work.
For a full filming rig, see professional phone camera cages and rig attachments for filmmakers which hold mics and lights together.
For better light to match better sound, see ring lights and portable LED panels for mobile video shots and lift picture quality with voice quality.
For mounting mics on a rig, see cold shoe mount adapters for lights and mics on phone rigs which place receivers and mics cleanly.
The steps above follow the approach described in the official developer documentation and standard manufacturer guidance for microphones and mobile audio capture. The placement advice and wind habits reflect common practice for lavalier recording with phones. Use them as a baseline and adapt the setup to your voice and your shooting locations.

