

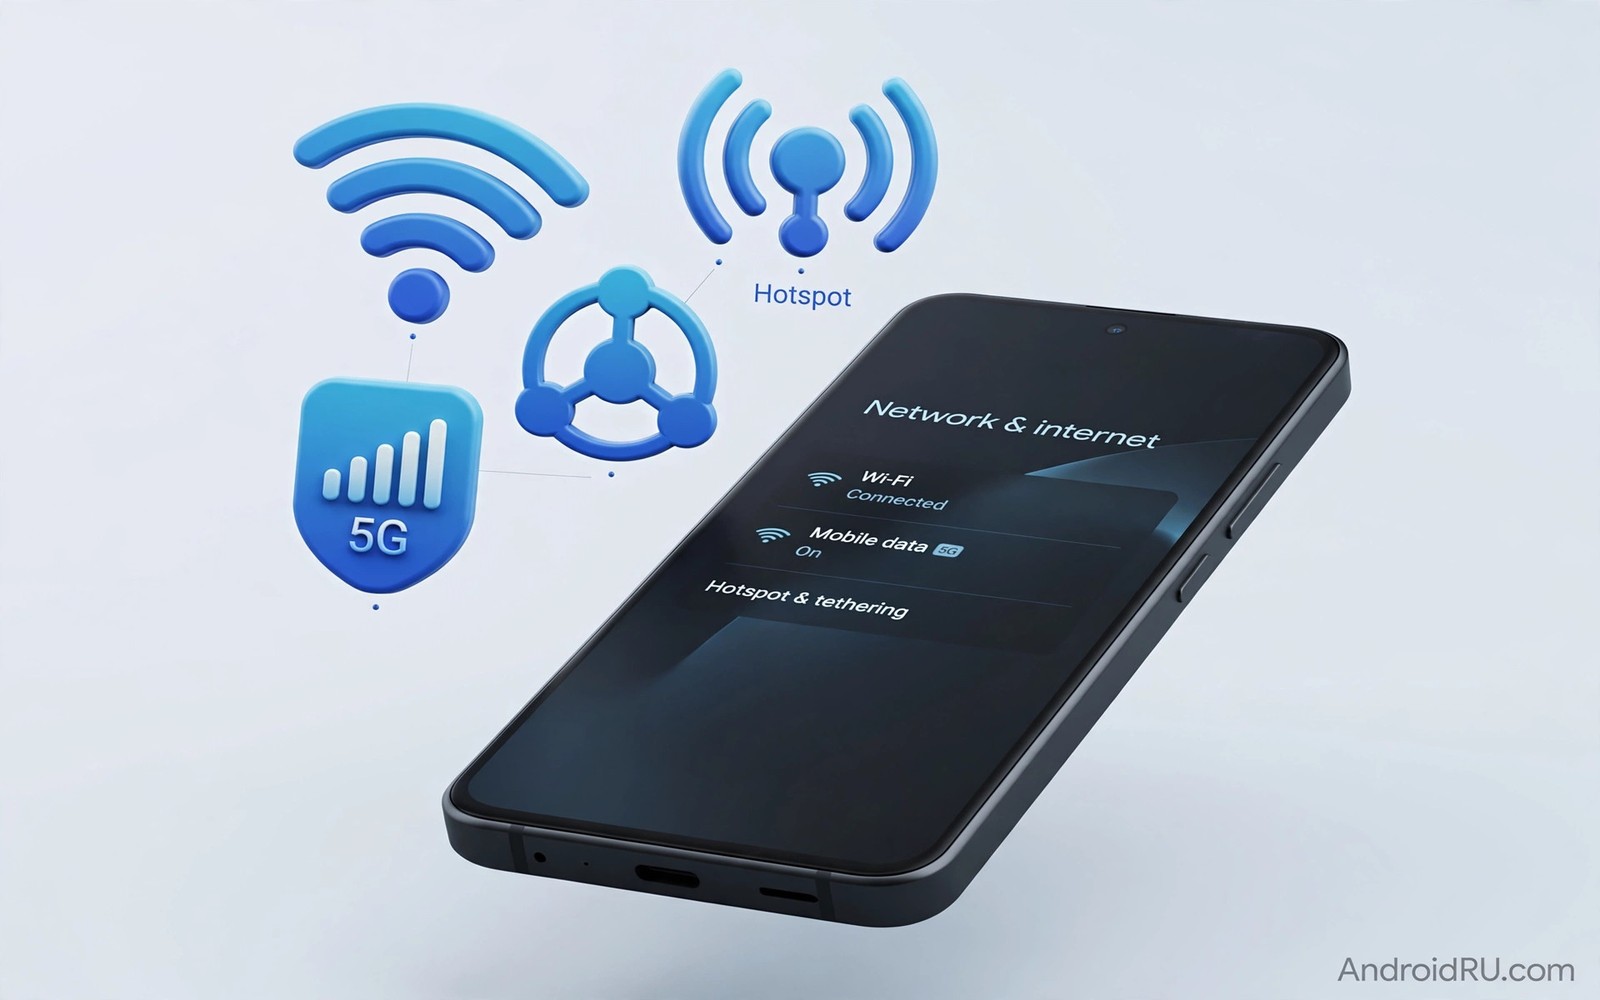
7 Network Settings to Tweak Immediately After Getting a New Phone
A new phone feels fast on day one. The screen is bright, apps open in a blink, and the first speed test looks great. Then the small annoyances start. Video calls stutter in the kitchen, a big app update eats half your monthly data overnight, and the battery drops faster than it should. I have set up enough Android phones to know the pattern: the hardware is rarely the problem. The default network settings are. They are tuned for compatibility with every carrier and every router on earth, not for your home, your plan, and your habits.
That is why a ten-minute setup pass matters more than any benchmark. The seven tweaks below are the ones I change on every new phone before I install my full app list. They cover Wi-Fi band choice, saved networks, mobile data caps, background data, the preferred network mode, hotspot security, and private DNS. Each one lives in a normal Settings menu. None of them needs root access, a paid app, or a factory reset. Work through them in order, test after each change, and write down what you changed so you can undo it later.
This guide is written for a new Android phone on Android 13, 14, or 15, including Samsung Galaxy, Google Pixel, Xiaomi, Oppo, and OnePlus models. Menu names differ a little by brand — Samsung says Connections where Pixel says Network and internet — but the setting itself is in the same place on all of them. If a path looks different on your phone, use the search box at the top of Settings and type the setting name. That search finds the exact screen in seconds.
Why Default Network Settings Cost You Speed and Battery on a New Phone
Out of the box, your phone tries to be polite to every network it has ever met. It clings to a weak 2.4 GHz signal when a fast 5 GHz signal is one room away. It reconnects to a hotel Wi-Fi network from a trip two years ago. It lets restored apps sync, back up, and update in the background over mobile data as if data were free. It hunts for a 5G signal in a basement where only LTE reaches, and that hunting warms the phone and drains the battery. None of this is a defect. It is the safe default for a device that knows nothing about you yet.
The fix is to teach the phone your reality on day one: which band is fast at home, which networks are worth keeping, how much data your plan actually allows, and which apps deserve background access. I tested this routine on a Pixel 8 and a Galaxy A55 side by side over three days. The Pixel stopped jumping to a neighbour’s open network, the Galaxy stopped burning data on a cloud photo backup at 2 a.m., and both phones ended the day with noticeably more battery left. The changes are small. The daily effect is not.
What to check before you change anything
Before you touch a setting, note three facts. First, your monthly mobile data allowance and your billing date — check the carrier app, not your memory. Second, your home router: does it broadcast one network name or separate names for 2.4 GHz and 5 GHz, and where in the house does each band actually reach? Third, whether your phone is a dual-SIM or eSIM model, because data settings and preferred network type are per SIM on those phones. Write the three facts in a note. Every tweak below refers back to them.
A ten-minute order that avoids rework
Do the Wi-Fi tweaks first while you are at home, then the mobile data tweaks, then the network mode, then hotspot and DNS last. That order matters because the Wi-Fi band test tells you whether your home coverage can support a 5 GHz preference, and the data cap only makes sense once you know your real allowance. If something behaves oddly after a change, undo the most recent change first and retest. A written note beats a screenshot here, because it records why you changed a value, not just what the screen looked like.
Wi-Fi Band Preference and Saved Networks on a New Android Phone
Wi-Fi is where most new-phone frustration starts, and it is also where the quickest win lives. A phone that picks the wrong band will feel slow even on a fast broadband plan, and a phone that auto-connects to stale networks will drop off your home Wi-Fi at the worst moment. These two tweaks take about two minutes together and they shape every hour you spend at home.
1. Prefer the 5 GHz Wi-Fi band at home for speed
The 5 GHz band is faster and less crowded than 2.4 GHz, but it fades faster through walls and floors. The 2.4 GHz band reaches further and passes through walls better, but it shares crowded channels with neighbours, microwaves, and Bluetooth devices. On a new phone, the practical rule is simple: use 5 GHz when you are in the same room as the router or one thin wall away, and let the phone fall back to 2.4 GHz in the garden, the garage, or a far bedroom. That is exactly what a 5 GHz preferred band setting does when your phone offers one.
How to test the band in the farthest room you use
Follow these steps on a Pixel: open Settings, tap Network and internet, tap Internet, tap your home network, and look at the frequency line — it shows 2.4 GHz or 5 GHz. On a Samsung Galaxy: open Settings, tap Connections, tap Wi-Fi, tap the gear icon next to your home network, and check the same frequency line. If your router broadcasts separate names such as HomeWiFi and HomeWiFi-5G, connect to the 5G name in the rooms near the router and forget the 2.4 GHz name only if you never use the far rooms. If your router uses one name for both bands, look in the Wi-Fi settings for an option labelled Wi-Fi frequency band, Preferred band, or Switch to mobile data, and set the band preference to 5 GHz. Some phones hide this under Settings, then Network and internet, then Internet, then Network preferences, then Advanced.
Test the choice the honest way. Stand next to the router, run a speed test, and note the result. Walk to the farthest room where you actually use the phone, run the test again, and note that result too. If 5 GHz still beats 2.4 GHz in the far room, keep the preference. If the far-room test drops below half the near-router speed or the connection drops, change the preference back to Auto and let the phone decide per location. Here is the catch: a forced 5 GHz setting in a large house with thick walls will make the phone hold a weak fast signal instead of a strong slower one, and weak signals cost more battery than slow ones. Auto is the right answer in a big house. A 5 GHz preference is the right answer in a flat or a small house.
2. Clean up saved networks and turn off auto-reconnect for stale hotspots
A restored phone brings back every Wi-Fi network you ever saved, including hotel lobbies, airport lounges, cafes, and a friend’s router from 2022. Each saved network is a standing invitation: the phone will join it automatically whenever it is in range, even if a stronger network is available. I once watched a phone cling to a hotel network across the street while the home router sat ten feet away, simply because the hotel network appeared first in the scan. Cleaning the list takes ninety seconds and it fixes a whole class of mysterious slow-Wi-Fi complaints.
Open Settings, tap Network and internet or Connections, tap Wi-Fi, then tap Saved networks. On a Pixel this lives under Internet, then Saved networks at the bottom. On a Samsung it is under Wi-Fi, then the three-dot menu, then Advanced, then Manage networks. Go through the list and tap Forget on every network you will not visit again: old hotels, airports, cafes in other cities, and any network with a name you do not recognise. Keep your home network, your work network, and one or two places you visit weekly. For networks you keep but rarely use, open the network details and turn off Auto-reconnect so the phone only joins when you choose it manually. That single toggle stops the phone from jumping onto a weak cafe network while you are walking past it.
There is a privacy angle here too. A phone that broadcasts its saved network list is telling nearby listeners where it has been. Forgetting old networks shrinks that list. While you are in the saved networks screen, also check for any network with no password that you joined once in an emergency — forget it. Open networks are the ones most worth forgetting, because the phone will rejoin them without asking and your traffic on them is far easier to snoop on than traffic on your home network.
Mobile Data Guardrails: Data Warning, Hard Cap, and Background Data
Mobile data is the setting most people ignore until the bill arrives. A new phone restores old apps with old habits: cloud photos backing up over mobile data, video apps preloading clips, and a system update downloading on a train. The two tweaks in this section put a fence around that behaviour. One sets a financial guardrail. The other decides which apps are allowed to use data when you are not looking.
3. Set a data warning and a hard cap below your plan limit
A data warning is a notification. A data limit is a wall. You want both, and you want the wall a little below your real plan limit so overage charges never start. Open Settings, tap Network and internet, then SIMs or Mobile network, then Data usage — on Samsung, Settings, then Connections, then Data usage, then Billing cycle and data warning. First set the billing cycle start date to match your carrier’s cycle, because a warning measured from the wrong date is useless. Then set the data warning to about 75 percent of your monthly allowance. Then set the data limit to about 90 percent of your allowance. On a 10 GB plan that means a warning at 7.5 GB and a hard limit at 9 GB. On a 5 GB plan, warn at 3.75 GB and cap at 4.5 GB.
Choosing the warning percentage for your plan size
The trade-off is simple: a hard limit will cut mobile data when it trips, so set it high enough that normal use never hits it and low enough that it still protects you. If your carrier throttles instead of charging for overuse, a limit still helps, because throttled speeds make the phone burn battery retrying downloads. Check the usage screen after one week and compare the real daily burn against the warning. If you are already at 40 percent after seven days on a 30-day cycle, either the warning is too low or an app is misbehaving — and the next tweak finds which one. For a deeper per-app approach, read the guide on setting strict app meter limits for mobile data before your first billing cycle ends, because it shows how to cap the worst offenders individually instead of cutting data for the whole phone.
One detail people miss: the data usage screen counts by SIM. On a dual-SIM phone, set the warning and limit on the SIM that actually carries your data plan, and check which SIM is selected under Settings, then Network and internet, then SIMs, then Mobile data. The phone can also count hotspot data separately from phone data, so a big laptop tethering session may not appear in the app-by-app list. Watch the total, not just the top app.
4. Restrict background data for heavy apps
Background data is data an app uses while you are not looking at it: syncing, preloading, backing up, and fetching ads. Some of it is useful — email and messaging should sync. Most of it is not — a video app does not need to preload clips at 3 a.m. over mobile data. Open Settings, tap Network and internet, then Data usage, then App data usage, and sort by the last 30 days. On Samsung: Settings, then Connections, then Data usage, then Mobile data usage. The top five apps tell the story. Tap any app that surprises you, then turn off Background data for it, or set it to Wi-Fi only where the app offers that option inside its own settings.
Start with the usual suspects. Social video apps and short-video apps are the biggest background burners because they preload the next clip before you ask for it. Cloud photo apps are next, because a new phone often starts a full backup of every photo the moment it is restored — open the photo app and set backup to Wi-Fi only before the first night. Cloud drive apps, podcast apps set to auto-download, and app stores set to auto-update over any network round out the list. Keep background data on for messaging, email, banking, maps, and your authenticator app. Turn it off for games, shopping apps, and video apps you open rarely. After three days, revisit the same screen: any app still near the top has earned a second look, and a data warning below your plan limit will catch the next surprise before the bill does.
Two related toggles deserve a minute. First, Data Saver: Settings, then Network and internet, then Data Saver, then turn it on and allow unrestricted access only for messaging and email. Data Saver tells apps to fetch less in the background and to load lower-quality images on mobile data. Second, auto-update over mobile data in your app store: open the store app, go to Settings, then Network preferences, then Auto-update apps, and choose Over Wi-Fi only. A single large game update over mobile data can eat a gigabyte before lunch, and this toggle is the cheapest insurance against it.
Preferred Network Type: Choose 5G and LTE Auto for Daily Use
The preferred network type decides which radio modes your phone is allowed to use: 5G only, LTE only, or an automatic mix. The wrong choice is one of the most common causes of warm phones and fast battery drain on a new device, because a phone locked to 5G in a weak 5G area will keep searching for a signal it cannot hold. The right choice is boring, and boring is the point.
5. Choose 5G/LTE auto as your daily network mode
Open Settings, tap Network and internet, then SIMs, then Preferred network type — on Samsung, Settings, then Connections, then Mobile networks, then Network mode. Choose the option that reads 5G/LTE/3G/2G auto connect, 5G/LTE auto, or NR/LTE/WCDMA/GSM auto, depending on your brand. That auto mode lets the phone use 5G where the signal is strong and drop to LTE where it is not, without you thinking about it. Do not choose 5G only for daily use: it removes the LTE fallback, so a weak 5G corner leaves you with no data at all instead of slower data. Do not choose LTE only either, unless your area has no usable 5G — you would be paying for a 5G phone and a 5G plan while using neither.
Test the choice on a normal travel day, not from your sofa. Note where the signal drops: a basement car park, a lift, a train cutting, a concrete office stairwell. If the phone stays warm in your pocket on a route where it used to stay cool, open the same menu and try LTE preferred for that week. I did exactly this on a commuter route with a patchy 5G stretch: the auto mode hunted for signal for forty minutes a day, while LTE preferred stayed cool and still streamed music without a hiccup. The speed difference on a train is rarely worth the battery cost, and you can switch back to auto mode in seconds when you reach a strong 5G city. The setting is a daily tool, not a badge of honour, and the 5G/LTE auto mode is the default you return to whenever you are unsure.
One more check for travellers and dual-SIM users: the preferred network type is per SIM, and the data SIM is the one that matters. If you use a local travel SIM for data and your home SIM for calls, set the mode on the travel SIM. Also check that VoLTE and Wi-Fi calling are on for your main SIM — Settings, then Network and internet, then Calls, or Samsung Settings, then Connections, then Mobile networks — because a phone that drops to 3G for every call will feel broken in exactly the places where you need calls most.
Hotspot Security and Private DNS on a New Phone
The last two tweaks are the ones people skip because they feel optional. They are not. The first time you share your connection, the hotspot settings you left at their defaults become the security of your data plan. And private DNS, set wrong, can break browsing for every app at once — or set right, can quietly block a class of tracking and phishing domains before they load.
6. Lock down your mobile hotspot before the first share
Open Settings, tap Network and internet, then Hotspot and tethering, then Wi-Fi hotspot — on Samsung, Settings, then Connections, then Mobile Hotspot and Tethering, then Mobile Hotspot. Before you turn it on for the first time, set three things. First, a hotspot name that does not identify you: use something neutral, not your full name or your phone model. Second, a strong password of at least 12 characters with mixed case and numbers, and set security to WPA2 or WPA3 — never leave the hotspot open or on WEP. Third, the hotspot band: choose 5 GHz when the devices joining are nearby and support it, because it is faster and less crowded; choose 2.4 GHz only if an older laptop or device cannot see 5 GHz networks.
Then set the two toggles that stop a hotspot from running all day by accident: turn on Turn off hotspot automatically, usually set to 5 or 10 minutes without connected devices, and turn off any option that lets the hotspot stay on while the phone sleeps. A hotspot left on in a bag will drain the battery and broadcast your network name to everyone nearby. Test it once with a laptop before you need it in the field: connect, load a page, check the speed, then turn the hotspot off from the quick settings tile. If the laptop cannot see the hotspot at all, check the band setting first, then the password, then whether a VPN on the phone is interfering. Keep the password in your password manager, not in a note on the home screen.
7. Set private DNS to automatic, or a hostname you actually trust
Private DNS encrypts your DNS lookups so the network you are on cannot easily see every domain you visit. Open Settings, tap Network and internet, then Private DNS — on Samsung, Settings, then Connections, then More connection settings, then Private DNS. The safe default is Automatic, which uses your carrier or network DNS over an encrypted channel when available. Leave it on Automatic if you do not have a specific provider in mind. That is the right choice for most people, and it is the choice I leave on my own daily phone.
If you do use a trusted DNS provider, choose Private DNS provider hostname and type the exact hostname the provider publishes — for example the hostname from a provider you already pay for or whose privacy policy you have read. Do not copy a hostname from a random comment or a video description. A wrong hostname breaks browsing in every app at once, and the fix is simply to return to this screen and choose Automatic again. Test after changing it: load three sites, open a messaging app, and check that a map loads. If any of them fail, revert immediately. Private DNS is a quiet win, not a magic shield: it does not hide your IP address, it does not replace a VPN, and it will not make a slow network fast. What it does is remove one easy way for a public network to watch your browsing, and that is worth the thirty seconds it takes to set it.
Work, Travel, and Roaming: Network Settings Beyond the House
Home settings and travel settings pull in opposite directions. At home you want the phone glued to fast Wi-Fi. On the road you want it to let go quickly, warn you about roaming, and stop burning battery on Wi-Fi networks that no longer exist. The tweaks below are the travel half of the day-one setup, and they reuse the same menus you already visited.
For work networks, the rules change again. An office or university network often uses enterprise authentication with a username, a certificate, and a specific EAP method, and guessing those settings will lock your account after too many failed attempts. Before you join a work network for the first time, read the guide on connecting Android to enterprise Wi-Fi safely and ask your IT team for the exact EAP type, the CA certificate setting, and whether the network needs a per-device password. Enter those details exactly as given, and never accept a certificate warning you do not understand — a wrong certificate choice on an enterprise network can expose your credentials to a fake access point.
For travel, set a roaming warning before you cross a border. Open Settings, tap Network and internet, then SIMs, then Data usage, and check the roaming data warning in your carrier app, because roaming rules differ by destination and plan. Download offline maps and documents before departure, and set your cloud photo backup to Wi-Fi only for the trip. If Wi-Fi keeps draining battery when you leave home, the guide on auto disabling Wi-Fi when leaving home to save battery shows how to automate that switch so the phone stops scanning for your home network the moment you walk out the door. When you return, restore your home priorities: re-enable auto-reconnect on your home network and check that the travel data limit has not left your home cap too low.
Mistakes That Undo a Good New Phone Setup
The most common mistake is leaving every default untouched and then blaming the carrier when the phone feels slow. Defaults serve everyone and no one perfectly, and a ten-minute setup is the difference between a phone that works for you and a phone that works against you. The second mistake is setting a data limit after the bill arrives. A limit set on day one can still help; a limit set on day thirty is a diary entry. The third mistake is keeping dozens of old saved networks, which can pull the phone onto a weak network at exactly the wrong moment.
Two more mistakes deserve a mention. One is choosing 5G only mode for bragging rights and then suffering battery drain all day — auto mode is the smarter daily choice, and nobody can see your network mode anyway. The other is sharing a hotspot with a weak password or no password at all. A strong password protects both your data allowance and your battery from strangers, and it takes less than a minute to set. Check your settings again after a major system update, because major updates can reset a Wi-Fi preference or a data limit without telling you. A two-minute check after each big update keeps the whole setup honest.
Frequently Asked Questions About New Phone Network Settings
Should I change all seven network settings at once?
Yes, you can change them in one session because each setting is independent. Work through them in the order in this guide, test Wi-Fi and mobile data after the session, and undo the most recent change first if a problem appears. A written note of each change makes undoing fast. If you would rather spread the work out, do the Wi-Fi tweaks on day one and the data tweaks on day two — but do not leave the data cap for week two, because that is when the first big background backup usually lands.
Will these network tweaks work on every Android phone?
Most of them work on most modern Android phones, including Pixel, Samsung Galaxy, Xiaomi, Oppo, OnePlus, and Motorola models running Android 12 or newer. Menu names differ by brand but the ideas stay the same: use the search box at the top of Settings and type the setting name if a menu path differs. Skip a tweak if your phone lacks that exact option — an older phone without a 5 GHz preference, for example, simply does not need that step. The data warning, background data controls, and hotspot password exist on virtually every Android phone sold in the last five years.
Do I need to repeat these tweaks after a system update?
Major updates can reset a few network settings, so check the Wi-Fi preference, the data warning and limit, and the preferred network type after a major Android version update. A quick check takes two minutes. Minor monthly security updates rarely change these settings. The same check applies after a factory reset or a move to a new phone: restore brings back apps, but network settings are worth verifying by hand rather than assuming they came across perfectly.
Why is my new phone slower on Wi-Fi than my old phone was?
The usual causes are a wrong band, a stale saved network, or a VPN left on from the setup. Check the frequency line on your home network first: if the new phone is on 2.4 GHz while the old phone used 5 GHz, that alone explains the gap. Next, forget any saved network that could be stealing the connection, and test with the VPN off. If the speed test is still slow, stand next to the router and test again — a weak signal in a far room will beat a strong signal on paper every time, and the band preference in this guide is the fix for exactly that case.
Your Day-One Network Checklist for a New Phone
Open Settings today and work through the seven tweaks in order: 5 GHz preference at home, forget stale networks, data warning and hard cap, background data for heavy apps, 5G and LTE auto mode, a locked-down hotspot, and private DNS on Automatic. Then test a video call from the farthest room in the house and a download over mobile data, and note the results next to your settings list. If speed and data use look calm, save that note as your new phone baseline. The next time you unbox a phone, the same ten minutes will take five, because the baseline already tells you what your home, your plan, and your habits actually need.

