

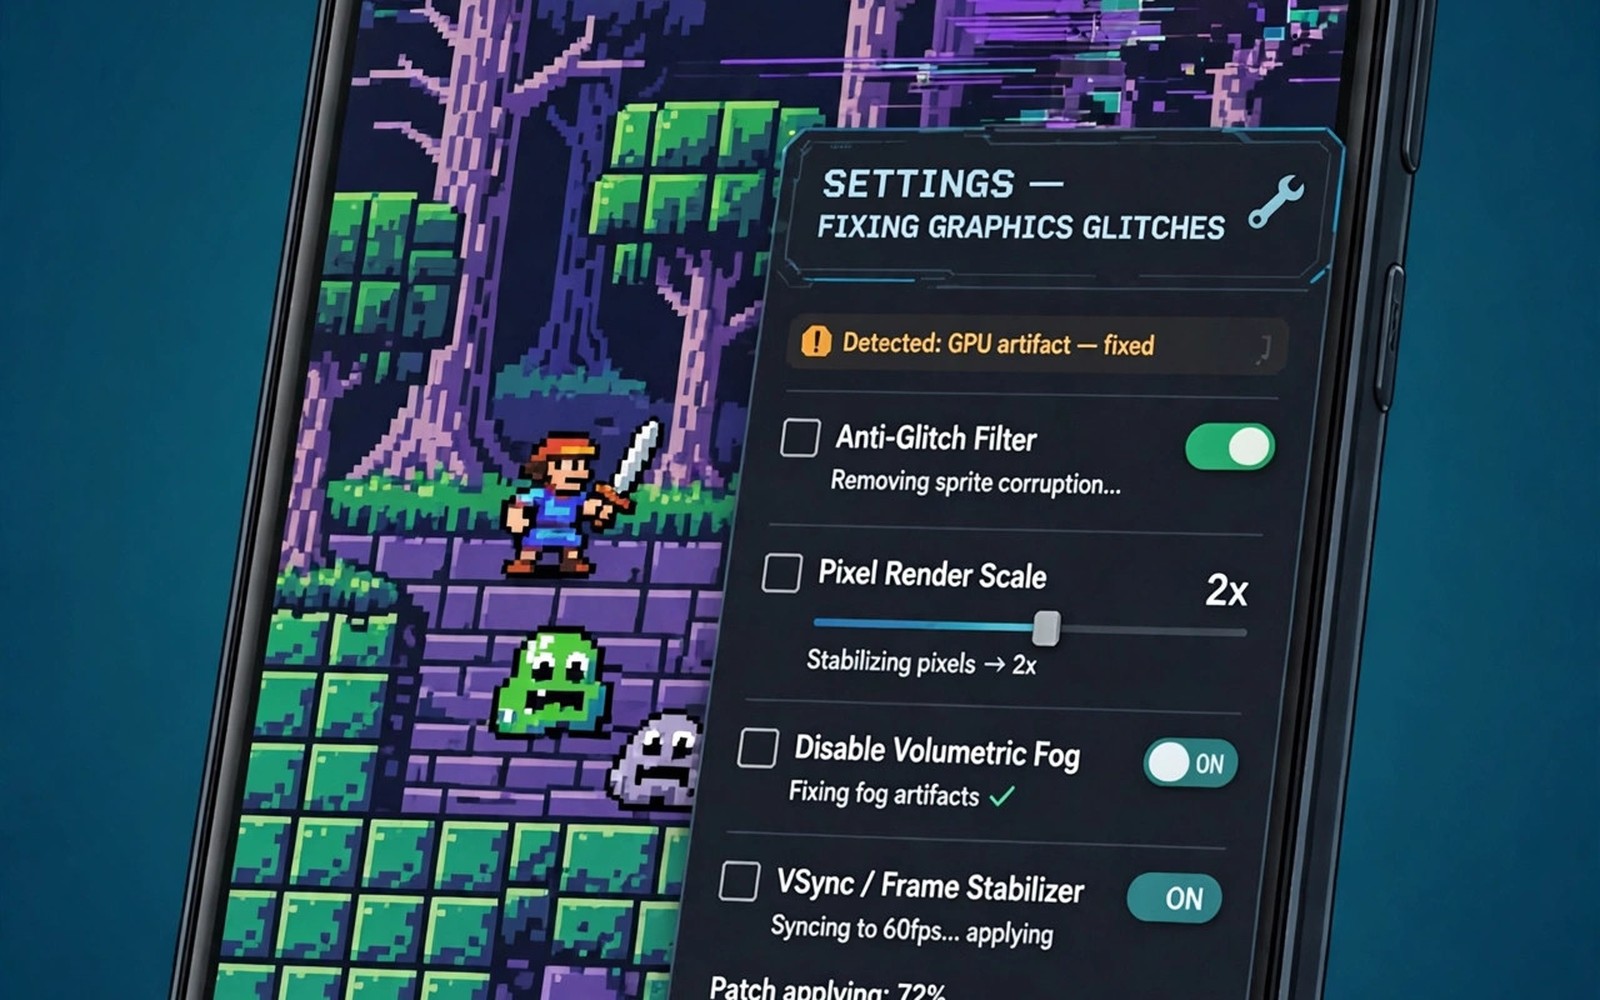
A PS2 emulator can turn a great classic into a mess of missing walls and flashing textures in a single bad setting. The problem rarely means your phone is too weak. It usually means one graphics backend or one texture option does not suit that specific game. This guide walks you through a calm fix order. You will test one change at a time and you will keep the settings that actually help your game.
Start with a clean test scene. Load a save near the glitch if you can. Watch the exact moment when the texture breaks. Does a wall turn black or does a character lose its face texture. Does the game crash at a loading screen or does it crash during gameplay. The answer points to a different cause. A black texture often points to a graphics backend problem. A crash at load often points to a bad game file or a memory problem. Write down what you see before you change anything. A short note will stop you from chasing the same glitch twice.
Many players change ten settings at once and then they cannot tell which change helped. This guide avoids that trap. You will change the renderer first and then you will test again. You will change texture options next and then you will test again. You will check the game file only after the graphics options fail. That order saves time because most glitches come from the first two steps. Playing PS2 games on Android at 60fps covers the speed side of the same setup and it pairs well with the stability fixes here.
Switch The Graphics Backend First
Open the emulator graphics settings and look for the renderer option. The two common choices are a Vulkan backend and an OpenGL backend. Vulkan can run faster on newer phones but it can show glitches in older games. OpenGL can render more titles correctly but it can run slower on some chips. Switch to the other backend and reload the same scene. Do not change any other setting during this test. If the texture returns to normal then you found the cause. Keep that backend for this game even if the other backend works better in a different title.
If both backends show the same glitch then lower the internal resolution. A very high resolution can expose a texture bug that hides at native resolution. Set the resolution to native or to two times native and test again. A game that looks sharp but broken is worse than a game that looks plain but stable. Raise the resolution only after the glitch is gone. Raise it one step at a time so you can spot the step where the glitch returns.
Fix Texture Options One By One
Texture filtering and texture preload options can break a game that uses unusual texture formats. Turn off anisotropic filtering for a test. Turn off texture preloading if the emulator offers it. Some games stream textures during play and a preload option can load a texture in the wrong format. Test the same scene after each change. If a character model looks correct again then keep that option off for this game. You can turn it back on for games that do not show the problem.
Mipmapping is another option that can cause shimmer or missing detail. Try the basic mipmapping mode before you try an aggressive mode. Aggressive modes can improve distant detail but they can also break a game that expects a simple texture path. The same logic applies to shader options. A fancy upscaling shader can hide a texture or create a bright flash. Disable custom shaders during the fix test. Add one shader back only after the base game runs clean.
Check the emulator version before you blame the game. A new emulator build can fix a texture bug for one title and break a different title. If a game worked last week and broke after an update then note the version numbers. You can keep a known good version for that game while you test the new version on other titles. Do not update in the middle of a long play session. Update when you have time to test the games you care about most.
Stop Crashes With A Stable Setup
A crash often comes from memory pressure rather than a graphics bug. Close other apps before you launch the emulator. A browser with many tabs can hold a large amount of memory. A social app that refreshes video in the background can also steal memory. Free memory gives the emulator room to load textures and audio without a sudden kill. Turn on a game mode profile if your phone offers one. The profile can keep the emulator in the foreground and limit background work.
renderer = opengl
internal_resolution = 2
texture_filtering = basic
mipmapping = basic
shaders = off
fast_texture_invalidation = on
The snippet above is an original example written for this guide. It shows generic settings that you can adapt to your own device. It does not copy code from any outside source.
Use the settings above as a safe baseline for a glitchy title. Start from this plain setup and add one enhancement at a time. Test the exact scene that glitched before. A stable baseline matters more than a pretty screenshot. Once the scene runs clean you can raise resolution or filtering in small steps. Stop at the last stable step and save that setup as a per game profile if your emulator supports one. Per game profiles stop a fix for one title from breaking another title.
Check The Game File After Graphics Tests
A graphics test should come first because it is fast and safe. A file check comes next when graphics changes fail. Open your file manager and check the game file size. A file that is far smaller than expected is likely incomplete. A file that matches your backup size is likely fine. Do not delete a file on a guess. Copy the file to a safe folder first if you plan to replace it. A backup copy stops a bad replacement from erasing your only good file.
Test the game from a different save point if the crash happens at one scene only. A corrupt save can crash a game even when the game file is fine. Load an earlier save and play to the same scene. If the earlier save passes the scene then the later save is the problem. If both saves crash at the same scene then the game file or a graphics setting is the cause. That simple test separates a save problem from a graphics problem in minutes.
Check memory card speed if you store games on external storage. A slow card can cause texture pop in and long loads. Move the game to internal storage for a test. If textures load cleanly from internal storage then the card is too slow for that title. Keep heavy emulator games on internal storage when possible. Boosting PPSSPP graphics to ultra high definition shows a similar storage and resolution balance for a different emulator. The balance idea is the same even when the emulator differs.
Keep a log of settings that worked for each game. Write the renderer and the resolution and the texture options. A log turns a one time fix into a repeatable setup. When an emulator update resets settings you can restore the log in minutes. A log also helps you spot patterns across games. If many games fail on one backend then that backend is the weak point on your phone.
Use Per Game Profiles For Long Term Stability
A single global setup rarely suits every PS2 title. One game may need OpenGL while another game runs best on Vulkan. A global change that fixes one game can break five other games. Per game profiles solve that conflict. Save the working renderer and resolution for each title under its own name. Load the profile before you play that title. A profile system turns a long fix session into a one tap setup for future sessions.
Test a new emulator version on a copy of a profile before you replace the old one. Keep the old profile name with a version tag. If the new version breaks a game then you can return to the old profile quickly. This habit protects long playthroughs from surprise updates. A role playing game with forty hours of progress deserves that protection. A short arcade session does not need the same care but the habit still helps.
Common Mistakes
One mistake is to copy a settings screenshot from a different phone. A chip from one brand can handle a backend that fails on a chip from another brand. Use screenshots as a hint and not as a rule. Another mistake is to delete the game file at the first crash. A file check is useful but it should come after graphics tests. A third mistake is to enable every speed hack at once. Speed hacks can break timing and textures in ways that look like a graphics bug. Turn speed hacks off during the fix test and add them back one by one.
Do not ignore heat during a crash test. A phone that throttles can crash a heavy emulator scene that runs fine when cool. Let the phone cool and test the same scene again. If the crash only happens when hot then cooling is part of the fix. Use a lower resolution or a shorter session to keep heat down. GameCube and Wii games at 4K shows how resolution scaling interacts with stability in another emulator and the lesson applies here too.
Frequently Asked Questions
Why do textures look fine in one game but broken in another?
Each PS2 game uses textures in its own way. An emulator option can suit one game and break another game. That is why per game profiles matter. A setting that fixes one title can cause a glitch in a different title. Test each game on its own and save its own profile.
Should I use Vulkan or OpenGL for PS2 emulation?
Use the backend that renders your specific game correctly. Vulkan can be faster on newer phones. OpenGL can be more compatible with older titles. Test the same scene on both backends. Keep the backend that shows correct textures and stable speed for that game.
Can a bad game file cause texture glitches?
Yes a damaged or incomplete game file can cause missing textures and crashes. Check the file size against a trusted backup if you own the game. Re-copy the file from your own disc or backup if the size looks wrong. Test graphics settings first so you do not replace a good file by mistake.
Conclusion
Load your glitchy game today and switch the renderer first. Test the same scene and note the result. Then work through texture options one by one until the scene runs clean. Save that setup as a per game profile. That one saved profile will stop the same glitch from returning after your next emulator update.

