

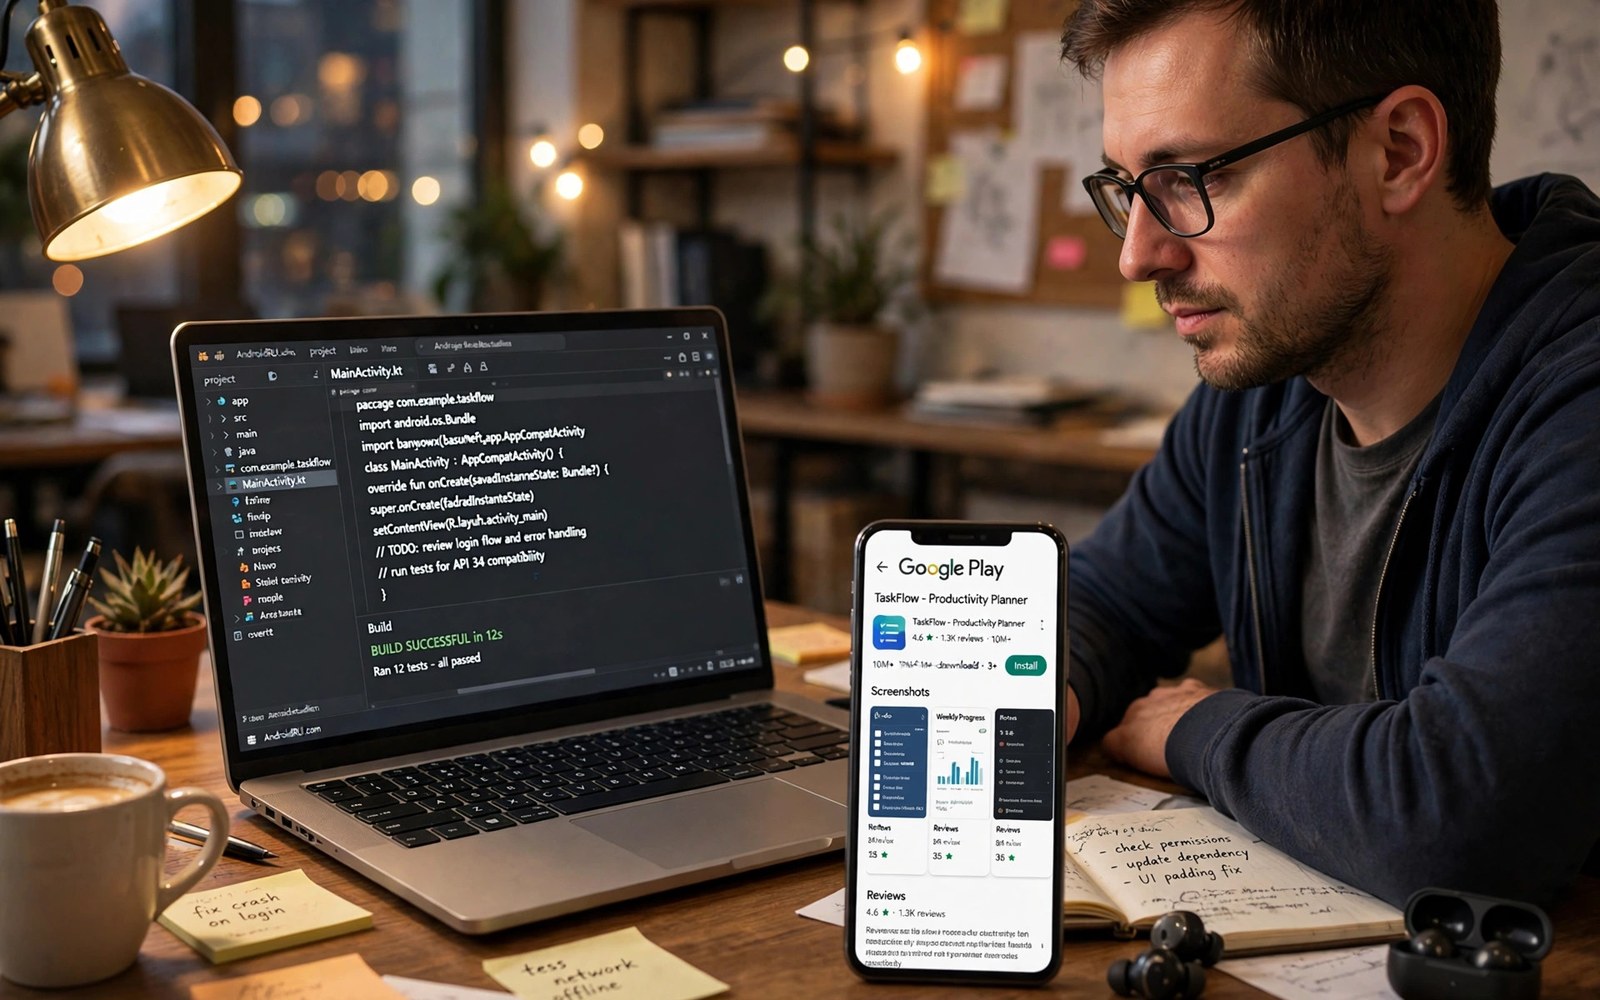
Review exists to protect users from broken apps and misleading claims and unsafe data practices. Reviewers check the app and the listing and the declarations together. A fault in any one area can block the whole release. Understanding the common faults helps you submit with confidence.
Most rejections are not mysterious. They follow patterns that many developers repeat. A broken link or a missing disclosure or a crash on startup appears again and again. A pre submission check that covers those patterns catches most problems before a reviewer ever sees them.
This article explains how review works in practice. It lists the faults that block releases most often. It also gives a fix for each fault that you can apply before resubmission. Use it as a checklist rather than as a set of guesses after a rejection arrives.
How Review Works
Review starts when you submit a release to a track. An automated check scans the bundle for crashes and for policy signals. A human reviewer may then test key flows and read the listing. The combination of automated and human checks catches different kinds of faults.
Review time varies with the app category and with the queue. A simple update may pass quickly. A new app or a sensitive category may take longer. Plan your launch date with that range in mind. Announcing a fixed launch day before approval creates pressure that leads to rushed fixes.
Crashes And Broken Flows
A crash on startup is the fastest path to rejection. Test the release build on a clean install and on an update install. Test with no network and with a slow network. A crash in any of those states signals that basic quality checks were skipped.
Broken flows also include dead buttons and empty screens and login loops. Walk through every screen as a new user with no prior knowledge. Fix any step that requires knowledge that the app never explains. A reviewer will follow the same path and will stop at the same dead end.
Misleading Listings
A listing must describe the app that reviewers can actually install. Screenshots must show real screens. Descriptions must not promise features that are missing. A feature that requires a paid upgrade must say so clearly in the listing.
Watch for wording that exaggerates performance or results. Claims about speed or accuracy or earnings need evidence that users can verify. Remove any claim that you cannot support with a test or with a clear explanation. Honest listings convert better over time because users feel less deceived after install.
Privacy And Permission Faults
Privacy faults include missing policies and mismatched declarations and unexplained permissions. A permission request must appear at the moment when the feature needs it. A request at startup for a feature that the user has not opened feels suspicious. Move the request to the feature screen and add a short explanation.
Data safety answers must match the app behavior exactly. If a library shares device data then the declaration must say so. If the policy link is broken then the whole submission can stall. Check the link and the declaration and the policy text in one pass before every submission.
Billing And Content Faults
Billing faults include unclear prices and hidden charges and missing refund information. Show the full price before the user confirms a purchase. Explain what a subscription renews and when it renews. A user who feels tricked by billing will leave a harsh review and may report the app.
Content faults include copied material and inappropriate content for the stated rating. Check images and text and user generated content rules. If users can post content then moderation tools must exist and must work. A content policy without working tools will not survive a manual review.
A Pre Submission Checklist
Run this checklist on the exact build that you plan to submit. Use a fresh device or a fresh emulator profile for the test. Record any fault that you find and fix it before submission. A checklist run takes less than an hour for most apps and it prevents days of back and forth.
Include the store listing in the checklist run. Open the listing on a phone and check every image and every link. Read the description aloud and remove any sentence that feels vague. A listing that reads clearly to a stranger will also read clearly to a reviewer.
- Install the release build fresh and test startup without network
- Walk every screen and tap every button to find dead ends
- Check permission prompts at the moment each feature needs them
- Open the privacy policy link from the listing and from the app
- Verify prices and subscription terms before any purchase screen
- Read screenshots and descriptions for claims you cannot prove
Reading A Rejection Notice
Read the rejection notice slowly and identify the rule and the location that it names. Many notices point to a specific screen or a specific policy section. That detail is the fastest route to a fix. Do not guess at a different cause while the notice already names the real one.
If the notice feels unclear then reproduce the cited behavior on a test device. Take screenshots of the fault and of the fix. A clear before and after record helps you confirm the fix. It also helps if you need to explain the fix in a resubmission note.
Resubmit With A Clear Fix
Fix the root cause rather than the surface symptom. If a permission was unexplained then add the explanation and move the prompt. If a claim was misleading then rewrite the listing and remove the claim from screenshots too. A partial fix that leaves the same claim in an image will fail again.
Write a short resubmission note that states what changed and where the reviewer can verify it. Name the screen and the build number. Keep the tone factual and polite. A clear note speeds the second review because the reviewer can go straight to the fixed area.
Automated Checks Before Human Review
Automated checks scan for crashes and for malformed bundles and for obvious policy signals. Run the same kind of checks locally before submission. Build the release bundle and install it fresh on a test device. Watch startup and watch the first screens for errors.
Automated checks also read the listing for broken links and for missing fields. Open every link in the listing from a phone. Confirm that each required field is complete. A complete listing passes the automated stage faster and reaches human review without avoidable delays.
Testing On Many Devices
Reviewers may test on a device that differs from your own phone. Test on at least one phone with a small screen and one with a large screen. Test on an older operating system version that your app still supports. Layout faults and permission faults often appear only on one configuration.
Use cloud device testing when you cannot buy every model. Focus on the models that your analytics show as most common among your users. Fix layout faults that affect a large share of users first. A fault on a rare device matters less than a fault on a popular device.
Handling Sensitive Content
Sensitive content rules cover more than explicit material. They cover gambling mechanics and user generated content and health claims. Read the content rules for your category before you design a feature. A feature that seems harmless can fall under a rule that you did not consider.
If users can upload content then build moderation before launch. Provide a report button that users can find easily. Act on reports within a reasonable time. A moderation system that exists only on paper will fail when a reviewer tests it with a report.
Fixing Store Listing Faults
Listing faults are among the easiest rejections to fix. Replace any screenshot that shows an old interface. Rewrite any sentence that promises a feature that is not yet live. Remove any image that uses a brand or a logo that you do not own.
Check the listing on a phone after every edit. A title that looks fine on a desktop can truncate on a phone. A screenshot that looks sharp on a large screen can look crowded on a small screen. A final phone check catches presentation faults that desktop editing hides.
Communicating With Reviewers
Reviewers work from the information that you provide. Give them a test account and clear steps for any gated feature. Describe the fix in a resubmission note with screen names and build numbers. A reviewer who can verify a fix quickly will decide faster.
Keep all communication factual and respectful. Avoid long explanations about your business model when the notice asks about a specific screen. Answer the specific question first. Add background only when it helps the reviewer understand the fix.
Learning From Each Rejection
Record every rejection with the rule and the fix and the time to resolve it. Review that record each quarter for patterns. A repeated cause signals a gap in your pre submission checklist. Add a check for that cause so the same fault does not return.
Share rejection lessons with the whole team without blame. A lesson that stays with one developer will not prevent the same mistake by another developer. A shared record turns a painful rejection into a team asset. Over time the record should show fewer repeats and faster fixes.
A Final Review Pass
Make a final pass on the day before submission. Install the release build on a clean device and use it as a new user. Note any crash or dead end or confusing prompt. Fix faults in order of user impact rather than in order of ease.
Read the listing one last time on a phone screen. Check images and links and prices. Ask a colleague to read the description without context. If the colleague understands the app purpose quickly then the listing is ready for reviewers.
- Install the release build fresh and test core flows
- Check all links in the listing and inside the app
- Check permission prompts and privacy disclosures
- Check prices and subscription terms carefully
- Read the listing aloud for misleading claims
Building Review Readiness Into Development
Treat review readiness as a development task rather than as a release task. Add a review check to the end of each feature ticket. Ask the developer to confirm testing and disclosure and listing impact before marking the ticket done. Early checks spread the work across the project.
Keep a review readiness document that grows with the app. Note sensitive features and test accounts and known limits. Share that document with every new developer on the project. A living document makes each submission faster than the previous one.
For reference the snippet below shows a small set of checks that mirror the most common rejection areas.
enum class ReviewCheck {
    STARTUP,
    PERMISSIONS,
    PRIVACY_LINK,
    BILLING,
    LISTING_CLAIMS
}
fun runChecks(build: String) {
    for (check in ReviewCheck.values()) {
        println("Checking $check for $build")
    }
}
For more context read app store listing optimization for higher keyword rankings and Android app subscriptions refunds and billing APIs. You may also find Google Play target API level requirements helpful for your next release.
The steps above follow the approach described in the official developer documentation for this platform. That guidance explains the same sequence in general terms. This article adapts those ideas into a practical workflow for independent developers and small teams.

