

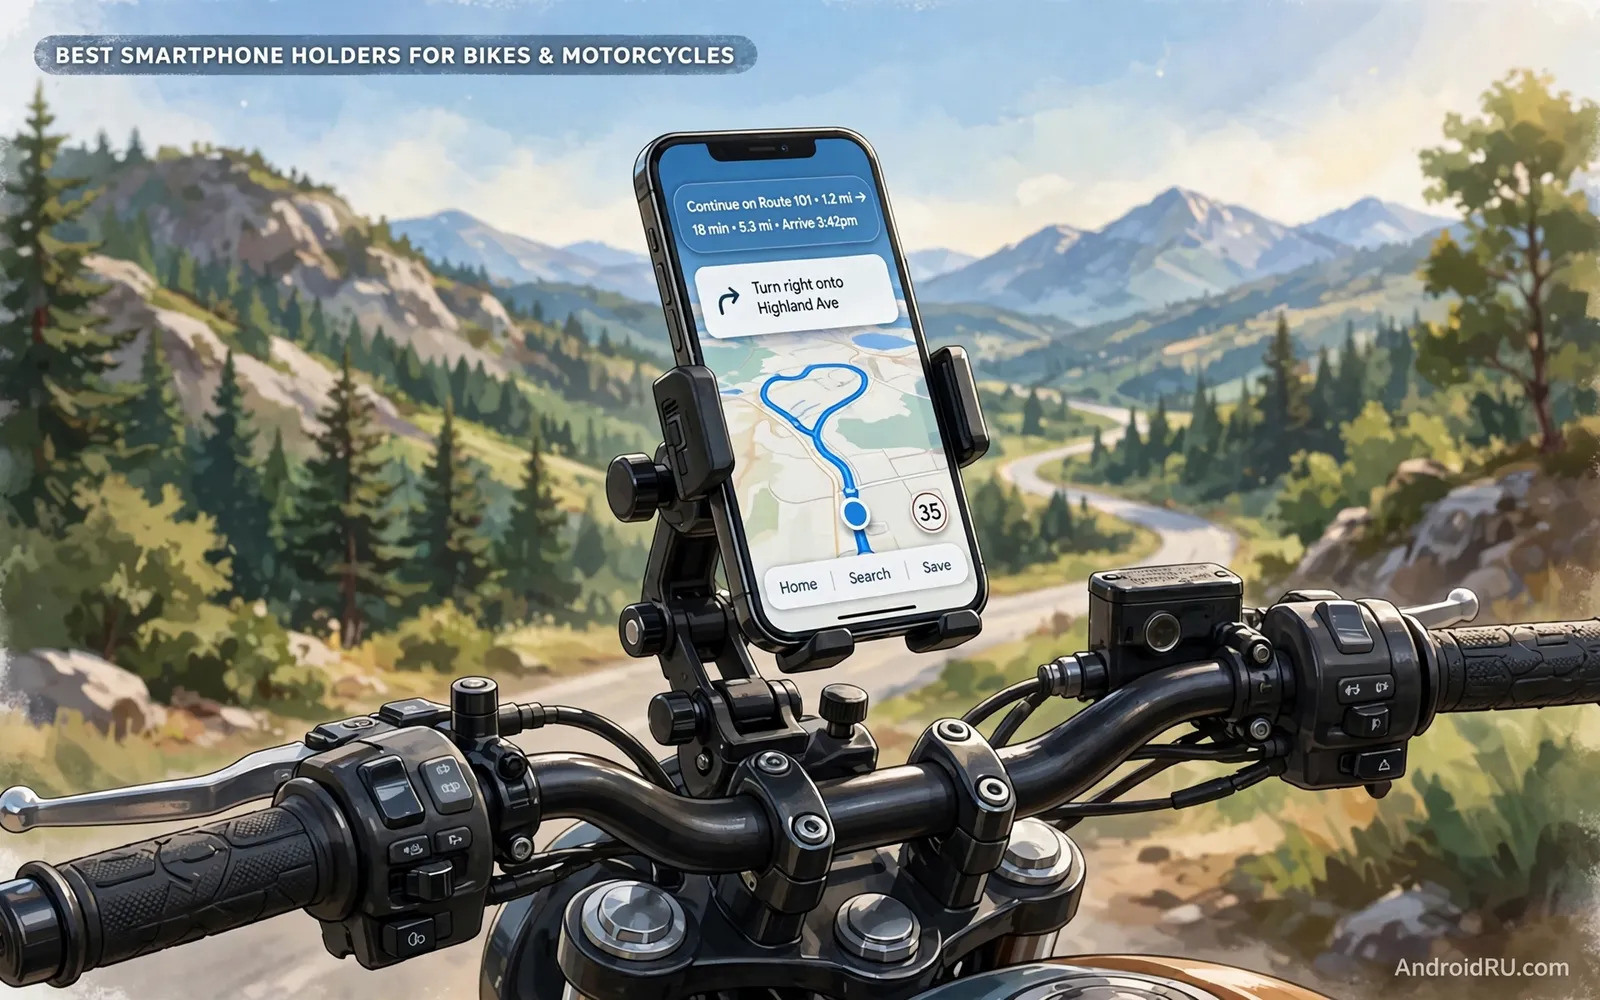
Why A Proper Mount Matters On Two Wheels
A phone in a pocket cannot show navigation and a phone held in a hand cannot be used safely on a bike or a motorcycle. A proper holder fixes the phone where the rider can glance at directions without losing control. Vibration is the hidden enemy because constant shaking blurs the screen and loosens weak clamps and can damage camera stabilisation over time. Weather adds rain and dust and sun glare. A mount designed for a desk or a car will not survive those forces for long and a failed mount at speed can destroy a phone or distract a rider at a dangerous moment.
Safety must come before convenience in every mounting decision. The phone should sit where a quick glance works without turning the head far from the road. Controls should be reachable without fumbling. The mount should hold firmly over bumps and potholes and should release quickly when the rider stops. Riders should set the route before moving and should pull over safely to change destinations or answer messages. No navigation benefit justifies handling a phone while riding in traffic. Readers building a car setup as well can explore car mounts and wireless charging holders for Android to compare vehicle mounting ideas.
Mount Types And Where They Fit
Handlebar mounts clamp to the bar and suit most bikes and many motorcycles. They place the phone centrally and keep it accessible but they expose it to vibration and weather directly. Stem mounts sit above the headset and suit cyclists who want a centred low profile view. Mirror mounts attach to motorcycle mirror stalks and suit bikes with limited bar space. Tank mounts use a magnetic or suction base on a metal tank and suit touring riders but they must never block fuel access or instrument view. Fork stem mounts suit sport motorcycles with a hollow steering stem. Each position changes glare and reach and vibration so test the position stationary before riding.
Clamp design decides security more than brand language does. A four corner claw or a full frame grip holds better than a simple spring clip on rough roads. A locking mechanism prevents accidental release on a hard bump. Silicone pads protect the phone edges and reduce vibration transfer. A tether or safety cord adds a second layer of protection on motorcycles where a lost phone cannot be retrieved safely. Check compatibility with your phone case because a thick rugged case may not fit a mount designed for a bare phone. Remove the case or choose a mount sized for the cased phone rather than forcing a tight fit.
Vibration Weather And Charging On The Move
Vibration damping has become a serious feature for motorcycle mounts because modern phone cameras use delicate stabilisation mechanisms. A mount with a damping module absorbs high frequency engine vibration before it reaches the phone. Riders who notice camera focus problems after long rides should take damping seriously and should consider a damped mount for future trips. Cyclists face lower frequency bumps from roads and trails and a secure clamp with padding often suffices. Either way a mount should be checked for looseness at every stop during the first rides because new clamps can settle.
Weather protection ranges from a simple rain cover to a fully sealed case mount. A sealed case protects against rain but can trap heat and can muffle the speaker and can make touch response less precise. An open mount with a quick rain cover gives flexibility for mixed weather. Charging on the move helps navigation on long rides but a cable flapping in wind can snag and a wireless charging mount simplifies the setup. Readers planning powered mounts can review car chargers with dual fast charging ports for power ideas that also inform motorcycle charging choices. Keep cables routed away from steering movement and brakes at all times.
- Handlebar mount for central navigation on most bikes
- Mirror mount when handlebar space is limited on motorcycles
- Damped mount to protect camera stabilisation on long rides
- Sealed case or quick rain cover for wet weather riding
- Safety tether as a second layer against loss at speed
Setting Up Navigation For A Safe Ride
Download offline maps for the route before departure so navigation survives signal gaps in rural areas. Set audio directions through a helmet headset or a single earbud where local law allows it so glances at the screen become confirmations rather than primary guidance. Increase screen brightness for daylight riding but balance brightness against battery drain on long days. Lock the screen orientation to avoid sudden rotation on bumpy roads. Place the phone where sun glare is lowest for your usual riding direction and consider an anti-glare protector if reflections remain a problem.
Test the complete setup on quiet roads before a long tour. Ride over varied surfaces and check whether the phone shifts or rotates or vibrates excessively. Check whether the mount interferes with steering lock or brake levers or clutch operation at full turn. Check whether gloves operate the screen adequately or whether voice control must handle most interactions. A short test ride reveals problems that a stationary fitting cannot show and it builds confidence before traffic and navigation demands increase together.
Legal And Practical Rules For Riders
Local road rules vary on phone use while riding and riders must follow the law where they ride. Many places prohibit holding a phone while riding even when stopped at lights and many places restrict screen interaction while moving. A mounted phone used only for navigation glances sits in a different category from a handheld phone but riders should still minimise interaction. Pull over safely for calls and messages and route changes. Insurance and liability consequences can follow a crash involving phone distraction so the safest habit is also the most legally sensible habit.
Theft protection matters at stops because a mounted phone is visible and tempting. Remove the phone at every stop in urban areas or use a mount with a quick release that makes removal effortless. A mount left empty still signals that a phone may be nearby so consider removing the mount itself on long parking stops when practical. Keep the phone in an inside pocket rather than a top box during long stops in busy areas. Small habits protect an expensive device far better than hoping that a thief overlooks it.
Choosing A Holder And A Final Checklist
Choose by vehicle first and by phone and case second and by ride length third. A commuter cyclist needs a light secure mount and weather cover. A touring motorcyclist needs damping and charging and a larger viewing position. An off-road rider needs maximum grip and a tether and a rugged case. Read experiences from riders with the same vehicle type because a mount that excels on a smooth touring bike may struggle on a single cylinder commuter with strong vibration. Price alone does not predict damping or clamp quality.
Readers curious about how magnetic mounting affects charging can explore how magnetic mounting systems impact wireless charging before combining magnets and wireless power on a bike. That background helps avoid a setup where the mount and the charger fight each other. Buy the mount that fits your vehicle and your case and your rides and test it thoroughly before trusting it on a long journey.
- Match mount type to your vehicle and handlebar or mirror layout
- Confirm fit with your phone case fitted and gloves on
- Add damping for motorcycles and a tether for high speed rides
- Test on quiet roads over varied surfaces before a tour
Riding Comfort And Long-Distance Mount Use
Long rides test a mount differently from short commutes because vibration and weather accumulate over hours. A clamp that feels firm for twenty minutes may loosen after three hours of rough roads. Check mount tightness at fuel stops and rest stops during long tours. Carry a small tool for the mount clamp when the design requires one because roadside adjustments without tools frustrate riders. A mount that survives a tour without attention earns trust while a mount that needs constant retightening becomes a distraction that undermines safety.
Rider comfort interacts with mount position over distance. A phone placed too high forces the neck upward while a phone placed too low forces constant downward glances. The ideal position allows a quick glance with minimal head movement while keeping the road in peripheral view. Gloves affect interaction because thick winter gloves struggle with small on-screen buttons. Voice directions reduce glove interaction dramatically. Plan routes with audio guidance as the primary aid and screen glances as confirmation rather than relying on constant screen reading.
Night riding adds glare and visibility considerations. A bright phone screen in darkness can ruin night vision for seconds after each glance. Reduce screen brightness at night to a comfortable level and use audio directions more heavily. A mount with a slight shade or an anti-glare protector helps when streetlights reflect off the screen. Reflective gear and lights matter far more than phone setup for night safety but a well adjusted screen prevents the phone itself from becoming a hazard after dark.
- Check mount tightness at every fuel and rest stop on tours
- Carry the small tool a clamp design requires for roadside adjustment
- Position the phone for a quick glance with minimal head movement
- Use audio directions as primary guidance and screen as confirmation
- Reduce screen brightness at night to protect night vision
Group Rides And Mount Communication
Group rides add communication needs that a single mount cannot solve alone. Riders in a group should agree on a route and on regroup points before departure because a separated rider with only a mount and no plan can make poor decisions under stress. Intercom systems help groups stay together but they add cost and pairing complexity. A simple plan with agreed stops works reliably without electronics. The mount shows navigation while the plan keeps the group coherent when signal fails or a rider misses a turn.
Fuel and rest planning matters on group rides because different bikes have different ranges. Plan fuel stops around the smallest tank in the group rather than assuming every bike matches. Rest stops give every rider a chance to check mounts and phones and hydration. A group that plans around its weakest range and its slowest rider arrives together and relaxed. A group that races ahead fragments quickly and turns a social ride into a stressful chase. Good planning makes mounts useful rather than necessary for rescue navigation.
- Agree route and regroup points before any group ride departs
- Plan fuel stops around the smallest tank in the group
- Use rest stops to check mounts phones and hydration together
- Keep the group coherent rather than racing ahead alone

