

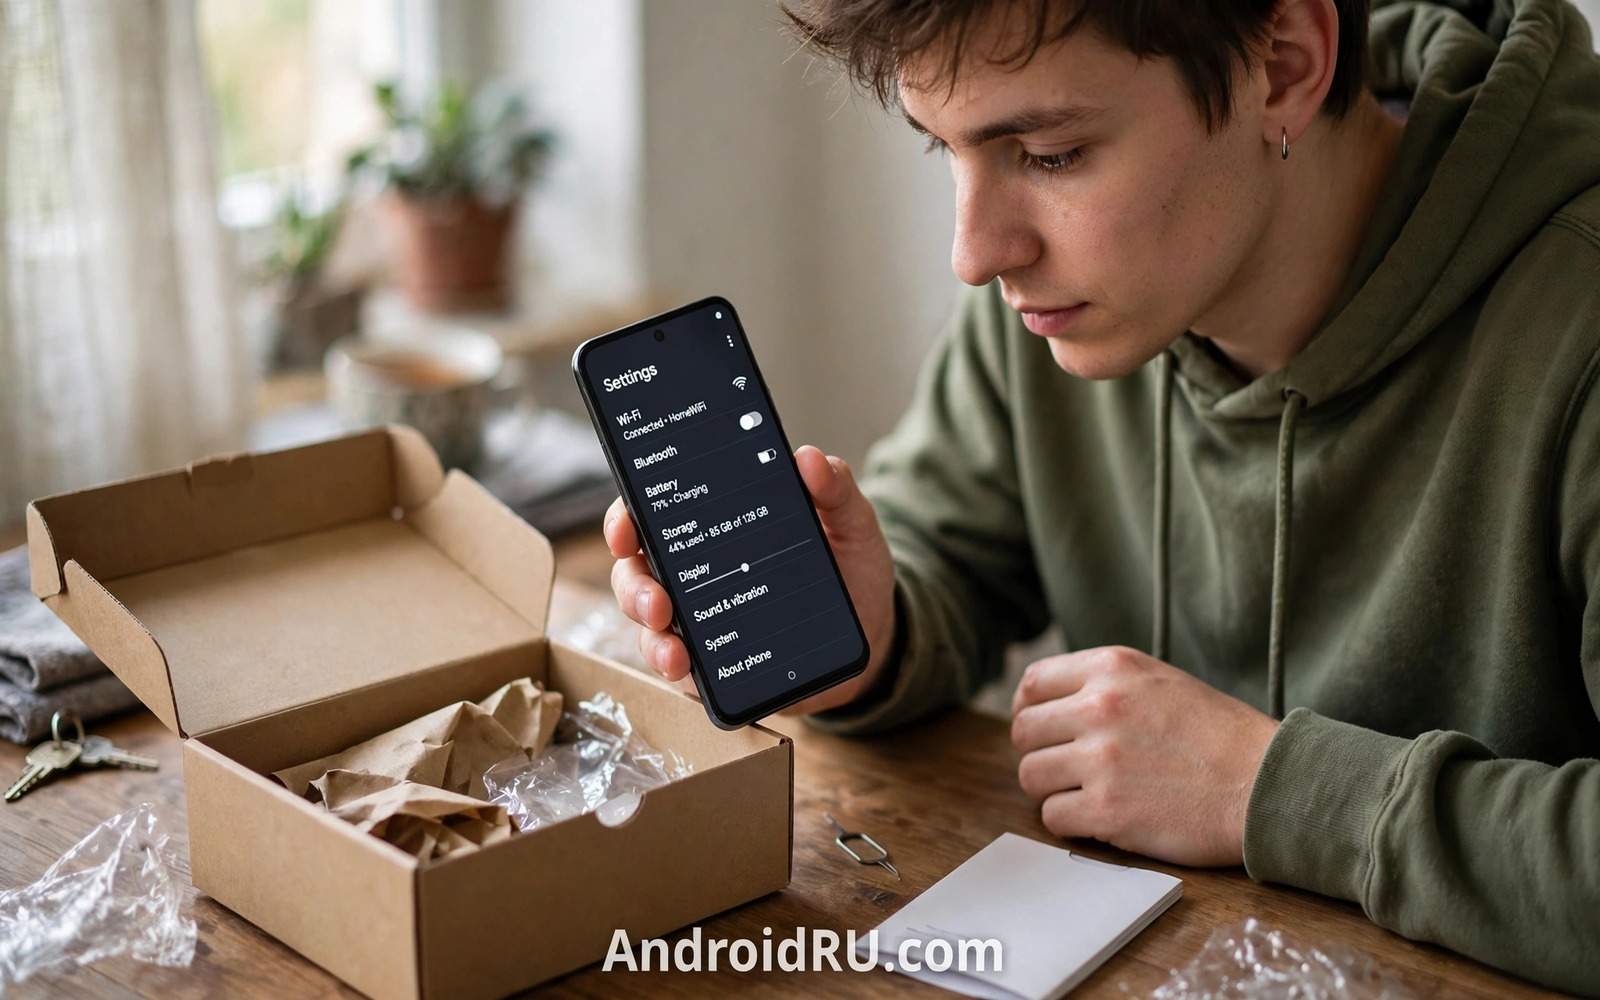
7 Settings You Must Verify Immediately After Buying Any Android Phone
A new phone feels perfect out of the box. The screen is bright and the battery lasts all day. Behind that polish sit default settings that favour data collection, background activity, and the maker’s own apps. Those defaults shape your privacy and your battery life for years when left alone, and day one is the cheapest time to fix them.
Setup wizards rush you past the important choices. A few taps to accept terms and bring back an old backup can hide permission grants, location history, and cloud uploads. This guide lists seven settings to verify before you install your daily apps, each taking a few minutes and preventing a common regret.
Why Day One Settings Decide Your Phone’s Next Two Years
Defaults are not neutral. A phone maker earns money from services, ads, and data, so the out-of-box settings usually turn those things on and bury the privacy-friendly choice two menus deep. The settings you accept on day one become the baseline for every app you install later.
Timing matters because habits form fast. Once your banking app, photos, and chats live on the phone, changing a lock method or backup account feels risky, so most people never do it. On day one the phone holds nothing precious yet, so a wrong tap costs nothing.
The 7 Settings at a Glance
Here is the whole list on one screen. Tick each row as you finish it.
| Setting | Where to find it | Time needed | What it protects |
|---|---|---|---|
| Screen lock and biometrics | Settings, Security and privacy, Screen lock | 5 minutes | Your data if the phone is lost or borrowed |
| System updates and security patches | Settings, System, Software update | 10 minutes | Known security flaws in shipped software |
| Privacy and ad tracking | Settings, Privacy, Ads and Location | 5 minutes | Your interests, movements, and advertising profile |
| App permissions and bloatware | Settings, Apps, Permission manager | 10 minutes | Camera, microphone, and location access |
| Backup and Find My Device | Settings, Google, Backup and Find My Device | 5 minutes | Your photos and your chance of recovery after loss |
| Battery and data safeguards | Settings, Battery and Network and internet | 5 minutes | Battery life and your monthly data bill |
| Display and accessibility | Settings, Display and Accessibility | 5 minutes | Your eyes, your comfort, and OLED battery life |
The Seven Checks, One by One
Each setting below covers what it does, who it matters for, the steps, the upside, the downside, and a verdict.
1. Screen Lock and Biometrics: Strong PIN First, Fingerprint Second
A screen lock is the one setting that protects everything else. If someone picks up your phone, the lock decides whether they see your photos, email, and banking app, or nothing at all. Set a strong six-digit PIN or a password as the primary lock before you add any fingerprint or face sign-in, because the PIN is the fallback when biometrics fail. Choose a PIN that is not a birth year, not a simple sequence like 123456, and not your bank card code.
Set it up in two minutes
Open Settings, Security and privacy, Screen lock, and choose PIN or Password. Type your new code twice, then add a fingerprint or face sign-in from the same menu. Set automatic lock to thirty seconds, so a phone left on a table locks itself. Finally, open the lock screen notification setting and hide sensitive content, so message text stays hidden while caller names still show.
The trade-off: convenience against protection
A short auto-lock costs a few extra sign-ins a day, and hidden previews mean reading messages after signing in. The trade suits almost everyone, because the one time the phone is lost, the lock is all that stands between a stranger and your digital life.
Who it is for: everyone, especially anyone with banking apps or family photos. Pros: blocks casual snooping, protects data after theft, costs nothing. Cons: a few extra sign-ins a day. Verdict: do this before anything else. If you still use factory codes anywhere else, read the guide to default passwords to replace at once while you are in a security mood.
2. System Updates and Security Patches: Install Day One, Then Automate
A new phone can ship with software months old. The box was packed and shelved while researchers kept finding flaws, so the first update often closes holes from the day the phone left the factory. Open Settings, System, Software update, and check on day one over stable Wi-Fi.
Turn on automatic security updates so protection stays current without you checking. Review the settings after each major upgrade, because a big version jump can reset them. Note the promised update lifespan too: a 2025 Pixel may promise seven years, a Samsung flagship five, a budget phone two or three.
Who it is for: everyone, most of all anyone who banks or shops on the phone. Pros: closes known flaws, costs nothing, mostly automatic. Cons: a major update can change the interface. Verdict: install the day-one update first, then let automatic updates carry the job.
3. Privacy and Ad Tracking: Turn Off Personalised Ads and Location History
Open Settings, Privacy, Ads, and switch off ad personalisation. It does not remove ads, it removes the profile behind them, so you see generic ads instead of ones built from your searches. Generic ads feel less relevant, and that is the point: they collect less about you.
Next, review location history in your Google account, under Data and privacy, Location History, and turn it off unless you use the timeline feature. Check diagnostic sharing in the same privacy menu and switch off anything you did not mean to approve: it helps makers fix crashes, but it also sends usage patterns outward.
Who it is for: anyone who dislikes being followed around the web by ads. Pros: fewer profiled ads, less movement data stored. Cons: ads become less relevant. Verdict: turn personalisation off, keep location history off unless you use the timeline weekly.
4. App Permissions and Bloatware: Revoke First, Install Second
Review default app permissions for preinstalled apps before adding your own. Some request location or contacts without a clear need, and a permission granted on day one is forgotten for a year. Open Settings, Apps, Permission manager, and walk through Camera, Microphone, and Location, revoking anything that does not match what the app does. A weather app needs location while you use it, not in the background.
Set permission defaults to ask every time for the sensitive categories, and disable or uninstall bloatware you will never use. Disabled apps stop running and updating in the background, which improves battery life and shrinks the surface an attacker can reach. Before you start switching things off, read the guide to settings never to turn on before you start switching things off.
Who it is for: anyone who installs many apps. Pros: less background drain, fewer data collectors. Cons: a disabled app can break a feature you later want. Verdict: spend ten minutes here on day one and your permission list stays lean.
5. Backup and Find My Device: Prove It Works Before You Need It
Turn on device backup and confirm the first backup completes on Wi-Fi. A backup protects you against loss and theft from day one, but only if it ran, so open Settings, Google, Backup, and check the timestamp. A backup that never ran is only a toggle, not protection.
Turn on Find My Device and test it from another device while the phone sits beside you. Open the Find My Device app or website on a laptop, sign in with the same account, and check that the phone shows up with a location. A tested tracker works when panic strikes; an untested one may fail from a missing permission. Add a recovery email and phone number for your main account in the same session.
Who it is for: everyone, especially anyone whose photos live nowhere else. Pros: photos survive a lost phone; a lost phone can be located, locked, and wiped. Cons: backups use cloud storage that may fill up. Verdict: a tested backup and a tested tracker are the cheapest insurance a phone owner ever buys. If a phone does go missing, the guide to mistakes to avoid after losing a phone explains what not to do first.
6. Battery and Data Safeguards: Adaptive Battery, Data Warning, Wi-Fi Only Updates
Open Settings, Battery, and turn on Adaptive Battery when your phone offers it. It learns which apps you actually open and limits background work for the ones you rarely touch, improving battery life across weeks rather than hours. Give it a full week before you judge it, because the first two days look no different while it is still learning.
Set a data warning at eighty percent of your monthly allowance under Settings, Network and internet, Data warning and limit. A warning prevents bill shock from a runaway app syncing video over mobile data, and set app updates to Wi-Fi only in the Play Store settings, so a 500 MB game update never eats your allowance on a bus.
Who it is for: anyone on a limited data plan. Pros: fewer surprise bills, longer battery life. Cons: Adaptive Battery can delay notifications from rarely used apps. Verdict: set the warning and the Wi-Fi-only rule on day one, then let Adaptive Battery learn for a week.
7. Display and Accessibility: Brightness, Font Size, Dark Theme
Adjust screen brightness and night mode to suit your eyes. A comfortable screen reduces strain during long reading sessions, and adaptive brightness adjusts for you as you move between rooms and sunlight. Manual brightness at maximum wastes battery and strains eyes indoors, so let the sensor do the work.
Set font size and display size for comfortable reading without squinting, under Settings, Display, Font size and Display size. Larger text reduces errors and eye fatigue, and also reduces accidental taps on tiny targets. Enable a dark theme when your screen benefits: it saves battery on OLED screens and reduces glare at night, so test it across your main apps for a day before committing.
Who it is for: heavy readers and night-time scrollers. Pros: less eye strain, better battery on OLED. Cons: a dark theme can look odd in apps that ignore it. Verdict: set brightness to adaptive, text to a size you can read without effort, dark theme on if your screen is OLED.
What Changes After a Factory Reset or a Restore
A backup restore can bring back old permissions and toggles you had already fixed. The restored phone may look new, yet it carries old choices, and restored apps may request permissions anew on first launch, so grant them one at a time. Repeat the full day-one checklist after any factory reset or major system upgrade.
Common Mistakes New Phone Owners Make
Avoid these four and the seven settings above will do their job.
Restoring every old app and permission without review
A restore copies old overreach onto a clean phone. Review permissions after a restore and revoke the ones you no longer need.
Skipping updates to keep a familiar interface
Old software carries known flaws that attackers exploit. Update first and learn the new interface second.
Keeping a weak PIN for convenience
A weak PIN undermines every other security setting on the phone. Strengthen the PIN while setup motivation is high.
Never testing Find My Device because it feels morbid
A tracker tested today saves panic tomorrow. Testing is preparation, and prepared owners recover phones that unprepared owners lose.
Frequently Asked Questions About New Android Phone Setup
Should I sign in to my Google account during setup or later?
Sign in during setup when you need to bring back a backup, contacts, and paid apps, because the restore flow works best inside the wizard. Sign in later when you want a clean review first, with no old permissions arriving before you check the settings.
Do I need antivirus on a new Android phone?
Play Protect scanning plus installing from the official app shop covers most new phones, and permission hygiene matters more than an extra scanner. Add a reputable security app only when your use involves high-risk sideloading for work.
How often should I review my Android settings?
Review settings after each major update and once a quarter for permissions. Quarterly reviews catch drift from new installs, because every new app asks for something.
Can I change these settings later, or is day one the only chance?
You can change every setting in this guide at any time, and nothing here is a one-time choice. Day one is simply the cheapest moment, because the phone holds no data yet and no habit has formed. If you bought your phone months ago, run the same checklist today.
Your Day One Checklist: Do These Before Installing Your Apps
Defaults serve makers and settings serve owners. Seven checks on day one flip that balance toward you. A new phone deserves an hour of ownership before a year of use.
Run the day-one checklist today before installing your full app library. Verify the lock, the updates, and the backup first, then work down the table row by row. When the last box is ticked, the phone is truly yours rather than merely new.

