

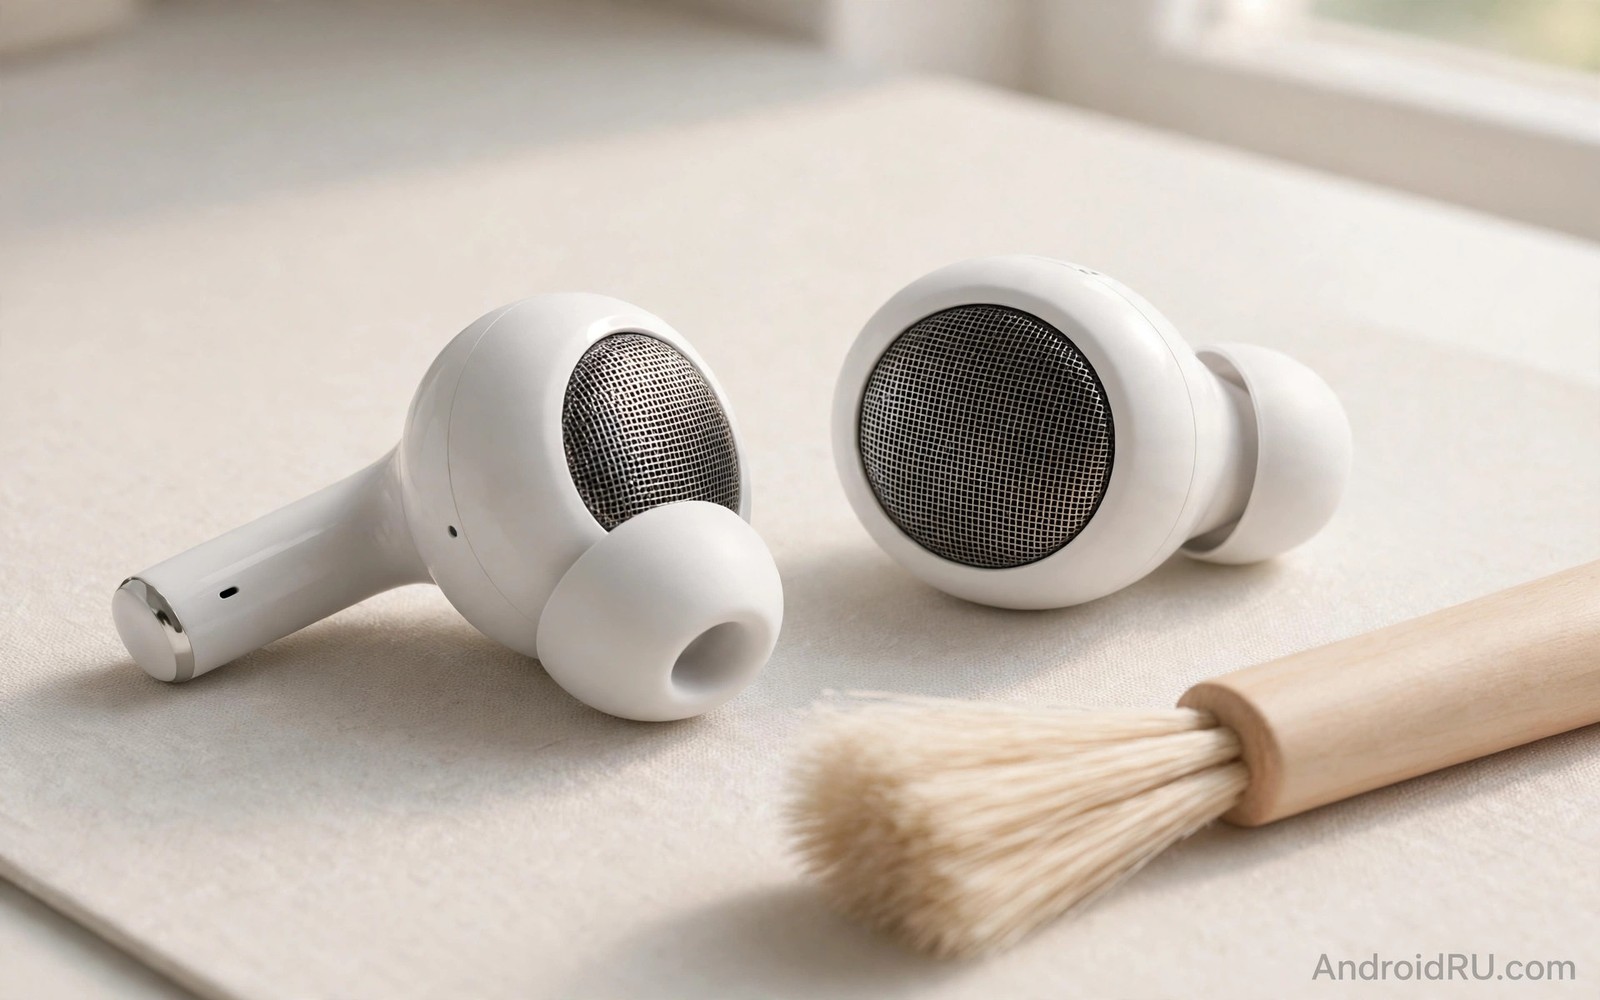
Your earbuds sound quiet even at full volume and the music feels muffled in one ear. The cause is often a thin layer of wax and dust sitting on the tiny mesh in front of the driver. That mesh is a filter and it clogs slowly so you barely notice the change day by day. Cleaning it the right way can restore clear sound in a few minutes. Cleaning it the wrong way can push dirt deeper or tear the mesh and leave the problem permanent.
Start by looking at the mesh under bright light and with a magnifier if you have one. You want to see whether the blockage sits on the surface or has sunk into the holes. Surface dust lifts easily with a dry soft brush and a short puff of air from a distance. Wax that has hardened needs patience and a different touch because scraping hard will only spread it. The goal is to lift dirt away from the mesh and never to force it through the holes.
This guide uses tools you probably already own and it avoids water and sharp metal picks. You will work in small steps and test the sound after each step so you can stop as soon as the balance returns. The same gentle method also helps when one bud sounds duller than the other after a workout. If you keep your buds clean on a regular schedule then you will rarely need a deep clean at all. A related habit is checking your charging case because a dirty case can put dust back on clean buds and you can learn more from charging case care practices before you start.
Gather the right tools before you touch the mesh
A soft dry toothbrush with fine bristles is the best main tool for this job. Add a wooden toothpick with a blunted tip and a small piece of low tack tape for lifting surface dust. A microfibre cloth helps you wipe the outer shell without scratching the finish. Keep a dry cotton swab nearby for the rim around the mesh but keep it away from the centre of the mesh itself. Never bring a needle or a pin to this job because a sharp point can puncture the mesh in one slip.
Work on a clean table with good light and put the earbuds in a small tray so nothing rolls away. Remove the silicone ear tips first and wash those tips separately with mild soap and water. Let the tips dry fully before you put them back because wet tips trap moisture against the mesh. Check the mesh again after the tips come off because tips often hide the worst buildup. A photo taken before cleaning helps you compare the result and prove that the mesh is clearer.
Dry air is safer than compressed air from a can because a can can spray cold liquid if it tilts. If you use a manual blower then hold it at least fifteen centimetres away and use short gentle puffs. The air should move dust off the surface and not drive it into the driver chamber. Stop at once if you hear a rattling sound because that can mean a loose piece of debris inside the shell. A calm slow approach beats a fast aggressive clean every time.
Clean the mesh in slow layers
Brush the mesh lightly in one direction with the soft toothbrush and tap the bud gently over the tray. The tapping lets loosened dust fall out instead of settling back into the holes. Turn the bud slightly after each pass so you cover the whole circle of mesh. Do not press the brush into the mesh because pressure bends the fine wires and changes the sound. Three light passes are better than one hard pass and you can repeat them after a sound test.
Press a small piece of low tack tape lightly onto the mesh and peel it straight back to lift surface wax. Use a fresh piece of tape for each bud and for each repeat so you do not press old dirt back down. If wax stays stuck then warm the bud slightly by holding it in your closed hand for a minute. Body heat softens wax just enough for tape to lift it without any liquid. This step is slow and it rewards patience with a cleaner mesh and a safer driver.
For a stubborn spot you can use the blunted wooden tip to nudge the edge of the wax sideways. Work only on the outer edge of the mesh and never dig into the centre holes. Wipe the wooden tip on the cloth after every touch so you do not spread wax to a clean area. Test the sound with a simple track that has clear bass and clear vocals. If the two buds now sound balanced then stop cleaning and do not chase a perfect looking mesh at the cost of damage.
Use a simple check to confirm the result
Play the same song at the same volume before and after cleaning and listen for balance and detail. A good test uses a track with a steady vocal and a simple drum pattern. Switch the buds between ears to check whether the problem follows the bud or stays with your ear. That simple switch saves you from cleaning a healthy bud when the issue is hearing or fit. Write down the result in a note so you can track how fast buildup returns for your own use.
A short log also helps you set a cleaning interval that fits your routine. People who train daily may need a quick brush once a week. People who use buds only at a desk may need one only once a month. The interval matters less than the habit because regular light cleaning prevents the hard wax layer that needs a deep clean. Pair this habit with a check of your audio settings because a quiet bud can also come from a balance setting and quiet earbud audio fixes covers that side of the problem.
earbud_clean_checklist.txt
Left bud brushed and tapped
Right bud brushed and tapped
Tape lift repeated with fresh tape
Sound test with same track
Tips washed and fully dried
The checklist above is an original example written for this guide. It gives you a short record to follow so you do not skip a bud or repeat a step on a clean mesh. Tick each line as you finish it and stop when the sound test passes. The list is a memory aid and not a repair manual for a damaged driver.
Store the buds in a clean case after the check and keep the case free of pocket lint. A case pocket in a bag collects dust that transfers straight to the mesh. Shake the case out once a week and wipe it with a dry cloth. Small care steps like this protect the work you just did and keep the sound stable for longer. Your ears also benefit because a clean mesh reduces the urge to raise the volume to hear muffled music.
Common mistakes
The most common mistake is using water or alcohol directly on the mesh. Liquid can carry wax deeper into the driver and it can leave residue when it dries. Another mistake is using a metal pin to poke holes clear because one slip can tear the mesh and change the tuning. A third mistake is cleaning only the loud bud and ignoring the quiet one until the gap becomes obvious. Clean both buds every time so you keep a balanced pair and a fair sound test.
People also damage buds by cleaning them while they are still wet from a workout. Sweat softens wax and makes it smear across the mesh instead of lifting off. Let the buds dry at room temperature first and then brush the dry residue away. Do not use a hair dryer on high heat because heat can warp the shell and affect the battery. Room temperature drying is slower but it is the safe choice for small sealed electronics.
A final mistake is replacing a mesh problem with a volume problem by turning the sound up to mask muffled audio. Loud playback can strain your hearing and it hides a fixable blockage. Clean first and then judge the volume at a normal level. If the sound stays muffled after a careful clean then the driver or the mesh may need professional service. Knowing when to stop is part of good care and it protects both the buds and your ears.
FAQ
How often should I clean earbud mesh grills?
Clean the mesh lightly once every two to four weeks for normal daily use. Increase the frequency to once a week if you train with the buds or work in a dusty place. A quick brush takes less than a minute per bud and it prevents hard buildup. Stop and do a fuller clean only when the sound balance changes or the mesh looks visibly blocked.
A schedule that is too frequent can also cause wear if you brush hard every day. Light pressure and a soft brush make frequent cleaning safe. Watch the mesh rather than the calendar and clean when you see dust. That visual cue keeps the routine honest and simple.
Can I use alcohol wipes on the mesh?
Do not use alcohol wipes directly on the mesh because liquid can push wax inward and leave the driver damp. Use a dry brush and dry tape for the mesh itself. You can wipe the outer plastic shell with a slightly damp cloth if you keep moisture away from the holes. Let the shell dry fully before you put the tips back on. Dry methods protect the driver and still remove most surface buildup.
If a manufacturer guide for your exact model allows a specific cleaning fluid then follow that guide. Generic advice cannot override a model specific warning. When in doubt choose the dry method and seek professional help for a stubborn blockage. A safe clean that leaves a little dust is better than a risky clean that damages the driver.
Why does only one earbud sound quiet?
One bud often collects more wax because ear shape and fit differ from side to side. The quiet bud may also sit deeper in the ear and pick up more moisture during a workout. Clean both buds and swap them between ears to test the result. If the quiet sound follows the bud then the mesh is the likely cause. If it stays with the same ear then fit or hearing may explain the difference.
Check the ear tip size as well because a poor seal can make one side sound thin. Try a different tip size on the quiet side and test again. A good seal improves bass and balance without any extra volume. Combine a clean mesh with a correct tip size for the best result and consider studio sound tips for cheap wireless earbuds if you want more sound quality from a budget pair.
Conclusion
A clean mesh restores clarity and balance without new hardware or risky tricks. Dry tools and light pressure protect the driver while tape lifts the wax that a brush leaves behind. Regular light cleaning beats a rare aggressive clean and it keeps your volume at a safer level. The method in this guide works best when you test the sound after each step and stop as soon as balance returns.
Your concrete next step is to remove the ear tips tonight and brush both meshes lightly over a tray. Test the same track before and after and note which bud improved. If both buds sound balanced then set a weekly reminder for a quick brush. If one bud stays quiet after a careful clean then book a professional check instead of pushing harder with a sharp tool.

