

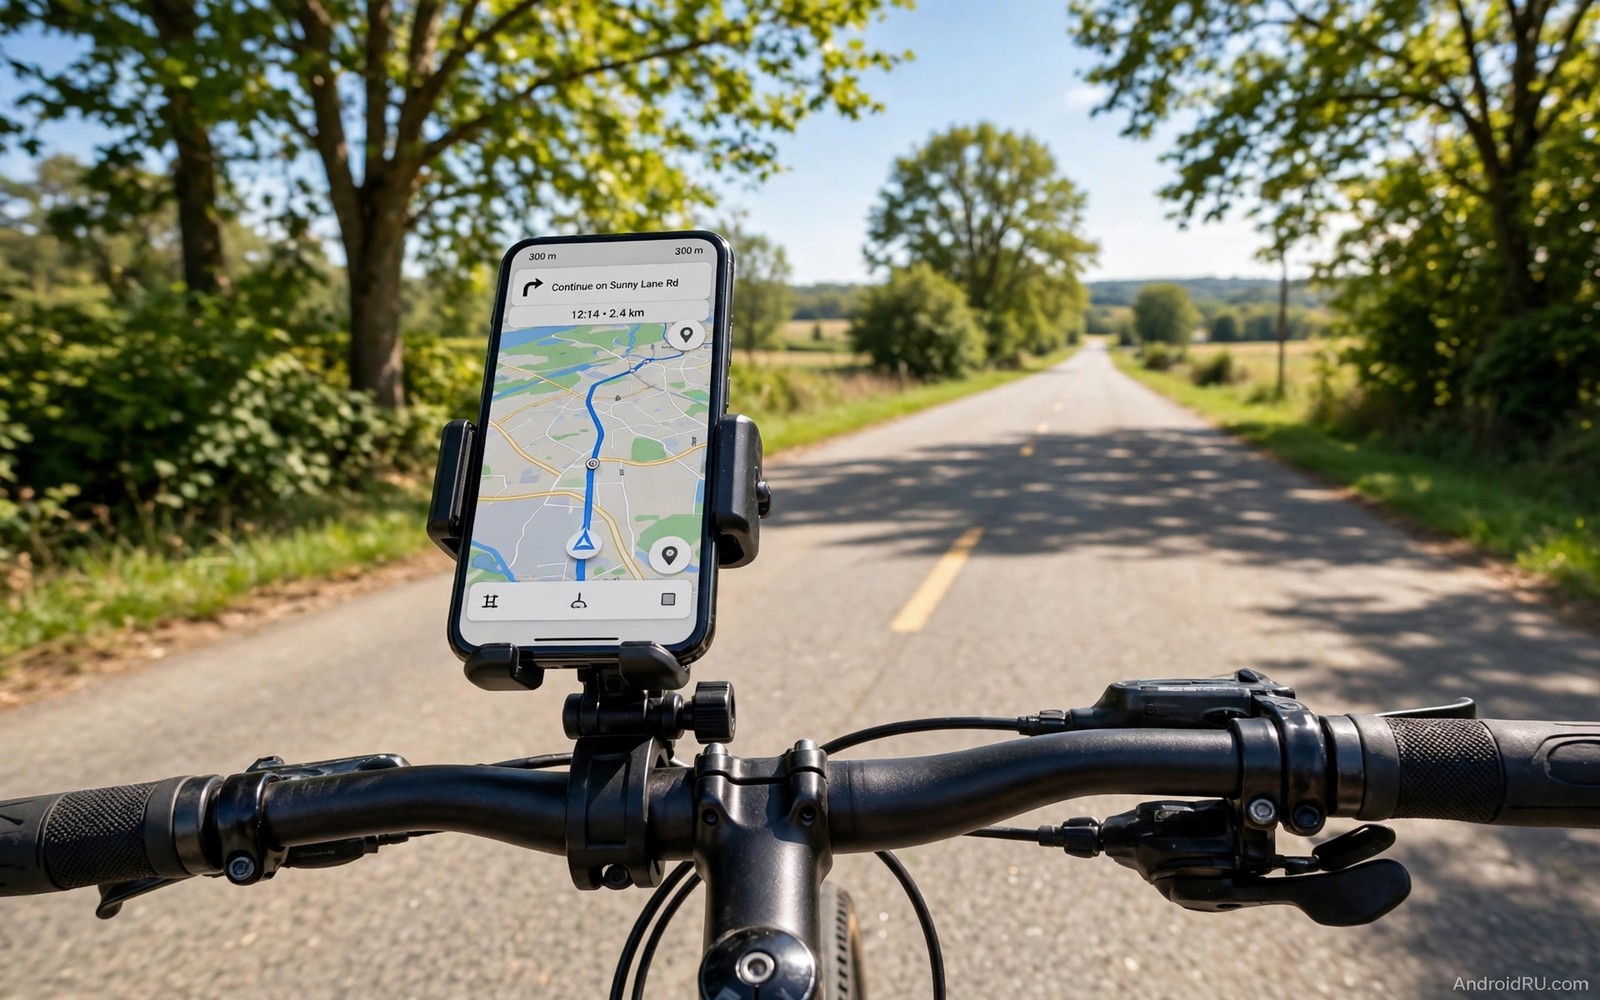
A phone falling from a bike mount is more than an annoyance because it can break a screen and create a hazard on the road. Many mounts look strong in a shop yet fail on a rough path or a fast descent. Vibration and rain and bumps test a mount in ways that a static display cannot. Choosing a mount with a real locking design and a correct bar fit prevents most falls. This guide explains what to check before you trust a mount with your phone.
The first factor is bar diameter because handlebars vary across road bikes and mountain bikes and city bikes. A mount with a fixed clamp may fit one bar and slip on another. A mount with adjustable shims or a flexible clamp fits a wider range of bars. Measure your bar diameter with a simple ruler or a tape before ordering. A correct fit is the foundation for every other safety feature. A loose clamp will slip no matter how good the phone holder looks.
The second factor is the phone holder design itself. A holder with four corner grips and a locking lever holds better than a holder with only two side arms. A holder with a silicone net or a safety strap adds a backup layer for rough rides. A holder that blocks the phone camera or buttons may tempt you to adjust it while riding. Choose a holder that leaves buttons accessible and the screen visible without a risky reach. For car mount lessons that apply to bikes see best magnetic car mounts tested for hold design ideas.
Choose a mount for your riding style
A city rider needs a mount that is easy to attach and remove at stops. A quick release mount suits short trips and frequent parking. A road rider needs a mount that stays stable at speed and in wind. An aerodynamic low profile mount reduces vibration and wind drag. A mountain rider needs the strongest lock and a backup strap for jumps and rough trails. Match the mount strength to the roughest ride you actually do and not to the calmest ride you imagine.
Material choice affects durability in sun and rain. A metal mount lasts longer and resists vibration fatigue better than a thin plastic mount. A quality plastic mount with metal reinforcement can also work well for city use. Check the clamp bolt quality because a soft bolt can strip and loosen over time. A mount with a stainless bolt and a locking nut holds its setting longer. Inspect bolts monthly and tighten them before a long ride.
Phone size and case thickness affect holder fit. A holder rated for a slim phone may fail with a thick rugged case. Measure the phone with its case on and compare it with the holder range. A holder that fits tightly without forcing the case is ideal. A holder that needs force to close may crack over time. Test the holder with your exact phone and case combination before a ride. That test is more valuable than any generic size claim.
Fit the mount correctly on the bar
Place the mount near the stem where the bar is straight and stable. Avoid curved sections near grips because a clamp on a curve can slip sideways. Clean the bar surface before fitting so dust does not reduce grip. Tighten the clamp evenly and check for movement by pushing the mount firmly. A correctly fitted mount should not rotate when you push it with moderate force. If it rotates then add a shim or choose a different clamp size.
Angle the phone for a quick glance without tilting your head far down. A phone angled too low forces you to look away from the road for too long. A phone angled too high catches glare from the sun. Set the angle while stationary and lock it firmly. Test the angle on a short quiet ride before a busy road. A good angle lets you check navigation with a brief eye movement and keeps attention on traffic.
Route the charging cable if you use one so it does not snag on steering. A cable that pulls tight during a turn can yank the mount. Use a short cable and a small clip to keep it close to the bar. Test full steering movement while stationary to confirm the cable stays slack. That stationary test prevents a surprise pull during a real turn. Safety checks done at home protect you on the road and for weather protection see accessories that protect phones from outdoor drops for case and pouch ideas.
Test vibration and weather before a long ride
Ride a short rough path near home and watch the phone for movement. A good mount keeps the phone steady over small bumps. A poor mount lets the phone vibrate so much that the screen becomes unreadable. Vibration also loosens clamps over time so check the clamp after the test ride. A mount that passes a short rough test is likely to pass a longer ride. A mount that fails a short test will not improve on a longer route.
Rain changes grip and visibility in ways that dry tests miss. A wet holder can let a phone slip more easily. A rain cover or a waterproof case adds grip and protects the phone. Test the mount in light rain if you ride in wet conditions regularly. Check that rain does not pool on the screen and block navigation. A small visor or a tilted angle can reduce rain pooling on the screen.
Heat and cold also affect plastic mounts and adhesive pads. A mount left in hot sun may soften and loosen. A mount in cold weather may become brittle. Store the bike in shade when possible and inspect the mount before each ride. A quick inspection takes seconds and catches a cracked holder before it fails. That inspection habit is the cheapest insurance for your phone.
bike_mount_check.txt
Bar diameter measured and shim fitted
Clamp tight and no rotation
Phone holder locked with case on
Angle set for quick glance
Backup strap attached for rough rides
The checklist above is an original example written for this guide. It gives you a pre ride check that takes less than a minute. Complete it before every long ride and after any mount adjustment. A passed checklist means the mount is ready for the road.
Carry a small tool for clamp adjustment on long rides. A multi tool with the correct size for your mount bolt fits easily in a saddle bag. Tighten a loose clamp at a safe stop and not while riding. A safe stop for a quick fix is better than a risky ride with a loose mount. Small tools and small checks keep a good mount safe for years.
Add a safety tether for rough rides
A safety tether is a cheap backup that catches a phone if the main holder fails. Attach one end to the phone case and the other end to the handlebar or a bag strap. A tether should be short enough to prevent the phone hitting the ground. It should also be long enough to allow normal viewing and steering. That balance makes a tether useful without being annoying on every ride.
Test the tether on a quiet path before a rough trail. Pull the phone gently from the holder and check that the tether holds its weight. Check that the tether does not snag on brake levers during steering. A tested tether gives confidence on descents and on rough surfaces. Pair it with good screen protection and you can learn about choosing a tempered glass screen protector for extra fall safety.
Common mistakes
The most common mistake is buying a mount without measuring bar diameter. That mistake leads to a clamp that slips or cannot close. Another mistake is trusting a mount with no locking lever for rough rides. A friction only holder may work on smooth roads and fail on trails. A third mistake is mounting the phone where it blocks a bell or a brake lever. Safety controls must stay accessible at all times.
People also overload a mount with a heavy phone and a thick case and a battery pack. That weight increases vibration and lever force on the clamp. Keep the mounted load light and charge the phone before the ride when possible. A light load is easier to hold and easier to read. If you need extra power then use a frame bag for the bank and a short cable to the phone.
A final mistake is adjusting the mount while riding to fix angle or slip. That adjustment takes eyes and hands away from steering. Stop safely before any adjustment. A stopped fix takes a minute and a riding fix risks a fall. Make stopping a firm rule for mount adjustments and for navigation changes that need more than a glance.
FAQ
What is the safest handlebar mount design for rough trails?
A mount with a metal clamp and a four corner locking holder is safest for rough trails. Add a silicone safety strap as a backup layer. That combination holds through jumps and drops better than a simple side arm holder. Test the combination on a short rough path before a long trail. A passed test gives confidence for the full ride.
Check the clamp after each rough ride because vibration can loosen bolts over time. Tighten bolts at a safe stop if you notice movement. A mount that is checked regularly stays safe longer. A mount that is never checked can fail without warning on a rough descent.
Can I use a phone mount in rain?
Yes if the mount and phone protection suit wet conditions. Use a waterproof case or a rain cover for the phone. Check that the holder grip stays firm when wet. Some holders slip more on a wet case surface. Test in light rain before a long wet ride. A tested wet setup is safer than an assumed dry setup.
Wipe the holder and case dry after a wet ride to prevent corrosion on metal parts. Dry the clamp bolt area as well. Regular drying extends mount life and keeps grip reliable. A dry mount is ready for the next ride without hidden rust.
Should the mount go on the handlebar or the stem?
A handlebar position near the stem works for most riders because it is stable and visible. A stem mount can work if your stem design allows a secure clamp. Check stem shape and bolt access before choosing a stem mount. A handlebar mount is more universal and easier to fit. Choose the position that gives a clear glance without blocking controls.
Test both positions if your bike allows it and your mount supports it. A short ride with each position reveals glare and reach differences. Choose the position that feels natural and safe. A natural position reduces the urge to adjust while riding. That comfort improves safety on every ride.
Conclusion
A secure bike mount starts with a correct bar fit and a locking holder design. Metal clamps and backup straps add safety for rough rides. Correct angle and cable routing keep navigation readable without distraction. Regular checks catch loosening before a fall. Those basics matter more than a flashy mount design or a low price.
Your concrete next step is to measure your handlebar diameter tonight and check your current mount for rotation. If the mount rotates under firm pressure then add a shim or replace the clamp before your next ride. If the mount holds firm then add a backup strap and test it on a short rough path this week.

