

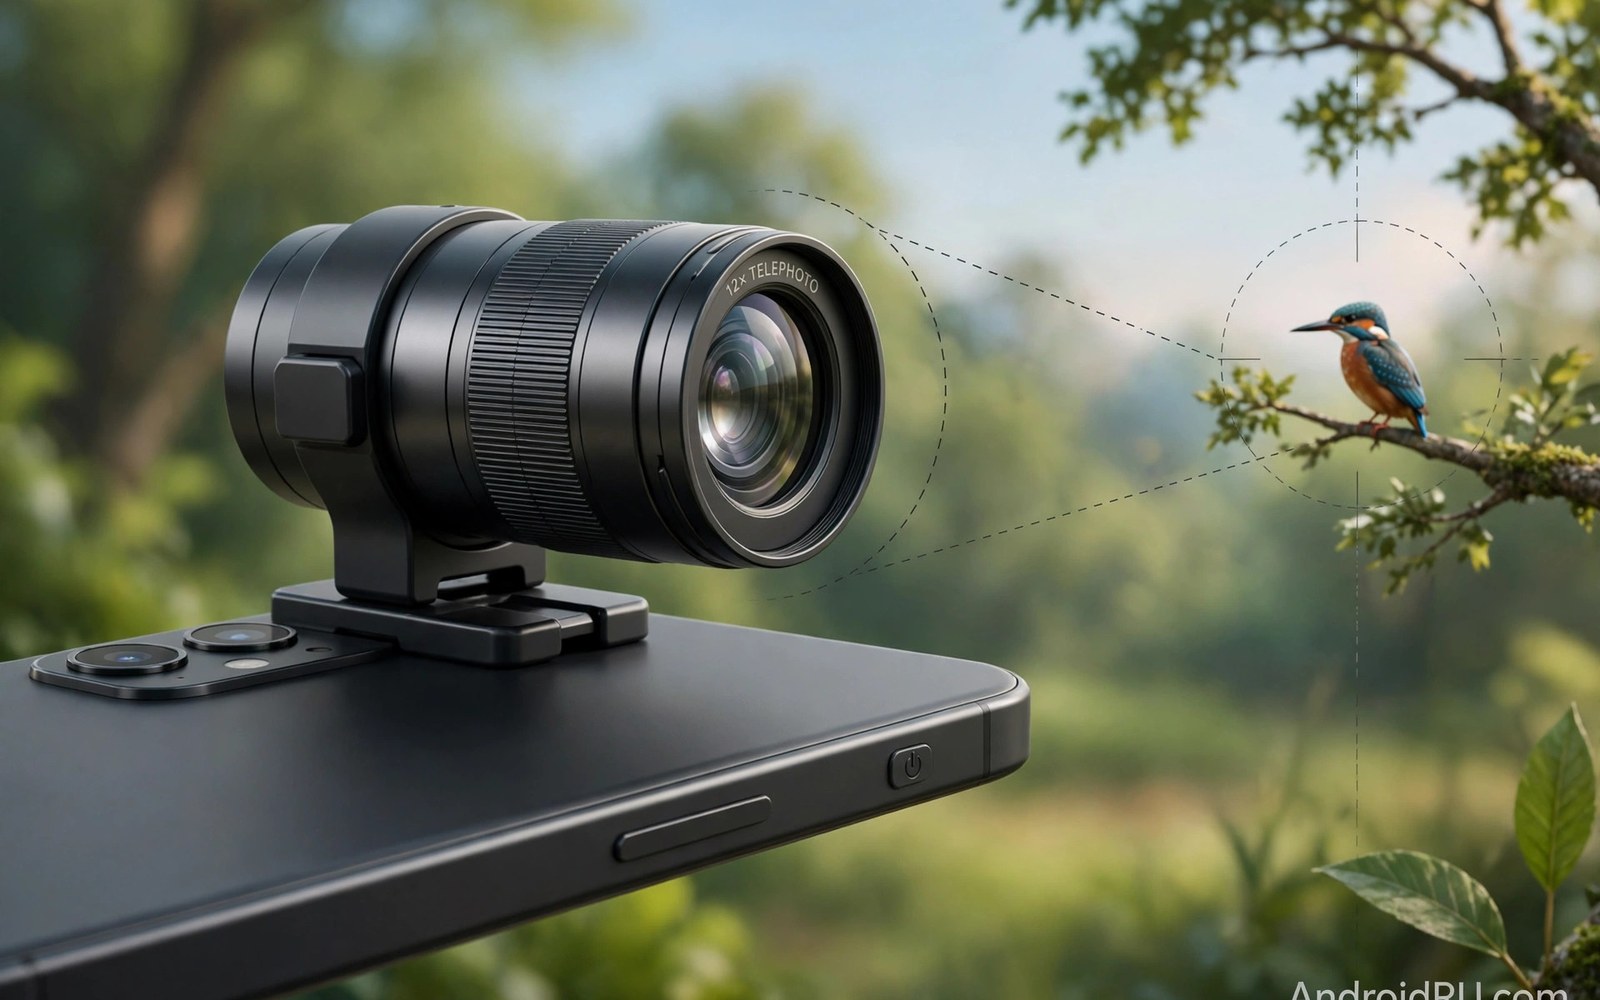
Phone zoom often relies on cropping the sensor image. Cropping discards pixels and distant subjects turn soft and noisy. A telephoto auxiliary lens adds real optical reach before the sensor. Distant subjects gain detail that digital zoom cannot recover.
A telephoto add-on is a lens element that mounts over the phone main camera. It multiplies the effective focal length by a fixed factor. Common factors double or triple the reach of the main lens. Wildlife and sports and stage events benefit most from this extra reach.
This guide explains magnification choices and sharpness limits and stability needs. It covers mounting and focusing and the situations where a telephoto add-on beats built-in zoom. The goal is detailed distant shots without carrying a dedicated camera.
How Telephoto Add-Ons Extend Reach
A telephoto element narrows the field of view and magnifies the centre of the scene. The sensor records a smaller angle with the same pixel count. Distant subjects appear larger and more detailed in the frame. The effect resembles switching to a longer lens on a dedicated camera.
Magnification factors describe the reach gain over the main lens alone. A two times factor doubles apparent subject size. A three times factor triples it. Higher factors magnify shake as well as subjects so stability needs grow with magnification.
Built-in telephoto cameras on some phones already offer optical reach. An add-on lens helps phones without one or extends reach beyond the built-in telephoto. Compare add-on results with built-in telephoto results on the same subject. Keep the sharper option for each distance.
Add-on telephoto lenses cannot match dedicated camera lenses for edge quality. Expect soft corners and some colour fringing at full magnification. Centre sharpness usually holds well enough for sharing and moderate prints. Judge by centre detail where subjects sit.
Sharpness and Image Quality
Centre sharpness decides telephoto add-on value. Test any new lens on a distant sign or brick wall at full size. Readable text and clean brick lines indicate good centre performance. Soft centres that never sharpen indicate a poor unit.
Atmospheric haze limits distant sharpness regardless of lens quality. Heat shimmer over sunlit ground blurs far subjects in every camera. Shoot in cooler morning light for the sharpest distant results. Haze affects long shots more than any lens flaw.
Aperture behaviour changes with add-on lenses because the phone aperture stays fixed. The add-on cannot brighten the image beyond the main lens capability. Low light telephoto shots need higher sensitivity and gain noise. Bright daylight suits telephoto add-ons best.
Colour fringing grows at high magnification near high contrast edges. Tree branches against sky show fringing first. Better coated elements reduce it but never remove it fully. Editing tools can reduce mild fringing after the shot.
Stability at Long Reach
Magnification multiplies every hand movement in the frame. A small tremor becomes a large jump at three times magnification. Handheld telephoto shots need fast shutters or support to stay sharp. A tripod transforms telephoto add-on results.
Use a tripod or a monopod or a stable rest for telephoto work whenever possible. Rest elbows on a wall or a fence when no support is available. A remote shutter prevents touch shake at the moment of capture. Support matters more than lens quality at long reach.
Image stabilisation in the phone helps but cannot work miracles at high magnification. Optical stabilisation cancels small shakes while large movements remain. Combine stabilisation with support for the best results. Never rely on stabilisation alone for critical distant shots.
Burst mode raises keeper rates for moving distant subjects. Birds and athletes move unpredictably at long reach. A burst captures the moment when movement pauses briefly. Review bursts at full size and keep only the sharpest frames.
- Test centre sharpness on distant text before trusting a new telephoto add-on.
- Shoot distant subjects in cool morning light to reduce heat haze blur.
- Support the phone on a tripod or rest because magnification multiplies shake.
- Use bursts for moving subjects and keep only the sharpest frames.
- Compare add-on results with built-in telephoto results on the same subject.
Focusing Distant Subjects
Autofocus can hunt at long reach when contrast is low. Tap focus on a high contrast edge near the subject to help the system lock. Focus lock prevents refocusing between frames in a burst. Manual focus suits static distant subjects best.
Focus peaking or magnification aids in some camera apps help manual focus. Use them when available to confirm sharpness before capture. Preview sharpness at full magnification rather than trusting a small preview. Small previews hide focus errors.
Depth of field narrows at long reach so focus accuracy matters greatly. A small focus error softens the whole subject. Take time to confirm focus on critical shots. Rushing focus wastes the reach advantage entirely.
Moving subjects need tracking focus when the app offers it. Lock focus on the subject and follow its movement smoothly. Panning with the subject keeps it sharp while the background blurs. Practice panning on slow subjects first.
Choosing Magnification
Two times magnification suits general distant work like stage events and street details. It balances reach with manageable shake and good sharpness. Most shooters should start here. The results feel like a natural extension of the main lens.
Three times magnification suits wildlife and sports where subjects stay far away. Shake and haze challenge results more at this level. A tripod becomes almost essential. The extra reach rewards careful technique.
Higher magnification beyond three times rarely satisfies on phones. Shake and optical flaws overwhelm the reach gain. Dedicated camera systems serve extreme reach better. Stay within two to three times for reliable phone results.
Consider a zoom approach that combines add-on reach with modest digital zoom. A two times add-on plus a small digital crop can reach further without severe quality loss. Avoid deep digital crops that destroy detail. Balance optical and digital reach deliberately.
TELEPHOTO ADD-ON FIELD CHECK
1 Lens centred over main camera and locked
2 Centre sharpness tested on distant text
3 Support ready for tripod or stable rest
4 Focus locked on high contrast subject edge
5 Burst mode on for moving subjects
6 Morning light chosen when haze threatens
Telephoto Add-ons for Stage Events
Stage events place the audience far from performers. A telephoto add-on brings faces and costumes closer from audience seats. Two times magnification suits most theatre seats. Three times suits large halls and arena balconies.
Stage lighting changes rapidly between bright spots and dark scenes. A telephoto add-on cannot brighten a dark stage. The phone compensates with higher sensitivity and noise grows. Bright musical numbers suit add-ons better than dim dramas.
Check venue rules before using add-on lenses at events. Some venues restrict professional-looking equipment. A phone with a small add-on usually passes as casual photography. Large rigs attract attention and possible ejection.
Combining Add-on with Built-in Zoom
Phones with built-in telephoto cameras offer a choice between add-on and built-in reach. Use the built-in telephoto first when it covers the distance. Add the auxiliary lens only when more reach is needed. Built-in optics usually beat add-on optics for sharpness.
Combining an add-on with digital zoom extends reach further with modest quality loss. A small digital crop over an add-on image stays acceptable. Deep digital crops destroy the detail the add-on preserved. Balance the two deliberately per shot.
Switching between built-in and add-on lenses mid-event costs time. Decide the primary lens before the event starts. Keep the add-on mounted and ready rather than swapping constantly. Consistent setup captures more moments.
Protecting the Add-on Lens
Telephoto add-ons are larger and more exposed than small clip-on lenses. Their front glass scratches easily in bags. Store them in a padded case with caps on both ends. Caps cost nothing and save the glass.
Clean telephoto add-ons with a blower before wiping. Dust on large front glass scratches easily under a cloth. A blower-first routine prevents most scratches. Inspect against bright light after cleaning.
Avoid leaving add-ons mounted on the phone in a pocket. Pocket pressure can bend mounts and scratch glass. Remove the add-on between shooting sessions. A few seconds of care preserves an expensive accessory.
Telephoto Add-ons for Wildlife from Hides
Wildlife hides place photographers close to animals without disturbing them. A telephoto add-on extends reach further from inside a hide. Birds at a feeder fill the frame with a two times add-on from a hide. Patient waiting matters more than extreme magnification. Hides reward quiet stillness over gear.
Hide shooting needs silence and slow movement. A tripod inside the hide holds the phone steady for long waits. A remote shutter fires without movement that scares wildlife. Whisper-quiet operation matters as much as optical quality. Animals flee from sudden sounds faster than from lenses.
Light inside hides is often dim because hides shade the photographer. A telephoto add-on in dim hide light needs higher sensitivity. Noise grows in dim conditions regardless of lens quality. Morning light through hide openings gives the best wildlife results. Plan hide sessions for early light.
Telephoto Add-ons and Image Stabilisation
Image stabilisation helps telephoto add-ons but cannot replace support. Optical stabilisation cancels small hand tremors effectively. Larger body movements overwhelm stabilisation at high magnification. Combine stabilisation with a rest or tripod for best results. Support plus stabilisation beats either alone.
Electronic stabilisation crops the frame and can worsen telephoto edge quality. A telephoto add-on already narrows the field of view. Further cropping discards pixels needed for distant detail. Disable electronic stabilisation when using a tripod with an add-on. Physical support makes electronic correction unnecessary.
Test stabilisation settings with your add-on before critical wildlife shoots. Different phones handle stabilisation differently with add-on optics. Some phones stabilise well while others hunt and jitter. A short test session reveals the best setting combination. Never trust default settings for important distant subjects.
For creative front glass, see clip-on lenses for macro and wide-angle and anamorphic looks which change framing at close and wide ranges.
For bright outdoor exposure, see variable ND filters for outdoor smartphone videography which control light for video at any focal length.
For reflection control at distance, see lens hoods and polarizer filters that eliminate reflections and cut glare from distant glass and water.
The steps above follow the approach described in the official developer documentation and standard manufacturer guidance for auxiliary lenses and mobile photography. The sharpness tests and stability habits reflect common practice for telephoto add-ons on phones. Use them as a baseline and adapt the technique to your phone model and your subjects.

