

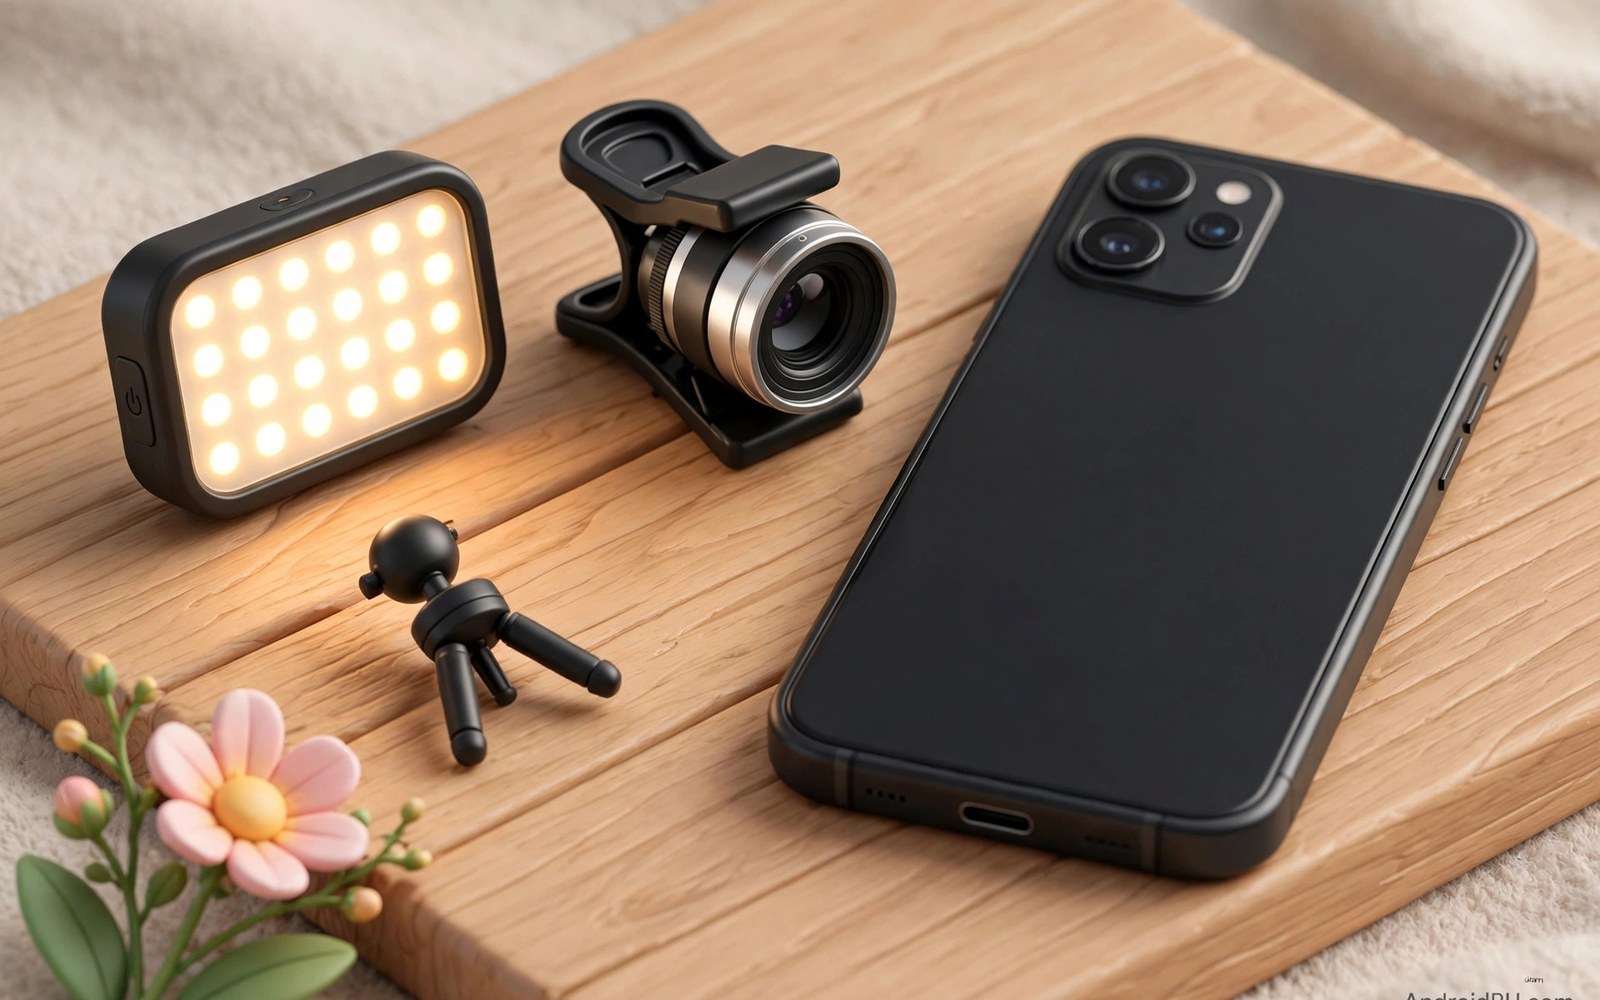
Macro photography reveals a world that normal shooting misses. A flower stamen becomes a landscape of texture. An insect eye becomes a faceted jewel. A phone with the right macro gear captures this world without a dedicated camera system.
Two elements decide macro success on a phone. The lens must focus very close while holding sharpness. The light must reach a tiny subject without harsh shadows. Either element alone fails because close focus without light gives dark blur and light without close focus gives a small distant subject.
This guide pairs lens choices with lighting setups for phone macro work. It covers focus habits and stability and the stacking technique that extends depth of field. The goal is sharp detailed macro photos with a pocket-sized kit.
Lens Choices for Phone Macro
Clip-on macro lenses are the simplest macro path for phones. They mount over the main camera and shorten focus distance dramatically. Quality varies widely so test edge sharpness before committing to a lens. A good clip-on macro holds centre sharpness well.
Some phones include a dedicated macro camera with a fixed close focus range. Built-in macro cameras avoid alignment problems entirely. Their sensors are often smaller and noisier than the main camera. Compare built-in macro results with a clip-on macro on the main camera.
Auxiliary macro lenses with higher magnification reveal finer detail but narrow depth of field further. Extreme magnification suits static subjects like coins and stamps. Living subjects frustrate extreme macro because they move through the thin focus plane. Match magnification to subject patience.
Working distance is the gap between lens and subject at focus. Short working distances make lighting hard because the phone shadows the subject. Longer working distances ease lighting but need larger optics. Balance magnification against working distance for your subjects.
Lighting the Tiny Subject
Soft diffused light flatters macro subjects most. A small LED panel behind a diffuser creates gentle light without harsh highlights. A white card can bounce daylight onto the subject softly. Harsh direct light creates blown highlights on shiny insects and petals.
Light angle shapes texture in macro work. Side light rakes across a surface and reveals texture strongly. Front light flattens texture but shows colour evenly. Top light suits flat subjects like leaves and documents. Move the light around the subject and watch texture change in preview.
Ring-style lights around the lens give even shadowless macro light. They suit documentation shots where every detail must show clearly. Ring light can look flat for artistic macro because shadows disappear. Pair ring light with a side light when depth matters.
Outdoor macro light changes constantly with cloud and wind. A small diffuser held above the subject softens harsh sun. A reflector below the subject can lift shadows gently. Carry a pocket diffuser and a white card for outdoor macro walks.
Stability and Focus Habits
Macro depth of field is measured in millimetres at close range. Any hand movement shifts focus off the subject. Rest the phone or your hands on a stable surface whenever possible. A small tripod or a beanbag support transforms macro keeper rates.
Focus by moving the phone rather than relying on autofocus alone. Set focus near the desired plane and rock the phone slowly back and forth. Capture frames through the focus sweep and keep the sharpest. This rocking technique beats tapping focus for tiny subjects.
Burst mode helps macro work because focus varies frame to frame. Hold the shutter through a slow focus rock and review the burst for the sharpest frame. Delete the rest without regret. Macro photography rewards volume and selection.
Wind is the enemy of outdoor macro. A flower swaying in breeze never sits still in the focus plane. Shoot in calm moments and shield the subject with your body. Accept that windy days suit other photography better than macro.
- Test any clip-on macro for centre sharpness before trusting it on a real subject.
- Use soft diffused light and move it around to shape texture deliberately.
- Rock focus slowly and shoot bursts to catch the sharpest frame.
- Support the phone on a surface or tripod because hand shake ruins macro focus.
- Shield outdoor subjects from wind and shoot in calm moments only.
Focus Stacking for Depth
Focus stacking combines several frames focused at different depths into one deep image. The technique extends depth far beyond a single macro frame. A flower head can appear sharp front to back through stacking. The result looks impossible from one exposure.
Capture a stack by taking frames while moving focus slowly through the subject. Keep the phone position fixed on a tripod for best alignment. Overlap focus planes so no gap stays soft between frames. Ten to twenty frames cover most small subjects.
Stacking software aligns and blends the frames into one image. Several phone apps and desktop tools handle stacking well. Alignment matters because even small shifts blur the blend. A tripod and a remote shutter give the cleanest stacks.
Stacking fails when the subject moves between frames. Living insects rarely stay still for a full stack. Static subjects like minerals and jewellery stack beautifully. Choose stacking for still life macro and single frames for living subjects.
Field Kit for Macro Walks
A macro walk kit fits in a small pouch. Pack the clip-on lens and a cleaning cloth and a small LED light. Add a pocket tripod or a beanbag for support. Add a diffuser card for harsh sun. The whole kit weighs less than a water bottle.
Clean the macro lens often because close work shows every speck of dust. A speck on the lens becomes a soft blob in macro frames. Wipe before each subject change and check the preview for blobs. Clean glass is part of macro discipline.
Approach living subjects slowly and avoid casting shadows over them. Insects flee shadows and sudden movement. Move in stages and pause between moves. Patience yields closer and calmer subjects than rushing.
Record subject notes after a good macro session. Note the lens and light and distance that worked. Notes turn lucky shots into repeatable technique. A simple phone note after each walk builds a personal macro guide.
PHONE MACRO FIELD CHECK
1 Macro lens clean and centred over main camera
2 Diffused light ready with side angle planned
3 Phone supported on surface or small tripod
4 Focus rocked slowly with burst capture
5 Wind shielded and calm moment chosen
6 Stack planned only for fully static subjects
Indoor Macro with Household Light
Household lamps can light indoor macro work surprisingly well. A desk lamp with a white shade gives soft directional light. Move the lamp close for macro subjects and diffuse it with paper when needed. Household light costs nothing extra and works immediately.
Window light is the best free macro light for indoor subjects. Place the subject near a bright window but out of direct sun. Direct sun creates harsh highlights on shiny subjects. Bright shade from a window gives soft even illumination.
Avoid mixed household bulbs with different colour temperatures. A warm lamp plus a cool window creates uneven colour across the subject. Turn off one source to simplify the light. One consistent source beats two clashing ones.
Macro Subjects for Beginners
Coins make ideal first macro subjects because they stay still and show fine detail. Start with a large coin under good light and practise focus rocking. Coins reveal lens sharpness clearly through lettering and ridges. Success with coins builds confidence fast.
Flowers suit beginners next because they offer colour and texture. Choose a still flower indoors to avoid wind problems. Focus on one petal edge or the flower centre. Single-point focus teaches depth control better than whole-flower attempts.
Household objects like watches and keys offer endless macro practice. Metal surfaces teach light angle control through reflections. Textured surfaces teach focus through detail. Everyday objects cost nothing and sit still patiently.
Editing Macro Photos on the Phone
Crop macro photos to remove distracting edges and centre the subject. A tight crop strengthens composition when the subject sits off-centre. Avoid extreme crops that discard the sharp detail you worked to capture. Moderate crops preserve quality.
Sharpening in editing can enhance macro detail but oversharpening creates halos. Apply sharpening lightly and inspect at full size. Halos around edges signal too much sharpening. Subtle sharpening beats aggressive processing.
Colour adjustments should stay natural for macro nature subjects. Oversaturated flowers look artificial and lose credibility. Adjust white balance first for accurate colour. Saturation tweaks come last and stay small.
Macro with a Tripod and Rail
A focusing rail moves the phone in tiny steps along a track for precise macro focus. Rails mount between tripod and phone clamp. Turning a knob shifts focus by fractions of a millimetre. Rails suit focus stacking because they move focus systematically. Manual rocking cannot match rail precision for stacking work.
A tripod plus rail combination holds the phone perfectly still during long macro sessions. Stillness matters because macro depth is measured in millimetres. Any drift between stacked frames blurs the blend. Rails on tripods give the cleanest stacks available to phone shooters. The setup takes longer but rewards patience.
Rails add weight and bulk to a macro kit that otherwise packs small. Carry a rail only for planned stacking sessions. Field macro walks rarely need rail precision. Match the tool to the session type rather than carrying everything always. A light kit encourages more shooting.
Macro with Phone Flash and Diffusers
Phone flash at macro distances is harsh because the light sits close to the subject. A diffuser over the flash softens it dramatically. White paper or a small diffuser cap spreads flash light evenly. Diffused flash reveals texture without blown highlights. Test diffuser distance because closer diffusion softens more.
Flash allows smaller apertures in effect through lower sensitivity settings. Lower sensitivity means cleaner macro images with less noise. Flash also freezes subject motion in dim conditions. A diffused flash can rescue indoor macro sessions with poor ambient light. Balance flash with ambient light for natural results.
Avoid direct flash on shiny macro subjects like beetles and jewellery. Direct flash creates a bright hotspot that hides detail. Angle the phone slightly so flash reflects away from the lens. A diffuser plus an angle change solves most hotspot problems. Practice on shiny coins to learn flash angles.
For clip-on lens basics, see clip-on lenses for macro and wide-angle and anamorphic looks which explain macro attachment optics.
For clean glass habits, see cleaning kits for phone camera glass maintenance which keep macro glass spotless.
For soft light options, see ring lights and portable LED panels for mobile video shots and adapt panel light to still macro work.
The steps above follow the approach described in the official developer documentation and standard manufacturer guidance for close-up photography and mobile optics. The lighting setups and focus habits reflect common practice for phone macro work. Use them as a baseline and adapt the kit to your subjects and your shooting locations.

