

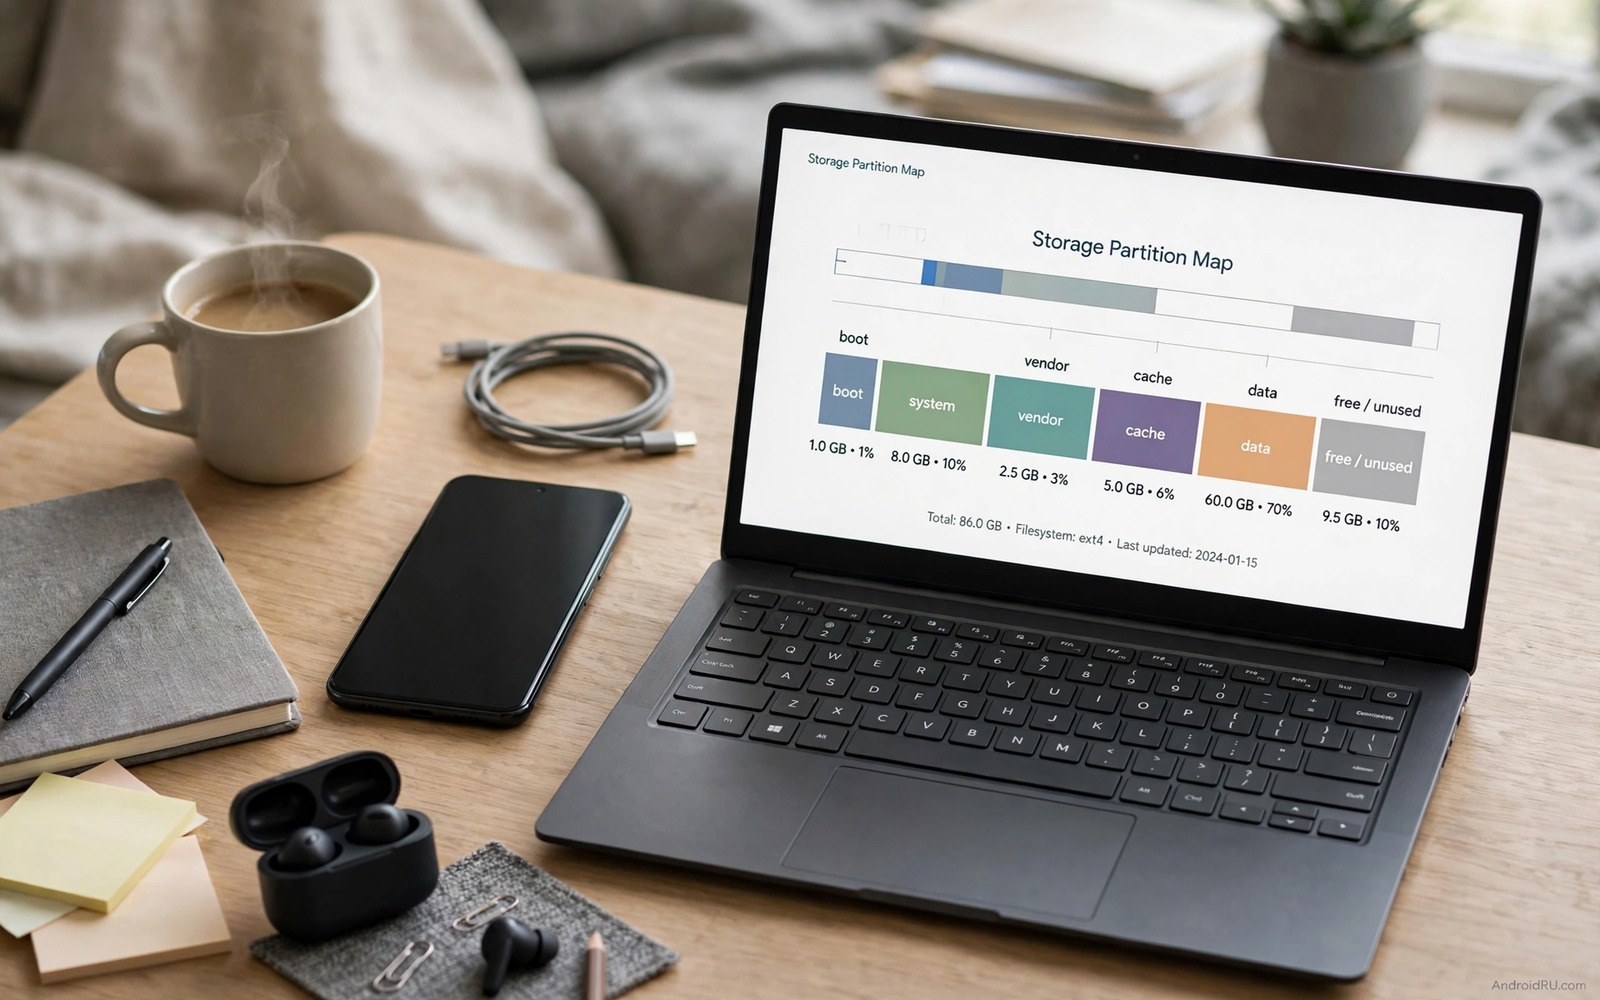
Hidden partitions sound mysterious yet they serve ordinary purposes. One partition holds the operating system. Another holds vendor software. Another holds recovery tools. A non-rooted phone hides these partitions from casual browsing for safety. Viewing their basic information remains possible through safe read-only tools.
Viewing differs sharply from modifying. A view shows sizes and labels and mount points without changing anything. Modification can break booting and void support. This guide stays firmly on the viewing side. It shows what each partition does and how to inspect it without root and without risk.
Read storage breakdown in Settings first
Open Settings and open Storage and read the totals for system and apps and media. The system total bundles several partitions into one number. That number tells you how much space the OS reserves in total. It does not show individual partitions yet it sets a baseline for deeper views.
Open About phone and check the Android version and build number and storage total. A build number identifies the exact OS release on the phone. That detail helps when you compare partition sizes with documentation for the same release. Different releases can reserve different amounts.
Use developer options for a deeper view
Enable developer options by tapping the build number seven times in About phone. Open the new developer menu and look for running services and memory information. Running services show which system processes use memory. Memory information shows how the system divides its resources during normal use.
Developer options also expose bug report tools that list system information in a structured file. A bug report includes partition information in a readable form. Generate a bug report only when you want a detailed snapshot and store it privately because it contains device details. Readers who clean system waste can explore deleting system log dump files taking up space without root after viewing partition data.
Inspect mounts with a terminal app
A terminal app on a non-rooted phone can run read-only commands that list mounted partitions. The mount list shows device paths and mount points and file system types. System partitions appear as read-only mounts. User data appears as a writable mount. That contrast explains why user files feel open while system files feel locked.
Run only read commands and avoid any command that writes or remounts a partition. A read command cannot harm the system. A remount command can destabilise the phone even when it looks harmless. Stick to listing and measuring commands and close the terminal when the inspection ends.
Understand each common partition
The boot partition holds the kernel that starts the phone. The system partition holds the core OS and its apps. The vendor partition holds maker customisations and drivers. The data partition holds your apps and files. The recovery partition holds tools that repair the phone when normal boot fails. Each partition has a job and each job explains its size.
Newer phones use a super partition that groups system and vendor partitions into one flexible container. A super partition lets makers resize system parts during updates without repartitioning the whole device. That flexibility explains why partition sizes differ between updates. It does not change the basic viewing methods in this guide.
A small check for mounted partitions
List mounts in a terminal to see partition paths and mount points in one view. Filter the output for system and vendor and data entries to keep the list short. A short list is easier to read than a full dump of every virtual file system. Save the output to a note if you want to compare it after an update.
cat /proc/mounts | grep -E " /system| /vendor| /data" | head -20
The snippet above was written for this article to show one safe way to list mounted system partitions in read-only form. It reads system information and it changes nothing on the phone. Use the output only to learn partition names and mount points.
Use storage analyser apps for partition insight
Storage analyser apps visualise storage use in a way that Settings alone cannot match. A treemap view shows large folders and system categories as proportional blocks. Large blocks stand out immediately while small blocks fade into the background. That visual view helps a user understand where space actually goes without reading long lists. Choose an analyser app that reads storage without requesting unnecessary permissions.
Compare the analyser view with the Settings view to spot reporting differences. An analyser may categorise a folder differently from Settings. Those differences do not indicate an error. They reflect different definitions of system and other categories. Use both views together for a fuller picture rather than trusting one view alone.
Learn partition roles from update behaviour
System updates reveal partition roles through their behaviour during installation. An update that requires a restart and shows a progress screen likely updates the system partition. An update that installs quickly in the background likely updates only apps. Observing update behaviour teaches partition roles without any technical tool. A user who watches updates learns which changes require a reboot and which do not.
Seamless updates on newer phones use two system partitions in an A and B slot system. One slot runs the current system while the other slot receives the update. A reboot switches slots after the update completes. That design explains why some updates feel faster and safer than older updates. Slot systems also explain why system storage totals look larger on newer phones.
Inspect recovery and bootloader information safely
Recovery mode offers a safe view of system tools without modifying anything when used carefully. Booting into recovery shows options for wiping cache and applying updates. Do not select a wipe option unless you fully understand its effect. Simply viewing the recovery menu teaches what tools exist for emergencies. Exit recovery without selecting any destructive option to return safely.
Bootloader information appears in fastboot mode on many phones yet entering fastboot carries risks if commands follow. Viewing bootloader status through Settings or through a safe info app avoids those risks. A locked bootloader status confirms standard security protections. An unlocked bootloader status signals a modified device with different update behaviour.
Compare partitions across Android versions
Partition layouts evolved across Android versions as Google introduced new features. Older phones used separate system and cache partitions with fixed sizes. Newer phones use dynamic partitions that resize flexibly within a super partition. Dynamic partitions allow makers to adjust system size during updates without repartitioning. That evolution explains why older guides describe partitions that newer phones no longer show.
Reading a guide written for an old Android version can mislead a user on a new phone. Check the Android version of any partition guide before following it. A guide for Android 10 may describe a cache partition that Android 14 merged elsewhere. Version-aware reading prevents confusion and prevents risky steps based on outdated layouts.
Use partition knowledge for troubleshooting
Partition knowledge helps troubleshooting because it explains why certain problems affect only part of the phone. A problem that affects only user apps likely involves the data partition. A problem that affects system functions likely involves the system partition. That distinction directs troubleshooting to the right area instead of random fixes. A user who understands partitions can describe a problem more accurately to support staff as well.
Support staff appreciate accurate descriptions that mention which functions fail and which still work. A description that separates system failures from app failures speeds up diagnosis. Partition knowledge therefore improves support outcomes even for users who never modify partitions themselves. Learning the basics pays off during the rare moments when something goes wrong.
Common mistakes
One common mistake is confusing a partition view with permission to edit. A terminal can list a partition without granting write access. Trying to force write access can trigger security protections. Another mistake is sharing a full bug report publicly. Bug reports contain device identifiers and personal details so keep them private.
People also follow root guides after a simple view sparks curiosity. Rooting changes security and updates and support. A view alone satisfies most curiosity without those costs. Readers who want safe system cleanup can explore reclaiming reserved OS partition storage space safely in this same wave for a non-root path.
Frequently asked questions
Can I see partitions without root?
Yes for basic information. Settings and developer tools and read-only terminal commands reveal sizes and mount points. Full file browsing inside system partitions still needs root on most phones.
Will viewing partitions void my warranty?
No. Read-only viewing changes nothing on the device. Warranty problems arise from modification and from unlocking bootloaders. A simple view stays well inside normal use.
Why do partition sizes differ between phones?
Makers reserve different amounts for system and vendor software. Android version and update method also affect sizes. A super partition adds further variation between models.
Conclusion
Hidden partitions become less mysterious once you view them through Settings and developer tools and a read-only terminal list. Boot and system and vendor and data partitions each serve a clear purpose. Viewing them teaches how Android protects itself while keeping user data separate.
Your concrete next step is to open a terminal app today and list mounts for system and vendor and data. Note the mount points and compare them after your next update. Readers who want a practical follow-up can next explore cleaning the Android other storage category instantly and deleting hidden files right now to reclaim system storage as next steps.

