

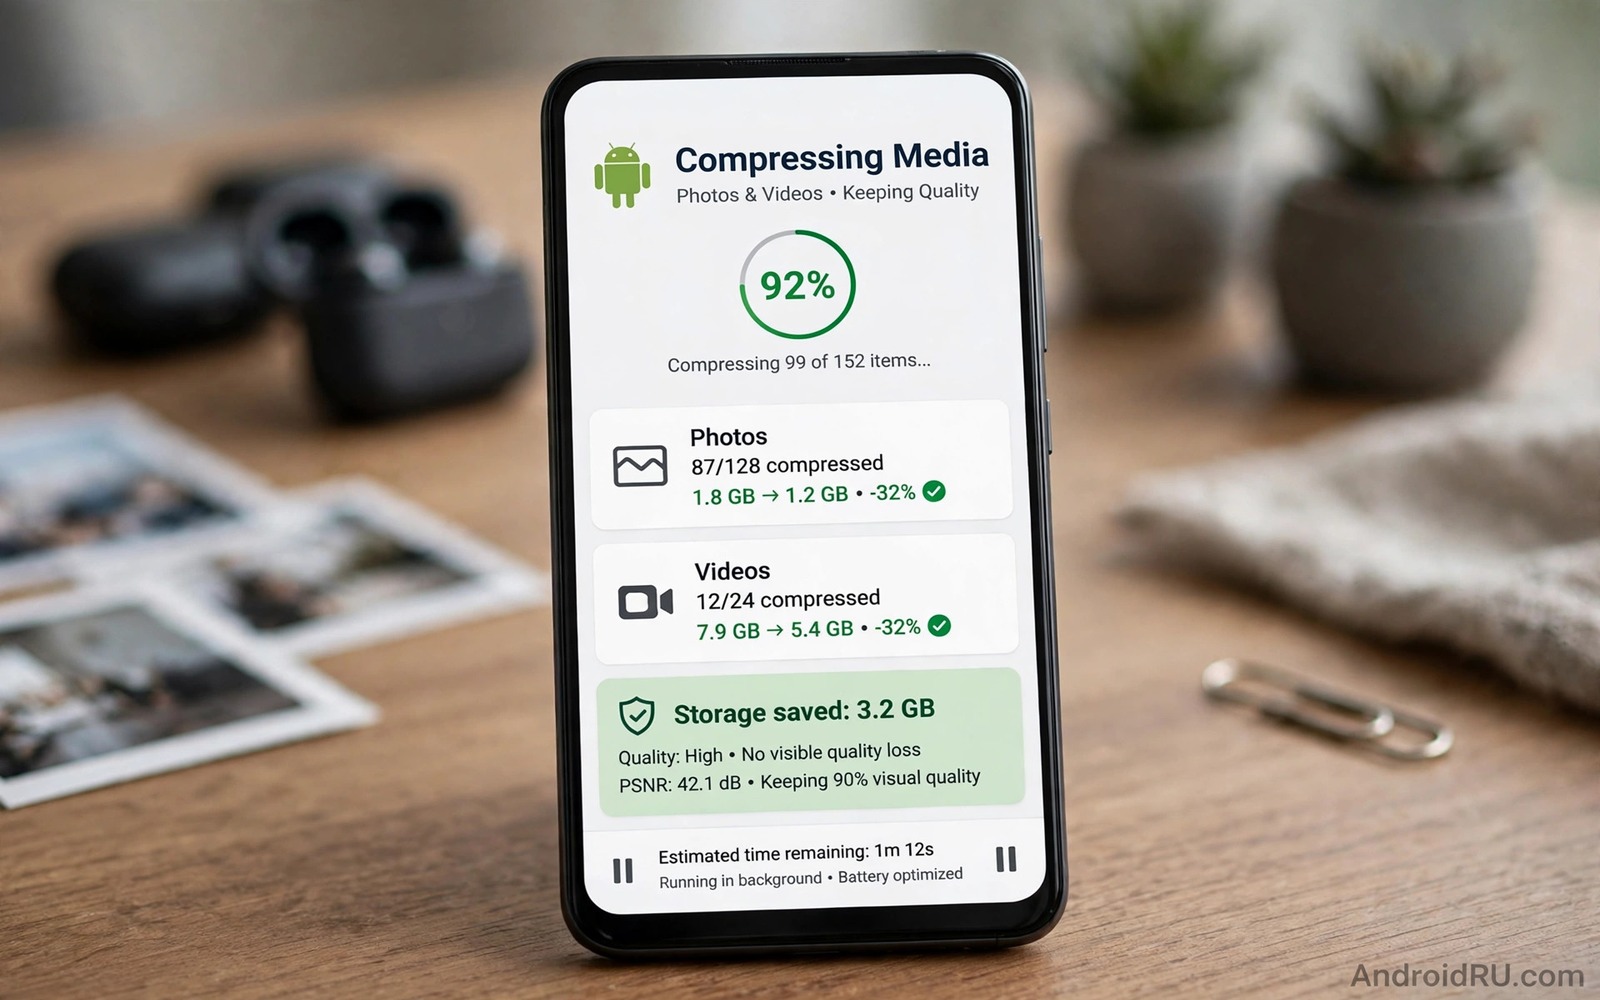
Large photos and videos fill a phone faster than any other file type. A single minute of high resolution video can outweigh hundreds of documents. Compression offers a way out but it carries a fear of ruined quality. Good compression does not mean visible damage. It means removing data the eye barely notices while keeping the detail that matters.
Compression works by exploiting how human vision perceives images. Smooth areas need less detail than textured areas. Colour can be stored at lower resolution than brightness without obvious loss. Video compression also exploits similarity between frames. A good encoder uses those facts to shrink a file dramatically while keeping the picture pleasing.
This guide shows practical compression settings for everyday sharing and for archiving. You will learn how to choose resolution and bitrate and quality values that match the destination. You will also learn how to test compression on a few files before applying it to a whole library. A test first approach protects your memories from an aggressive setting.
Understand quality settings before compressing
Photo quality in JPEG form is a number that balances file size against visible artefacts. A quality value near ninety preserves fine detail with a moderate file size. A value near seventy shrinks the file further but may show blocks in smooth skies. A value below sixty often shows obvious artefacts. Start near eighty five for everyday photos and adjust after a visual test.
Video bitrate controls how much data each second of video receives. A higher bitrate preserves motion detail and reduces blocks during fast action. A lower bitrate saves space but may smear fast motion. A 1080p video at a moderate bitrate looks excellent on a phone screen. A 4K video needs a much higher bitrate to preserve its extra detail. Match bitrate to resolution rather than using one value for all videos.
Resolution also matters because a smaller frame needs less data. A video downsized from 4K to 1080p for sharing saves a large amount of space even at a good bitrate. A photo resized for social sharing needs far fewer pixels than a print. Choose resolution for the largest screen where the file will actually be viewed. A file made for a phone screen does not need print resolution.
Compress photos with a safe workflow
Back up originals before compressing a library. A backup on a computer or an external drive protects you if a setting proves too aggressive. Compress copies rather than originals when testing a new setting. A copy workflow lets you compare results without risking the only version of a photo.
Start with a test set of five photos that cover portraits and landscapes and indoor scenes. Compress them at your chosen quality and view them at full screen on a large display. Check skin texture and sky smoothness and text sharpness. If all five look good then the setting is safe for similar photos. If skies show blocks then raise quality slightly and test again.
Batch compress only after a successful test. A batch tool that preserves folder structure and file names makes the results easy to manage. Keep compressed files in a separate folder until you confirm quality across a larger sample. A separate folder prevents confusion between originals and compressed versions during the transition.
Compress videos for sharing and for storage
For sharing choose a destination aware setting. A short social video at 1080p with a moderate bitrate uploads faster and plays smoothly. A long family video for archiving deserves a higher bitrate and original resolution. One setting does not suit both goals. Create two versions when a video matters for both sharing and archiving.
Trim a video before compressing it. Removing unwanted seconds at the start and end saves more space than any bitrate tweak. A trimmed video also feels tighter to viewers. Edit first and compress second so the encoder spends data only on footage worth keeping.
Test video compression on a short clip with fast motion. Fast motion reveals bitrate problems faster than a static scene. A clip with running water or a moving crowd stresses the encoder. If fast motion stays clean then slower scenes will also look good. A guide to free storage expansion without cloud fees shows how compressed video fits into a wider space saving plan.
Choose tools that preserve metadata wisely
Some compression tools strip location and camera metadata. Stripping metadata can protect privacy when sharing online. It can also remove useful information for your own archive such as capture date and camera settings. Choose a tool that lets you decide whether to keep metadata. Keep metadata for your archive and strip it for public sharing when privacy matters.
File format also affects compression efficiency. Modern formats can store the same quality at a smaller size than older formats. A modern photo format may halve file size compared with an older JPEG at similar quality. Compatibility matters too because some older devices and services may not support a new format. Test a new format on your sharing platforms before converting a whole library.
Avoid compressing an already compressed file repeatedly. Each JPEG save loses a little more detail. A file compressed twice at moderate quality can look worse than a file compressed once at lower quality. Compress from the original whenever possible. A single careful compression from the original gives the cleanest result.
A small script to compress photos safely
The script below compresses copies of photos in a folder at a chosen quality. It saves results to a separate folder so originals stay untouched. Run it on a computer copy of your photos.
import os
from PIL import Image
os.makedirs("compressed", exist_ok=True)
for name in os.listdir("photos"):
    if not name.lower().endswith(".jpg"):
        continue
    image = Image.open(os.path.join("photos", name))
    image.save(os.path.join("compressed", name), quality=85, optimize=True)
The code above was written for this guide as an original photo compression helper. It reads JPEG files from a local folder named photos and writes compressed copies to a folder named compressed at quality eighty five. It never overwrites originals and it never uploads files. Adjust the quality value after testing on your own photos.
Test compression on a print candidate
A print candidate deserves a stricter compression test than a social photo. Choose a photo you might print large and compress a copy at your chosen setting. Print a small test or view the copy at full size on a large screen. Check fine detail in hair and fabric and distant texture. A setting that passes a screen test may still fail a print test.
If the print candidate shows artefacts then keep a higher quality version for printing. Use the compressed version only for sharing. Two versions for one important photo is a sensible tradeoff. A print is a lasting object while a social post is temporary. Protect the print version even when space is tight.
Note the setting that passed the print test in a simple note. A note such as print safe at quality ninety saves future testing. A documented setting lets you compress future print candidates confidently. Documentation turns a test into a reusable standard.
Compression settings should differ for a photo that will be viewed on a phone and a photo that will be viewed on a television. A television reveals artefacts that a phone screen hides. Use a higher quality setting for any photo destined for a large screen. A setting matched to the largest viewing screen protects quality where it matters most.
Common mistakes
The biggest mistake is compressing originals without a backup. A compressed file cannot regain detail that was removed. A backup preserves the option to recompress at a better setting later. Always back up before a library wide compression.
Another mistake is using the same setting for prints and for social sharing. A print needs higher resolution and higher quality than a social post. A social setting applied to a print file produces a soft print. Keep a high quality master for prints and create smaller versions for sharing.
People also compress videos by lowering resolution alone without adjusting bitrate. A low resolution video at a very high bitrate wastes space. A high resolution video at a very low bitrate looks blocky. Balance resolution and bitrate together for the destination screen. A balanced pair beats an extreme single setting.
Finally avoid compressing screenshots with a photo setting. Screenshots contain sharp text that needs a different approach. A photo compression setting can blur text edges. Use a lossless or high quality setting for screenshots and documents. Text clarity matters more than file size for those files.
Frequently asked questions
Will compression ruin my photos for printing?
Compression at a high quality setting preserves enough detail for most prints up to a moderate size. A photo compressed for social sharing may still print acceptably at a small size. For large prints keep an uncompressed or high quality master. Test a print from a compressed file before committing to a large print run.
What quality value should I use for everyday photos?
Quality eighty five is a good starting point for everyday JPEG photos. It shrinks files noticeably while keeping detail pleasing on screens. Test on your own photos because subjects differ. Raise quality for detailed landscapes and lower it slightly for simple snapshots when space is tight.
Can I compress a video without losing audio quality?
Yes by keeping audio bitrate unchanged while reducing video bitrate. Most video tools let you set audio and video separately. A moderate audio bitrate preserves speech and music well. Reducing video data alone saves most of the space without harming sound.
Conclusion
Compression without visible quality loss is possible when you match settings to the destination and test before batch processing. Photo quality near eighty five and video bitrate matched to resolution preserve detail for screens. Backing up originals before compression protects future uses. Trimming before compressing saves even more space than bitrate tweaks alone.
Your concrete next step is to back up five test photos today and compress copies at quality eighty five. View the copies on a large screen and compare them with originals. If detail holds then batch compress a single folder. Readers who want to move compressed media to a card will also like moving apps and media to microSD and auto moving camera photos to SD card as follow-ups.

