

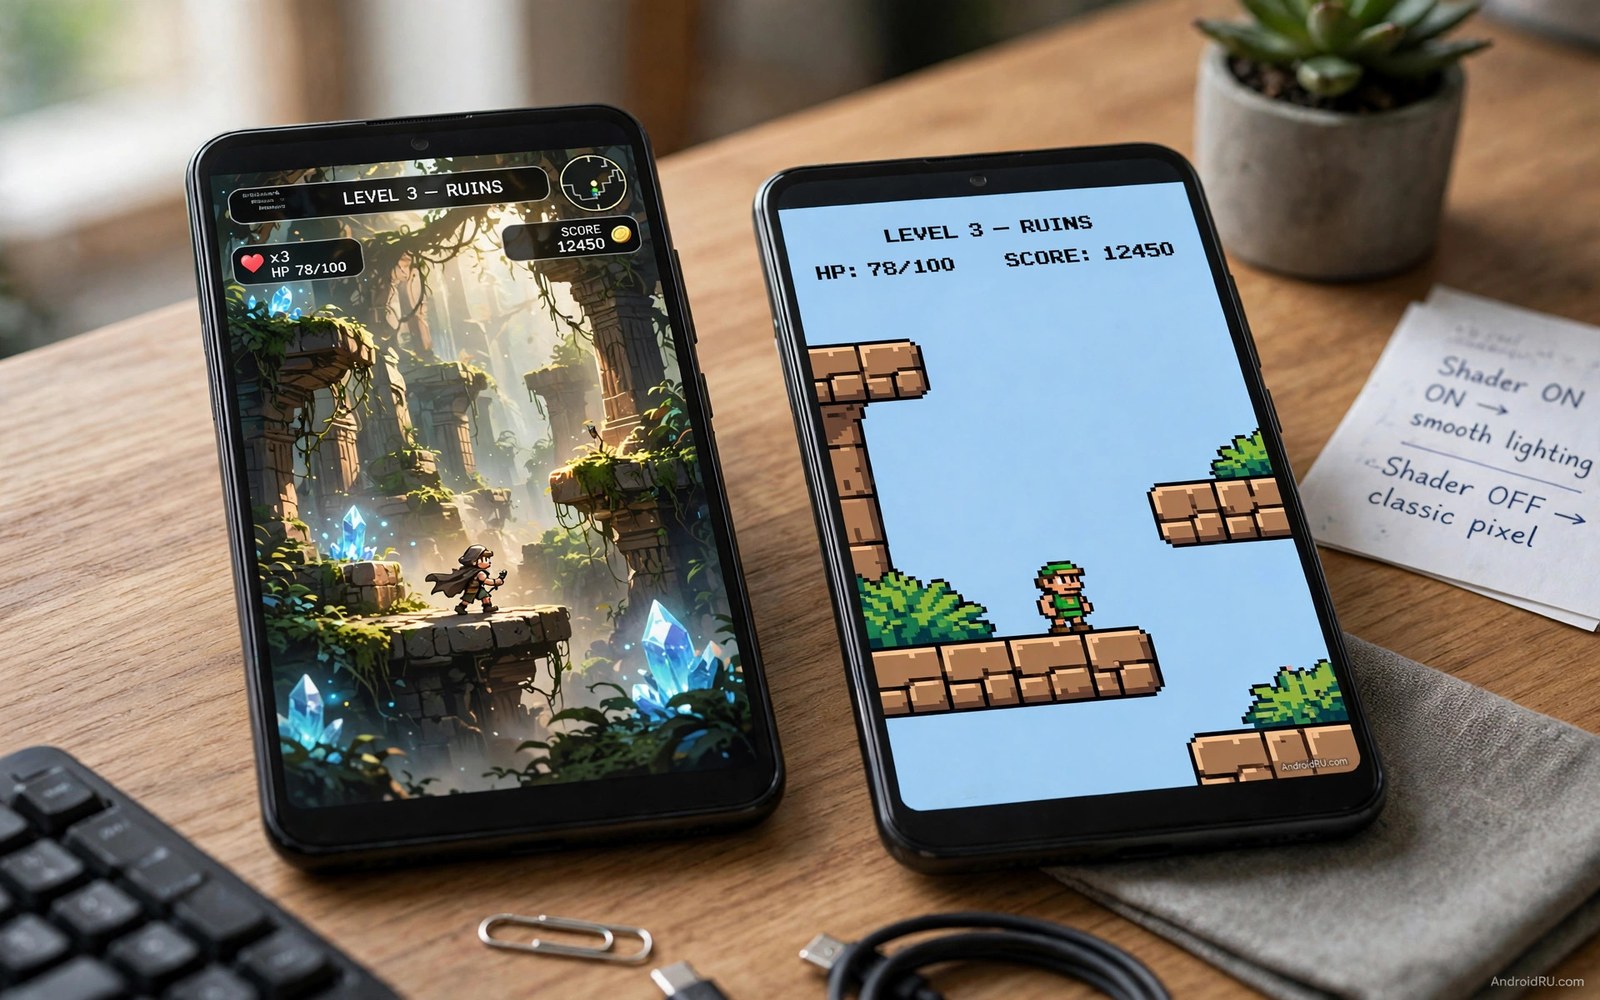
A shader is a small program that runs on the GPU for every pixel on screen. It can smooth jagged edges or add scanlines or mimic an old CRT television. The game code does not change. The picture changes after the game draws its frame. That separation makes shaders a powerful way to personalise retro games.
Shaders range from light to very heavy. A light scanline shader adds little GPU work. A heavy CRT shader with curvature and glow can double GPU work. A phone that runs a game smoothly without shaders may stutter with a heavy shader. Pick a shader that matches your phone power rather than the prettiest screenshot online.
Start with one game and one shader at a time. Load a familiar game scene and note the look and the frame rate. Apply a shader and compare the same scene. A shader that drops frames in that scene will hurt every later session. If you are new to emulation then read how to set up RetroArch for Android first so cores and folders are already stable.
Understand shader types before you install any
Scanline shaders add dark lines that mimic old television displays. They suit 2D games from the CRT era well. They add little GPU work and look clean on small screens. A scanline shader is the safest first choice on a low-end phone. It also hides some pixel harshness without blurring the image.
Smoothing shaders soften jagged pixel edges. They suit games with harsh square pixels on a large screen. They can also blur fine details when overused. A light smoothing shader works well on a tablet. A heavy smoothing shader can turn a crisp sprite into a muddy blur. Test smoothing at a low strength first.
CRT shaders combine scanlines and curvature and glow for a full retro television look. They look stunning in screenshots. They cost the most GPU time. A CRT shader suits a strong phone or a short showcase session. It rarely suits a long session on a budget phone. Choose a CRT shader only after a light shader proves smooth.
Add a shader preset in RetroArch
Open RetroArch and load a game with its correct core. Open the quick menu and find the shaders section. Choose load shader preset and browse the shader folders. Pick a preset that matches your goal such as scanlines or smoothing. Apply the preset and watch the same game scene again. Save the preset as a game preset when you like the result.
Save presets per game rather than globally at first. A shader that suits a dark horror game may ruin a bright platformer. A per game preset keeps each title looking its best. A global preset can surprise you with a bad look in a game you forgot to test. Change to a global preset only after several games share the same taste.
Adjust shader parameters slowly when the preset allows it. A scanline strength slider can change the look a lot with a small move. Change one parameter and watch the scene again. Record the values that you like in a note. A recorded preset can be rebuilt fast after an app update resets settings.
Use a real shader preset snippet
RetroArch shader presets use a simple text format. The snippet below shows a minimal preset structure with one shader pass. Adjust the shader path to match the shader file on your phone. The snippet is only a starting example rather than a complete preset for every game.
shaders = "1"
shader0 = "shaders_glsl/crt/crt-geom.glsl"
filter_linear0 = "true"
wrap_mode0 = "clamp_to_border"
mipmap_input0 = "false"
alias0 = ""
float_framebuffer0 = "false"
The code above was written for this guide as a short shader preset example. Back up any preset file before you edit it by hand. A bad path in a preset can cause a black screen when the game loads. Restore the backup if the game fails to start after an edit.
Keep shaders smooth on weaker phones
Test shaders at native resolution first. A high internal resolution plus a heavy shader can overwhelm a weak GPU. Lower internal resolution before you blame the shader. A native resolution with a light shader often looks better than a high resolution with stutter.
Turn off extra video filters when a shader is active. A filter and a shader can duplicate the same work. That duplication wastes GPU time for no visible gain. Use either a filter or a shader for a given effect. Do not stack both for the same look.
Watch heat during long shader sessions. A heavy shader keeps the GPU busy for the whole session. Heat can trigger throttling that looks like shader lag. Remove a thick case and keep the phone cool. For a light emulator baseline read five retro game emulators that work on low-end devices and prove smooth play without shaders first.
Build a shader library you can trust
A shader library grows one tested preset at a time. Save a preset only after it passes a full level test. Name the preset with the game and the shader type. Store presets in a folder with a date in the name. A trusted library rebuilds fast after an app update.
Organise presets by look rather than by file name alone. Create groups for scanlines and smoothing and CRT styles. A grouped library lets you pick a look by mood rather than by memory. It also prevents duplicate presets with confusing names. Good grouping saves time every session.
Test presets on your actual phone screen rather than on screenshots. A shader that looks perfect on a large monitor may look harsh on a small phone. Adjust strength on the phone until the look feels right. Record the final strength in the preset name or note. Phone tested presets stay reliable.
Share presets only with their test details attached. A preset plus a phone model plus a game name helps another player judge it. A bare preset file helps nobody decide. Shared details also warn budget phone owners about heavy presets. Honest sharing improves the whole community library.
Review the library every few months and delete presets you never use. An unused preset clutters the menu and slows selection. Keep five favourites per style and archive the rest. A small trusted library beats a huge untested collection. Pruning keeps shader play fun rather than fiddly.
Back up the trusted library to a separate folder before major app updates. An update can reset shader paths or delete custom presets. A backup restores your looks in minutes. Without a backup you must rebuild every preset from memory. That rebuild wastes an evening of play time.
Test shaders in dark and bright scenes
A shader that looks good in a bright scene may fail in a dark scene. Scanlines can disappear in bright areas and dominate in dark areas. Test every shader in both a bright outdoor level and a dark cave level. A shader that works in both scenes deserves a permanent preset. A shader that works in only one scene needs per level caution.
Colour balance also shifts with shader strength across scenes. A strong smoothing shader may wash out bright colours while helping dark details. A weak shader may preserve bright colours but leave jagged edges in dark areas. Find a middle strength that serves both scene types. That compromise gives the most consistent look across a whole game.
Performance varies by scene as well as by shader. A busy bright scene with many sprites loads the GPU harder than a simple dark room. A shader that stays smooth in a dark room may stutter in a busy bright scene. Test frame rate in the busiest scene of the game before finalising a preset. That busy scene test protects long sessions from surprise stutter.
Common mistakes
The biggest mistake is stacking several heavy shaders at once. A stack can look amazing in one screenshot and stutter in real play. Use one shader pass for a real session. Add a second pass only when the first pass stays smooth for a full level.
- Players apply a global shader and then wonder why one game looks wrong.
- Players pick a heavy CRT shader on a budget phone and then blame the emulator.
- Players edit a preset without a backup and then cannot restore a working look.
- Players stack a filter and a shader for the same effect and waste GPU time.
- Players judge a shader in a menu instead of a busy game scene.
Another mistake is copying a desktop shader setup onto a phone. A desktop GPU can run shader stacks that a phone cannot. Phone shaders need lighter presets and lower resolution. A phone preset should be built on the phone itself with phone tests.
FAQ
Do shaders change game speed or difficulty?
No shaders only change the picture after the game draws a frame. Game logic and speed stay the same. A heavy shader can lower frame rate and make a game feel slower. That feel comes from frame drops rather than from a speed change in the game code.
Shaders change only the picture after the game draws a frame. Game logic and speed stay unchanged. A heavy shader can lower frame rate and make play feel slower. That feeling comes from frame drops rather than a game speed change.
Can shaders damage my phone?
Normal shaders cannot damage a phone by themselves. A heavy shader can raise heat during long sessions. Heat over time can age the battery faster. Use light shaders for long sessions and keep the phone cool. Stop play if the phone feels painfully hot.
Normal shaders cannot damage a phone by themselves. A heavy shader can raise heat during long sessions. Heat over time can age the battery faster. Use light shaders for long sessions and keep the phone cool.
Why does a shader look different on my phone than in a screenshot?
Screen size and resolution and brightness all change a shader look. A shader built for a large screen may look too strong on a small phone screen. Adjust strength parameters on your own phone. For PS2 specific graphics help read how to play PS2 games on Android at 60fps smoothly before you tune shaders for 3D titles.
Screen size and resolution and brightness all change a shader look. A shader built for a large screen may look too strong on a small phone. Adjust strength parameters on your own phone screen. Test in a busy scene rather than a menu.
Conclusion
Custom shaders let you shape the retro look without changing any game. Light scanline shaders suit most phones well. Smoothing shaders suit larger screens with care. Heavy CRT shaders suit strong phones and short sessions. One shader at a time with a real game scene test keeps the setup smooth.
Your concrete next step is to load one familiar game tonight and apply one light scanline preset. Play one full level and note frame stability. Save the preset per game only if the level stays smooth from start to finish.

