

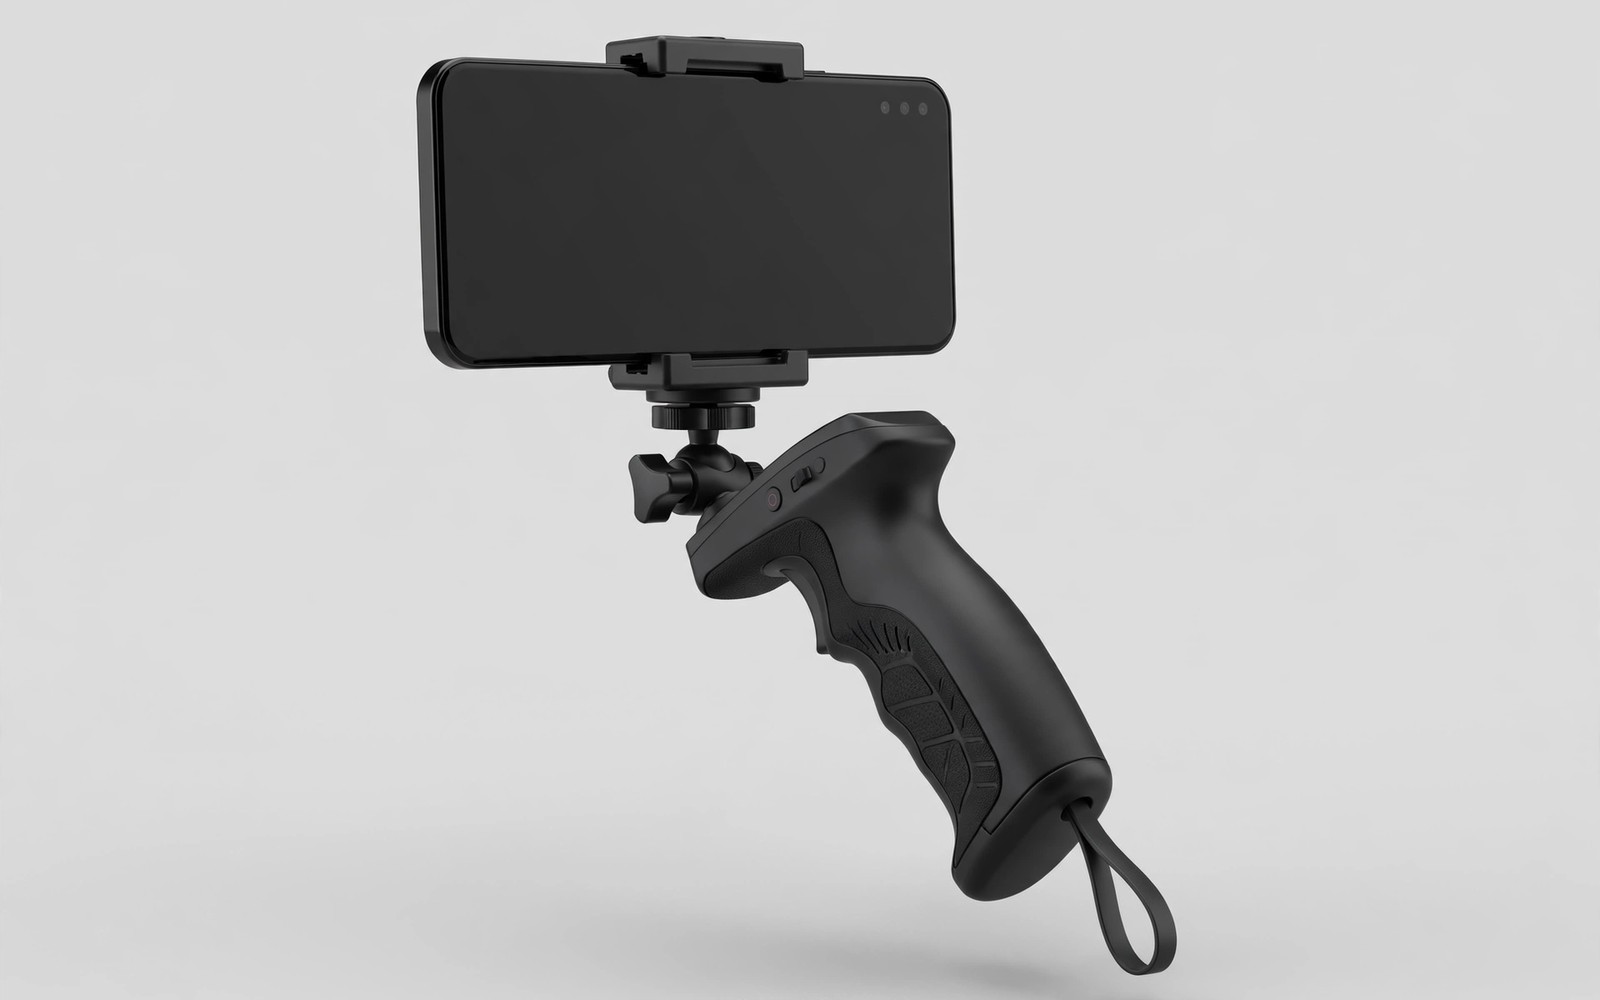
A bare phone is a poor shape for long video takes. Thin edges dig into fingers and the flat body offers little to hold. Hands tire and micro shakes grow as fatigue builds. A handheld grip reshapes the phone into a tool that hands can hold comfortably for hours.
Grips range from simple handles to full rigs with accessory mounts. A basic handle adds a comfortable bar to hold. An advanced grip adds cold shoes and tripod threads and a counterweight. The right grip depends on shoot length and accessory needs.
This guide explains grip shapes and ergonomics and balance. It covers wrist strain and accessory mounting and the habits that keep handheld footage steady. The goal is comfortable shooting that lasts the whole day.
Why Bare Phones Tire Hands
Phones are designed for pockets and calls rather than for filming. Their thin flat shape forces a pinch grip that strains finger tendons. The weight sits far from the wrist during one-handed shooting. Strain builds within minutes on long takes.
Touching the screen to adjust focus or exposure adds shake during a take. Fingers on the screen also risk smudging the lens area. A grip moves controls away from the phone body in some designs. Physical buttons on a grip allow adjustments without touching the screen.
Heat adds to discomfort on long recording sessions. A phone working hard for video grows warm in the hand. A grip creates distance between hand and hot phone body. Ventilation around the phone also improves when a grip holds it by the edges.
Fatigue shows in footage before the shooter notices it. Micro tremors grow as muscles tire. A grip delays fatigue by spreading load across larger muscle groups. Steadier footage late in the day is the real payoff.
Grip Shapes Compared
A single side handle bolts to one side of the phone or cage. It suits one-handed shooting and quick movement. The handle shape fills the palm and reduces pinch strain. Single handles pack small and suit travel kits.
A dual handle rig holds the phone between two grips like a small camera. It suits two-handed shooting and smooth pans. The load spreads across both arms and fatigue drops sharply. Dual rigs suit planned shoots more than spontaneous clips.
A pistol grip angles the handle below the phone for a natural wrist position. It suits walking shots where the phone points forward. The wrist stays neutral rather than twisted. Pistol grips feel natural within minutes for most shooters.
A U-shaped grip wraps around the phone with handles on both sides and a base below. It offers the most accessory mounting space. It also weighs the most and packs the largest. Studio and event shooters value its versatility.
Wrist Strain and Posture
Neutral wrist position is the core ergonomic goal. A bent wrist under load strains tendons quickly. Grips that keep the wrist straight during shooting reduce strain most. Test any grip by holding a shooting pose for two minutes and noting wrist comfort.
Elbow position matters too. Tucked elbows near the body support the arms better than extended elbows. A grip that allows elbows to rest near the torso suits long takes. Extended arm shooting tires shoulders regardless of grip quality.
Take breaks on long shoot days even with a good grip. Set the rig down between takes and stretch fingers and wrists. Short breaks restore steadiness more than any accessory. Schedule breaks into the shoot plan rather than skipping them.
Grip material affects comfort across a day. Rubberised surfaces stay grippy with sweaty hands. Wood feels warm and comfortable in cool weather. Metal feels solid but can chill hands outdoors. Choose material for your climate and shoot length.
Balance and Accessory Mounting
A grip changes rig balance by moving the hold point. Test balance with the full accessory load mounted. The rig should feel neutral rather than front-heavy or back-heavy. Adjust accessory positions or add a small counterweight to restore neutrality.
Cold shoes on grips hold lights and microphones without a cage. A top shoe suits a light while a side shoe suits a receiver. Keep accessories close to the grip body to limit leverage. Distant accessories increase wrist torque sharply.
Tripod threads on grips allow fast moves between handheld and tripod work. Mount the grip itself on a tripod head for static segments. This avoids removing the phone from the grip between segments. Fast transitions keep shoot rhythm smooth.
Counterweights help when a heavy light or microphone unbalances the rig. A small weight on the opposite side restores neutrality. Counterweights add total weight but reduce perceived strain. Neutral balance beats light imbalance for comfort.
- Test wrist comfort with a two minute shooting pose before buying any grip.
- Keep elbows near the body and take breaks between takes on long days.
- Balance the full accessory load so the rig feels neutral in the hand.
- Keep accessories close to the grip body to limit wrist torque.
- Use tripod threads on the grip for fast handheld to tripod transitions.
Choosing a Grip for Your Shooting
Choose a single handle for travel and spontaneous shooting. It packs small and deploys instantly. It suits vloggers who move constantly and shoot short clips. The simplicity keeps the kit light.
Choose a dual rig for planned video work with longer takes. Interviews and events and documentaries benefit from two-handed stability. The larger size pays back in steadier footage. Plan bag space for the rig.
Choose a pistol grip for walking shots and forward-facing video. The natural wrist angle suits movement best. It pairs well with a phone stabiliser for smoother results. Test the angle with your own hand size before buying.
Try grips in hand whenever possible before buying. Hand size and shooting style change which shape feels best. Online reviews cannot convey palm fit. A shop demo or a return policy protects against an uncomfortable choice.
VIDEO GRIP COMFORT CHECK
1 Wrist neutral during two minute hold test
2 Elbows able to rest near torso
3 Full accessory load balanced neutrally
4 Accessories close to grip body
5 Tripod thread available for static segments
6 Breaks scheduled for long shoot days
Grips for One-Handed Shooting
One-handed shooting suits walking vlogs and quick clips. A single handle with a wrist strap gives security during one-handed work. The strap catches the rig if grip loosens. A dropped rig without a strap is a common accident.
One-handed grips should keep the phone controls reachable with the same hand. A handle that blocks the record button forces awkward finger stretches. Test record start and stop with one hand before buying. Controls matter as much as comfort.
Fatigue grows faster one-handed because one arm carries the full load. Keep one-handed takes short and rest between them. Alternate hands when the shoot allows it. Short takes with rests beat long takes with shaking arms.
Grips with Built-in Power
Some grips include a battery that charges the phone during shooting. Built-in power extends recording time without a separate power bank. The grip grows heavier with the battery included. Weight versus runtime is the key trade-off.
Built-in power grips suit all-day event shooting where outlets are scarce. A grip battery plus a phone battery covers many hours of video. Check the grip battery capacity against your shoot length. A half-day grip still needs a power bank for full days.
Charging cables from grip to phone need tidy routing. A loose cable snags during movement and pulls the phone. Route the cable along the grip body with clips. Tidy cables also look professional to clients.
Grip Maintenance and Cleaning
Rubberised grips collect sweat and dirt over long shoots. Wipe grips with a damp cloth after outdoor sessions. Dry grips fully before storage to prevent odour. Clean grips stay grippy and comfortable.
Check grip screws and joints monthly for loosening. Vibration from walking loosens small screws gradually. A quick tighten routine prevents mid-shoot failures. Carry the correct tool for grip screws in the bag.
Store grips in a dry place away from direct sun. Sunlight degrades rubber surfaces over time. A bag pocket or case protects grips between shoots. Simple storage extends grip life greatly.
Grip Accessories: Straps and Lanyards
Wrist straps add security to handheld grips at almost no cost. A strap catches the rig when grip loosens unexpectedly. Straps suit boat shoots and cliff edges where drops are catastrophic. Attach the strap to a solid grip point rather than a plastic accessory. Test strap strength with a gentle tug before trusting it.
Neck lanyards distribute grip weight across the shoulders between takes. A lanyard lets the rig hang safely while hands rest. Lanyards suit event shooters who alternate between shooting and waiting. A hanging rig must not swing into people or objects. Control the hang with a hand when moving through crowds.
Quick release straps allow fast transitions between strapped and unstrapped shooting. A strap that cannot release quickly tangles during fast moves. Test release action with one hand before relying on it. Smooth release matters as much as secure attachment. Practice both actions at home.
Grips for Cold Weather Shooting
Cold weather stiffens hands and reduces grip strength during long takes. Grips with larger diameters help cold hands hold securely. Rubber surfaces stay grippy when cold unlike smooth metal. Gloves compatible with grips matter for winter shooting. Test glove and grip combinations before cold shoots.
Metal grips conduct cold into hands quickly and cause discomfort. Wooden or rubber-coated grips insulate better in winter. A grip cover can insulate a metal grip cheaply. Warm hands shoot steadier than numb hands. Comfort directly affects footage quality in cold weather.
Batteries drain faster in cold weather for phones and grip accessories alike. Keep spare batteries warm in an inside pocket. Swap cold batteries for warm ones during breaks. A warm spare restores full performance immediately. Cold management is part of winter shoot planning.
For motorised smoothness, see how three axis gimbals compare with electronic stabilization which steady movement beyond what a grip can do.
For a full filming frame, see professional phone camera cages and rig attachments for filmmakers which add handles and mounts together.
For fast mounting, see magnetic tripod mounts for rapid phone mounting and dock the grip rig in seconds.
The steps above follow the approach described in the official developer documentation and standard manufacturer guidance for camera grips and mobile video ergonomics. The comfort advice and balance habits reflect common practice for handheld phone shooting. Use them as a baseline and test grip fit with your own hands before a long shoot day.

