

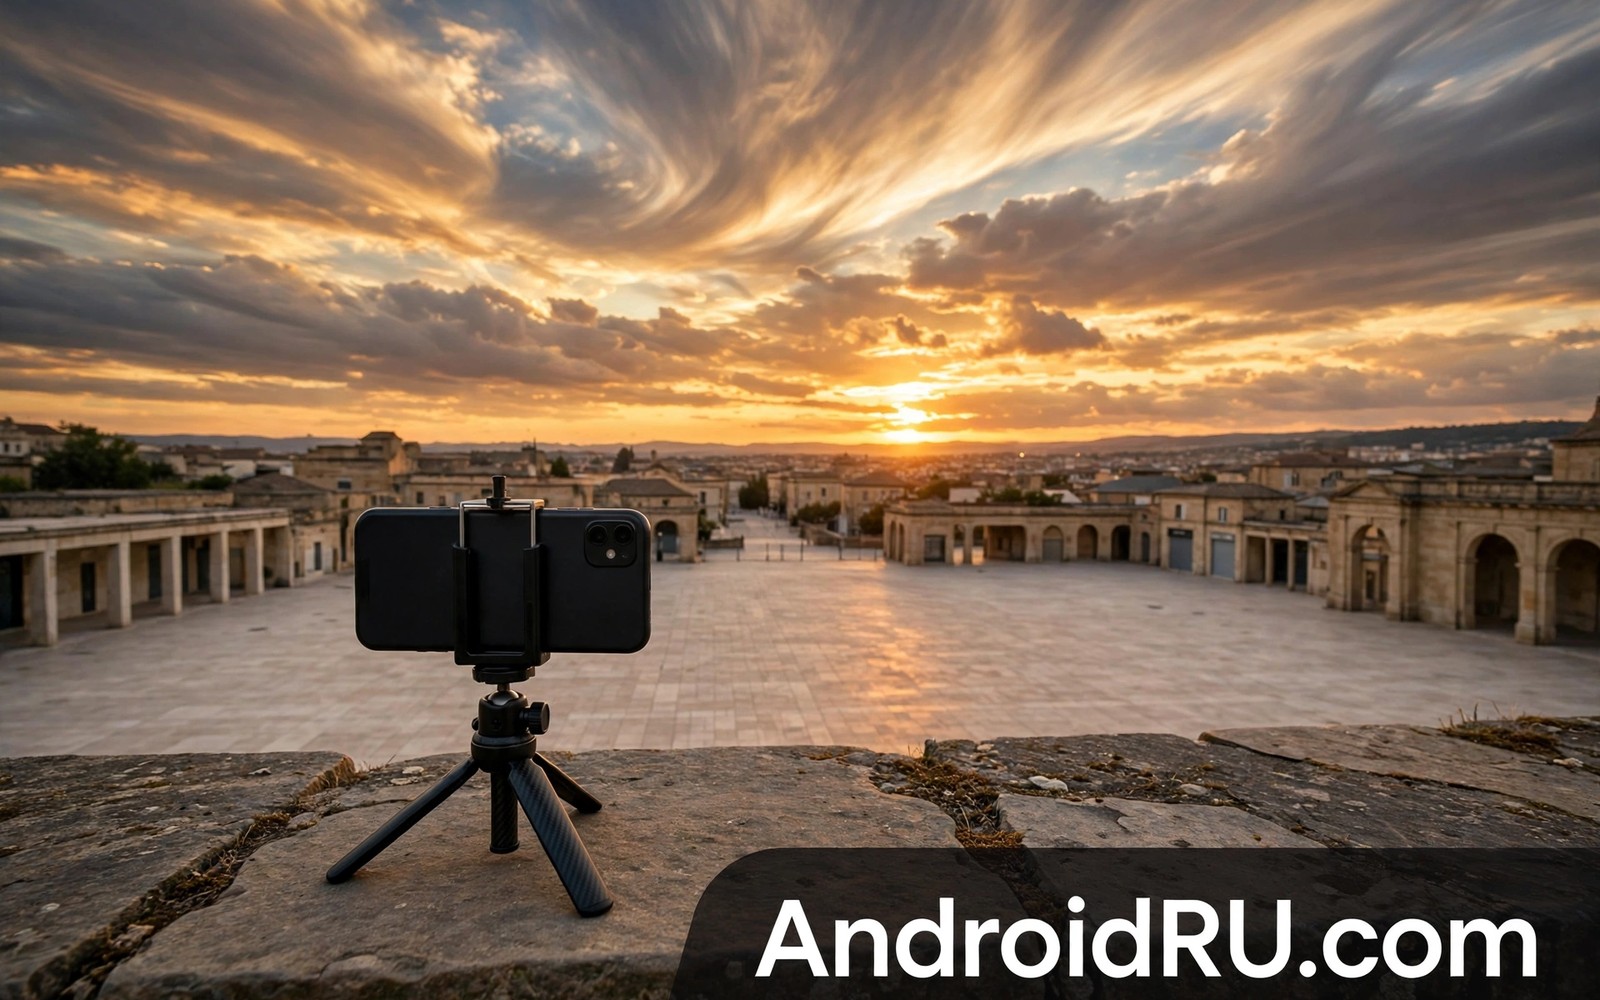
Time-lapse video compresses slow change into a short vivid clip. Clouds race across the sky. Shadows sweep across a plaza. A crowd flows like water through a station. A phone can capture all of this without special gear. The secret lies in interval choice and stability and exposure control. Get those three right and a phone time-lapse looks professional.
Start with a scene that visibly changes over time. A sunset changes colour every minute. A construction site changes shape every hour. A busy market changes constantly. A static room with no change makes a dull time-lapse. Choose a scene with motion you can already see. Motion that is too slow needs a very long shoot. Motion that is too fast needs a short interval. Match interval to motion speed.
Lock the phone down before you start. Any wobble ruins the illusion of a fixed camera watching time pass. Use a tripod or a stable clamp on a rail. Weigh the tripod down on a windy day. Turn off any phone feature that moves the frame between shots. A locked frame lets only the scene move. That contrast between fixed frame and moving scene creates the time-lapse magic.
Choose The Right Interval
Interval means the gap between captured frames. A one second interval suits fast clouds and busy traffic. A five second interval suits slow sunsets and shadows. A thirty second interval suits construction and plant growth. Short intervals create smoother motion but longer files. Long intervals create faster change but choppier motion. Start with a middle interval and adjust from results.
Estimate total shoot time before you press start. A thirty second final clip at thirty frames per second needs nine hundred frames. At a five second interval those frames take seventy five minutes to capture. At a one second interval they take fifteen minutes. Plan battery and storage around that maths. A shoot that dies halfway wastes the whole effort. A planned shoot finishes with a complete clip.
Test intervals with short trial clips first. Shoot a five minute trial at your planned interval. Play it back at full speed. Judge smoothness and speed of change. If motion looks jerky then shorten the interval. If change looks too slow then lengthen the interval. A five minute trial prevents a wasted two hour shoot. Trials are cheap and full shoots are not.
Lock Exposure And Focus
Lock exposure to prevent flicker in a time-lapse. Auto exposure changes brightness frame by frame as clouds pass. Those changes appear as flicker in the final video. Lock exposure on the most important brightness level. A sunset lock should favour the sky colour. A street lock should favour the main subject brightness. Locked exposure gives smooth tonal change across the clip.
Lock focus on your main subject as well. Autofocus hunting between frames creates pulsing sharpness. Manual focus or a focus lock prevents that pulsing. Tap the subject and lock focus before the shoot starts. Check focus at full zoom on the preview. A soft time-lapse cannot be sharpened later. A locked sharp focus stays sharp across hundreds of frames.
Lock white balance when your app allows it. Auto white balance shifts colour as light changes. Those shifts look like flicker in colour rather than brightness. A fixed white balance keeps a sunset warm throughout. It also keeps a daylight street consistent. Small colour shifts matter more in time-lapse than in a single photo. Hundreds of frames amplify every shift.
Stabilise And Power The Shoot
Use a tripod that cannot be bumped easily. Place it away from foot traffic when you shoot in public. Hang a bag from the centre hook for extra stability in wind. Check every leg lock before the first frame. A leg that slips halfway ruins alignment. A ruined alignment cannot be fixed by stabilisation software. Physical stability beats software correction in time-lapse work.
Power the phone for the full shoot duration. Time-lapse drains battery through constant sensor use. Start with a full battery and a connected power bank. Route the cable so it cannot tug the tripod. Tape the cable to a leg if wind moves it. A power bank that disconnects mid shoot ends the clip early. A secure power plan lets you walk away with confidence.
Protect the phone from sun and rain during a long shoot. Direct sun heats the phone and can stop recording. Shade the phone body while keeping the lens view clear. A small shade hood over the phone works well. Rain needs a clear cover that does not fog the lens. Check the lens for drops and dust every half hour on long shoots. A single drop in the middle of a clip distracts for the whole video. Shooting smooth handheld video without a gimbal covers stabilisation habits that help time-lapse too.
Pick Subjects That Reward Patience
Clouds reward patience with dramatic sky motion. Choose a day with broken clouds rather than a clear sky. Broken clouds create moving shapes and light changes. Clear skies create almost no visible change. Position the horizon low to feature cloud motion. Let clouds enter and leave the frame across the clip. A cloud clip needs at least twenty minutes to feel alive.
City traffic rewards patience with flowing light trails at dusk. Shoot from a bridge or a high window for a clear view. Use a longer interval for light trails to stretch. Keep exposure locked as daylight fades. Dusk traffic clips look best when headlights first appear. Start the shoot before dusk so the transition appears in the clip. That transition from day to night lights is the payoff.
People flows reward patience in markets and stations. A fixed camera above a crowd turns individuals into a flowing pattern. Shoot from a high angle to avoid faces dominating the frame. Keep intervals short because people move fast. A short interval keeps the flow smooth rather than jumpy. Respect privacy by avoiding identifiable close faces in a public time-lapse. Wide crowd patterns need no individual focus. Enabling cinematic 24fps video explains frame rates that suit time-lapse exports.
Edit For Smooth Final Motion
Export at a frame rate that matches your interval smoothness. Thirty frames per second suits most phone time-lapse exports. Twenty four frames per second gives a more filmic feel. Avoid very high export rates for long interval clips. High rates stretch choppy motion without adding smoothness. Choose the export rate after watching a trial export. Trial exports reveal judder that settings pages hide.
Add gentle stabilisation in editing only when needed. Heavy stabilisation crops the frame and can warp edges. Light stabilisation fixes tiny tripod vibrations. It cannot fix a bumped tripod halfway through a shoot. Check stabilised exports at full size. Warped edges signal too much correction. Accept a tiny wobble rather than a warped frame. Natural small motion feels better than digital warping.
Trim the start and end of every time-lapse clip. The first frames often include your hand leaving the phone. The last frames often include your hand returning to stop the shoot. Trim those moments for a clean start and end. Add a fade at the very end for a polished finish. A clean trim turns a raw capture into a finished clip. Keep the middle section tight and purposeful.
Choose music or silence deliberately for a finished time-lapse. Fast cloud clips suit gentle instrumental music. City clips suit a low ambient track. Silence suits nature clips where wind and birds matter. Music choice changes how viewers feel about the same footage. Test a clip with and without music before sharing. A wrong track distracts from motion that should carry the clip alone.
timelapse_interval = match motion speed
timelapse_exposure = locked
timelapse_focus = locked
timelapse_power = full battery plus bank
timelapse_frame = tripod locked
The snippet above is an original time-lapse checklist written for this guide. It lists only standard camera steps for your own mobile device. It does not copy instructions from any outside source.
Share time-lapse clips with context in the caption. State the shoot duration and the interval used. Viewers appreciate knowing that a thirty second clip took two hours. Context also helps other photographers learn from your settings. A clip without context looks like a trick. A clip with context looks like craft. Share settings openly and your audience will trust your work more.
Common Mistakes
One common mistake is to leave exposure on auto for a sunset time-lapse. Auto exposure flickers as clouds pass the sun. Lock exposure before the shoot starts. Another mistake is to use a handheld phone for a long time-lapse. Handheld frames never align well enough. Use a tripod for every serious time-lapse.
A third mistake is to choose an interval without a trial clip. A wrong interval wastes hours of shooting. Run a five minute trial first. A fourth mistake is to forget battery planning. A dead battery ends a clip early and wastes the shoot. Start full and connect a power bank securely. Stabilizing shaky mobile videos for free offers quick fixes for minor tripod vibration.
Frequently Asked Questions
How long should a time-lapse shoot last?
It depends on motion speed and final clip length. A thirty second clip needs nine hundred frames at thirty frames per second. Fast clouds need fifteen to thirty minutes. Slow sunsets need one to two hours. Plan from the final length backwards. Trial clips refine the estimate.
Why does my time-lapse flicker?
Flicker usually comes from auto exposure or auto white balance changes. Lock both before shooting. Flicker can also come from clouds changing light rapidly. Locked settings reduce flicker greatly. Editing software can smooth minor remaining flicker.
Can I shoot time-lapse without a tripod?
Short casual clips can work with the phone propped on a stable surface. Serious time-lapse needs a tripod. Even small vibrations show across hundreds of frames. A mini tripod costs little and transforms results. Prop the phone only for quick experiments.
Conclusion
Pick a cloudy sky this week and shoot a twenty minute trial time-lapse. Use a tripod and a two second interval with locked exposure and focus. Watch the trial and adjust the interval for smoothness. That one trial will teach you more than any settings chart about your phone and your scenes.

