

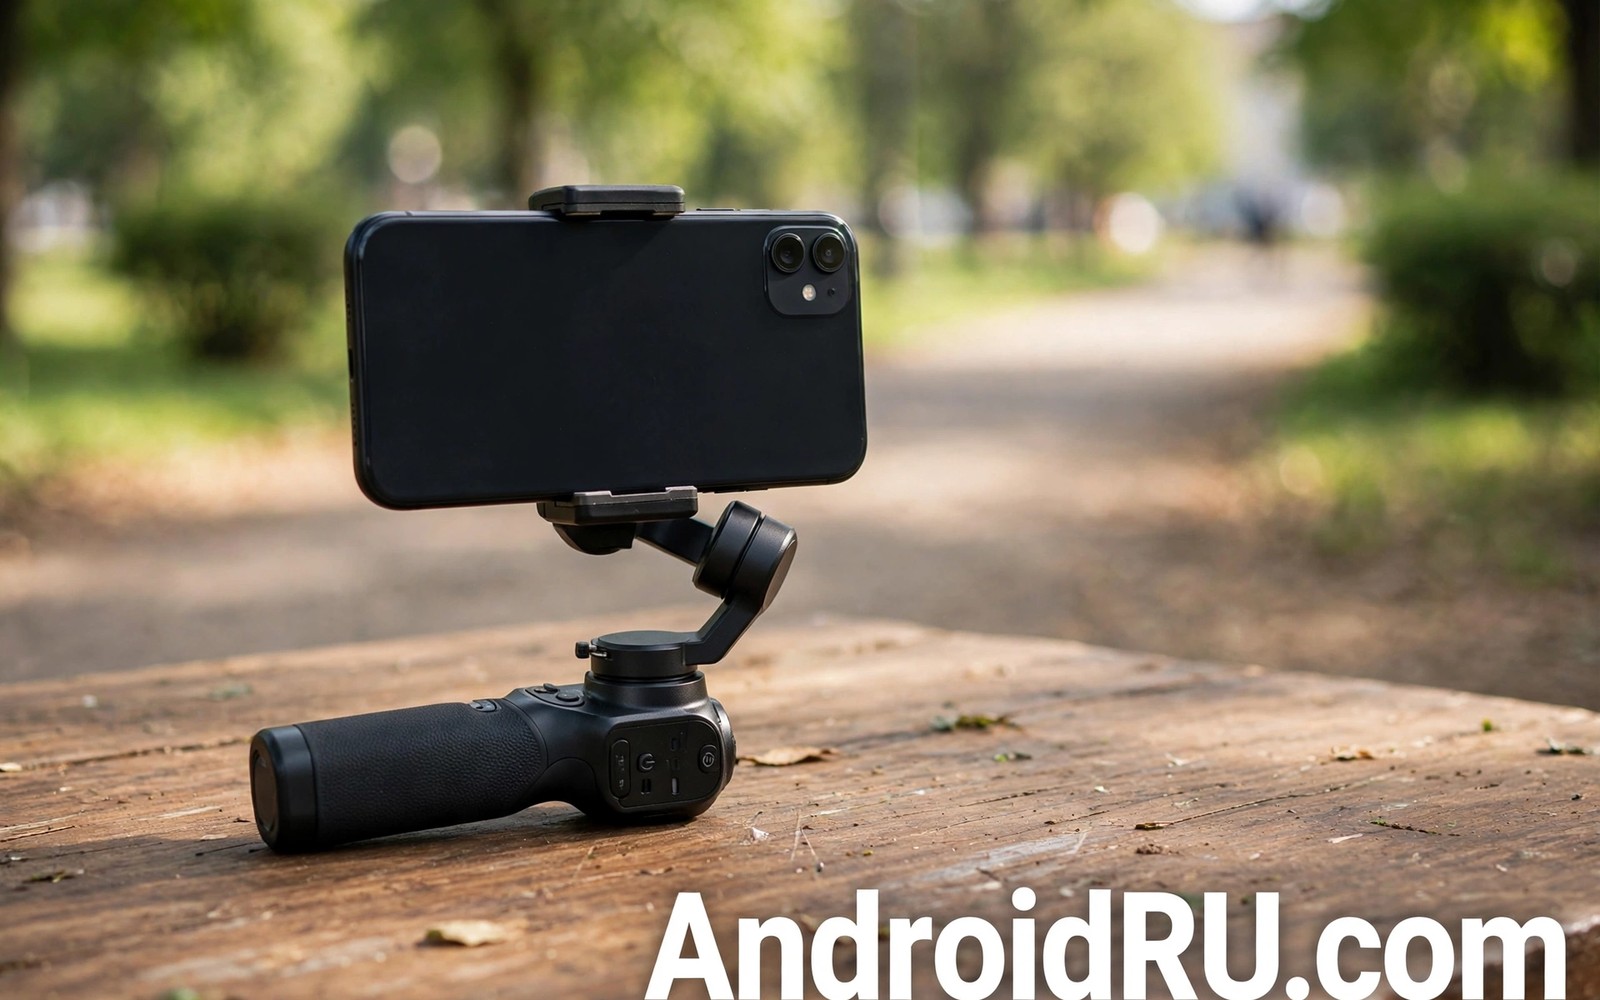
How to Stabilize Shaky Mobile Videos in 5 Seconds for Free
Shaky video is the fastest way to lose a viewer. A great moment with violent shake feels unwatchable, and a calm moment with gentle shake feels amateur. The fix is not a new camera or an expensive accessory. It is a setting that already lives on your phone, plus a grip and a walk that cost nothing. Together they turn a wobbly clip into footage that looks like someone held the phone still on purpose.
I learned this the hard way filming my nephew on a playground. The first clip shook so much his face blurred every time he ran past. The second clip, shot five minutes later with stabilisation switched on and my elbows tucked in, looked like a different phone had shot it. Nothing had changed except a toggle and my hands. That is the whole point of this guide: the five-second fix first, then the free techniques that make the fix work even better, then the free apps that rescue clips you already shot.
You will learn how electronic and optical stabilisation actually work, which mode to pick on Samsung, Pixel, iPhone, and Xiaomi, how to walk and pan without bounce, and how to steady an old clip in Google Photos or CapCut without paying anything. No gimbal purchase is required to start, and by the end you will know exactly when a gimbal is still worth it.
The 5-Second Fix: Turn on Stabilisation Before You Press Record
Open your camera app, look for the stabilisation option, and switch it on. That is the whole fix, and it takes about five seconds. On most phones the option sits in the video settings or appears as a small icon near the top of the screen when you switch to video mode. If you only remember one thing from this guide, remember this: stabilisation must be on before you record. Turning it on afterwards cannot help, because the phone can only steady the frames it captured with the feature running.
- Open the camera app and switch to Video mode.
- Tap the settings gear or the stabilisation icon on the screen.
- Turn on video stabilisation, or pick Standard mode if your phone offers a choice.
- Record a ten-second test clip while walking slowly, then play it back.
- If the clip still shakes, switch to the stronger mode and test again.
Standard mode is the right default for most shots. It crops the frame slightly and smooths out small shakes, and the crop is small enough that you will not miss it. Enhanced or super steady modes crop more and smooth aggressively, which suits running or rough ground, but they can make slow pans feel floaty and they cut off the edges of your frame. Start with Standard, and only reach for the stronger mode when the ground or your pace demands it.
Check the setting every time you open the camera after an update, because updates sometimes reset camera options. A quick glance before an important moment saves a clip you cannot reshoot. I keep a habit now: open camera, switch to video, check the stabilisation icon, then record. Five seconds, every time, and I have not lost a clip to shake since.
EIS vs OIS: How Your Phone Steadies Video
Phones steady video with two different tools, and knowing which one you have tells you what to expect. Electronic image stabilisation, or EIS, is software: the phone reads its gyroscope, works out how your hand moved, and shifts each frame to cancel the movement. Optical image stabilisation, or OIS, is hardware: a tiny motor moves the lens or the sensor itself to counteract your hand in real time. Many modern phones use both at once, and that combination is why phone video looks so much calmer than it did five years ago.
What Electronic Stabilisation Does to Your Frame
EIS works by cropping. The camera records a slightly larger frame than the final video, and the software slides that window around to cancel shake. The cost is a small loss of field of view: the edges of your shot get trimmed, usually by about 10 to 20 percent depending on the strength. The benefit is that it works on every lens and costs nothing extra, which is why even budget phones ship with it. The electronic image stabilisation on a modern phone is good enough that most walking shots look steady without any extra help.
EIS has limits. It cannot fix violent shake, because the movement is bigger than the spare frame around the edges. It also struggles in low light, because the longer exposure times blur each frame before the software can align them. If your evening clips still shake with EIS on, the answer is usually more light or a slower walk, not a stronger setting. Software can only steady what the sensor captured cleanly.
What Optical Stabilisation Does Inside the Lens
OIS works before the light even reaches the sensor. When your hand tilts left, the lens shifts right, and the image stays centred. Because it happens in hardware, it does not crop your frame and it helps in low light too, since the sensor gets a steadier image during each exposure. The optical image stabilisation in a flagship phone is the reason night videos look calmer than they have any right to.
Most phones only put OIS on the main camera. Switch to the ultrawide lens and you usually lose it, which is why ultrawide walking shots can look shakier than main-camera shots on the same phone. Check your own phone: record the same walk on the main lens and the ultrawide lens, then compare. If the ultrawide clip shakes more, that is the missing OIS, and the fix is to shoot important walking shots on the main lens whenever you can.
Hold Your Phone Like a Camera Operator
Software helps, but your body is the first stabiliser, and it is free. Hold the phone with both hands, close to your body, with your elbows tucked against your ribs. Your arms become a short, stiff frame instead of a long, wobbly lever. Move from your legs rather than your arms when you walk, bend your knees slightly to absorb each step, and walk heel to toe slowly and smoothly. Body technique reduces shake at the source, and software then has less shake to correct.
Use a simple grip aid you already own. A selfie stick held low acts as a handle, and a short tripod with its legs folded acts as a handle too. A handle moves the shake from your hands to a longer lever, and longer levers smooth small tremors naturally. Hold the handle near its balance point, where the phone feels weightless, and the shot steadies by itself. An unbalanced handle tires your wrist fast and shakes more than your bare hands, so take five seconds to find the balance point before you record.
Breathe like it matters, because it does. A deep breath held during a ten-second shot keeps your chest still, and a slow exhale during a pan keeps the movement even. Plant your feet before a static shot, and take one slow step at a time during a walking shot instead of rushing. The difference between a rushed walk and a slow walk is the difference between a clip you delete and a clip you keep.
For a deeper walkthrough of grip and movement without buying anything, the guide on Shooting smooth handheld video without a gimbal covers the same body techniques in more detail, including how to brace against walls and railings when you have no handle at all. The two guides agree on the same point: your hands and your feet are the cheapest stabiliser you will ever own.
Stabilisation Modes on Samsung, Pixel, iPhone, and Xiaomi
Every brand names its stabilisation differently, and the menus hide in different places. The table below gives you the quick map, and the sections after it give you the exact taps for each brand. The names change with updates, but the pattern stays the same: a standard mode for everyday shots and a stronger mode for action.
| Brand | Standard mode | Strong mode | Where to find it |
|---|---|---|---|
| Samsung | Video stabilisation | Super Steady | Camera settings, or the running-man icon |
| Pixel | Standard stabilisation | Active stabilisation | Video settings in the camera app |
| iPhone | Standard stabilisation | Action mode | Camera app, or Settings, then Camera |
| Xiaomi | Steady Video | Steady Video Pro | Video mode settings |
Samsung Super Steady and Super Steady Pro
On Samsung phones, open the camera, switch to Video, and tap the settings gear. Video stabilisation is the standard toggle. Super Steady appears as a running-man icon at the top of the screen, or under the video settings on newer models. Super Steady crops more and smooths harder, and it works best on the ultrawide lens, where Samsung leans on EIS to steady the shot. Use it for running, cycling, or chasing a child across a park. Turn it off for slow, careful shots, because the heavy smoothing can make a slow pan feel like the camera is floating.
When to Switch Super Steady Off
Switch Super Steady off when you are filming something still, like a person talking to the camera, or when you are panning slowly across a landscape. The aggressive smoothing fights your deliberate movement and adds a strange drift to the frame. Standard stabilisation handles those shots better, and it keeps more of the edges of your frame. A good rule: if your feet are still, Super Steady should be off.
Pixel Video Stabilisation Modes
On Pixel phones, open the camera, switch to Video, tap the settings arrow, and look for Video stabilisation. Standard mode is the default and suits nearly everything. Active mode, on Pixel 7 and newer, is the stronger option for walking and light running, and Locked mode, on Pixel 8 and newer, holds the frame almost perfectly still for action shots. Pixel also offers a separate Cinematic Pan mode for slow, smooth pans. Pick Standard for daily clips, Active for walks, and Locked only when the action is fast and the framing matters more than the edges.
Locked, Active, and Standard Modes on Pixel 8 and Newer
Locked mode is the strongest tool Pixel offers, and it is also the most cropped, so use it with intent. Frame your shot a little wider than usual before you switch it on, because the crop will eat the edges. Active mode is the middle ground: steadier than Standard, less cropped than Locked, and the right pick for a walk through a market or a park. Standard mode is the honest default for everything else, and it is the mode I leave on when I hand the phone to someone else.
iPhone Action Mode and Standard Stabilisation
On iPhone, standard stabilisation is always on when you shoot video, and there is nothing to switch on for everyday clips. Action mode is the stronger option: open the camera, switch to Video, and tap the running-man icon. Action mode crops more and needs good light, because it leans on a faster shutter to freeze movement, so it shines outdoors and struggles in dim rooms. The Action mode icon turns yellow when it is active, and a quick tap turns it off again. Use it for running, sports, and chasing kids, and leave it off for interviews and slow scenes.
iPhone users should also check Settings, then Camera, then Record Video, where the frame rate and resolution live. Higher frame rates like 60 fps give the stabiliser more frames to work with, and the footage looks smoother even before stabilisation. The trade is bigger files, so 4K at 60 fps is a treat for important clips rather than a default for everything. For a full look at frame rates, the guide on Enabling cinematic 24fps video explains when 24 fps suits a film look and when 30 or 60 fps suits action better.
Xiaomi Steady Video
On Xiaomi phones, open the camera, switch to Video, tap the menu, and look for Steady Video. The standard version smooths everyday walking shots with a modest crop. Steady Video Pro, on supported models, is the stronger mode for running and rough ground, and it crops more. Xiaomi also offers a separate Movie frame and LOG options on some models, but those are looks, not stabilisation, so do not confuse them with the steady modes. Test both steady modes on the same walk and keep the one that looks calm without cutting off the subject.
Walk, Pan, and Tilt Without Shake
Walking is where most shake comes from, and the fix is a different walk. Bend your knees a little, keep your steps short, and roll each step from heel to toe instead of landing flat-footed. Think of your legs as shock absorbers and your upper body as a camera platform that stays level while your legs do the work. The heel-to-toe walking technique feels odd for the first minute and natural after the third, and it is the single biggest improvement you can make without touching a setting.
Panning and tilting need the same slow discipline. Pick a speed before you move, start the movement slowly, keep it even, and stop slowly instead of jerking to a halt. A five-second pan across a scene looks professional. A one-second pan looks like a mistake. If the scene is wide, walk your feet around instead of twisting your waist, because your waist adds a wobble that your arms cannot cancel.
- Walk slowly: short, soft steps beat long, fast strides every time.
- Keep elbows in: tucked elbows turn your arms into a stable frame.
- Use both hands: one hand holds, the other steadies, and the phone stops twisting.
- Plan the shot: know where the pan ends before you start moving.
- Stop and settle: pause for one second after moving, so the last frame is calm.
Practice on something boring before something important. Walk down your street filming a fence, then watch the clip. Walk the same street again with bent knees and short steps, then compare. The second clip will be visibly calmer, and the comparison teaches your body faster than any description. Ten minutes of practice like this is worth more than an hour of reading about stabilisation.
Fix Shaky Clips After Recording With Free Apps
Sometimes the shaky clip is already shot, and the moment is gone. Free apps can still rescue it. Post-shoot stabilisation works the same way EIS does: the app analyses the movement, crops the frame a little, and shifts each frame to cancel the shake. It cannot fix violent shake or heavy motion blur, but it turns a mildly shaky clip into a watchable one, and the tools below cost nothing.
Stabilise a Clip in Google Photos
- Open Google Photos and open the shaky video.
- Tap Edit, then tap the Stabilize button, which looks like a small shaky-frame icon.
- Wait while the app analyses the clip, then preview the result.
- Tap Save copy to keep the original untouched, and compare the two versions.
- If the crop cuts off something important, keep the original and try CapCut instead.
Check the Crop Before You Export
Google Photos stabilisation crops the edges to make room for the correction, and the crop is bigger on shakier clips. Watch the preview for cut-off faces, missing signs, or a subject drifting out of frame. If the crop ruins the shot, the original shaky clip is sometimes the better choice, or a lighter touch in another app is. Always save a copy rather than overwriting, so you can change your mind.
Stabilise a Clip in CapCut for Free
- Open CapCut, start a new project, and import the shaky clip.
- Select the clip on the timeline, then open the Stabilize option.
- Pick the lightest level first, preview it, and raise the level only if the shake remains.
- Export at the same resolution and frame rate as the original to avoid extra quality loss.
- Compare the export with the original side by side before you delete anything.
CapCut gives you more control than Google Photos, because you can pick the strength and see the crop before you commit. The lightest level is often enough, and it keeps the most of your frame. The strongest level steadies almost anything, but it crops hard and can make the footage look warped. Start light, and only go stronger when the shake demands it.
When a Gimbal Still Beats Free Stabilisation
Free stabilisation covers most daily filming. A gimbal still wins in a few specific situations, and knowing them stops you from buying one you do not need, or from skipping one you do. A gimbal is a motorised handle that holds the phone level no matter how your hand moves, and it fixes shake in hardware before the sensor ever sees it. That is a different league from software correction, but it costs money, weight, and setup time.
| Method | Cost | Shake it fixes | Crop | Best for |
|---|---|---|---|---|
| Phone EIS and OIS | Free | Small and medium shake | About 10 to 20 percent | Daily clips and walks |
| Body technique | Free | Shake at the source | None | Every shot, every day |
| Google Photos or CapCut | Free | Mild shake after the fact | About 10 to 25 percent | Rescuing old clips |
| Smartphone gimbal | About 70 to 150 dollars | Almost all shake | None | Running, events, paid work |
Buy a gimbal if you film while running, shoot paid events, or walk and talk for long takes where the camera must stay perfectly level. Skip it if you film holidays, family, and daily life, because the phone in your pocket with stabilisation on and a decent grip already covers those shots. A gimbal left at home because it is heavy helps no one. The best stabiliser is the one you actually carry.
Time-lapse is a special case worth a note. A shaky time-lapse looks far worse than a shaky normal clip, because the speed-up multiplies every wobble. If you enjoy time-lapse, brace the phone against something solid or use a small tripod, because software stabilisation struggles with the long gaps between frames. The guide on Shooting incredible time-lapse videos on mobile covers the setup in detail, including the best intervals for clouds, traffic, and sunsets.
Frequently Asked Questions About Stabilising Mobile Video
Why is my video still shaky with stabilisation turned on?
Usually one of three reasons: the shake is bigger than the software can correct, the light is too low for clean frames, or you are on a lens without OIS. Try walking slower, moving into brighter light, and switching to the main camera. If the clip is still shaky, the stronger mode or a post-shoot pass in Google Photos is the next step. Violent shake from running needs the strongest mode or a gimbal.
Does stabilisation make my video quality worse?
A little, and the cost is a crop rather than a blur. EIS trims the edges of the frame to make room for the correction, so you lose some field of view, usually 10 to 20 percent. The sharpness of what remains stays nearly the same. OIS costs nothing in quality at all, because it moves the lens instead of cropping. If the crop bothers you, step back a little before you record.
Can I stabilise a video after I already recorded it?
Yes, and it is free. Google Photos has a Stabilize button in the editor, and CapCut offers a stabilisation tool with a strength slider. Both crop the frame to correct the movement, and both work best on mildly shaky clips. Save a copy rather than overwriting the original, so you can compare and keep the better version.
Should I use 60 fps for steadier video?
Yes, when you can. Sixty frames per second gives the stabiliser twice as many frames to work with, and the motion looks smoother even before stabilisation. The files are bigger, so use 60 fps for action and important clips, and 30 fps for everyday shooting. For a film look, 24 fps is the classic choice, but it is the hardest frame rate to keep steady, so only use it with stabilisation on and a slow walk.
Your Next Step: Shoot One Steady Clip Today
Go outside, open your camera, switch to Video, and turn stabilisation on. Hold the phone with both hands, tuck your elbows in, bend your knees slightly, and walk heel to toe past something you like. Record ten seconds, play it back, and compare it with a clip shot the old way. The difference will be obvious, and it cost you nothing but five seconds and a better grip.
Keep the habit for a week. Check the setting before every important shot, walk slowly, and steady one old clip in Google Photos to see what the rescue tools can do. After a week your hands will do the work without thinking, and your videos will look like someone who knows what they are doing shot them. That someone is you, with the same phone you already own.

