

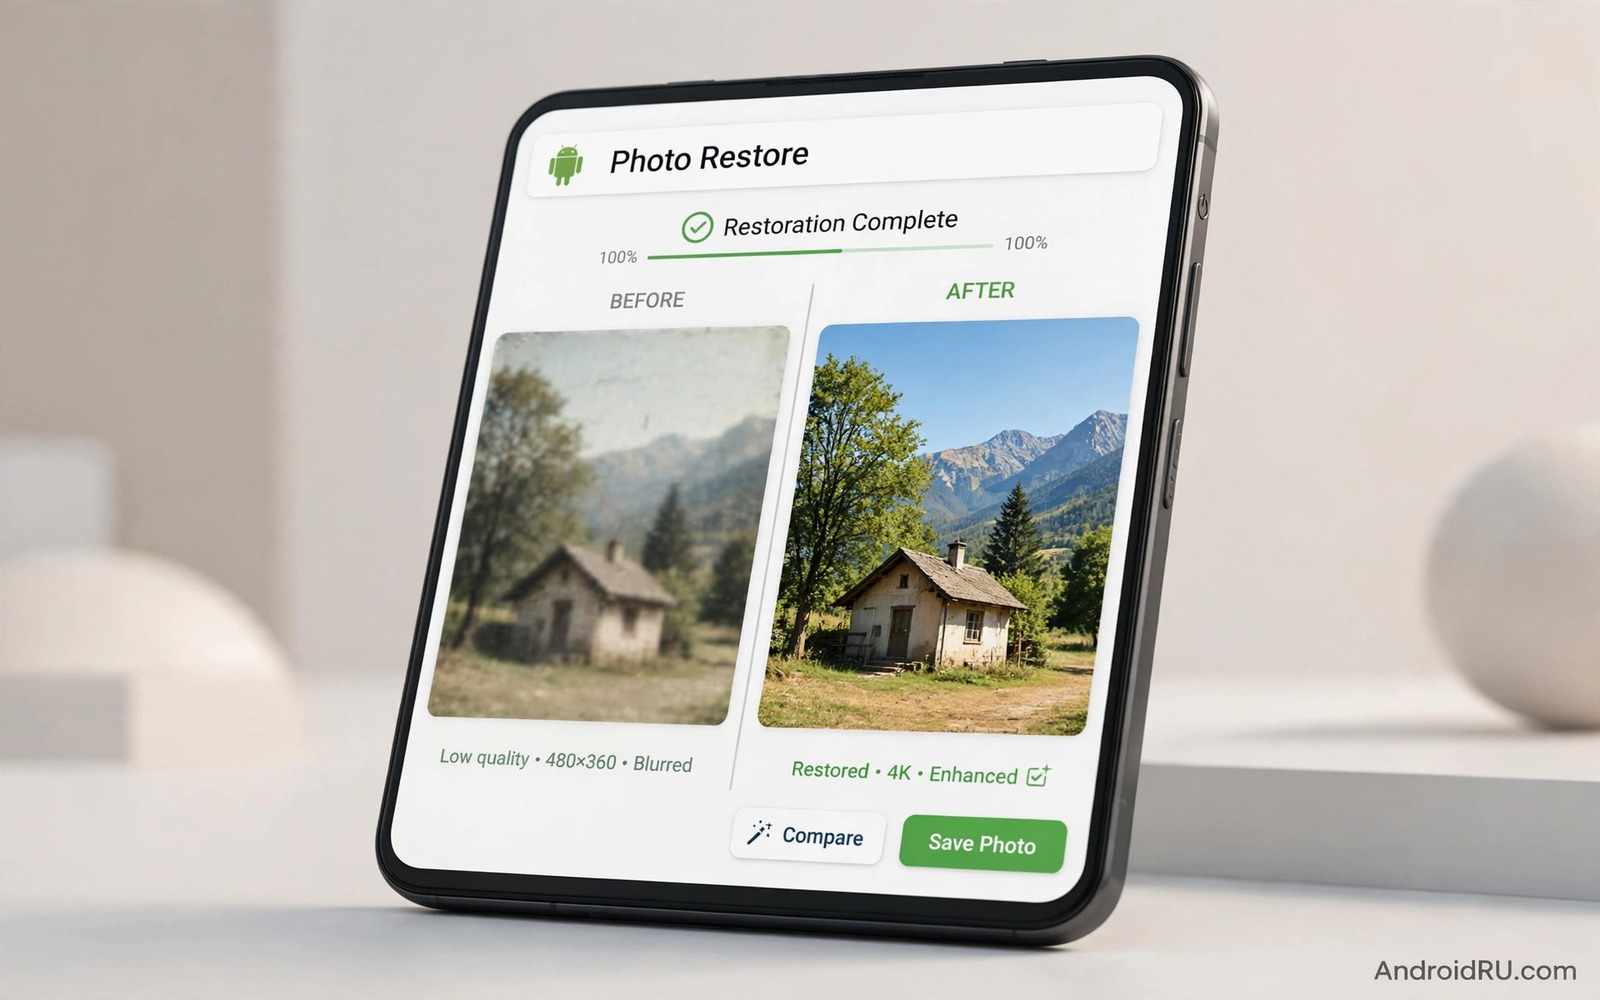
An old photo can carry a memory that no new shot can replace. The image may be soft from a shaky hand or grainy from a dim room or small because it was cropped hard. AI photo enhancers promise a shortcut through those problems. They study patterns in millions of sharp images and then rebuild missing detail in a way that looks plausible to the eye.
The promise is real but it has limits that matter. An enhancer cannot recover a face that was never captured in the first place. It can sharpen an edge and clean noise and lift shadow detail. It cannot invent a true likeness with certainty. The best results come from photos that still hold a recognisable shape and some texture. A completely blurred face will stay uncertain no matter how strong the tool claims to be.
This guide treats enhancement as a craft rather than a magic button. You will learn how to sort photos by problem type and how to test tools on a copy and how to judge a result without being fooled by oversharpening. The five approaches below cover portraits and landscapes and old scans and night shots and heavily compressed images. Each one suits a different failure and each one needs a different check before you trust the output.
What AI enhancement actually fixes
Most phone photos fail in one of four ways. Noise appears as coloured speckles in dark areas. Blur softens edges when the subject moves or the focus misses. Compression smears fine texture into blocks. Low resolution leaves too few pixels for a large print or a full screen view. An enhancer attacks these problems with separate models for denoising and deblurring and upscaling. A tool that excels at noise removal may still struggle with motion blur.
Upscaling deserves special care. A good upscaler does more than stretch pixels. It predicts plausible texture for hair and fabric and foliage based on learned patterns. That prediction looks convincing at normal viewing distance. It can still fail on text and on fine repeating patterns such as brickwork or distant fences. Zoom to one hundred percent and check those areas before you share an enlarged image as if it were an original capture.
Colour and tone form a second layer of repair. Many enhancers also correct white balance and lift shadows and tame harsh highlights. Those changes can rescue a dull photo in one pass. They can also push skin tones toward orange or turn a cloudy sky into an unnatural blue. Compare the enhanced version beside the original on the same screen. If skin looks plastic or grass looks neon then the strength is too high for that image.
Start with the original file not a copy
Always work from the largest file you can find. A photo that has passed through a chat app may have lost half its pixels before you even open an enhancer. Check the original camera roll and any cloud backup that stores full resolution files. A larger starting file gives the model more true detail to work with and less guesswork to fill in. Readers who want stronger starting files will benefit from camera tricks that lift everyday shots because better capture reduces the repair job later.
Make a duplicate before any enhancement. Keep the original untouched in a separate folder with a clear name such as original untouched. Work only on the copy. This habit protects you when an enhancer produces a strange artefact or when you later want a different style. Storage is cheap compared with a lost original that held sentimental value. A simple copy step also lets you run several tools on the same source and compare them fairly.
Sort the photo by its main problem before you choose a tool. A noisy night portrait needs denoising first. A soft landscape needs sharpening and careful upscaling. An old scanned print needs dust removal and tone repair before any upscaling. Treating the dominant problem first prevents a later step from amplifying an earlier error. A denoise pass done after upscaling often leaves noise larger and harder to remove.
Five approaches worth testing on your own photos
The first approach is an on-device enhancer that runs without uploading your photo. It suits private family pictures and it works without a fast connection. On-device tools tend to be gentler and faster for single images. They may offer fewer controls than cloud tools. Use them when privacy matters more than maximum detail and when you need a quick result for sharing.
The second approach is a cloud upscaler built for large prints. It can handle two times and four times enlargement with stronger detail prediction. It suits landscape shots and group photos that will be printed or cropped further. Upload only a copy and check the service terms for how long files are stored. A cloud tool that keeps your photos for training may not suit sensitive personal images.
The third approach focuses on faces. Face restoration models rebuild eyes and skin texture with special care. They can rescue a slightly soft portrait in a striking way. They can also change a likeness in subtle ways that family members notice. Use face tools at moderate strength and compare eyes and teeth and ears closely. If a restored face looks like a different person then the tool has guessed too far.
The fourth approach targets old scans and damaged prints. It removes dust and scratches and repairs faded colour before it sharpens anything. Scanning at high resolution matters more than the enhancer choice here. A flat scan at three hundred dots per inch or higher gives the model clean edges to work with. A phone photo of a printed photo adds glare and perspective distortion that no enhancer fully removes.
The fifth approach is a general editor with an AI enhance button inside a full editing app. It suits photos that need enhancement plus cropping and colour grading in one place. The enhance button often works best as a starting point rather than a final step. Apply it at partial strength and then refine exposure and contrast by hand. That hybrid method keeps the photo looking like a photograph instead of a digital painting.
A repeatable workflow that keeps results natural
Begin with a single test photo that represents your hardest case. Run it through each candidate tool at its default setting and export the results at the same size. View them side by side on a large screen rather than on a small phone display. Small screens hide artefacts that become obvious in a print or on a television. Note which tool handles skin and which tool handles foliage and which tool handles text.
Next reduce the strength when a result looks overprocessed. Many tools hide a strength slider behind an advanced panel. A seventy percent result often looks more believable than a full strength result. The goal is a photo that looks like it was taken with better light and a steadier hand. It is not a photo that looks like it was drawn from scratch. Step back from the screen and ask whether the image still feels like the moment you remember.
Finish with manual checks that AI tools skip. Straighten horizons and remove obvious dust spots and check the background for warped lines. AI models sometimes bend straight edges near a face or a building. A quick manual pass catches those errors before anyone else sees them. Save the final version as a new file and keep the enhanced copy separate from the original so future edits stay reversible.
For portraits the same discipline pays off in a different way. A guide to portrait techniques for budget phones shows how light and distance shape skin texture before any software touches the file. Better light means the enhancer has real skin detail to preserve. Harsh flash creates flat skin that an enhancer can only smooth further. A soft window light remains the cheapest upgrade for any portrait workflow.
A small script to compare before and after
The script below creates a side by side comparison from an original and an enhanced file. It suits readers who test several tools and want a fair visual record. Run it on a computer with a photo library installed and point it at copies of your files. The output image keeps both versions at the same height so differences in sharpness and colour stand out clearly.
from PIL import Image
original = Image.open("original.jpg")
enhanced = Image.open("enhanced.jpg")
height = 1000
original = original.resize((int(original.width * height / original.height), height))
enhanced = enhanced.resize((int(enhanced.width * height / enhanced.height), height))
combined = Image.new("RGB", (original.width + enhanced.width, height), "white")
combined.paste(original, (0, 0))
combined.paste(enhanced, (original.width, 0))
combined.save("comparison.jpg", quality=92)
The code above was written for this guide as an original comparison helper. It does not enhance a photo by itself and it does not send any file to an outside service. It only places two local images side by side for honest judgement. Adjust the height value to suit your screen and keep the original file untouched while you test.
Common mistakes
The biggest mistake is enhancing a photo that has already been compressed by a chat app. The model then invents detail to replace pixels that compression destroyed. The result may look sharp yet it may invent the wrong texture for hair or fabric. Always trace back to the largest source file before you judge any tool.
Another mistake is running enhancement twice at full strength. A second pass often turns skin into wax and turns foliage into a pattern that repeats unnaturally. One careful pass at moderate strength beats two aggressive passes. If the first pass leaves noise then address noise alone rather than repeating the whole enhancement chain.
People also forget to check the background. AI tools focus on the main subject and they can warp railings and text and distant faces. A portrait can look perfect while a sign behind the subject gains bent letters. Scan the whole frame at full zoom before you publish or print the result.
Finally avoid presenting an enhanced photo as an unedited original in a context where accuracy matters. A family album allows creative repair. A news image or a legal record demands a clear label for any enhancement. Honesty about the edit protects both the viewer and the photographer from false conclusions.
Frequently asked questions
Can AI enhancement recover a completely blurred face?
No. A face that holds no edge or texture information cannot be recovered with certainty. A tool can produce a plausible face but that face may differ from the real person. Use enhancement for mild blur and soft focus rather than for total blur. Keep expectations tied to the detail that remains in the source file.
Should I enhance before or after cropping?
Enhance before a final crop when you plan a large enlargement. The model then works with the full frame and it can use context from around the subject. Crop after enhancement for composition. If you crop first then upscale the crop alone you may amplify noise in a smaller area. A full frame pass followed by a careful crop usually gives cleaner edges.
Does enhancement work well on screenshots and memes?
Results vary because screenshots mix sharp text with flat colour areas. Text often gains halos and flat areas gain fake texture. A dedicated upscaler with a text aware mode performs better than a portrait tool. For text heavy images a simple sharpening pass and a contrast adjustment may beat a full AI rebuild. Test on one screenshot before processing a whole set.
Conclusion
AI photo enhancers work best as careful repair tools rather than as rescue magic. They clean noise and sharpen edges and predict plausible texture when the source still holds useful information. They fail when the source is too small or too compressed or too blurred to guide the model. A disciplined workflow with original files and moderate strength and full frame checks will beat blind trust in any single button.
Your concrete next step is to pick one hard photo and run it through two different tools on a copy. Build a side by side comparison with the script above and view it on a large screen. Keep the tool that preserves skin and background lines most faithfully. Readers who enjoy refining mobile images will also like professional style raw editing on Android and editing tricks that sharpen a photo feed as practical follow-ups.

