

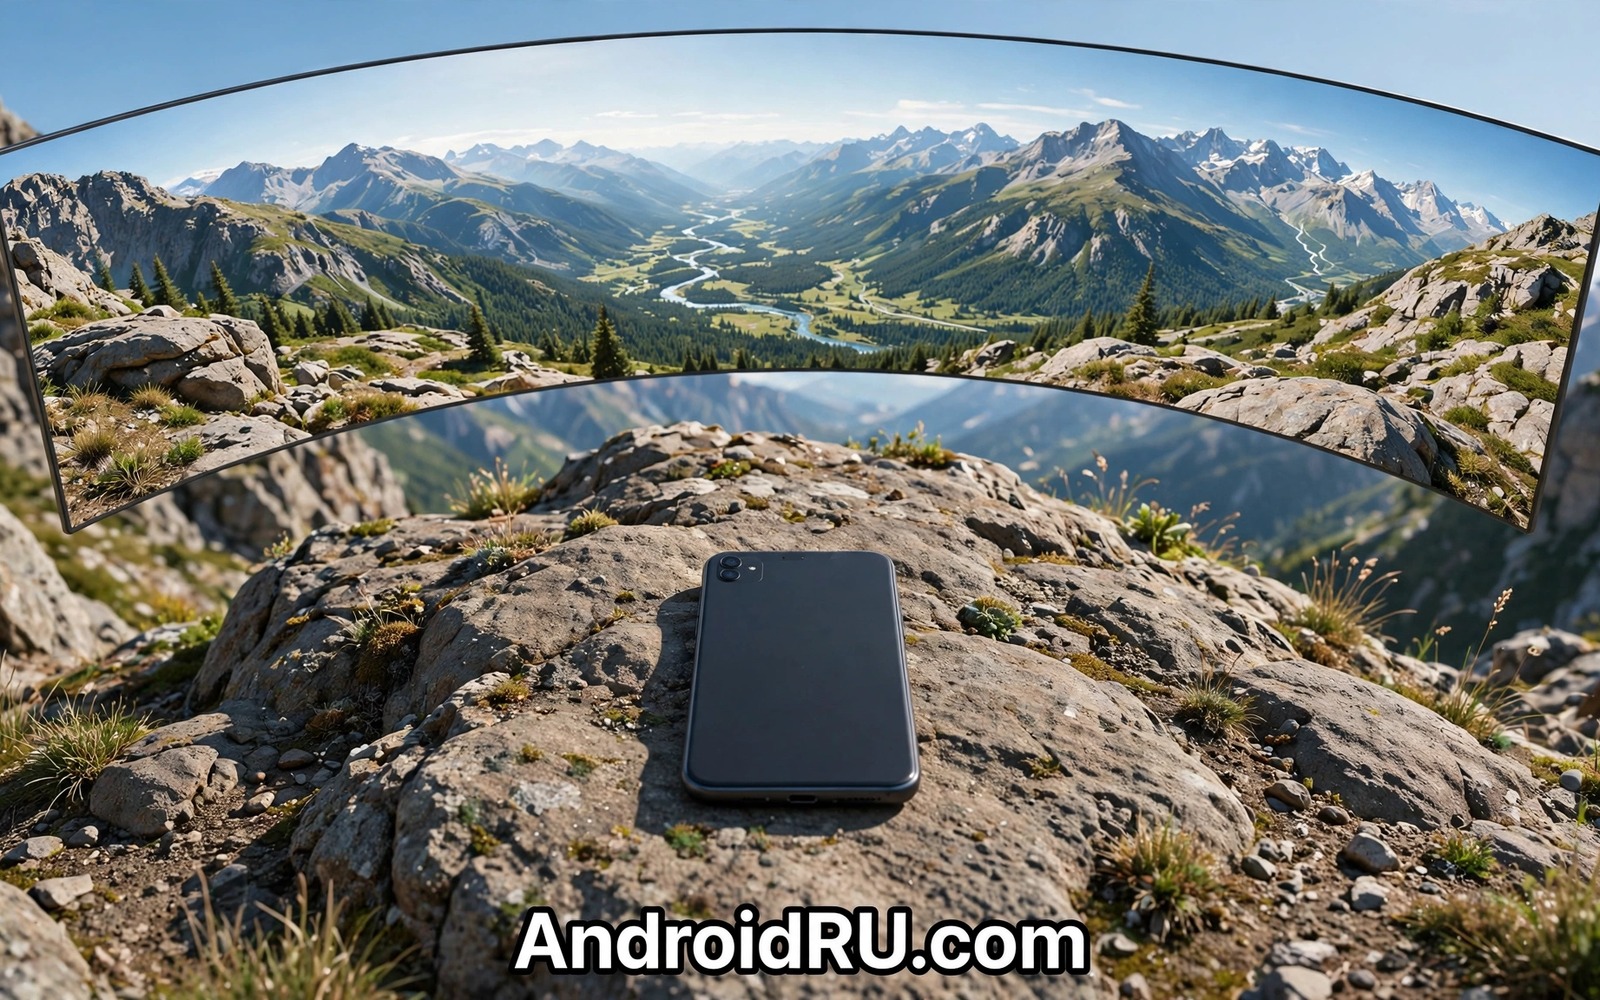
A panorama turns a wide landscape into a single sweeping image. A full three hundred and sixty degree panorama goes further and wraps the whole scene around the viewer. It captures the mountains behind you as well as the lake in front of you. It creates an immersive record of a place that a single frame cannot match. Android phones can capture these scenes with built-in panorama modes and with dedicated stitching apps.
Success depends on steady movement and consistent exposure more than on expensive gear. A panorama is built from many overlapping frames stitched together. Any jump in brightness or any sudden movement creates a visible seam. A slow smooth pan with a fixed exposure gives the stitching software clean material to join. This guide shows a method that works for landscapes and interiors and city streets.
Think about the final viewing experience before you start. A full panorama is best viewed on a screen that lets the viewer scroll around the scene. A printed panorama needs a wide format and a lower height. A social share may crop the panorama into a short video pan. Capture for the widest use and then export versions for each destination rather than capturing a narrow version first.
Choose the right panorama method
Built-in panorama mode guides you with an arrow and stitches frames automatically. It suits most landscapes and it needs no extra app. The phone handles overlap and exposure blending while you pan. Built-in modes may limit resolution or stop at a partial panorama on some models. Check the maximum angle in your camera app before planning a full circle.
Dedicated panorama apps offer more control over exposure lock and stitching and export format. They suit interiors and scenes with moving people where automatic stitching may fail. A dedicated app may also export a true spherical file that viewers can explore interactively. Test a free app on a simple garden panorama before using it for a special location.
Manual stitching from individual photos gives the most control but it needs more work. Shoot overlapping stills with a locked exposure and stitch them on a computer later. Manual stitching suits high resolution prints and scenes with tricky light. It is slower but it forgives errors that automatic modes cannot fix. Choose manual only when the final print justifies the extra effort.
Lock exposure and focus before panning
Exposure lock prevents brightness jumps between frames. Tap and hold on a mid tone area to lock exposure and focus before starting the pan. A locked exposure keeps the sky consistent from the first frame to the last. Without a lock the camera may brighten a dark building and darken a bright sky in different frames and create banding.
Focus lock matters for the same reason. A camera that refocuses during a pan may shift sharpness between frames. Lock focus on a subject at a medium distance that represents the scene. A landscape focused at infinity works for distant scenes. An interior focused on a central table works for a room panorama. Lock both settings before the first frame.
White balance lock also helps when your app offers it. Automatic white balance can shift colour as the camera pans from warm indoor light to cool window light. A locked white balance keeps colour consistent across the stitch. If your app lacks a white balance lock then choose a preset that matches the dominant light in the scene.
Pan slowly around a fixed pivot
Stand in one spot and rotate your body slowly around your feet. Keep the phone at the same height and distance from your body throughout the pan. Avoid walking forward during the pan because forward movement changes perspective and breaks stitching. Your body is the tripod and your feet are the pivot point.
Move at a steady speed that matches the on screen guide. A slow pan gives the camera time to capture sharp frames with good overlap. A fast pan creates blur and gaps between frames. Pause briefly at the start and at the end so the stitching has clean anchor frames. A smooth pan feels boring to perform but it produces a clean result.
Keep the horizon level throughout the pan. A tilted horizon creates a wavy panorama that looks unprofessional. Use grid lines to keep the horizon on the same line in every frame. For interiors keep a prominent horizontal line such as a table edge level as you pan. Readers who practise composition will also benefit from grid lines for mastering the rule of thirds because level framing starts with grid awareness.
Handle people and moving subjects carefully
Moving people create ghosts when they appear in two overlapping frames at different positions. A person walking through a panorama may appear twice or half cut. Ask people to stay still during the pan when possible. For a busy street accept some movement and choose a pan direction that minimises crossings through the frame.
For a group panorama ask the group to spread around you rather than clustering in one direction. A spread group fills the panorama naturally. Ask everyone to hold still and smile for the full duration of the pan. A group panorama takes patience but it creates a memorable record of a gathering that a single frame cannot capture.
Water and clouds also move during a long pan. A slow pan across a seascape may show a wave in two positions. Keep the pan as short as practical for scenes with fast water. A faster steady pan reduces movement artefacts while still giving enough overlap. Balance pan speed against sharpness for each scene.
A small script to check panorama overlap
The script below estimates how many frames a panorama needs based on field of view and overlap. It helps you plan a manual panorama before shooting. Enter the field of view per frame and the desired overlap to see the frame count for a full circle.
field_of_view = 70
overlap_percent = 30
step = field_of_view * (1 - overlap_percent / 100)
frames = 360 / step
print(f"Step per frame: {step:.1f} degrees")
print(f"Frames for full circle: {frames:.1f}")
The code above was written for this guide as an original panorama planner. It calculates only a frame estimate from field of view and overlap values. It does not stitch photos and it does not access your camera. Adjust overlap to forty percent for tricky scenes and the script will show how many extra frames that safety margin requires.
Export panoramas for different screens
A panorama needs different exports for different destinations. A full spherical export suits an interactive viewer where the audience can drag around the scene. A wide flat export suits a print or a website banner. A short video pan suits a social feed that cannot show interactivity. Creating all three from one capture multiplies the value of a single pan.
For a print export choose a wide aspect ratio and check that the horizon stays level across the full width. A print reveals stitching errors that a small screen hides. For a video pan choose a slow steady movement across the panorama rather than a fast sweep. A slow pan lets viewers absorb details that a fast sweep turns into a blur.
Label exports clearly with the location and the date so you can find them later. A panorama named only panorama final will be hard to identify in a year. A name that includes place and year tells the story at a glance. Good file names turn a single capture into a lasting archive.
Common mistakes
The biggest mistake is panning too fast. A fast pan creates blur and stitching gaps that cannot be repaired later. Slow down and follow the on screen guide even when it feels tedious. A panorama rewards patience more than any other phone photo technique.
Another mistake is changing height during the pan. Raising or lowering the phone mid pan creates a wavy horizon and misaligned frames. Keep the phone at eye level or chest level consistently. Use your body rotation rather than arm movement to change direction.
People also forget to lock exposure before starting. An unlocked exposure creates visible bands where brightness changes between frames. Lock exposure on a mid tone area and test a short pan before committing to a full circle. A short test reveals banding before you waste a special scene.
Finally avoid starting a panorama in the brightest part of the scene and ending in the darkest part without a lock. The stitching software struggles with extreme range even with a lock. Choose a starting direction that balances bright and dark areas across the pan. A balanced start gives the whole panorama a consistent tone.
Frequently asked questions
Can I take a full 360 panorama with a normal phone camera?
Many phones support a wide panorama mode but not every model supports a full three hundred and sixty degree capture in the stock app. A dedicated panorama app can fill the gap on phones with a limited stock mode. Check your camera app for a panorama or photo sphere mode and test its maximum angle in an open space.
Why does my panorama have a visible seam?
A seam usually comes from exposure change or movement between frames. Lock exposure and focus and pan slowly with steady height. Moving subjects near the seam also create visible joins. Repeating the pan with locked settings and still subjects usually removes the seam.
How do I share a 360 panorama so viewers can explore it?
Export the panorama in a spherical format supported by your sharing platform when possible. Some platforms support interactive panoramas while others show only a flat wide image. For platforms without interactive support export a short video that pans across the panorama. A video pan preserves the immersive feel on a flat feed.
Conclusion
Full panoramas reward steady movement and locked settings more than advanced gear. A fixed pivot and a slow level pan and a locked exposure give stitching software clean frames to join. Handling moving subjects with care prevents ghosts and seams. A planned panorama becomes an immersive record of a place rather than a distorted wide photo.
Your concrete next step is to practise a full circle panorama in your garden tomorrow. Lock exposure and focus on a mid tone area and pan slowly around your feet with grid lines on. Review the result for seams and horizon wobble. Readers who love wide scenes will also like composition tricks for stunning landscapes and incredible time lapse videos on mobile as follow-ups.

