

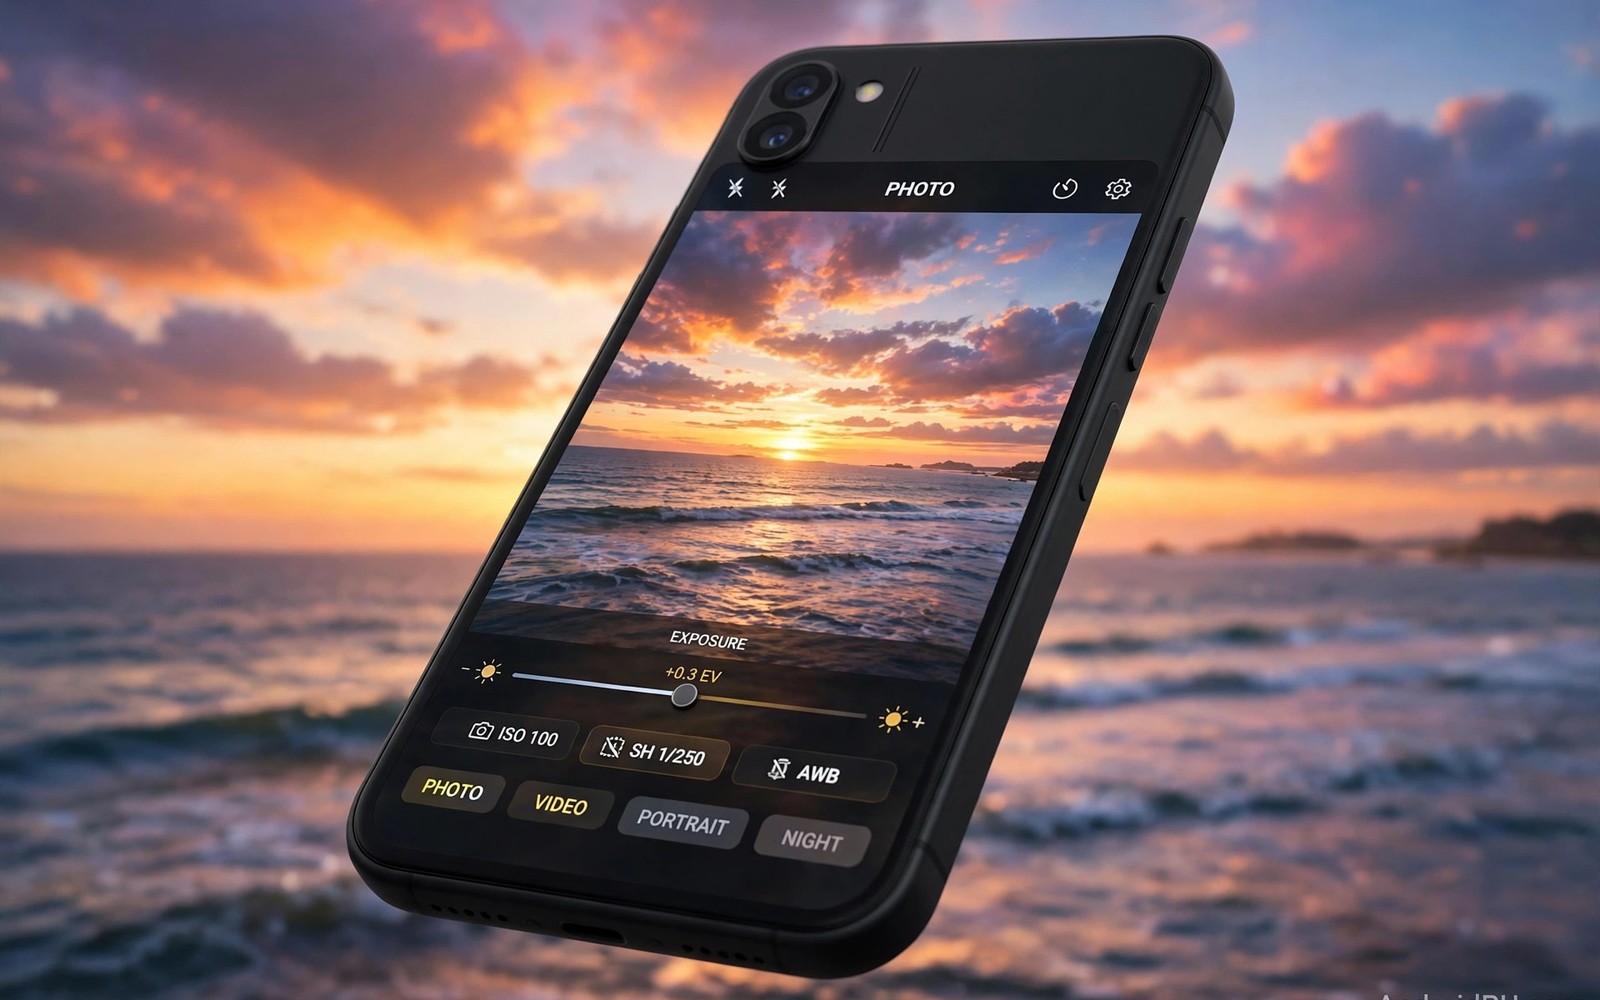
Sunset photos disappoint when the sky turns white and the colours wash out. The phone meter sees a dark foreground and brightens the whole scene to reveal it. That brightening blows out the sky that you actually wanted to photograph. Manual exposure lock stops the meter from ruining the sky by fixing exposure on the bright area first.
Exposure lock works by tapping a bright part of the sky and holding until the phone locks both focus and exposure. Once locked you can recompose without the phone changing brightness as the foreground enters the frame. That locked value preserves cloud detail and saturated colour that automatic metering destroys. Readers who struggle with bright scenes should also read landscape composition tricks for mobile photographers for framing that complements good exposure.
Start practising at home with a bright window scene before a real sunset. Tap the bright sky area and lock exposure and watch the foreground darken while the sky gains colour. That immediate change teaches the power of the lock faster than any explanation. Sunset shooting becomes a calm routine once the gesture feels automatic.
Lock exposure on the brightest sky
Point the phone at the sunset and tap the brightest cloud area that still shows colour. Hold the tap until the lock indicator appears and the exposure slider becomes available. Drag the slider down slightly if the sky still looks washed out after locking. A small downward move often restores deep orange and pink tones that auto exposure hid.
Keep your finger steady during the lock gesture because a moving tap can lock on the wrong area. Practice the long press on your specific phone model because gesture timing varies. Some phones require a long press while others offer a separate lock button in pro mode. Learn your phone gesture at home so sunset moments do not become fumbling moments.
Check the sky after locking by looking for texture in clouds rather than a flat white glow. Cloud texture proves the exposure is low enough to preserve detail. If clouds still look flat then drag exposure down one more step and check again. That iterative check takes seconds and it saves the whole sunset shoot.
Recompose without losing the lock
After locking exposure you can move the phone to include foreground interest without changing brightness. Move slowly and keep the phone steady so the lock does not reset accidentally. Some phones release the lock when you switch lenses or modes so avoid changing settings mid shot. Test lock persistence on your phone before an important sunset.
Foreground silhouettes work beautifully with a locked sky exposure because dark shapes contrast against colourful sky. Place a tree or a person or a building as a dark shape in the lower frame. That silhouette adds story without needing foreground detail. A locked sky plus a clean silhouette creates a classic sunset composition.
When the foreground matters as well as the sky then shoot two frames with different locks and blend them later. Lock on the sky for one frame and lock on the foreground for another frame. Editing apps can blend those two exposures into one balanced image. That two frame technique suits scenes where one exposure cannot serve both sky and ground.
Use HDR carefully at sunset
HDR mode can help sunsets by merging bright sky and dark ground into one balanced frame. Moderate HDR preserves sky colour while lifting foreground detail gently. Strong HDR flattens the sunset into a grey scene that loses drama and warmth. Choose the lowest HDR strength that reveals foreground shape without greying the sky.
Test HDR and exposure lock together because the combination sometimes conflicts on some phones. Lock exposure first and then enable HDR if the phone allows both. Compare the HDR result with the locked single frame on a larger screen. Keep whichever version preserves sky colour more faithfully because sky colour is the heart of a sunset photo.
RAW capture offers another path for sunsets because RAW files keep more sky detail for later editing. Shoot RAW plus JPEG at sunset when your phone supports it. Edit the RAW file by lowering highlights and lifting shadows gently in an editor. That post processing route rescues skies that even exposure lock could not fully save.
Time your sunset shoot well
Arrive at least twenty minutes before sunset to scout composition and test exposure locks. Light changes fast during golden hour and early arrival gives you time to experiment calmly. Watch how colours deepen as the sun drops and adjust exposure lock as the sky darkens. A lock set too early may need a small adjustment as light fades.
The best colour often appears after the sun dips below the horizon during the afterglow period. Stay for fifteen minutes after sunset because the sky can ignite with pink and purple light. Many photographers leave too early and miss the richest colours of the evening. Patience after sunset rewards you with skies that early leavers never see.
adb shell dumpsys media.camera | grep -i exposure
adb shell settings put system camera_exposure_lock 1
adb shell input keyevent 27
The commands above follow the standard Android developer workflow for checking camera exposure features from a computer. Credit for this method belongs to the wider Android developer community that details these tools for everyday exposure feature checks.
Clean the lens and check the sky
Sunset light reveals lens smudges as flare and haze across the sky. Wipe the lens with a soft cloth before every sunset session and check it against the light. A clean lens preserves sky contrast and colour that a dirty lens washes out. That simple wipe often improves sunset photos more than any setting change.
Shield the lens from direct sun with your hand when flare streaks appear across the frame. A small shadow over the lens edge can remove flare without entering the photo. Move your hand slowly and watch flare disappear on screen before shooting. That hand shade technique costs nothing and it works instantly.
Review sunset photos at full zoom for sky banding and noise after capture. Smooth sky gradients can band when compression is heavy or exposure is pushed too far. Shoot at full resolution and avoid heavy compression for sunset work. Clean gradients separate professional sunset photos from casual snapshots.
Shoot sunsets in different locations
Beach sunsets offer reflections and open horizons that make exposure lock easy to practise. Water doubles sky colour and creates a symmetrical composition that flatters simple framing. Arrive early to find a foreground rock or pier that anchors the lower frame. That anchor prevents a beach sunset from feeling empty despite beautiful sky colour.
Mountain sunsets create layered ridges that darken into silhouettes against a colourful sky. Those layers give depth that a flat horizon lacks. Position yourself so ridges overlap rather than merging into one shape. Layered silhouettes turn a sunset into a landscape story rather than a sky snapshot.
City sunsets add buildings and bridges as silhouettes that contrast with warm sky tones. Rooftops and cranes create interesting shapes that beach and mountain scenes lack. Use exposure lock on the sky and let buildings fall dark for a dramatic urban sunset. That dark building layer grounds the image in a real place.
Desert and field sunsets offer wide open skies with minimal foreground distraction. A single tree or fence line in a field sunset creates a powerful focal point. Keep that focal point small in the frame so the sky dominates the story. Minimal foreground suits sunsets where sky colour is the true subject.
Sunset timelapses compress a whole golden hour into a short clip that shows colour changing dramatically. Mount the phone on a tripod and lock exposure manually before starting the timelapse. Manual lock prevents flicker as the camera adjusts exposure between frames. That flicker ruins many sunset timelapses that automatic exposure creates.
Silhouette portraits at sunset need a willing subject who can hold a pose while you lock exposure on the sky. Ask the subject to stand still against the brightest sky area and shoot quickly. A relaxed silhouette with a clear head shape reads beautifully against colour. Avoid complex poses that merge with the horizon line and lose shape.
Common mistakes
The biggest mistake is trusting automatic metering at sunset because it always prioritises the dark foreground over the sky. Lock exposure on the sky first for every sunset photo. Automatic metering serves average scenes but sunsets are extreme scenes that need manual control.
Another mistake is leaving too early before the afterglow colours peak. Stay after sunset and keep shooting as colours change. The afterglow often produces the most memorable frame of the evening.
People also forget to clean the lens before sunset shooting because flare looks like a camera flaw. Wipe the lens and shade it from direct sun for cleaner skies. Those two habits cost seconds and transform results.
Frequently asked questions
Why does my sunset look white instead of orange?
Automatic exposure brightens the dark foreground and blows out the sky. Lock exposure on the brightest sky area and drag it down until colour returns.
Should I use a filter for sunsets?
A graduated filter can help balance sky and ground but exposure lock usually suffices on phones. Try exposure lock first before buying accessories.
Can I fix an overexposed sunset in editing?
Only partly because blown highlights contain no colour information to recover. A slightly dark original edits far better than a blown original.
Conclusion
Manual exposure lock stops sunset overexposure by fixing brightness on the sky before recomposing. Arrive early and lock on bright clouds and drag exposure down until colour returns. Stay for afterglow and keep the lens clean for the best results.
Your concrete next step is to practise exposure lock on a bright window scene today before your next sunset. Lock on the bright area and recompose and note how colour survives. Readers who love golden hour will enjoy landscape composition tricks for mobile photographers and night shots that stay sharp without a tripod as natural follow-ups. As a related next step, explore capturing high dynamic range (HDR) photos that actually pop to extend what you set up here.

