

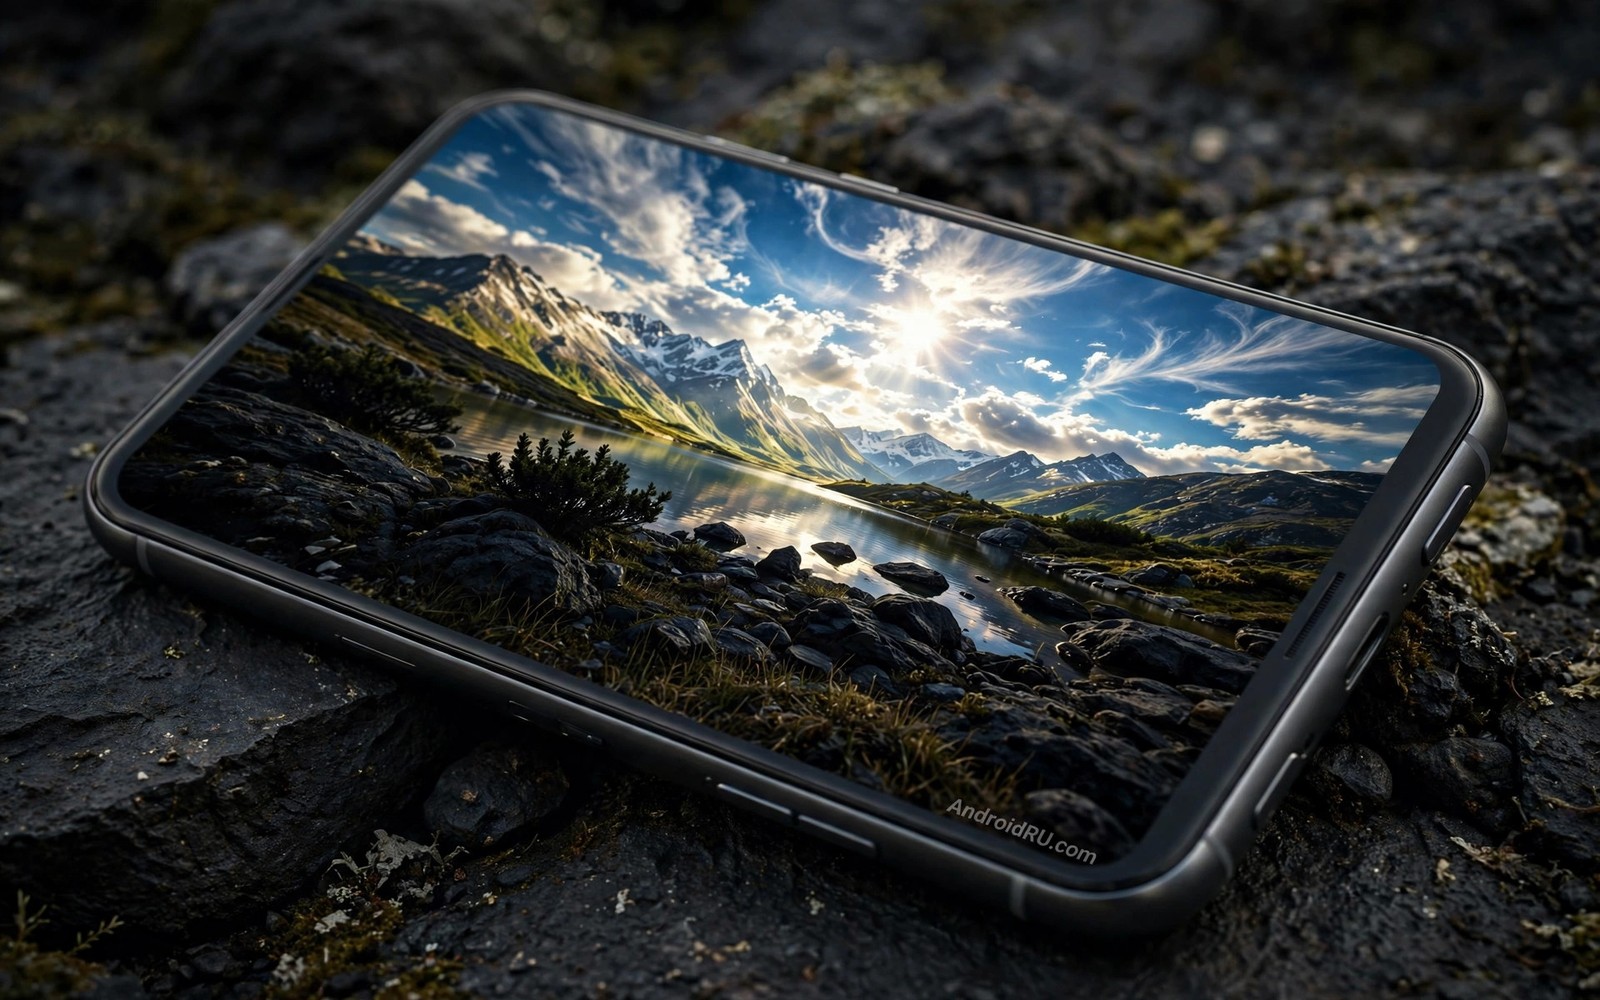
High dynamic range photography solves a simple problem. A camera sensor cannot always record a bright sky and a dark foreground in one shot. One exposure saves the sky and loses the shadows. Another exposure saves the shadows and blows out the sky. HDR blends several exposures into one image. The blend keeps detail at both ends of the range. Done well the result looks like what your eyes saw.
Done badly HDR looks flat and grey and unreal. Over blended photos lose contrast and depth. Colours turn muddy and edges glow strangely. The trick is restraint. Use HDR for high contrast scenes only. Let shadows stay a little dark. Let highlights stay a little bright. A photo needs dark and light to feel three dimensional. HDR should expand detail rather than erase contrast.
Most Android phones offer an auto HDR mode. Auto HDR works well for casual high contrast scenes. It fires several frames quickly and merges them in the phone. Manual control helps when auto HDR guesses wrong. Learn both modes. Use auto HDR for speed. Use manual bracketing for scenes you plan to edit later. This guide covers both paths.
Recognise Scenes That Need HDR
Use HDR when a scene spans bright and dark zones at once. A sunset over a dark valley needs HDR. A room with a bright window needs HDR. A street with sunlit walls and deep shop shadows needs HDR. Check the preview for lost detail. If the sky turns pure white then HDR can help. If shadows turn pure black then HDR can help. If both problems appear together then HDR is the right tool.
Skip HDR for low contrast scenes. A cloudy day already gives soft even light. An indoor portrait under even lamps needs little range help. HDR in an even scene adds processing without visible gain. It can also soften fine texture through merging. A single well exposed frame often looks cleaner in even light. Save HDR for contrast that a single frame cannot handle.
Skip HDR for fast moving subjects when you can. HDR merges several frames taken a fraction apart. A moving person can appear doubled or ghosted in the merge. A moving car can smear across the frame. Use a single fast exposure for action instead. Freeze the motion first and accept some lost shadow detail. A sharp action frame beats a ghosted HDR frame every time.
Use Auto HDR Well
Turn auto HDR on in the camera settings for high contrast walks. Hold the phone steady through the whole burst. HDR needs aligned frames to merge cleanly. A shaky hand creates soft edges and ghosting. Brace your elbows against your body. Lean against a wall when one is nearby. Use a tripod for a critical sunset HDR shot. Stability is the hidden ingredient in every clean HDR image.
Tap to focus on the most important subject before you shoot. Then check the exposure preview. Slide exposure down slightly when the sky still blows out. Slide exposure up slightly when shadows still crush to black. Auto HDR centres its blend around your chosen exposure. A small manual shift can save a scene that auto mode misreads. Take two versions with different exposure points when time allows. Compare them at home and learn your phone’s bias.
Review HDR results at full size rather than on the small preview. Zoom into shadow areas and sky edges. Look for halos around trees and buildings. Look for doubled edges around moving leaves. A halo signals over aggressive merging. A clean edge signals a successful blend. Delete failed HDR frames on location when you can reshoot. A reshoot costs seconds. A failed keeper costs a memory.
Bracket Manually For Editing Control
Manual bracketing means shooting the same scene at several exposures. Shoot one frame for shadows and one for midtones and one for highlights. Use a tripod so frames align exactly. Lock focus and white balance across the set. Locked settings prevent colour shifts between frames. Most manual camera apps offer an exposure bracketing mode. Learn that mode before a planned landscape trip.
Save bracketed frames in RAW format when your phone supports it. RAW files hold far more shadow and highlight data than compressed files. They also let you blend with finer control in an editor. A RAW bracket set gives you room to recover a sky that looked lost. It also lets you keep shadows deep rather than grey. Storage fills faster with RAW files. Clear old sets after you finish each edit.
Blend manually with restraint in your editor. Start from the midtone frame as the base. Paint in sky detail from the dark frame only where needed. Paint in shadow detail from the bright frame only where needed. Stop when detail returns without flattening contrast. A good manual blend looks like a single great exposure. A heavy blend looks like a painting with no shadows. Editing RAW photos like a professional photographer walks through this restrained blend method.
Keep Colour And Contrast Alive
HDR often dulls colour because it compresses the tonal range. Restore colour gently after the merge. Raise saturation a little rather than a lot. Raise contrast a little to bring back depth. Protect skin tones from oversaturation. Skin turns orange fast when global saturation climbs. Edit skin separately when your editor allows it. A vivid sky plus natural skin beats a vivid everything.
Watch the histogram after an HDR merge if your editor shows one. A histogram bunched in the middle signals a flat image. Push blacks slightly darker and whites slightly brighter. That small stretch restores depth without losing recovered detail. Check the image on a second screen when you can. A phone screen can hide flatness that a laptop screen reveals. A second screen check prevents dull exports.
Print or share a test version before a final export. Social apps compress HDR images heavily. Heavy compression can crush the subtle shadow detail you worked to save. Export at high quality and check the uploaded result. Adjust contrast slightly higher for social sharing if the upload looks flat. A version tuned for sharing often differs from a version tuned for print. Keep both versions when a photo matters. Locking exposure for sunset photos helps you set the base exposure before any HDR blend.
Practice HDR In Three Classic Scenes
Practice first with a window portrait. Place a subject beside a bright window in daylight. Shoot one normal frame and one HDR frame. The normal frame will lose either the face or the view outside. The HDR frame should keep both. Compare skin texture across the two frames. Note how much shadow detail HDR recovered without flattening the face. That comparison teaches HDR value in one scene.
Practice next with a sunset over water. Place the horizon low to feature the sky. Shoot HDR with the phone on a tripod. Check the sun area for a clean glow rather than a white hole. Check the water for reflection detail rather than black mud. A good sunset HDR keeps colour in the sky and texture in the water. A bad sunset HDR turns both into grey mush. Learn the difference by shooting the same sunset twice with different exposure points.
Practice last with a forest path in dappled light. Sun patches and deep shade alternate every few steps. HDR can balance those patches into a readable path. Hold steady because leaves move in wind. Use a tripod and a short timer to avoid shake. Check leaf edges for ghosting after the merge. Windy days may defeat HDR in a forest. Accept a single exposure on windy days. A sharp single frame beats a ghosted HDR forest scene.
Practice HDR with a city skyline at blue hour for a final challenge. Blue hour gives bright windows and a deep blue sky in one frame. Shoot from a tripod with auto HDR first. Then shoot a manual bracket set for later blending. Compare the auto result with your manual blend at full size. The manual blend should keep window detail without turning the sky grey. That blue hour test shows the full value of careful HDR work.
Use HDR for architecture with bright facades and shaded courtyards. A single frame often loses either the facade detail or the courtyard texture. HDR recovers both without a second visit. Keep vertical lines straight while bracketing. Straight lines matter more than perfect tone in architecture. A straight HDR building beats a tilted single frame every time.
hdr_scene = high contrast only
hdr_mode = auto for speed
hdr_bracket = shadows midtones highlights
hdr_check = zoom shadows and sky
The snippet above is an original HDR checklist written for this guide. It lists only standard camera steps for your own Android phone. It does not copy instructions from any outside source.
Common Mistakes
One common mistake is to leave HDR on for every photo. Always on HDR softens action and flattens even scenes. Turn HDR on for high contrast only. Another mistake is to judge HDR on the tiny preview. Small previews hide halos and ghosting. Zoom in before you trust a keeper.
A third mistake is to push saturation hard after an HDR merge. Oversaturated HDR looks artificial and tiring. Raise colour gently and protect skin tones. A fourth mistake is to shoot HDR handheld in wind. Moving leaves ghost across merged frames. Use a tripod or switch to a single exposure on windy days. Free photo editing apps for Android offers editors with careful HDR blending controls.
Frequently Asked Questions
Does HDR work at night?
HDR can help night scenes with bright signs and dark streets. It also risks ghosting from moving cars and people. Use a tripod for night HDR. Keep takes short and review for ghosting. A single night mode frame often beats HDR for moving night scenes.
Why do my HDR photos look grey?
Heavy merging compresses contrast toward the middle tones. Restore a little contrast and a little black point after the merge. Keep some true dark areas in the frame. A photo needs dark tones to feel deep. Stop editing when depth returns.
Should I shoot HDR in RAW?
RAW helps when you plan to blend manually later. RAW files hold more data for shadow and highlight recovery. They also use more storage and need editing. Use auto HDR in compressed format for casual shots. Use RAW bracketing for planned landscape work.
Conclusion
Find a high contrast scene today and shoot it twice. Take one normal frame and one HDR frame from a tripod. Compare sky detail and shadow detail at full size. Keep HDR for scenes where it clearly recovers detail without flattening contrast. That direct comparison will teach you when HDR truly pops.

