

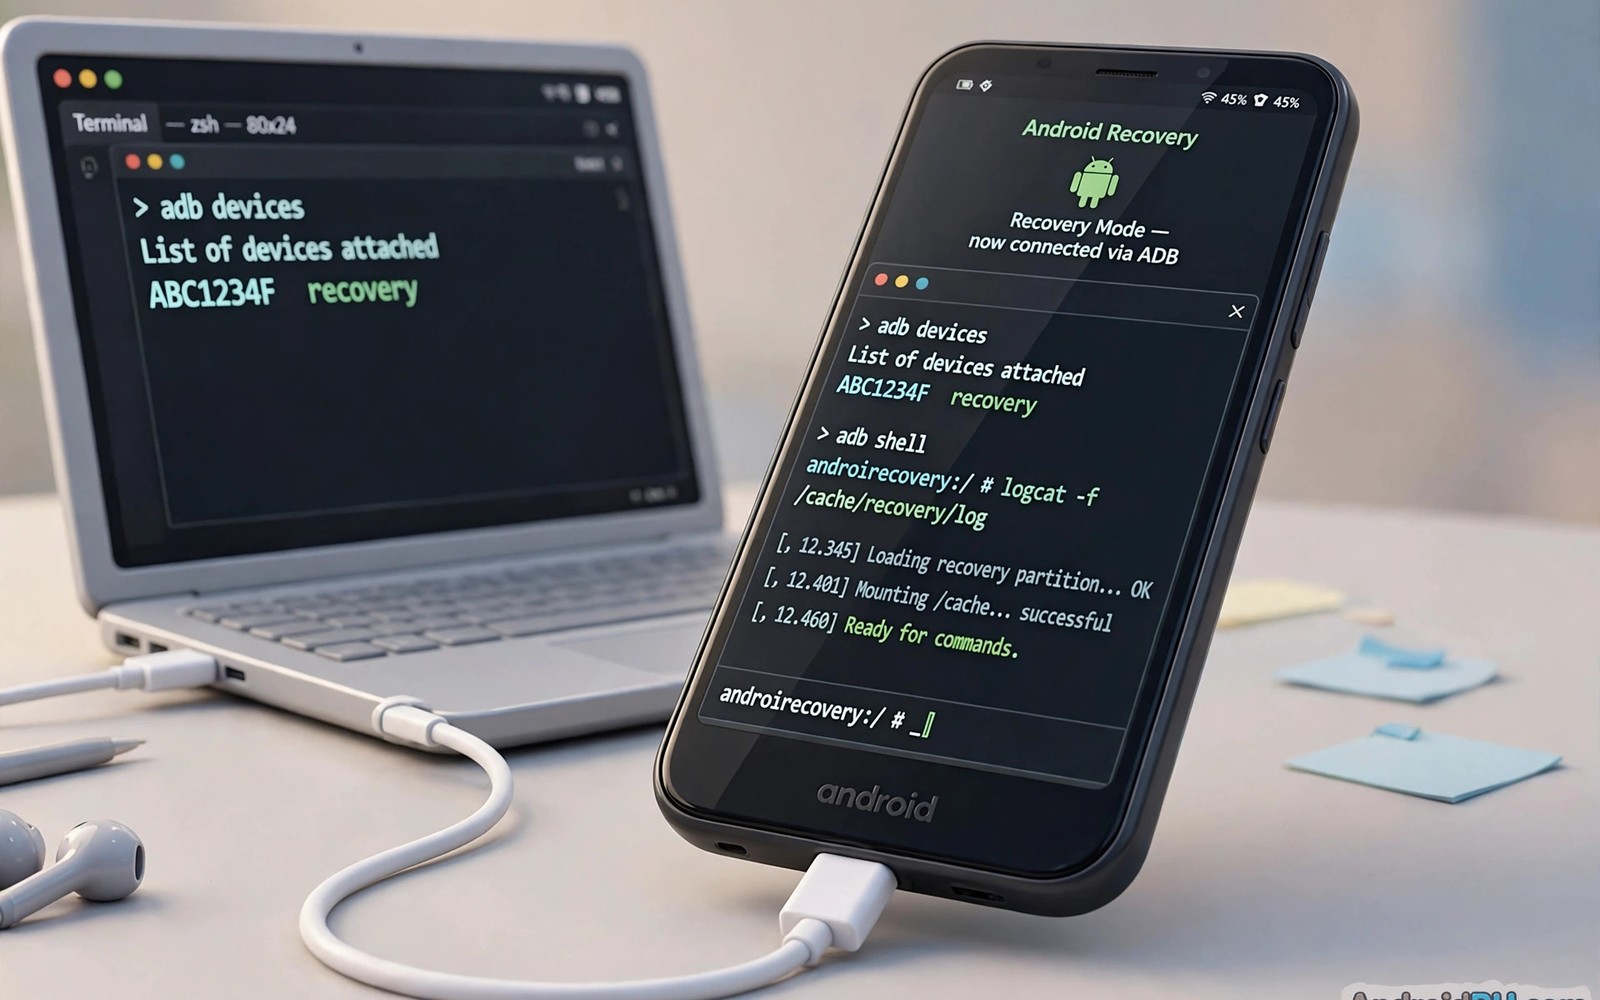
The TWRP terminal turns recovery into a real command line environment. You can inspect partitions and copy files and fix permissions. You can also run ADB commands from a computer while recovery runs. Together these tools diagnose problems that menus cannot explain. Terminal skill separates basic users from confident repairers.
This guide covers both terminal paths clearly. On device terminal runs commands directly on the phone screen. ADB shell runs commands from a computer over USB. Both reach the same recovery shell environment. Choose the path that fits your situation and keyboard comfort.
Opening the Terminal
Open the terminal from the advanced menu in recovery. A keyboard appears for typing commands on the phone. The prompt shows a shell ready for input. Type commands carefully because recovery runs with high privileges. A wrong command can delete or overwrite important data.
ADB shell needs USB debugging style access in recovery. Connect the phone to a computer and authorize if prompted. Run the shell command from platform tools on the computer. The computer terminal then controls the phone shell remotely. A full keyboard makes long commands far easier to type.
- On device terminal suits quick checks without a computer
- ADB shell suits long commands and file transfers
- Both paths run with high privileges so type carefully
- Test harmless listing commands before destructive ones
Essential Listing and Inspection Commands
Listing commands show what exists before you change anything. List storage folders to confirm mounts and file presence. List block devices to see partition mappings. Check mount status to see which partitions are active. Check free space before backups and copies.
Inspection commands also reveal file sizes and timestamps. A zero size backup folder signals a failed backup quickly. A missing folder signals a storage target problem. These small checks prevent wasted effort on broken assumptions. Always inspect before acting on a partition.
Mount status output deserves special attention during diagnosis. It shows read only versus read write state for each partition. It also shows file system types for mounted targets. That information guides repair tool choice later. Copy mount output notes for complex cases.
Copying and Moving Files
Copy commands move rescue files to safe storage. Copy photos to external storage before destructive repairs. Copy backups to a computer with ADB pull for safekeeping. Move commands rename or relocate files within recovery. Use copies rather than moves for irreplaceable files.
Push and pull commands bridge computer and phone storage. Push sends repair packages from computer to phone. Pull retrieves logs and backups from phone to computer. Both need ADB detection working in recovery. Test detection with the devices command before transfers.
adb devices
adb shell ls /sdcard/
adb pull /sdcard/TWRP ./twrp-copy
adb shell df -h
The commands above test detection and list storage and copy backups. They also check free space across mounts. Paths differ by recovery and storage layout. Confirm paths with listing commands before copying large folders.
Fixing Permissions and Ownership
Permission errors can block boots and app launches after restores. Files restored with wrong ownership may fail to load. Shell commands can inspect ownership and permission bits. Fix commands can restore standard values for system files. Use them only on files you understand.
Recovery also offers a fix permissions style option in some builds. That option applies standard values across system folders. It helps after messy manual restores. It should not be run blindly on data folders with personal files. Targeted fixes beat blanket permission changes.
Context errors on newer Android versions involve security labels beyond simple permissions. Shell tools may show labels but fixing them needs care. Device specific guides cover label repair for affected models. When labels are suspect, prefer a clean restore over manual label edits. Clean restores set labels correctly by design.
Diagnosing Boot Problems From Shell
Shell logs reveal boot failures that menus hide. Recovery logs record mount attempts and flash results. Last boot logs may survive in special partitions on some devices. Reading logs points to the failing stage quickly. Guesswork shrinks when logs speak clearly.
Check partition contents for expected system files after a failed flash. A missing system folder explains a boot failure directly. A present but tiny system folder suggests a truncated install. Compare folder sizes with known good values when available. Size anomalies guide the next repair step.
Shell diagnosis also supports mount repair workflows. The mount repair guide on fixing mount errors and file system corruption in recovery shell uses the same shell foundation. Diagnosis and repair share tools and habits.
ADB Sideload From Shell Thinking
ADB sideload pushes a package to recovery for installation. It suits phones with empty or damaged storage. Start sideload mode in recovery and push the package from the computer. Recovery installs the package after transfer completes. This method bypasses storage browsing entirely.
Sideload works well for ROM and patch packages on clean devices. It also works for rescue packages when internal storage fails. Keep the package file on the computer during sideload. Recovery holds the package in memory or temporary storage during install. Do not disconnect USB until install reports completion.
Safety Rules for Shell Work
Never run a shell command you do not understand on a live device. Research each command and its target before execution. Avoid recursive delete commands entirely in recovery. One typo in a delete path can erase a whole partition. Prefer file manager deletes for single files when possible.
Back up before shell repairs whenever mounts allow it. A backup turns a shell mistake into a restore task. Without a backup the same mistake becomes data loss. The few minutes for a backup are always worth it. Shell power demands backup discipline.
Shell work also helps with storage mounting tasks. See mounting storage drives in recovery for emergency file transfer for mount driven rescue workflows. Shell and mount screens complement each other well.
Initial recovery installation often starts from fastboot before shell work begins. The install path in flashing TWRP with fastboot sets up the environment shell work assumes. Install first and then practice shell commands safely.
Useful Shell Shortcuts and Habits
Shell history saves retyping long commands during diagnosis. Arrow keys recall previous commands in most shells. Tab completion finishes file paths without full typing. Those small habits reduce typo risk substantially. Typo risk matters greatly with privileged shell access.
Output redirection captures long listings into files for review. Redirect a listing to a text file on storage. Then read the file at leisure in the file manager. Captured output also helps forum helpers diagnose remotely. Share captured logs rather than paraphrased summaries.
Command chaining runs several checks in one line safely. Read only checks chain well together for quick diagnosis. Destructive commands should never chain casually with other steps. Separate destructive steps with review pauses. Deliberate pacing prevents chained mistakes.
Common Shell Mistakes to Avoid
Running commands from another device model causes many shell accidents. Paths and partition names differ across models. A command that is safe on one phone may target the wrong partition elsewhere. Always adapt commands to your device layout first. Blind copying is the top shell hazard.
Recursive operations deserve extreme caution in recovery shells. A recursive delete or permission change spreads across folders instantly. There is no recycle bin in recovery shells. Deleted files vanish without confirmation dialogs. Avoid recursive commands unless the target is certain and backed up.
Forgetting to unmount before repair is another common error. Repair tools assume exclusive access to the target partition. A mounted partition under repair can corrupt further. Check mount status before every repair command. That single check prevents a whole class of accidents.
- Use history and tab completion to reduce typos
- Capture long output to files for careful review
- Never chain destructive commands casually
- Adapt every copied command to your device layout
Shell Output Interpretation Skills
Shell output rewards careful reading over quick glances. Error messages usually name the failing operation precisely. Permission denied differs from file not found fundamentally. No space left differs from read only file system clearly. Each message points to a distinct fix.
Exit codes add another diagnostic signal after commands run. Zero generally means success for most shell tools. Non zero codes mean failure with tool specific meanings. Check tool documentation for code meanings when stuck. Codes plus messages together narrow faults quickly.
Partial output can mislead when a command stops midway. A listing that stops early may signal a read error. A copy that reports success but stops early may truncate. Verify result sizes after partial looking output. Suspicion toward partial output prevents false confidence.
Bootloop Help Requests That Work
Help requests for bootloops work best with complete context included. State the device codename and ROM and kernel versions precisely. Describe the last change before the loop and the loop stage observed. List restore attempts already tried and their results. Helpers can then skip suggestions already exhausted. Complete context earns faster and more accurate answers. It also respects helper time in busy community forums. Good questions receive good answers consistently.
The steps above follow the approach described in the official developer documentation for this platform. That documentation explains ADB operation and shell concepts in general terms. It also covers partition access rules that shape shell work. Combine it with recovery notes for your exact device build.

