

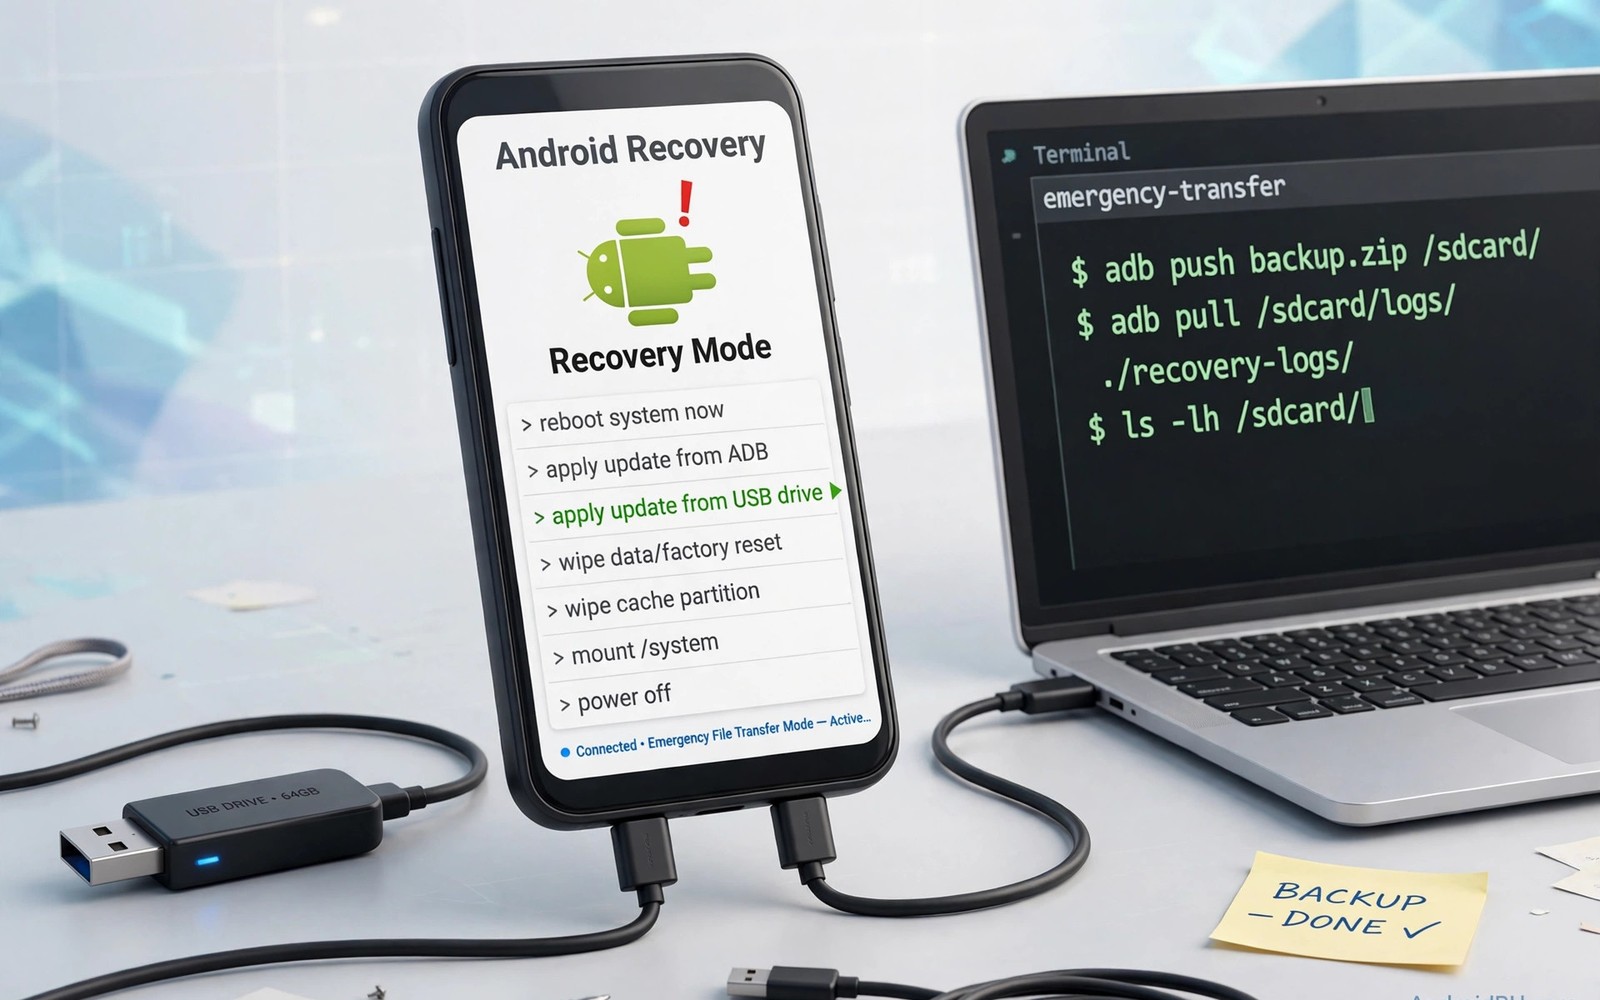
When Android will not boot, storage access becomes the rescue path. Recovery can mount partitions and external drives for file work. Mounting makes a partition readable and writable by recovery tools. With mounts working you can copy files in both directions. That ability turns recovery into a full rescue station.
This guide covers internal storage and SD cards and USB drives. It also covers MTP connections to a computer. Each method suits a different failure scenario. Knowing all of them means one failed method never ends the rescue.
How Mounting Works in Recovery
Mounting attaches a file system to a location recovery can use. An unmounted partition exists but recovery cannot read its files. A mounted partition appears in the file manager and in ADB shells. Recovery mount screens list partitions with checkboxes. Ticking a box mounts that partition for work.
Some partitions mount read only by default for safety. System partitions often need an explicit read write choice before changes. Data partitions may need decryption before mounting succeeds. If a mount fails then check decryption and file system health first. A failed mount usually has a specific cause worth finding.
- Internal storage holds user files and recovery backups
- SD cards offer removable storage that survives many wipes
- USB drives connect through OTG for large rescue copies
- MTP mode exposes phone storage to a computer over USB
Mounting Internal Storage
Internal storage is the default target for most recovery work. Open the mount screen and tick the data partition entry. If encryption is active then recovery may ask for a credential. Enter the lock credential that decrypts the device. Without it internal files stay unreadable even when mounted.
After mounting, use the file manager to browse folders. Copy important files to external storage before any repair. Photos and documents deserve priority during rescue. System repair can wait until personal files are safe. That order protects what matters most if repair later requires a wipe.
Using SD Cards and USB Drives
SD cards mount like any other partition when inserted. Recovery lists external storage separately from internal storage. Copy rescue files to the card with the file manager. Remove the card after copying to keep files safe from later wipes. A card copy survives phone repairs that erase internal storage.
USB drives need OTG support from the phone and the recovery build. Connect the drive with an OTG adapter and wait for detection. Mount the USB entry in the mount screen when it appears. Large drives may need a compatible file system format. FAT based formats work most widely across recovery builds.
USB mounting also helps push repair packages onto a phone. Copy a ROM or a patch zip to the drive on a computer first. Then mount the drive in recovery and flash from it. This path works even when internal storage is empty or damaged. It is a core rescue technique worth practicing.
MTP and ADB File Transfer
MTP mode lets a computer browse phone storage like a media device. Enable MTP in recovery settings or the mount screen. Connect the phone by USB and open the computer file browser. Copy files in either direction with normal drag and drop. MTP needs no extra software on most computers.
ADB push and pull offer a more precise transfer method. Push sends a file from computer to phone storage. Pull copies a file from phone storage to computer. ADB works in recovery when the ADB option is enabled. It also works when MTP drivers misbehave on the computer. Learning both methods covers more failure cases.
adb devices
adb push repair.zip /sdcard/
adb pull /sdcard/DCIM ./rescued-photos
adb shell ls /external_sd/
The commands above test ADB detection and transfer files both ways. Paths for external storage differ by device and build. Check the recovery file manager for the exact mount path first. A wrong path produces a simple not found error rather than damage.
Rescuing Files Before a Wipe
Always rescue files before any destructive repair step. Wipes and formats erase data that mounting could have saved. Spend ten minutes copying photos and documents first. That habit has saved countless users from permanent loss. Repair urgency never justifies skipping rescue when mounts work.
Prioritize irreplaceable files over easily replaced ones. Photos and personal documents come first. Downloaded ROM files and apps can be fetched again later. Work through folders systematically rather than copying at random. A complete copy to external storage ends the rescue phase cleanly.
Rescue skills also support bootloop repair workflows. You can see selective restore options in recovering from bootloops with individual partition backups after files are safe. Safe files first and system repair second is the right order.
Fixing Mount Failures
Mount failures often trace to encryption or file system damage. Try the decryption credential again with careful typing. Check whether the partition shows as present in the mount list. A missing partition entry suggests deeper damage or a wrong recovery build. A present but unmountable partition suggests file system errors.
File system repair tools live in the recovery terminal. They can check and fix common corruption without a computer. Use them only on partitions you understand. Repairing the wrong partition can worsen damage. When unsure, copy what mounts cleanly and seek device specific help.
Detailed shell repair steps appear in fixing mount errors and file system corruption in recovery shell for cases where mounts refuse to work. Shell repair complements mount screen options well.
Transfer Safety Tips
Verify copied files after transfer when time allows. Check file counts and sizes on the destination. A copy that reports success but truncates files helps no one. Large photo folders deserve a spot check of several images. Verification takes minutes and prevents nasty surprises.
Eject or unmount drives cleanly before removing them. Recovery may still write cached data when you pull a drive early. Use the unmount option in the mount screen first. Then remove the drive and store it safely. Clean unmounts protect both the drive and the copied files.
Full backup storage also relies on mounts working well. The guide to creating full Nandroid backups in recovery explains choosing backup storage targets. Mount health underpins backups just as it underpins rescue copies.
File Systems Recovery Understands
Recovery builds support a limited set of file systems for external drives. FAT formats work almost universally across recovery builds. ExFAT support varies by build and kernel configuration. NTFS support is rarer still in recovery environments. Choosing FAT for rescue drives maximizes compatibility.
Large files above FAT size limits need a different approach. Single files larger than four gigabytes cannot live on FAT drives. Split large backups or use network transfer alternatives in that case. ADB pull handles large files over USB without drive limits. Plan transfer method around file sizes early.
SD card file systems follow similar compatibility rules. Cards formatted in Android usually use a widely supported format. Cards formatted on computers with exotic formats may fail in recovery. Reformat rescue cards to a compatible format before emergencies. A rescue card that recovery cannot read helps no one.
Transfer Speed and Reliability Tips
USB transfer speed depends on cable and port and drive speed together. A slow cable throttles even a fast drive noticeably. Use the cable that came with the phone when possible. Direct computer ports beat hub connections for reliability. Small cable choices affect large rescue copies greatly.
Copy in batches for very large photo folders rather than one giant copy. Batches isolate failures to smaller groups of files. A failed batch retries quickly without redoing everything. Check batch results before starting the next batch. Methodical copying beats rushed copying for irreplaceable files.
Keep the phone charged or connected during long transfers. A shutdown mid copy corrupts destination files partially. Partial copies look complete until opened and found truncated. Power stability is part of transfer reliability. Treat long copies as operations deserving full battery.
- FAT formats offer widest recovery drive compatibility
- ADB pull avoids drive file size limits for large files
- Copy large folders in batches to isolate failures
- Keep power stable throughout long transfers
Recovery File Manager Tips
The recovery file manager handles most rescue copying without a computer. Learn its copy and move and delete gestures early. Copy beats move for irreplaceable files every time. Move only after a copy verifies on the destination. That discipline prevents accidental loss during rescue.
Hidden folders contain important data that casual browsing misses. Backup folders and download folders may hide under storage roots. Enable hidden file display when the manager offers it. Browse systematically through top level folders first. Systematic browsing finds files that random tapping misses.
File manager permissions can block copies from protected folders. System folders may need read write mounting before access. Data folders may need decryption before browsing works. Respect permission barriers rather than forcing them blindly. Forced access to system folders risks breaking file ownership.
Wipe Confirmation Habits
Confirmation habits turn wiping from a risk into a routine. Pause for three seconds on every wipe confirmation screen. Read the listed partitions once more during that pause. Ask whether each listed partition truly needs erasing. Untick anything that surprises you before swiping. That pause costs nothing and catches selection errors reliably. Experienced flashers keep the pause habit for life. Speed gained by skipping confirmation never outweighs data lost to a wrong wipe.
The steps above follow the approach described in the official developer documentation for this platform. That documentation explains storage mounting and file system handling in general terms. It also covers USB transfer modes that vary by device. Combine it with recovery notes for your exact device build.

