

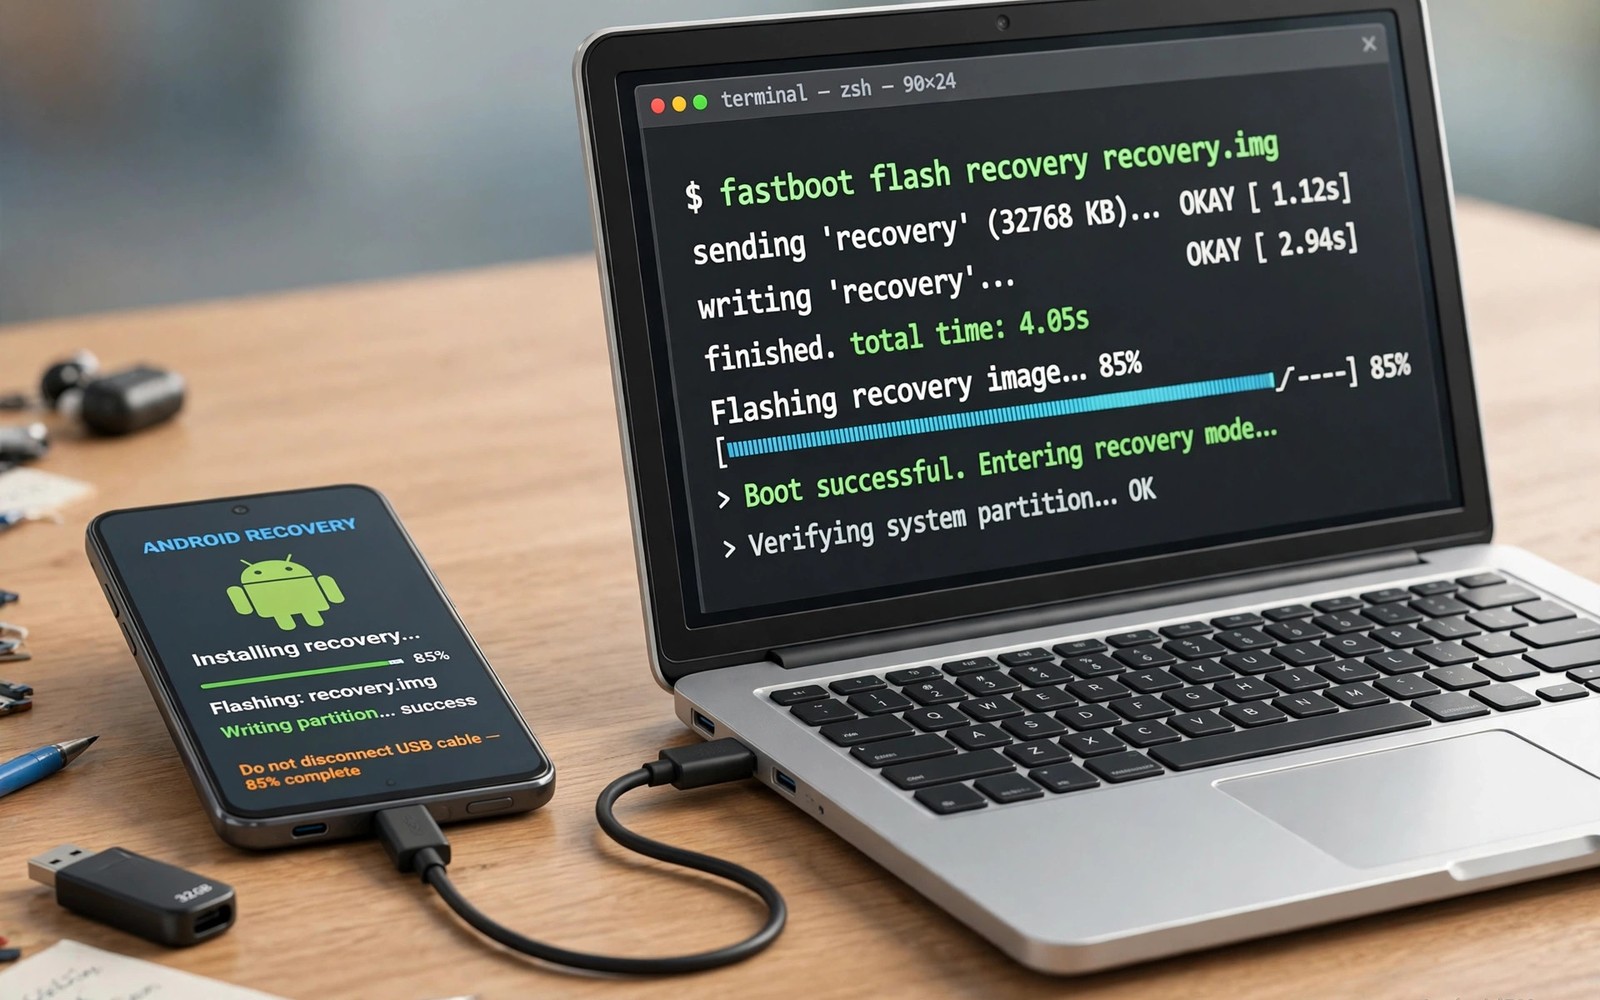
Flashing TWRP with fastboot is the standard route on many Android phones. Fastboot is a low level protocol built into the bootloader. It can write images to partitions while Android is not running. That makes it ideal for installing recovery itself.
This guide walks through the full process in order. You will prepare the computer and the phone first. Then you will unlock the bootloader if needed. After that you will flash the image and boot into recovery. Each stage includes checks so you can catch errors early.
Before You Begin
Confirm the exact codename of your device before you download anything. Recovery images are built for one codename only. A mismatch can cause a boot failure or a non working touch screen. Check the codename in device settings or with a hardware info app. Write it down and compare it with the download page.
Back up personal data before you start. Unlocking the bootloader usually erases all user data on the phone. Photos and messages and app data can be lost in that step. Copy important files to a computer or to cloud storage first. Treat this backup as mandatory rather than optional.
- Charge the battery to at least sixty percent before flashing
- Use a good quality USB cable and a direct computer port
- Download platform tools and the correct recovery image for your codename
- Keep the phone nearby so you can respond to on screen prompts
Setting Up the Computer
Install the platform tools package that contains fastboot and ADB. These tools run from a terminal or command prompt. On Windows you may also need a USB driver for your phone maker. Without the driver the computer may not see the device in fastboot mode. Install the driver and restart the computer if the device is not detected.
Test the setup with the phone in fastboot mode before you flash anything. Connect the phone and run the devices command. A serial number should appear in the output. If nothing appears then check the cable and the driver and the USB port. Fixing detection now avoids confusion during the real flash.
Unlocking the Bootloader
Most phones ship with a locked bootloader that blocks custom images. Unlocking removes that block but it also erases user data. Makers handle unlocking in different ways. Some require an unlock code from a maker portal. Others allow unlocking with a single fastboot command after enabling an option in developer settings.
Enable developer options by tapping the build number several times. Then enable OEM unlocking and USB debugging in that menu. Reboot the phone into fastboot mode with the key combination for your model. Run the unlock command for your maker and confirm on the phone screen. The phone will erase data and reboot after confirmation.
Some models replace recovery on first boot after flashing. This happens when the stock system restores its own recovery. Booting straight into recovery after flashing prevents that overwrite. Keep that detail in mind for the flashing stage below. It catches many first time users by surprise.
Flashing the Recovery Image
Place the recovery image in the platform tools folder for easy access. Reboot the phone into fastboot mode again. Check detection with the devices command once more. Then run the flash command that targets the recovery partition. On older devices that command writes the image directly to recovery.
Newer devices may not have a separate recovery partition. On those models you boot the image temporarily instead of flashing it. The temporary boot lets you install recovery from inside recovery itself. Follow the method documented for your exact model. Using the older method on a newer layout can fail or do nothing.
adb reboot bootloader
fastboot devices
fastboot flash recovery twrp.img
fastboot reboot recovery
The commands above show the classic flow for devices with a recovery partition. Replace the file name with your actual image name. Watch the output for a success message after each command. An error at this stage usually points to a driver issue or a wrong file.
First Boot Into Recovery
After flashing, boot directly into recovery without starting Android first. Use the reboot to recovery command or the key combination. TWRP will ask whether to allow system modifications. For most users allowing modifications is the right choice. Read only mode limits what recovery can do for you later.
Check that touch input works and that storage mounts correctly. Try the backup screen and confirm that partitions are listed. If touch fails then the build may not match your variant. Do not proceed with flashing other packages until recovery works fully. A broken recovery cannot rescue you if the next flash fails.
Making Your First Backup
Your first backup should happen before any other modification. Select the system and data and boot partitions for a complete image. Store the backup on external storage when the option exists. Internal backups can be lost if a later wipe erases storage. Note the backup name and date for future reference.
A full backup also teaches you how recovery navigation works. You will learn the swipe confirm gesture and the storage picker. Those skills matter when you later flash a ROM under pressure. Readers who want deeper backup strategy can explore creating full Nandroid backups in recovery after this install.
Troubleshooting Common Problems
A device not found error usually means a driver or cable problem. Try another USB port and another cable before changing anything else. A failed flash message can mean a locked bootloader or a wrong image. Check the lock state and the codename again. A phone stuck at the logo after flashing may need a different build.
If recovery is replaced by stock recovery on reboot then you likely booted Android first. Flash again and boot straight into recovery this time. If the phone bootloops then boot into recovery and restore your backup. That is why the first backup matters so much. Without it a bootloop becomes a much longer repair job.
Before you flash additional packages, review the wiping rules that apply to your next step. You can read about wiping system cache and data partitions correctly to avoid erasing the wrong data. Correct wiping keeps installs clean and predictable.
For background on what recovery does once installed, see the overview of custom recovery features and capabilities and how they fit together. That overview explains backups and flashing and repair tools in plain terms.
Preparing the Phone for Fastboot Mode
Fastboot mode is a bootloader state, not an Android app state. You reach it with a key combination during startup. The combination varies by maker and sometimes by model. Common patterns use volume down plus power held together. Check your model documentation for the exact keys.
Before entering fastboot mode, enable developer options on the phone. USB debugging helps with ADB commands before the switch. OEM unlocking must be enabled where the maker requires it. Without that option the unlock command may fail outright. A few minutes in settings prevents a stalled session later.
Remove any screen lock complications before unlocking when possible. Some makers ask for credential confirmation during unlock steps. Know your account password and PIN before you begin. Unlocking erases data, so credential loss after unlock hurts twice. Preparation covers accounts as well as cables.
Verifying Drivers and Detection
Driver trouble is the most common fastboot frustration on computers. Windows in particular may need a maker specific USB driver. Device manager can show whether the phone appears correctly. A yellow warning icon points to a missing driver. Installing the maker driver usually resolves detection at once.
Linux and Mac systems usually detect fastboot devices without extra drivers. Permissions can still block access on Linux systems. Running tools with proper permissions or rules fixes that case. Test detection with the devices command before flashing. A visible serial number means the chain works end to end.
- Use a direct USB port rather than an unpowered hub
- Try a second cable when detection fails repeatedly
- Check device manager or system logs for driver clues
- Confirm the serial number before every flash command
Recovering From a Failed Flash
A failed flash does not always mean a damaged phone. Often the bootloader simply rejected an incompatible image. The phone may still boot into fastboot mode normally. From there you can retry with the correct image file. Stay calm and diagnose before repeating commands.
Check the flash output message for the specific failure reason. A partition table error points to a layout mismatch. A signature error points to a locked bootloader still active. A file error points to a missing or renamed image file. Each message leads to a different fix.
If the phone will not enter fastboot after a failed flash, try key combinations again with careful timing. Hold keys longer than feels natural during startup. Try a different USB cable and port for detection. Maker recovery tools exist as a last resort for stubborn cases. Most failed flashes resolve with patience and the right image.
Double Checking Fastboot Commands
Double checking commands before pressing enter prevents most fastboot accidents. Read the partition target in the command aloud before running it. Confirm the image file name matches the file on disk exactly. A typo in a file name produces a harmless not found error. A typo in a partition target can write to the wrong place entirely. Slow command entry is a safety practice, not a weakness. Keep a written list of commands for your model beside the computer during flashing. That list removes guesswork when screens demand quick responses.
Keeping Flash Records
Flash records help future troubleshooting more than most users expect. Note the recovery version and image file name used for each flash. Record the date and the result in a simple device log. Future failures then compare against known good combinations quickly. A log entry takes a minute and saves hours of guessing later. Keep the log on a computer rather than only on the phone itself.
The steps above follow the approach described in the official developer documentation for this platform. That documentation covers fastboot operation and bootloader interaction in general terms. It also explains partition handling that varies across device generations. Combine it with model specific guidance before you flash any image.

