

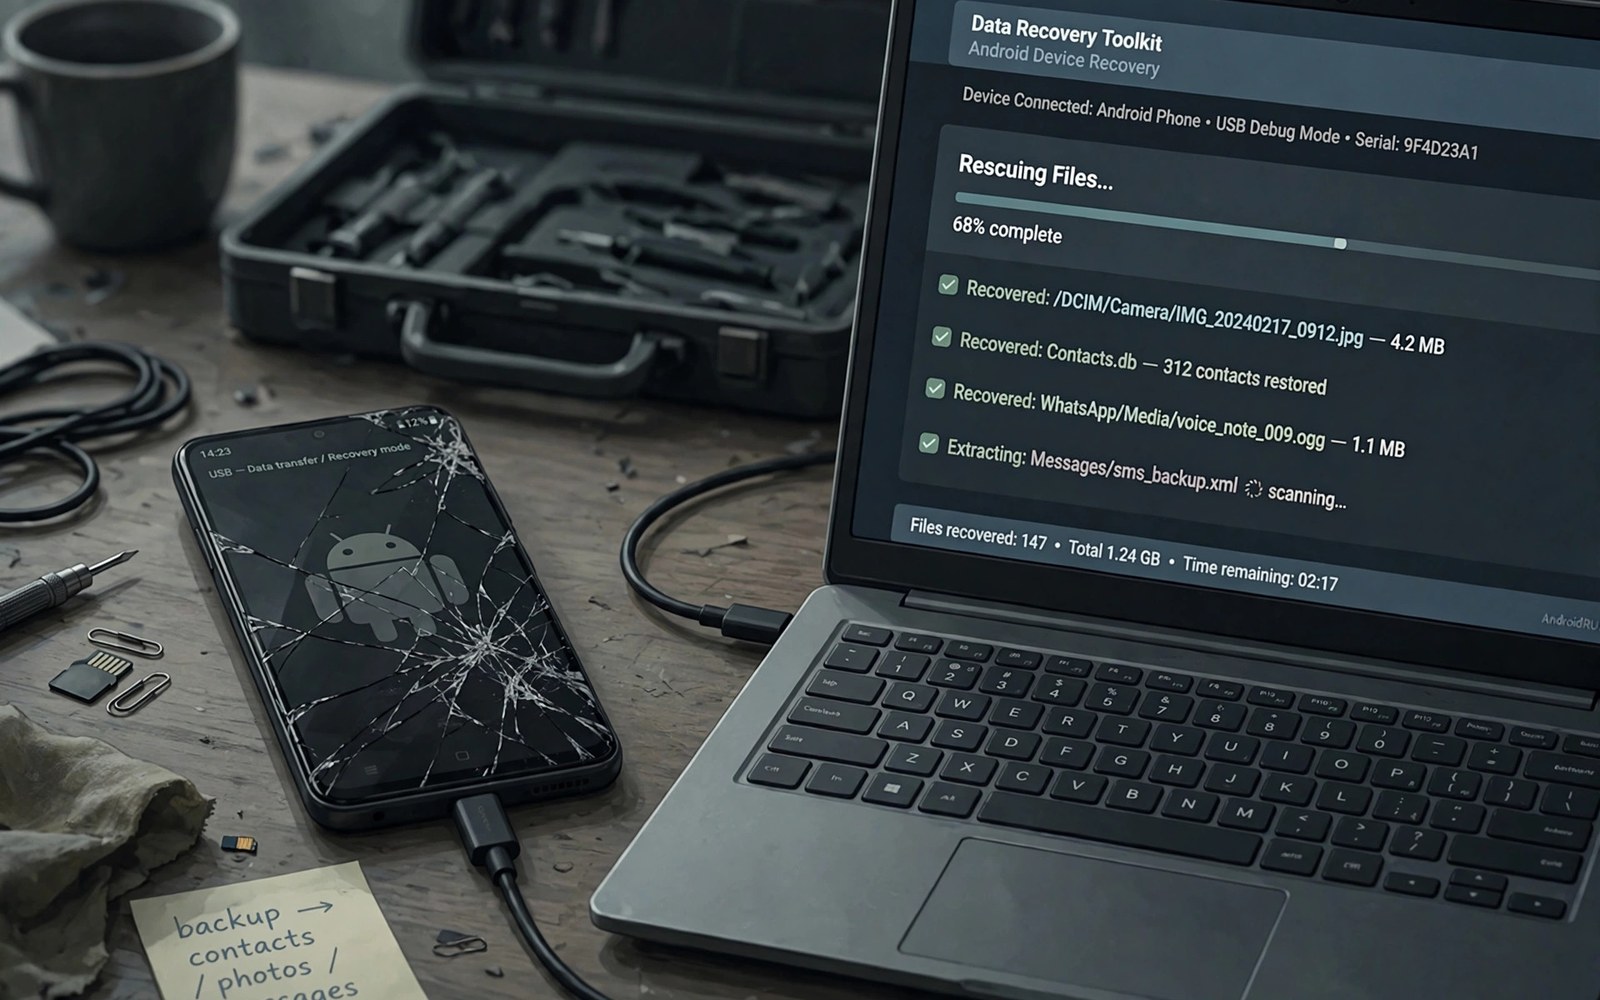
Recovering Data from a Phone with a Broken Touch Screen
A cracked screen is annoying. A dead touch screen is a different problem entirely, because the phone may still hold every photo, message, and document you own while refusing every tap you make. I learned this the hard way when a phone slipped from a kitchen counter, landed face down, and came back with a bright display that ignored my finger completely. The screen lit up, the notifications arrived, and I could not open a single one of them.
The good news is that a broken touch layer rarely means broken data. In most cases the storage, the processor, and the USB port still work. What you lost is the input method, not the files. A cheap adapter and a computer mouse can often give you control again in ten minutes, and even when the screen stays black, a cable to a PC or a wireless cast to a TV can open a path to the files.
This guide works through the options in order of effort, from the simplest to the most involved. Start with the quick triage check, try the mouse and the PC copy, and only then consider repair or specialist help. Each section tells you what to try, what to check afterwards, and when to stop and ask a repair shop instead of risking the data.
First, work out what still works: display, touch, power and sound
Before you buy anything, spend five minutes finding out which parts of the phone still respond. Plug in the charger and watch for the charging icon or a vibration. Press the power button and listen for the startup sound. Call the phone from another phone and see whether it rings, vibrates, or shows the incoming call. Each yes narrows the problem and points at the right recovery method.
There are three common patterns. In the first, the display works but touch does not respond at all, or only in part of the screen. A mouse fixes this pattern almost every time. In the second, the display is black but the phone vibrates, rings, and charges normally. The touch layer may still work blind, or the screen itself may be dead while the rest of the phone runs. In the third, the phone shows no sign of life at all, and recovery becomes a repair job rather than a settings job.
The three failure patterns and what each one means for recovery
Display on, touch dead is the kindest pattern. The phone runs normally behind a useless touch layer, so an external mouse, a keyboard, or a cast to a TV restores full control. Display black, phone alive is harder but still hopeful: the phone may accept a mouse blind, or a USB-C to HDMI adapter may show the screen on a TV while a mouse drives it. No power, no sound, no vibration means the battery, the charging port, or the board may be damaged, and further attempts at home can wait until a repair shop checks the hardware.
A 60-second triage check you can do right now
Plug in the charger for 60 seconds and note whether the phone warms slightly or shows a charging symbol. Press and hold the power button for ten seconds, then release it and wait for a vibration or a logo. Call the number from another phone and listen for a ring. If the phone rings, the system is running and your data is almost certainly intact. Write down what you observed, because a repair shop will ask exactly these questions and a clear answer saves time.
OTG adapter and a USB mouse: the fastest way back into your phone
A USB On-The-Go adapter, usually called an OTG adapter, lets an Android phone act as a host for a USB mouse, keyboard, or flash drive. Plug the adapter into the phone’s USB-C or micro-USB port, plug a wired mouse into the adapter, and a cursor appears on the screen. Suddenly the phone has a pointer again, and you can tap, drag, and type with the mouse instead of your finger.
The parts cost very little. A USB-C to USB-A OTG adapter sells for a few dollars, and almost any wired USB mouse works. A wireless mouse with its own small USB receiver works too, because the phone sees the receiver as a standard mouse. A USB hub with several ports lets you connect a mouse and a keyboard at the same time, which helps when you need to type a long password or a PIN.
Check that your phone supports OTG before you buy. Most Android phones from the last eight years do, including Samsung, Pixel, Xiaomi, OnePlus, and Oppo models. If the phone is very old or a budget model from before 2016, look up the model name plus OTG support first. A quick search on another device takes a minute and saves a wasted trip to the shop.
What you need: a USB-C OTG adapter, a mouse, and a charged battery
Gather the adapter, a wired mouse, and the phone charger before you start. Charge the phone to at least 30% first, because a recovery copy can take a while and a phone that dies halfway through a transfer may leave files half copied. Keep the charger nearby so you can top up between steps. A small flash drive is useful too, for copying photos directly off the phone without a PC.
Connect the mouse step by step
- Charge the phone to at least 30% and switch it on.
- Plug the OTG adapter firmly into the phone’s charging port.
- Plug the wired mouse into the adapter and wait five seconds.
- Move the mouse and watch for a small arrow cursor on the screen.
- Click once to select an item, just as you would tap it with a finger.
- Click and hold, then drag, to enter a pattern or to scroll a long list.
- Right-click to go back on most Android phones, the same as the back button.
What to check after the cursor appears
Open the gallery and confirm that your photos load. Open Settings, then Storage, and note how much free space the phone reports. Try opening one photo at full size and one document, because a thumbnail can load while the full file is damaged. If the cursor moves but clicks do nothing, try a different mouse or a different adapter, and check that the adapter sits fully in the port. A loose connection is the most common reason a first attempt fails.
Cast the screen to a TV or monitor with a USB-C to HDMI adapter
When the display itself is black or unreadable, a mouse alone is not enough because you cannot see what you are clicking. A USB-C to HDMI adapter solves that by showing the phone screen on a TV or a monitor. Many Samsung phones support this through DeX, which turns the TV into a desktop with windows and a taskbar. Other Android phones mirror the screen directly, which is simpler and works just as well for recovery.
Buy an adapter that matches your phone. Samsung DeX works with a USB-C to HDMI cable or a small hub. Pixel phones with recent software support display output over USB-C, while older Pixel models may not, so check your model first. A hub with an HDMI port, a USB-A port for the mouse, and a USB-C port for charging covers all three needs at once and is the most useful single purchase for this job.
- Connect the HDMI cable from the adapter to the TV or monitor and select the matching HDMI input.
- Plug the adapter into the phone and wait ten seconds for the picture to appear.
- Plug a mouse into the adapter’s USB-A port and confirm the cursor shows on the TV.
- Use the mouse to enter your PIN and open the gallery, file manager, or settings.
- Keep the charger connected to the adapter’s power port so the phone does not drain during the copy.
Wireless casting when you have no cable at all
If the touch screen partly works, or a mouse already gives you control, wireless casting is a useful backup. Open Settings, then Connected devices, then Connection preferences, then Cast, and choose a Chromecast or a smart TV on the same Wi-Fi network. The picture lags slightly behind the phone, and a weak Wi-Fi signal can drop the connection mid-copy, so a wired HDMI adapter remains the more reliable choice when the screen is black. Use wireless casting for checking files, and use a cable for moving them.
Enter your PIN or pattern without touching the screen
The lock screen is the first wall a broken touch screen puts in your way. A mouse solves it neatly: click and drag to draw a pattern, or click the number keys to enter your PIN. A USB keyboard works too, because the number keys type the PIN and the Enter key confirms it. If the phone uses a fingerprint or face check, those may still work even when touch is dead, so try the fingerprint sensor or hold the phone up to your face before reaching for the mouse.
Voice control can help when touch works in part of the screen. Saying the wake phrase and asking the assistant to open settings or the gallery works on many phones, though voice cannot enter a PIN for you. Samsung phones offer Voice Access, and Pixel phones offer Voice Access and Switch Access under Accessibility settings, which let you drive the phone by voice or by a switch. These tools are slower than a mouse, but they cost nothing and need no adapter.
Never try to guess a PIN you have forgotten while the screen is broken. Repeated wrong attempts can trigger a timed lockout, and on some phones too many wrong attempts wipe the device. If you cannot remember the PIN, stop and think it through, check a password manager on another device, or ask a repair shop for advice before the next attempt. A calm pause protects the data that a rushed guess can destroy.
Drawing a pattern with a mouse, click by click
Patterns are harder with a mouse than PINs, because the drag must stay smooth and pass through each dot in order. Move slowly, keep the left button held down for the whole shape, and release only after the last dot. If the phone rejects the pattern twice, pause for a minute and try again at half speed. A pattern drawn too fast reads as a different shape, and the phone counts it as a wrong attempt.
When the lock screen will not accept any input
If the mouse moves but the lock screen ignores every click, the touch controller or the display assembly may be interfering with input. Try removing the phone from its case, unplugging and replugging the adapter, and restarting the phone with the mouse already attached. If the screen is black as well, switch to the HDMI method above so you can see whether the clicks register. When no input method works at all, the next step is a repair assessment, not more guessing.
Copy files to a PC with a USB cable and file transfer mode
Copying files to a PC is the heart of most recoveries, because a PC gives you a big screen, a real keyboard, and a hard drive with room for everything. Connect the phone to the PC with a USB cable, and the PC should show the phone as a device. The catch is that Android defaults to charging only, so you must change the USB mode to File transfer, which usually needs one tap on the phone, and that tap is exactly what a broken screen makes hard.
That is why the mouse matters here too. With the cursor working, open the notification shade, find the USB notification that says charging this device via USB, click it, and choose File transfer or MTP. The PC then shows the phone storage, and you can copy folders with the mouse and keyboard like any other drive. If the notification never appears, try a different cable, because many cheap cables carry power only and no data at all.
- Connect the phone to the PC with a data-capable USB cable.
- Use the mouse to open the USB notification on the phone and choose File transfer.
- On the PC, open File Explorer on Windows or Finder on a Mac and find the phone under devices.
- Open Internal storage and check that folders such as DCIM, Pictures, and Downloads appear.
- Copy DCIM first, because it holds your camera photos and videos.
- Copy Pictures, Downloads, Documents, and Music next, in that order.
- Open two or three copied photos on the PC to confirm they are complete before you unplug.
What to copy first when time is short
Start with DCIM, the camera folder, because photos and videos are usually the largest and the least replaceable files on a phone. Next copy Downloads and Documents, where tickets, receipts, and work files tend to gather. Then copy the Pictures folder, which holds screenshots and images saved from chats. Leave Music and large app folders until last, because music can be fetched again and app data often needs its own export step anyway.
How to confirm the copy is complete before you unplug
Compare folder sizes between the phone and the PC. On Windows, right-click a folder and choose Properties to see its size and file count, then compare the same numbers on the phone in the file manager. Open a few photos and one video at random to check they play. A copy that reports no errors but leaves half the photos at zero bytes is worse than a copy that fails loudly, because it looks finished while it is not.
USB debugging and ADB pull: when the screen stays black
Android Debug Bridge, known as ADB, is a command-line tool that lets a PC talk to a phone over USB. With ADB you can list files, pull whole folders to the PC, and even take a screenshot of a black screen to see what the phone displays. The commands are simple once the tool is installed, and they work without any touch input at all.
Here is the honest limit: ADB only works if USB debugging was switched on before the screen broke. The toggle lives in Developer options, and switching it on needs a tap on the screen, so a phone that never had it enabled cannot gain it now. Check first, and if it was never enabled, skip this section and use the mouse and PC copy method instead. Do not waste an afternoon chasing a tool the phone cannot use.
adb devices
adb shell ls /sdcard/DCIM/Camera
adb pull /sdcard/DCIM/Camera C:phone-recoverycamera
adb pull /sdcard/Download C:phone-recoverydownload
adb shell screencap -p /sdcard/screen.png
adb pull /sdcard/screen.png C:phone-recoveryscreen.png
The first command lists connected devices and asks you to approve the PC on the phone, which is another reason a working mouse helps: the approval dialog needs one tap. The pull commands copy whole folders, and the screencap commands capture the current screen so you can see what a black display is hiding. Run the commands one at a time and read each result before the next.
Install ADB on the PC in ten minutes
Download the official Android platform tools package for your operating system, unzip it to a folder such as C:platform-tools on Windows, and open a terminal or command prompt in that folder. Connect the phone, run adb devices, and look for the phone’s serial number followed by the word device. If it says unauthorized, approve the prompt on the phone with the mouse. If it says no devices, try another cable and another USB port.
Check that the PC sees the phone before you pull files
Run adb devices twice, thirty seconds apart. A phone that appears and then vanishes has a loose cable or a failing port, and a long pull will fail halfway. A phone that appears steadily is ready. Start with a small pull, such as a single photo, and confirm it arrives complete. Only then start the large DCIM pull, which can take twenty minutes or more for a full camera roll.
Cloud copies and app exports you can trigger from a PC browser
Even without touching the phone, a PC browser can reach much of what the phone already copied to the cloud. Open Google Photos in the browser and check whether your recent photos appear there. Open Google Drive and look for documents and backups. Open Google Contacts and confirm your numbers are listed. Each of these checks takes a minute, and each one tells you how much of the recovery is already done.
App data is trickier. WhatsApp chats, notes apps, and authenticator apps each keep their own data, and a file copy of the phone storage does not always include it. Open WhatsApp Web on the PC if the phone is online, and export important chats from there. Check each notes app for a web version or an export option. A backup made before the damage makes all of this easy, which is why the last section of this guide matters as much as the first.
syncing contacts automatically is the habit that saves the most stress after a broken screen, because contacts are the one data type people notice missing first. how auto restore reinstalls your setup explains the other half of the safety net: when you sign in on a replacement phone, Android can bring back your apps and many of their settings without a manual rebuild. backing up two factor security keys covers the item people forget until they need it most, because a lost authenticator can lock you out of accounts long after the photos are safe.
Check your Google account backup date from the PC
Open Google Drive in the browser, then Settings, then Manage apps, and look for the Android backup entry with your phone’s name. Open your Google account page and check the backup date and the data types included. A backup from yesterday covers nearly everything. A backup from three months ago still covers contacts and many settings, but recent photos may live only on the phone, so the PC copy method remains the priority for those.
Screen replacement versus data recovery: costs, risks and timing
At some point you must decide whether to fix the screen or to focus only on getting the data out. A screen replacement costs real money and takes time, but it returns a working phone. A data-only recovery costs less and is faster, but it leaves you with a phone you still cannot use. The right choice depends on the phone’s age, its value, and how much of the data already exists somewhere else.
| Option | Typical cost | Time needed | Data risk |
|---|---|---|---|
| OTG mouse and PC copy at home | A few dollars for an adapter | Under an hour | Very low |
| Screen replacement at a repair shop | Moderate, varies by model | One to three hours | Low when no wipe is needed |
| Specialist board-level recovery | High | Several days | Moderate, depends on damage |
| Factory reset and start again | Free | An hour | Total loss of unsaved data |
Ask the repair shop two questions before you hand the phone over. First, will the repair wipe the phone or require a reset? A screen swap should not need either, and a shop that insists on a wipe for a simple screen job deserves a second opinion. Second, what happens if the repair fails? A clear answer before work starts prevents disputes later, and a written note of the advice protects both sides.
When a shop can swap the screen without wiping data
Most screen replacements are a hardware job: the old display assembly comes off, a new one goes on, and the storage is never touched. The phone should boot afterwards with your files exactly where they were. Back up what you can before the repair anyway, because a battery connector slip or a damaged flex cable can turn a simple job into a data problem. A shop that works on a bench with the battery disconnected and the phone powered down is a shop that takes that risk seriously.
Frequently asked questions about broken touch screens
Can I recover photos if the screen is black but the phone vibrates?
Yes, in most cases. A phone that vibrates and rings is running normally behind a dead display, so the storage is intact. Try a USB-C to HDMI adapter to see the screen on a TV, then use a mouse to copy photos to a PC. If display output is not supported on your model, try the PC copy method with the mouse approving the USB mode blind, or ask a repair shop to connect a test screen temporarily so the files can be copied.
How do I copy files if USB debugging was never turned on?
Use the mouse and the USB file transfer method instead. ADB needs debugging enabled in advance, but the normal file transfer mode needs only a mouse click on the USB notification, or in some cases no click at all when the PC already trusts the phone. A different cable, a different USB port, and a restart of both devices fix most failed connections. Debugging is a power tool, not a requirement.
Should I factory reset a phone with a broken screen?
No, not before you have copied the data. A factory reset erases the storage and ends the recovery, and it rarely fixes a broken touch screen, which is almost always a hardware fault. Reset only after the photos, documents, and contacts are safe somewhere else, and only when you plan to sell, give away, or recycle the phone. If a shop suggests a reset as the first step, ask what it is meant to fix and get a second opinion.
Is it safe to keep using a cracked phone after recovery?
A phone with a cracked display but working touch can be used for a while, though the crack can spread and glass shards can cut a finger. A phone with dead touch is not usable as a daily phone, even if the display lights up. Keep it charged and powered off as a spare source of files until the screen is replaced, and do not press hard on the cracked area, because pressure can damage the display further and turn a screen job into a board job.
Your recovery checklist and what to set up next time
Work through this list in order and tick each item as you finish it. Confirm the phone powers on and rings. Connect a mouse through an OTG adapter and check the cursor moves. Enter your PIN with the mouse or keyboard. Copy DCIM to the PC and open three photos to confirm they are complete. Copy Downloads, Documents, and Pictures next. Check Google Photos, Drive, and Contacts in a browser for anything already saved in the cloud. Only after those checks should you decide about a screen replacement or a new phone.
Then set up the safety net that makes the next accident boring instead of frightening. Switch on automatic backup in Settings, then System, then Backup, and confirm the backup date after the first run. Switch on Google Photos backup over Wi-Fi, and check that contacts sync is on. Keep one dated copy of your photos on a PC or an external drive, labelled with the month. A plan you test once a month is a plan you can trust, and the next cracked screen will be an afternoon of copying files, not a week of worry.

