

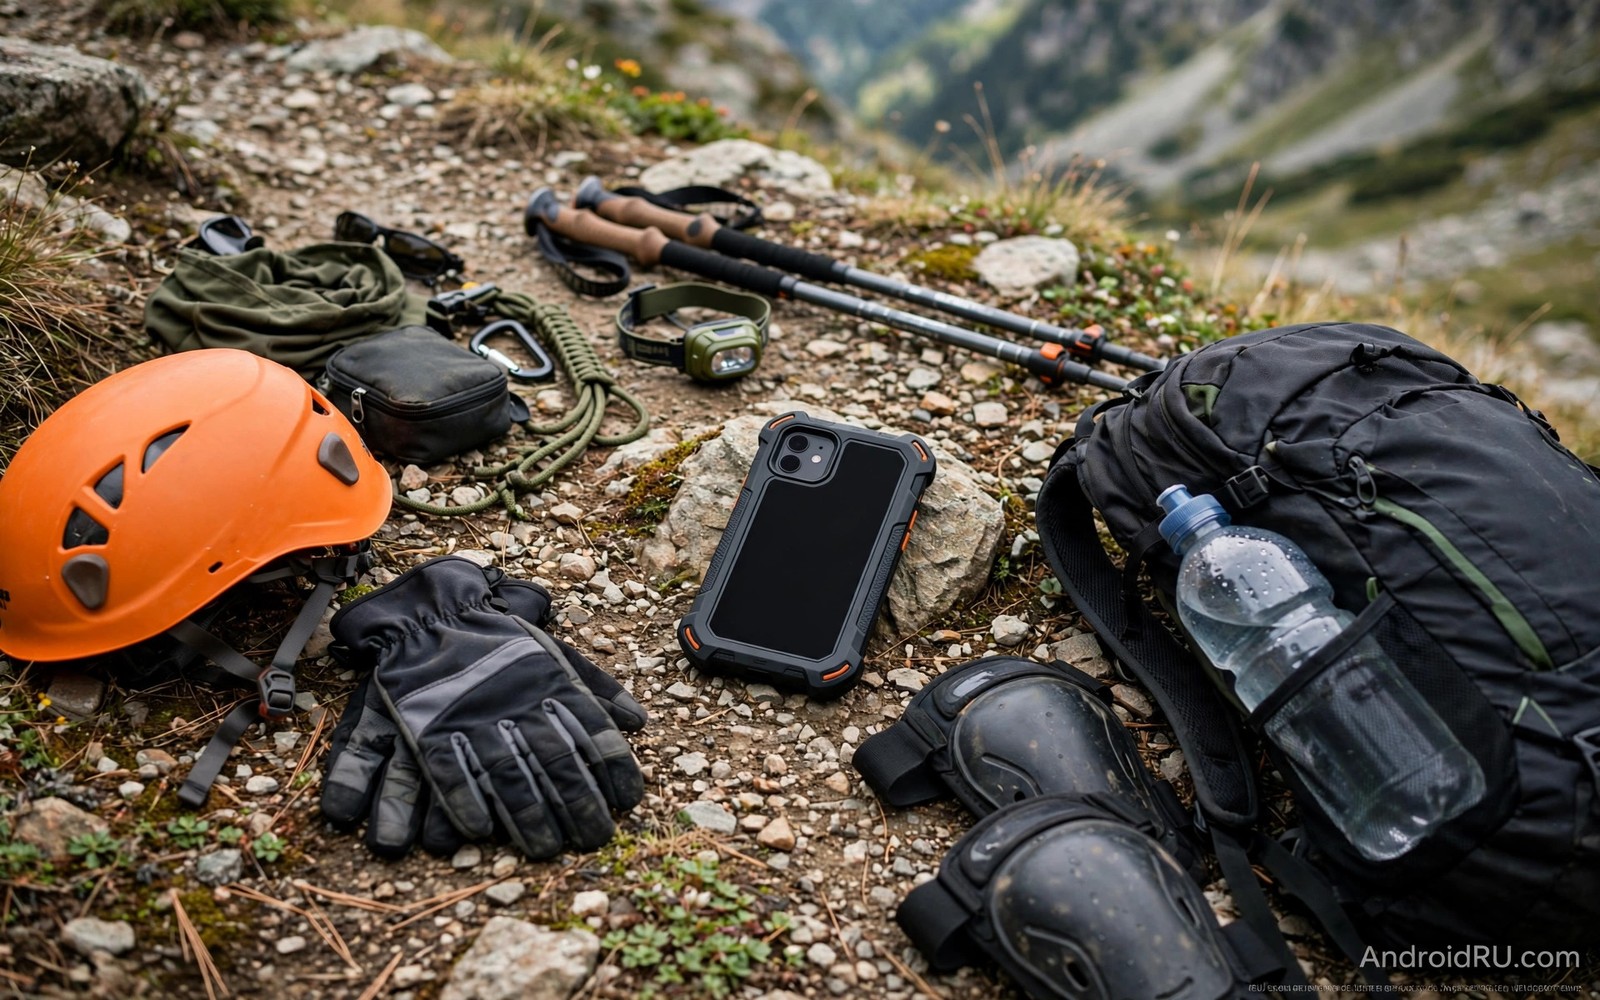
A phone is a hiker map and camera and emergency tool in one device. A trail exposes that device to drops and rain and dust and heat. A single fall onto rock can end navigation when you need it most. Protective gear for hiking is therefore safety gear and not just accessory shopping. This guide picks seven items that protect a phone in real trail conditions without adding excessive weight.
Weight matters on a trail because every extra gram counts over many kilometres. Protective gear must earn its weight with a real protective function. A heavy case that never gets tested by a drop is still useful if it prevents one costly break. A light pouch that fails in rain is worse than no pouch because it creates false confidence. Choose gear that has been tested in conditions similar to your trails. Your trail type should decide the gear and not a generic outdoor label.
Start with the risks on your usual routes. A rocky route needs drop protection first. A wet route needs water protection first. A dusty route needs port and screen protection first. A long route needs power protection first. Rank those risks for your own hikes and buy gear in that order. A ranked list keeps your pack light and your phone safe where it matters most. For drop protection basics see accessories that protect phones from outdoor drops for case choices.
A rugged case and a screen protector
A rugged case with raised edges protects the screen and camera when the phone lands face down. Raised edges create a gap between the screen and the ground on a flat fall. A case with corner air pockets absorbs shock better than a thin hard shell. Choose a case that still allows easy button access with gloves. A case that blocks buttons in cold weather is a poor trail choice even if it looks tough.
A tempered glass screen protector adds a sacrificial layer for the screen. It cracks instead of the screen on many impacts. Replace a cracked protector promptly because cracks can spread and hide screen damage. A protector with good touch sensitivity keeps map use fast. Test map gestures with gloves and with the protector fitted. A protector that slows map use can delay navigation when a quick check matters.
A case lanyard or tether adds a backup against drops from a viewpoint or a cliff edge. Attach the tether to a secure point on your pack or clothing. A tether does not replace a good grip but it catches a phone that slips. Use a tether for photos near edges and for map checks on steep ground. That habit protects the phone and it also protects people below from a falling object.
Water and dust protection for trails
A waterproof pouch protects a phone during rain and river crossings. Choose a pouch rated for immersion if you cross water regularly. Test the pouch empty in a sink before trusting it with a phone. A tested pouch gives confidence and an untested pouch gives risk. Check the seal for sand and grit before each use because a small grain can break the seal. Clean the seal with a dry cloth after dusty trails.
A pouch also affects touch sensitivity and camera clarity. Test map use and photo quality through the pouch before a hike. A pouch that fogs in humidity can hide the screen. Anti fog pouches or a silica packet can reduce fogging. Keep the pouch in a pocket close to body heat on cold mornings to reduce condensation. Small tricks like this keep a pouch usable in real conditions.
Dust plugs for ports protect charging and headphone ports on dry dusty trails. A plug prevents grit from blocking a charging connection at camp. Remove plugs carefully to avoid pushing dust inward. A soft brush for ports at camp completes the dust routine. Clean ports before charging because a gritty port can damage a cable connector. Dust care is boring but it keeps charging reliable after a long trail. For deep water pouch limits see waterproof pouches for deep diving sports for immersion ratings.
Mounts power and visibility gear
A chest or pack strap mount keeps the phone visible for navigation without holding it. That hands free view helps on steep or technical ground. Choose a mount that locks firmly and does not bounce excessively. A bouncing mount makes map reading hard and can loosen over time. Test the mount on a short local trail before a long hike. A tested mount gives a stable map view when you need it most.
A power bank in a waterproof bag gives emergency power for navigation and calls. Keep the bank in a dry pocket and use a short cable for charging at rest stops. A solar panel can extend power on multi day hikes but it adds weight. Choose solar only for trips where wall charging is absent for days. For most day hikes a full bank is lighter and more reliable than a small solar panel.
A bright case colour or a reflective strap improves visibility if you drop the phone in grass. A black phone on dark ground is hard to find. A bright case or a reflective lanyard makes a dropped phone easier to spot. That visibility also helps rescuers spot a phone signal light at night. Small visibility choices can save a long search in tall grass or low light.
hiker_phone_kit.txt
Rugged case with raised edges
Tempered glass screen protector
Waterproof pouch tested empty
Port plugs and soft brush
Power bank in dry bag
The list above is an original example written for this guide. It summarises the core trail protection kit in a form you can check before leaving home. Adapt the list to your route risks and remove items that do not fit your trail. A checked kit is safer than a larger unchecked kit.
Pack the phone gear near the top of your bag for quick access. A phone buried under food and clothing is hard to reach for a map check. A top pocket or a chest pocket gives fast access without removing the pack. Fast access encourages frequent map checks and better navigation. That habit reduces wrong turns and saves energy on long hikes.
Plan for cold and altitude on trails
Cold air reduces battery performance and can shut a phone down early on a high trail. Keep the phone in an inner pocket close to your body during cold sections. Warm the phone before a map check if the screen responds slowly. A warm phone gives a more accurate battery reading. That habit prevents a surprise shutdown far from a trailhead.
Altitude can also affect touch sensitivity and battery readings in subtle ways. A phone that works well at sea level may behave differently at high altitude. Test your map app and camera at altitude on a short hike before a long high route. A short test reveals any quirks while you are still near help. That preparation keeps navigation reliable on remote high trails.
Common mistakes
The most common mistake is trusting an untested waterproof pouch on a first hike. That mistake can flood a phone during the first rain. Another mistake is using a thin fashion case on a rocky trail. A fashion case offers little shock absorption. A third mistake is carrying no power backup for a long route. A dead phone on a long route removes maps and emergency calls at once.
People also forget that cold weather affects battery life on trails. A phone in an outer pocket in cold wind can shut down early. Keep the phone close to body heat in cold conditions. Warm the phone in an inner pocket before use. That simple habit extends battery life and keeps navigation available in cold weather.
A final mistake is relying only on a phone for navigation without a paper backup. A phone can fail even with good protection. Carry a paper map and a compass for remote routes. That backup is light and it works without power. A paper backup turns a phone failure into an inconvenience rather than an emergency and for case fit that protects without bulk see heavy duty cases without massive bulk for balanced protection.
FAQ
Is a waterproof pouch enough for river crossings?
A pouch rated for immersion can handle a brief river crossing if the seal is clean. Test the pouch empty before the trip. Check the seal for sand before each crossing. Keep the crossing brief and avoid deep submersion beyond the rating. A pouch is a protection layer and not a guarantee for deep water. Use a dry bag inside a pack for extra protection on long crossings.
After a crossing check the pouch interior for moisture before opening it near the phone. Dry the exterior first. That check prevents water from dripping onto the phone when you open the pouch. A careful opening routine protects the phone after the crossing. Make that routine a habit for all water use.
How do I protect a phone from dust on dry trails?
Use port plugs and a case with good port covers. Keep the phone in a pocket or pouch when not in use. Brush ports gently at camp before charging. Avoid blowing dust into ports with strong air. A soft brush removes dust without pushing it deeper. That routine keeps charging reliable on dusty routes.
A screen protector also helps because dust can scratch a bare screen in a pocket with sand. Keep the phone in a clean pocket separate from sand and grit. A separate pocket reduces scratch risk. Clean the pocket occasionally to remove accumulated dust. Small pocket habits protect the screen over many hikes.
Should I use a rugged case every day or only for hikes?
A rugged case can be used daily if it fits your pocket and hand comfortably. Many hikers keep a rugged case on the phone permanently for simplicity. Others swap to a slim case for city use and a rugged case for trails. Choose the pattern that you will actually follow. A rugged case left at home for a hike gives no protection.
If you swap cases then store the rugged case in an easy place near your hiking gear. A case stored in a drawer may be forgotten on hike morning. Keep it with your boots or pack so it is part of the hike routine. A visible case is a used case. That placement habit ensures protection when it matters.
Conclusion
Trail protection is a system of case and screen and water and dust and power gear. Each item covers a different trail risk. Together they keep a phone working for maps and photos and emergency calls. Weight and testing decide which items earn a place in your pack. A tested kit that fits your route is better than a heavy kit that stays at home.
Your concrete next step is to test your waterproof pouch empty tonight and check your case for raised edges. If the pouch passes a sink test then pack it with your power bank for your next hike. If the case lacks raised edges then upgrade the case before a rocky route. Those two checks improve trail safety more than any new gadget alone.

