

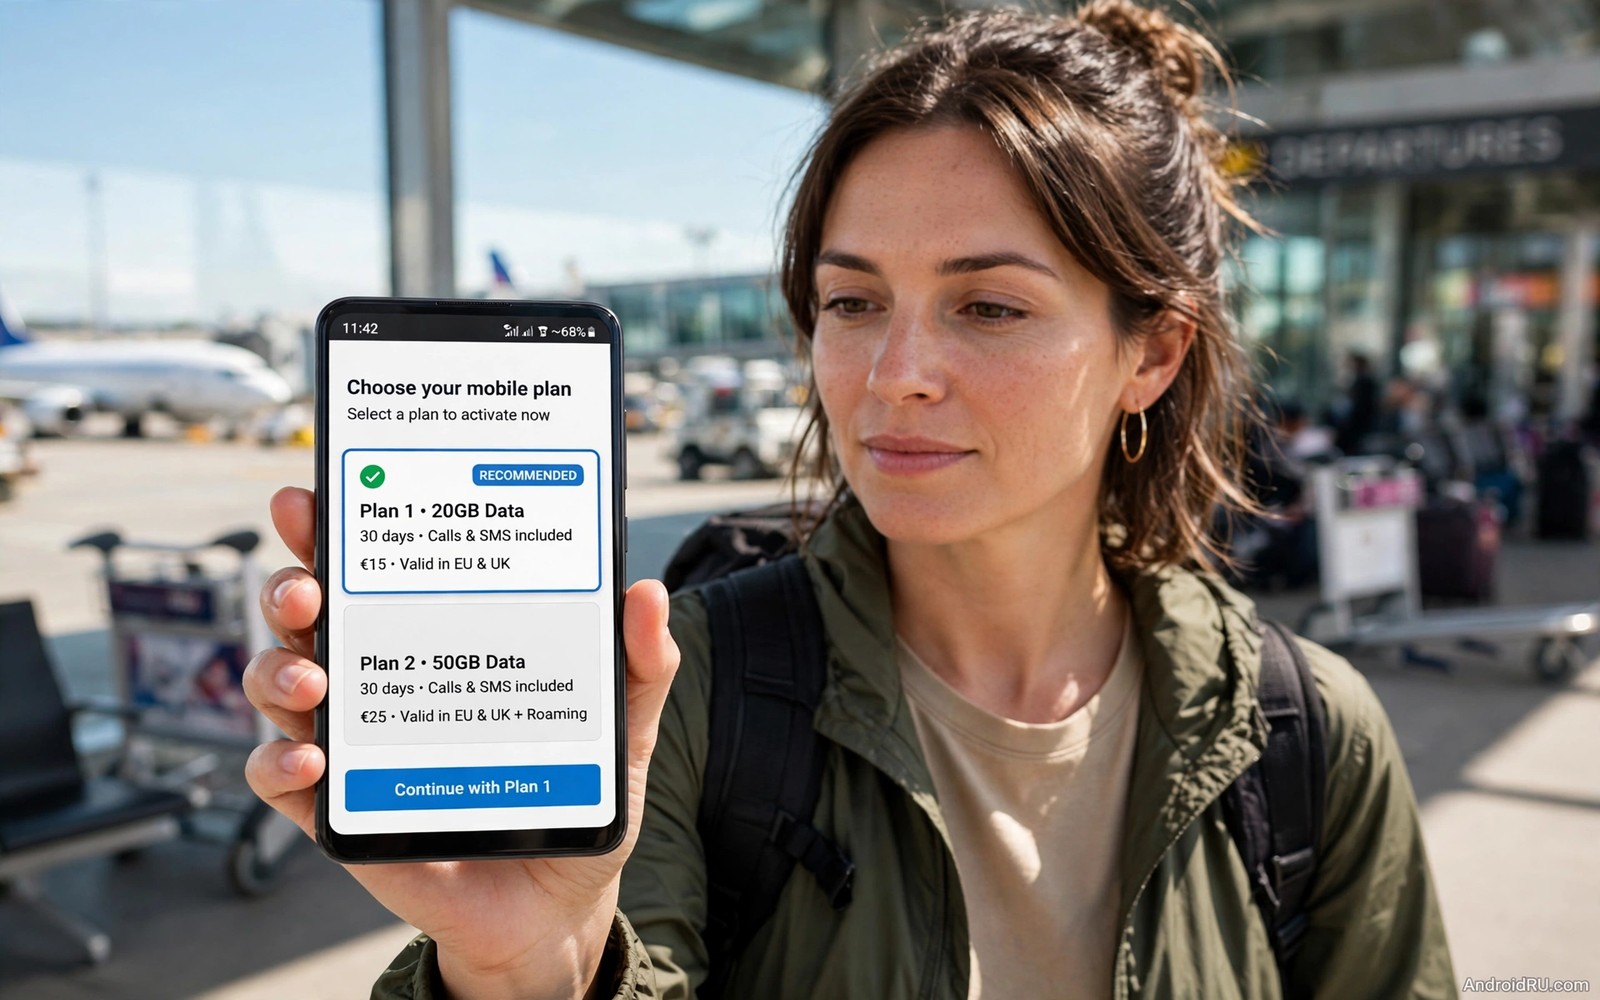
An eSIM replaces a plastic SIM card with a digital profile stored inside your phone. That change makes travel and dual number use far simpler. You can add a travel plan by scanning a code instead of hunting for a tiny card. You can keep a work number and a personal number on one device. You can also switch plans without opening a SIM tray. The convenience grows only when you manage the profiles carefully.
An eSIM profile is tied to your phone and to your carrier account in a specific way. Deleting a profile can remove a plan that is hard to restore. Transferring a profile to a new phone needs a carrier step in many cases. A careless delete or a rushed transfer can leave you without service at the worst moment. This guide shows the safe order for setup and switching and transfer.
You will learn how to add a profile by QR code or by manual entry. You will learn how to label profiles so that you never dial from the wrong number. You will learn how to set a default for calls and data. You will finish with transfer steps for a new phone and with deletion rules that protect an active plan.
Add a new eSIM profile safely
Open Settings and tap Network and internet and then tap SIMs. Tap Add SIM or Add eSIM depending on your phone brand. Choose the QR code option if your carrier gave you a code. Point the camera at the code and wait for the phone to download the profile. Keep the phone on Wi-Fi during the download because a mobile data interruption can corrupt the profile.
Use manual entry only when the carrier gives you an activation address and a code. Type those details exactly as shown because a single wrong character will fail the download. Do not share the QR code or the manual details with anyone else. Those details act like a key to your mobile plan. A leaked code can let another device claim the profile in some carrier systems.
Label the new profile at once with a clear name such as Travel or Work. A clear label prevents dialling from the wrong number later. Set the profile to active only when you are ready to use it. An active travel profile in your home country can cause roaming charges if the plan allows it. A labelled and inactive profile stays ready without costing you anything.
Set defaults for calls and data
Open the SIM settings and choose a default SIM for calls and a default SIM for mobile data. Those defaults can differ. You may want personal calls on one profile and data on a cheaper travel profile. Set the data default with care because a wrong data default can burn an expensive plan quickly. Test a short browsing session after you set the data default to confirm the choice.
Turn on data roaming only for the profile that needs it. A travel profile usually needs roaming on to work abroad. A home profile abroad should keep roaming off unless you accept the charges. Check the roaming switch for each profile separately. A single global assumption can enable roaming on the wrong profile and create a large bill.
Test a call from each profile before you travel. A test call proves that the label matches the number that the other person sees. A mislabelled profile can cause a work call to appear as a personal number. That mistake is embarrassing and it can break a business contact. A two minute test before travel prevents that problem. Network setup after a new phone matters too and the guide to network settings for a new phone covers the wider setup that surrounds an eSIM change.
Switch profiles without losing service
Switch the data default in Settings rather than deleting a profile that you no longer need today. A switch is reversible in seconds. A delete can be permanent for some carriers. Keep old profiles inactive rather than deleting them if you may return to that plan. An inactive profile costs nothing and it stays ready for a future trip.
Restart the phone after a switch if data does not start at once. A restart forces a fresh network registration on the new default. Wait for the signal icon to settle before you judge the switch. A phone that shows signal but no data may need a few more seconds to complete registration. Test one web page after the restart to confirm the new default.
Check the mobile network settings for the active profile if data still fails. An incorrect access point setting can block data on a new profile. Compare the access point details with the carrier instructions for that plan. A single wrong field can block all data even with full signal bars. Fixing that field is faster than deleting and re-adding the whole profile. Crossing borders adds its own traps and the steps for fixing mobile data after crossing borders will help when a profile works at home but fails abroad.
Transfer an eSIM to a new phone
Ask your carrier how transfer works for your plan before you sell or reset the old phone. Some carriers allow a direct transfer from the old phone to the new phone. Some carriers require a new QR code for the new phone. Some carriers treat a transfer as a new activation with a fee. Knowing the rule before you start prevents a gap in service.
Keep the old phone active until the new phone shows service on the transferred profile. Do not delete the profile from the old phone early. An early delete can break a transfer that needs the old device to approve it. Test calls and data on the new phone before you wipe the old phone. A successful test is the only safe signal to proceed with a wipe.
Back up the carrier details and the QR code for the new phone in a secure place. A secure password manager can store the activation details safely. A screenshot in a public photo album cannot. Treat eSIM details like account credentials because they control access to your mobile plan. A safe backup saves you if the transfer fails and the carrier needs to reissue the profile.
Use this eSIM management routine
Follow the same routine for every profile change so that no step gets skipped. Add the profile on Wi-Fi and label it at once. Set call and data defaults and test both. Keep the old phone active during a transfer. Delete only after a successful test on the new device.
Step one: add profile on Wi-Fi with QR code
Step two: label profile and set call default
Step three: set data default and test browsing
Step four: keep old phone active during transfer
Step five: delete old profile only after new test passes
This routine is an original example written for this guide. It uses only standard Android SIM screens and carrier instructions. It does not require any extra app. The routine works because it separates a reversible switch from a permanent delete. That separation protects an active plan from a rushed cleanup.
Delete a profile only when you are sure
Delete a profile only after you confirm that the plan has ended or moved to another device. A deleted profile cannot always be restored by scanning the old QR code again. Some carriers issue a single use code that expires after the first download. A second download may need a new code and a carrier fee. Ask the carrier before you delete a profile that you may need again.
Remove the profile from the phone settings rather than from a third party app. A third party app cannot manage eSIM profiles safely on most phones. Use the built in SIM manager for every delete. Restart the phone after a delete to clear any stale registration. Test the remaining profiles after the restart to confirm that the correct number stays active. Call quality after a switch can depend on voice settings and the guide to enabling the VoLTE toggle explains a voice setting that often matters after a profile change.
Keep a travel checklist for eSIM trips
Write a short travel checklist before every trip that uses a travel eSIM. The checklist should include the profile label and the data default and the roaming switch. A checklist prevents a rushed airport change that sets the wrong default. A calm check at home beats a hurried check at a busy gate. Keep the checklist in a notes app that works offline.
Download offline maps and key documents before departure. A travel eSIM can take a few minutes to register on arrival. Offline content covers that gap without stress. A downloaded map also helps if the new profile needs a manual access point fix. Preparation turns arrival into a smooth step rather than a scramble.
Test the travel profile on arrival before you leave the airport. A test call and a web page confirm that the profile works. If the test fails then airport Wi-Fi gives you a way to contact the carrier. A test inside the airport is far easier than a test on a moving train. A few minutes at arrival can save hours of confusion later.
Review eSIM costs after a trip
Check the bill for the travel profile after you return home. A bill that matches the plan confirms that the data default was correct. A surprising bill points to a wrong default or an unexpected roaming charge. A quick review after each trip teaches you which settings to double check next time. A bill review is boring but it protects your budget.
Switch the data default back to your home profile as soon as you return. A travel profile left as the default can keep charging for data at home. A prompt switch on arrival day prevents that waste. Make the switch part of your unpacking routine. A habit tied to a routine is easier to remember than a habit tied to a date.
Keep the travel profile inactive for a future trip if the plan allows reuse. An inactive profile is ready without cost. A deleted profile may need a new purchase for the next trip. A careful keep decision saves money over several trips. Check the carrier rules for reuse before you decide.
Common mistakes
A common mistake is to delete a travel profile at the airport before the return trip ends. A deleted profile cannot be restored quickly in a foreign airport. Keep the profile inactive instead of deleting it. Another mistake is to set the wrong data default and then blame the carrier for roaming charges. Check the data default before you cross a border.
Do not share a QR code in a message or a photo album. A leaked code can compromise the plan. Do not wipe the old phone before the new phone passes a call and data test. A wipe without a test can leave both phones without service. Patience during a transfer is cheaper than an emergency carrier visit.
Frequently Asked Questions
Can I use two eSIM profiles at once?
Many phones support two active profiles for calls but only one for data at a time. Check your phone model because dual active support varies. Set the data default to the profile that you want for internet use.
Does deleting an eSIM cancel my plan?
Deleting a profile removes it from the phone but it does not always cancel the carrier plan. Some plans keep billing until you cancel with the carrier. Contact the carrier to cancel billing separately if you want the plan to end.
Can I transfer an eSIM without carrier help?
Some phones offer a direct transfer between two phones from the same brand. Many carriers still require a new code or an approval step. Ask your carrier before you start so that you know which path applies to your plan.
Conclusion
Today open your SIM settings and label every eSIM profile with a clear name. Check the call default and the data default and test both with a short call and a web page. If you plan a new phone soon then ask your carrier about transfer rules before you wipe the old device. Keep the old phone active until the new phone passes both tests. That concrete routine will keep your numbers safe through every switch and transfer.
Review your profiles once every few months and remove only plans that have truly ended. A clean and labelled list prevents wrong number dials and surprise roaming charges. A few minutes of management protects the convenience that makes eSIM worthwhile.

