

Why Phone Audio Falls Short At Distance
A phone microphone works well when the speaker stands close to the phone and the room stays quiet. It struggles when the speaker steps back and when wind blows and when traffic passes and when a room echoes. The phone captures everything around it with equal enthusiasm and the voice you want becomes one sound among many. A wireless microphone solves the distance problem by placing a small transmitter close to the speaker mouth while the receiver stays connected to the phone. The voice stays clear and present even when the camera sits several steps away for a wider and more flattering frame.
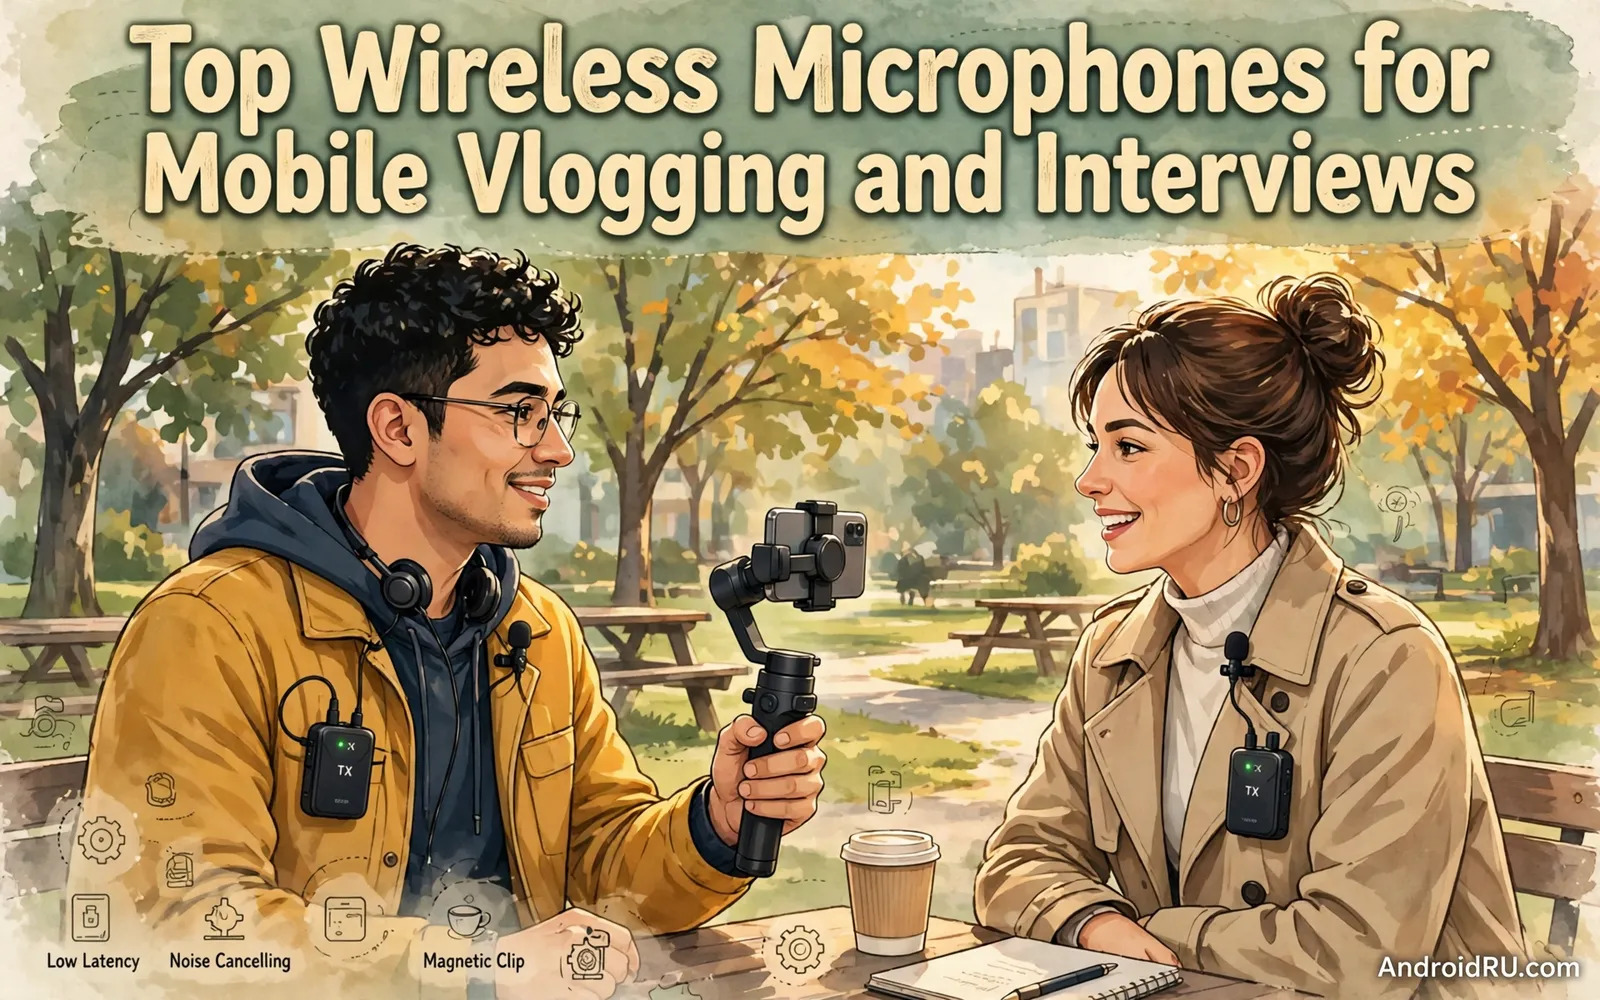
Interviews benefit even more because two voices at different distances create an uneven recording with a built-in phone microphone. One voice sounds loud and close while the other sounds distant and thin. A two transmitter system gives each speaker a dedicated microphone and keeps both voices balanced and intelligible. Listeners forgive imperfect video far more readily than they forgive unclear speech. Clear audio signals professionalism and keeps viewers watching while muffled audio drives them away within seconds no matter how good the picture looks.
How Wireless Microphone Systems Work
A typical system has a transmitter and a receiver and sometimes a charging case. The transmitter clips to clothing or hangs on a lanyard and contains a microphone and a battery and a wireless radio. The receiver plugs into the phone through USB-C or a headphone adapter and delivers the audio to the recording app. Some systems include two transmitters for interviews and some include a single transmitter for solo vlogging. Digital systems in the common wireless bands handle interference better than older analogue designs but no wireless system is immune to a crowded radio environment.
Latency and range and battery life define daily usability more than marketing claims do. Low latency keeps lip movement and speech aligned in video so the result does not feel dubbed. Usable range matters outdoors where a presenter walks away from the camera and indoors where walls absorb signal. Battery life matters on long shoot days when charging breaks interrupt interviews. Check how the system reports battery levels and whether the receiver draws power from the phone or carries its own battery. Readers troubleshooting phone sound problems can also review fixing microphone audio issues during mobile calls for settings that affect every recording app.
Features That Matter For Vlogging And Interviews
Noise reduction helps outdoors but it can also make voices sound thin when it works too aggressively. A system with adjustable noise control lets you choose light reduction for a breezy street and stronger reduction for a noisy market. A wind cover or deadcat over the microphone capsule reduces wind rumble far better than software alone and should be treated as essential outdoor gear rather than an optional extra. Onboard recording on the transmitter acts as a safety net when wireless signal drops because the transmitter keeps a local copy that can replace a damaged wireless take.
Monitoring matters because you cannot fix audio that you never heard during the take. A receiver with a headphone output lets you listen live and catch a loose clip or a rubbing cable or a dead battery before an interview ends. Gain control matters too because a fixed level can clip loud laughter or bury a quiet speaker. Systems with clear level indicators and simple gain steps give a solo creator control without a sound engineer. Test the full chain before a real shoot because a system that sounds fine in a quiet room may behave differently in a busy street.
- Two transmitters for balanced interview audio with two speakers
- Adjustable noise reduction plus a wind cover for outdoor recording
- Onboard transmitter recording as a backup when wireless signal drops
- Live headphone monitoring so problems are heard during the take
- Clear gain control and battery indicators for long shoot days
Setting Up For A Clean First Recording
Clip the transmitter high on the chest and away from jewellery and zippers and lanyards that can rub and create noise. Route any cable under clothing when possible and secure loose fabric near the microphone. Ask the speaker to do a short test sentence at normal interview volume and listen back on headphones before the real conversation starts. Check the phone recording settings as well because some apps default to the phone microphone even when a receiver is connected. A thirty second test saves an entire interview from the painful discovery that the wrong microphone captured the session.
Record a few seconds of room tone at each location so editing has natural background sound to cover cuts. Keep the phone in a stable position and keep the receiver clear of metal cases and crowded pockets that can weaken signal. Carry spare wind covers and a small cloth and a charging cable for the system case. Readers comparing listening gear for playback and monitoring may find wireless earbuds for Android with active noise cancelling tested useful when choosing headphones for editing on the move. A tidy kit and a short test routine turn wireless audio from a gamble into a reliable habit.
Common Problems And How To Avoid Them
Dropouts usually come from distance or obstacles or interference rather than from a faulty microphone. Move the receiver closer to the transmitter when possible and keep a clear line of sight on long outdoor walks and avoid placing the receiver inside a metal-heavy bag. Clothing rustle comes from fabric moving against the microphone and can be reduced by repositioning the clip and by using a small piece of tape or a mount that isolates the capsule. Echo in empty rooms comes from hard surfaces and can be softened by moving closer to soft furnishings or by recording in a smaller space when the story allows it.
Battery surprises ruin shoots more often than signal problems do. Charge transmitters and receivers the night before and check levels at the start of each session and carry a power bank for the case when a day runs long. Keep firmware updated when the maker offers updates because wireless stability and app compatibility often improve after launch. Label transmitters when using two of them so editing stays simple and each voice track matches the right speaker without guesswork.
Choosing A System And A Practical Checklist
Solo vloggers can start with a single transmitter system that is simple and light and easy to charge. Interview creators should choose a dual transmitter system from the start because adding a second transmitter later may mean buying a whole new system. Creators who record in noisy places should prioritise wind protection and noise control over extra features that look good on a box but rarely change a recording. Creators who travel light should prioritise a compact charging case and a receiver that fits the phone without blocking the camera or the grip.
Readers who want to understand how different audio technologies compare can explore audio codecs on mobile covering LDAC and aptX HD and AAC for background on wireless sound quality. That context helps separate genuine audio improvements from marketing language. Choose the system that matches your speaker count and your locations and your editing routine and test it in a real location before trusting it with an interview that cannot be repeated.
- Choose one transmitter for solo work and two for interviews
- Test the full chain with headphones before every important recording
- Pack wind covers and a power bank for long outdoor days
- Keep a local transmitter recording as a backup whenever possible
Wireless Audio Workflow For Regular Creators
Regular creators benefit from a repeatable audio workflow that starts before recording and ends after backup. Charge the system the night before and pack wind covers and a spare cable in the same pouch every time. Arrive early and test levels with the actual speaker in the actual location. Record room tone and a test sentence and listen back on headphones before the interview begins. After recording back up audio immediately to a second location because a lost recording cannot be recreated when an interview guest leaves. A workflow that feels boring is exactly the workflow that protects irreplaceable conversations.
Editing wireless audio improves when tracks stay organised from the start. Label transmitter tracks by speaker name and keep local transmitter recordings alongside wireless tracks until editing finishes. Sync audio by waveform or by a clap at the start of each take when the recording app supports it. Remove clothing rustle and wind noise gently because aggressive noise removal can make voices sound robotic. Keep original recordings untouched in an archive folder and edit copies only so a mistake never destroys the only good take. Good organisation saves hours in editing and preserves quality that hurried handling would lose.
Growth as a creator often means moving from one microphone to a small kit that covers more situations. A second transmitter for interviews and a handheld microphone adapter for street vox pops and a boom option for controlled rooms each expand possibilities. Buy each addition when a real project demands it rather than collecting gear speculatively. A kit built around real shoots stays lean and familiar while a kit built around shopping stays impressive on a shelf and confusing on location.
- Charge the system and pack wind covers the night before every shoot
- Test levels with the real speaker in the real location every time
- Back up recordings immediately after an interview ends
- Label tracks by speaker and keep local backups until editing ends
- Add kit pieces only when a real project demands the new capability
Interview Audio Etiquette And Guest Comfort
Guest comfort shapes interview audio more than equipment specifications do because a relaxed speaker speaks clearly and steadily while a nervous speaker rushes and mumbles. Explain the microphone briefly before recording and show the guest where it clips and how it feels. Reassure guests that mistakes can be edited and that pauses are welcome. A guest who understands the setup stops worrying about the hardware and focuses on the conversation. That focus produces natural speech that needs far less editing than a tense performance captured with perfect equipment.
Room choice also affects guest comfort and audio quality together. Choose a quiet corner away from doors and coffee machines and air vents when possible. Close windows facing busy streets and switch off humming appliances during the interview. Seat guests where they can see the interviewer comfortably without twisting. Offer water before starting because a dry throat creates coughs and clicks that interrupt flow. Small courtesies create a calm atmosphere where good audio happens naturally rather than through technical rescue after the fact.
- Explain microphone placement briefly so guests stop worrying about hardware
- Choose a quiet corner away from doors machines and vents
- Offer water before recording to prevent dry throat interruptions
- Reassure guests that pauses and mistakes can be edited out

