

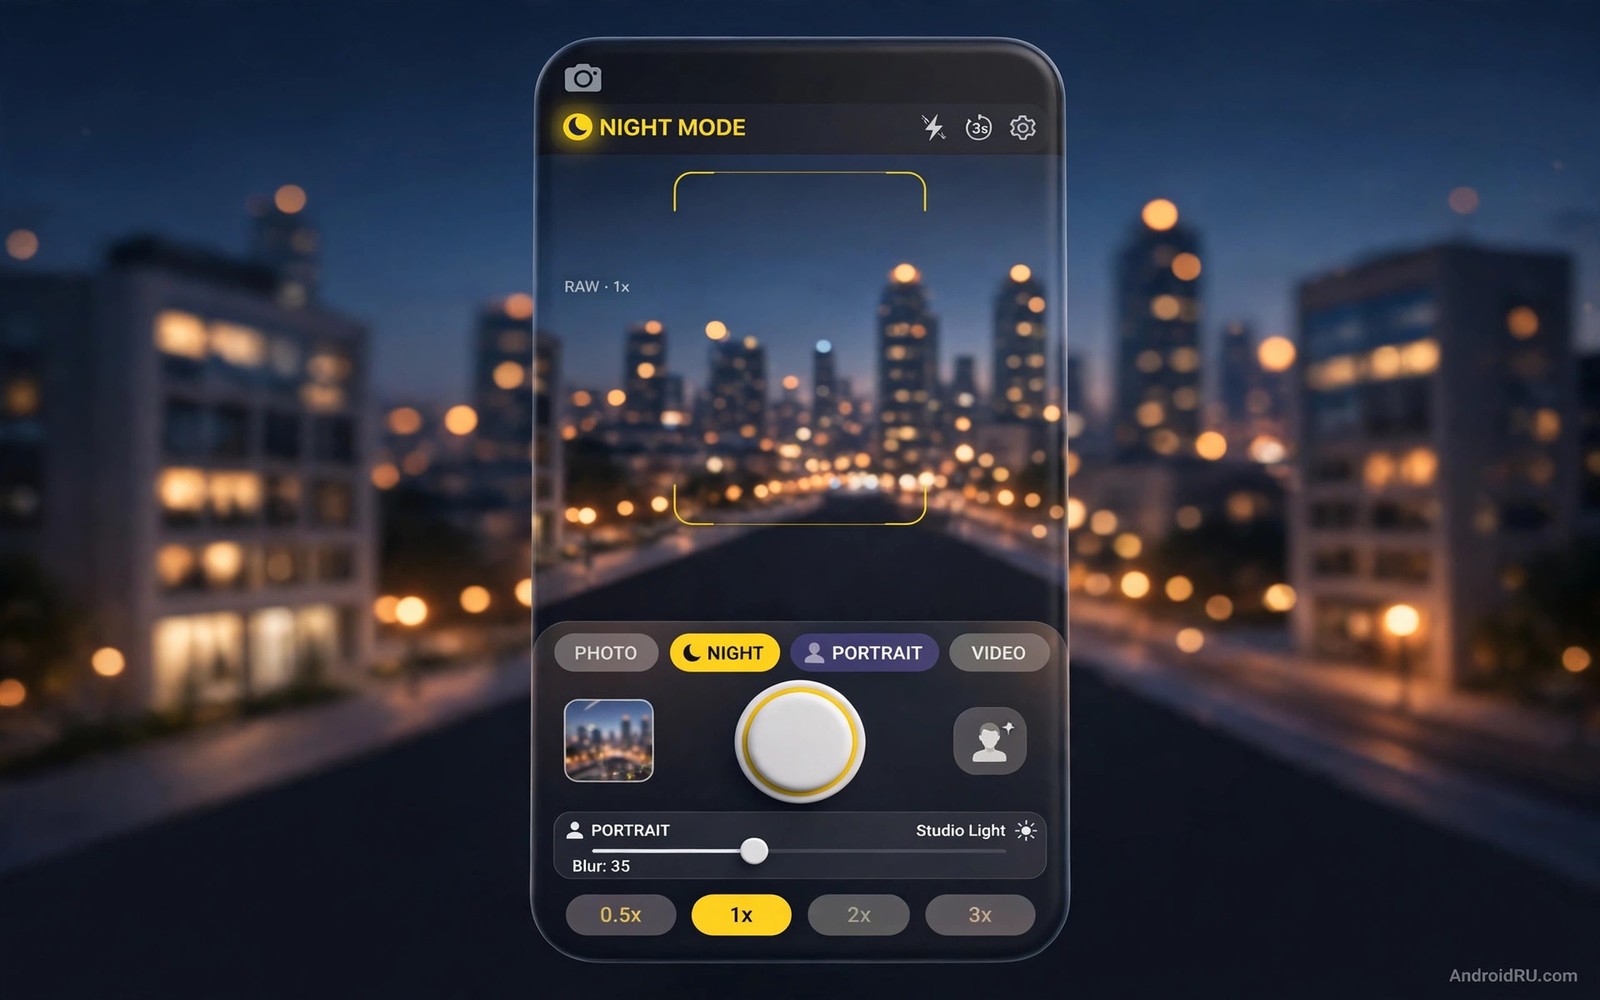
Pixel phones earn praise for photos that look clean straight out of the camera. The hardware is only half the story. The camera software does heavy lifting with multi-frame blending and smart exposure. Owners of other phones watch those samples and assume the magic stays locked to one brand. Much of it does not.
Ported camera apps bring that processing style to many other models. A port is a modified build of a camera app tuned for a specific processor family. It uses the same multi-frame ideas to stack several exposures into one cleaner image. Night mode brightens dark scenes without a flash. Astrophotography mode stretches exposures for stars.
This guide explains how ports work and how to install one safely. It covers compatibility checks and config files. It covers the features that transfer well and the ones that stay exclusive. It also covers the risks so you can test without harming your stock camera or your photos.
Check compatibility before you install anything
A port needs Camera2 API support at a capable level. Install a free Camera2 probe app and read the hardware support level. Full or Level 3 support gives the best chance of working night mode. Limited support still allows basic ports with fewer features. Legacy support means ports will struggle and the stock camera may serve you better.
Identify your processor family and Android version. Ports are built per processor family because image pipelines differ deeply. A port for one chip family rarely runs well on another. Search for your exact model plus its processor name. A match for the same model is worth far more than a generic build for a similar phone.
Install the port beside the stock camera
Download the port file from a reputable port community page for your model. Enable install permission for the browser or file manager when prompted. Install the app and deny any permission that looks unrelated to camera use. The port installs as a separate app. Your stock camera stays untouched and remains available as a fallback.
Open the port and grant camera and storage and microphone permissions. Microphone access matters for video recording. Location access is optional and you can deny it. Take a test photo in daylight and one in a dim room. Compare both against stock camera shots of the same scene. The comparison tells you within minutes whether the port earns a home screen slot.
Load a config file tuned for your sensor
A config file is a small settings bundle created by testers for one phone model. It adjusts noise reduction and exposure and colour for that exact sensor. Load it from the port settings menu and restart the app. A good config transforms a mediocre port into a strong daily camera. A wrong config produces green tints or crashes.
Test configs one at a time and keep notes. Shoot the same three scenes with each config. Use a daylight street scene and a dim indoor scene and a portrait. Pick the config with natural skin tones and clean shadows. Delete configs that fail the test. One proven config beats ten untested downloads.
Use night mode and astrophotography properly
Night mode stacks many short exposures into one bright image. Hold the phone steady for the full capture countdown. Brace it on a wall or a bag when the countdown exceeds three seconds. Moving subjects blur during long stacks. Night mode suits still streets and rooms far better than running children.
Astrophotography mode needs a tripod or a rock ledge and a dark sky. The phone detects stability and extends the exposure automatically. Stars sharpen while foreground noise drops. City light pollution limits results more than the app does. Drive away from street lights for a real test of the mode.
Know the limits and keep the stock camera
Some features never transfer cleanly. Magic eraser style editing may need cloud processing tied to one brand account. Certain video stabilisation modes need specific hardware blocks. Face unlock camera tricks stay with the original maker. Expect photo quality gains and accept that a few headline extras stay behind.
Keep the stock camera for video work and fast action. Stock apps integrate with the phone stabilisation and slow motion modes better. Use the port for stills and night scenes where its processing shines. Two cameras on one phone is a strength. Each tool covers the weakness of the other.
Compare port results honestly
A fair comparison needs identical scenes for both cameras. Shoot the same subject from the same spot with both apps. Keep lighting and distance constant between shots. Change only the camera app between captures. Controlled comparisons reveal true processing differences.
Judge skin tones first because people dominate most photo libraries. Natural skin beats oversharpened skin in daily use. Judge shadow detail second in dim rooms. Judge highlight handling third in bright skies. A port that wins all three earns daily use.
Ignore daylight scores when choosing a port. Every modern camera excels in bright daylight. Dim rooms and mixed light separate strong processing from weak processing. Spend comparison time where differences actually appear. Evening indoor shots decide the winner.
Record the winning config name in a note. Config names blur together after testing several builds. A note with the config name and test date prevents retesting the same builds later. Future reinstalls restore the winner in minutes.
Shoot portraits with a port camera
Portrait mode on a port relies on depth estimation from the sensor. Stand about two metres from the subject for clean separation. Keep the background simple with soft colours. Busy backgrounds confuse depth maps and create edge errors. Simple backgrounds produce professional looking portraits.
Face the subject toward soft window light for flattering skin. Harsh overhead light creates deep shadows under eyes. Window light wraps the face evenly and flatters most people. Move the subject rather than accepting bad light. Light position matters more than any software slider.
Tap to focus on the nearer eye before capturing. Eye focus anchors the whole portrait. A sharp eye forgives slight softness elsewhere. A soft eye ruins an otherwise perfect frame. Take three frames per pose and pick the sharpest eye later.
Review portraits at full size before sharing. Small previews hide edge errors around hair. Zoom into hair edges and glasses frames. Reject portraits with obvious halos around the subject. A careful review keeps shared portraits looking intentional.
Keep port and stock cameras organised
Two camera apps on one phone create gallery confusion without a clear organisation rule. Use the port camera for stills and night scenes where its processing excels most. Use the stock camera for video and fast action where its integration excels most. A clear division of labour prevents duplicate shots of the same scene from both apps. Division also makes gallery review faster because each app owns distinct moments.
Create separate gallery albums for port shots and stock shots when the gallery app allows it. Albums separate processing styles for honest comparison over time. A port album reveals whether night shots genuinely improved across months. A stock album reveals whether video quality stayed consistent. Organised albums turn casual shooting into measurable progress.
Delete failed port experiments promptly rather than letting them accumulate. Tinted or crashed port shots waste storage and confuse later reviews. A weekly gallery cleanup removes experiments that taught their lesson already. Clean galleries make favourite shots easier to find and share. Storage discipline is part of photography discipline.
Label winning config files with the phone model and test date in a note. A labelled config restores quickly after a phone reset or a port reinstall. Unlabelled configs force repeated testing of identical builds. Notes transform scattered experiments into a reusable personal database. Future upgrades benefit from every test already completed.
Share comparison shots with friends who own the same phone model. Same model comparisons help others choose configs without repeating your work. Shared results build community knowledge that benefits every owner of that model. A single shared album can save dozens of people from testing bad builds. Generosity with test results multiplies their value far beyond personal use.
adb shell dumpsys media.camera | grep -i level
adb shell getprop ro.product.model
adb shell pm list packages | grep -i camera
The commands above are a generic illustration for reading camera capability details from a computer. They show values a tester checks before choosing a port build. Everyday users should use a Camera2 probe app and the port settings menu instead.
Photos taken during video recording show how camera software squeezes extra value from one sensor. Phone webcam setups reuse the same camera strength for calls instead of stills. Custom launchers place the camera shortcut where a thumb finds it fastest.
Common mistakes
The worst mistake is installing a random port build for a different processor. The app may crash on launch or produce tinted photos. Model specific builds exist for a reason. Spend ten minutes finding the right build instead of an evening fighting the wrong one.
Another mistake is judging a port from one photo in perfect light. Every camera looks good in daylight. Judge ports in dim rooms and mixed light where processing differences actually show. Three scenes beat thirty daylight samples.
A third mistake is deleting the stock camera app. Some phones forbid it and others break camera shortcuts when it goes. Keep the stock camera installed. The port is an addition to your toolkit and not a replacement for every mode.
FAQ
Are ported camera apps safe to install?
A port from a well known community build for your exact model is widely used and generally safe. Stick to community pages with tester reports for your model. Avoid builds that request unrelated permissions or arrive bundled with extra apps.
Will a port void my warranty?
Installing a camera app does not modify the system or unlock the bootloader. It installs like any other app and uninstalls cleanly. Warranty risk appears only when you root the phone or flash system files which this guide does not require.
Why does night mode fail on my phone?
Night mode needs strong Camera2 support and a compatible sensor pipeline. Limited support phones may capture dark or noisy results. Try a different config file for your model before giving up because tuning often fixes exposure and colour problems.
Conclusion
Check your Camera2 support level tonight with a probe app. Find one port build made for your exact model and processor. Install it beside the stock camera and shoot the three scene test from this guide.
You may discover that your phone already owned better photos. The sensor was waiting for smarter processing. A careful port install unlocks that processing without buying a new phone. That is an upgrade worth an evening of testing.

