

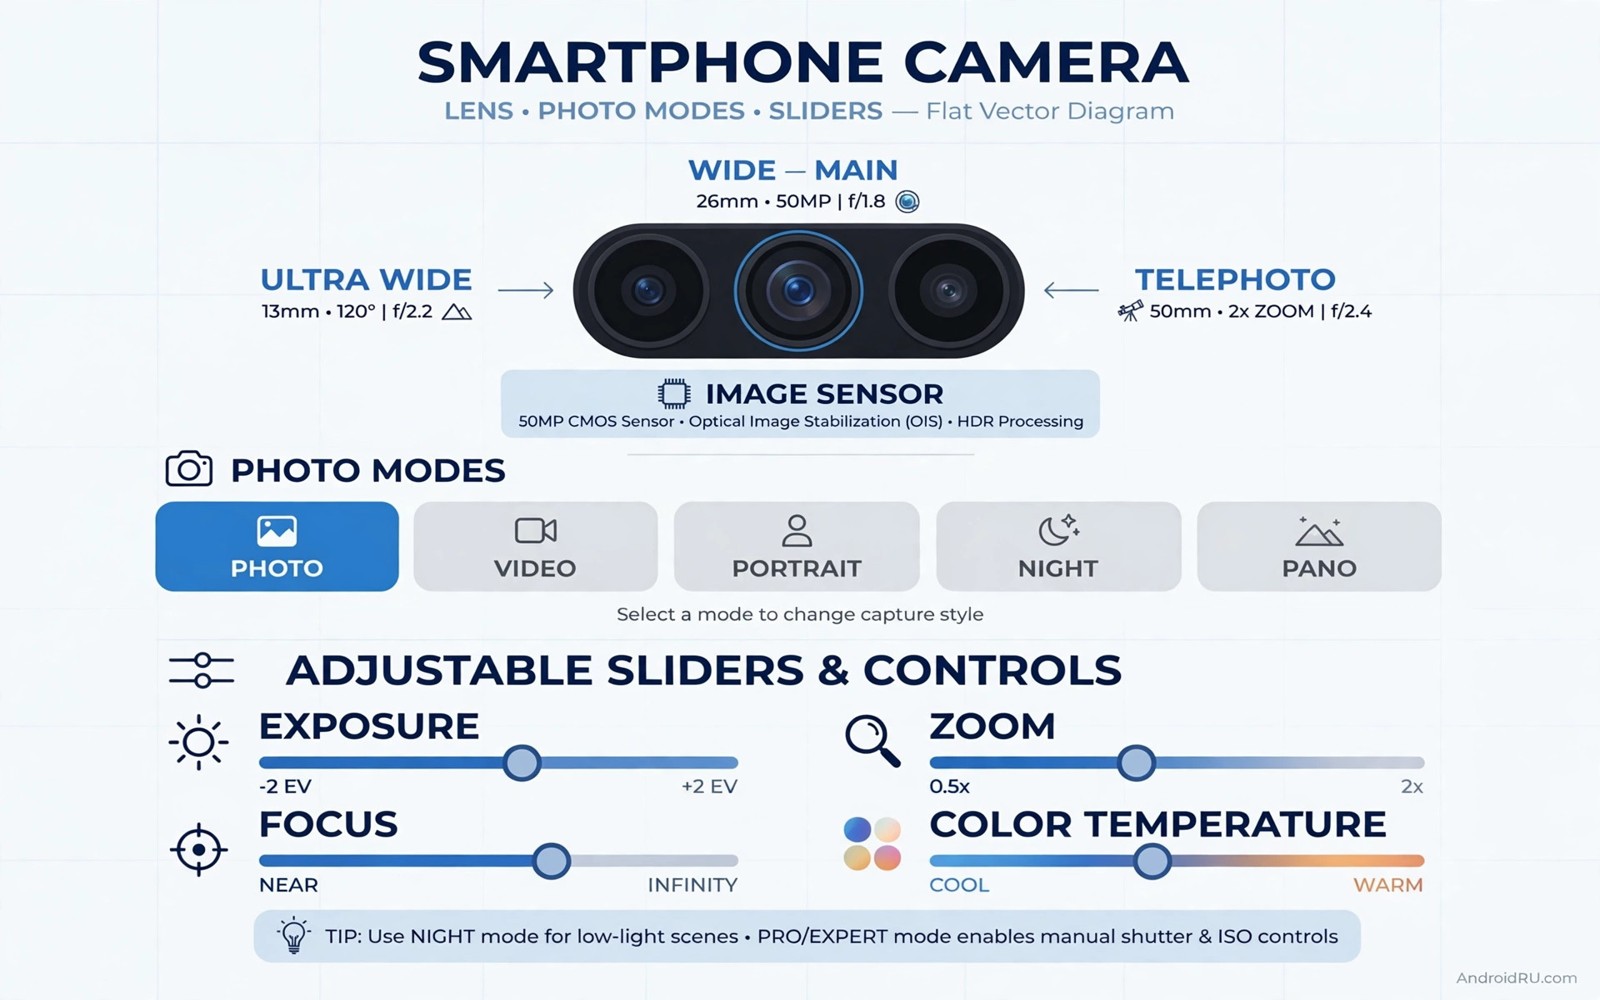
Budget phones often carry better camera hardware than their stock camera app suggests. The sensor can capture detail that the default mode throws away with heavy processing. Modes such as manual controls and high resolution capture and night processing may hide in menus or in settings the maker never highlighted.
This guide shows you how to find those modes on the phone you already own. You will explore the stock app fully before trying any add-on. You will learn manual controls that rescue difficult light and you will learn which popular tricks actually help on modest hardware.
Start with the camera you have. A patient exploration of menus beats a rushed install of a ported app that may never suit your sensor. The best photos come from understanding light and settings rather than from chasing a famous app name.
Explore the stock camera app completely
Open the camera and swipe through every mode label at the bottom of the screen. Budget apps often hide night mode and panorama and slow motion behind a More entry. Tap that entry and open each mode once so you know what exists before you judge the camera.
Open camera settings from the gear icon. Look for picture resolution and video resolution and grid lines and location tags. Set photo resolution to the highest value for still scenes where detail matters. Turn on grid lines to compose straighter horizons.
Check for an AI scene option and a beauty mode toggle. Scene detection can improve food and landscape shots yet it can oversaturate skin tones. Turn beauty mode off for portraits unless you deliberately want its smoothing effect. A natural portrait usually ages better than an overprocessed one.
Use manual mode for difficult light
Manual mode may appear under a Pro label. It exposes shutter speed and ISO and white balance and focus distance. Those controls rescue scenes where automatic mode guesses wrong such as concerts and sunsets and indoor events.
Lower ISO for bright scenes to reduce grain. Raise shutter speed for moving subjects so motion freezes crisply. For night scenes use a tripod or a steady surface and a longer shutter with low ISO. The combination gathers light without the noise that high ISO creates.
White balance matters as much as exposure. Indoor lamps cast warm tones that automatic balance sometimes exaggerates. Set white balance to tungsten for lamp lit rooms and to daylight for outdoor shade. A correct cast makes colours look honest without heavy editing later.
Unlock modes the maker buried
Some budget phones ship camera features disabled in software even though the hardware supports them. A high resolution mode may hide behind a settings toggle for picture quality. A raw capture option may live under an advanced section that only appears after enabling a labs feature.
Search camera settings for words such as advanced and labs and extra. Enable one option at a time and test it with a real scene. Raw capture deserves special attention because it preserves sensor data for editing. Raw files are large yet they rescue highlights and shadows that compressed photos lose.
Owners who enjoy hidden menus also explore secret codes that reveal hidden menus because both topics reward patience with menus. Camera labs features differ from dialer codes in one way. Camera toggles are designed for owners while dialer menus serve engineers so camera exploration carries far less risk.
Try a ported camera app with caution
Ported camera apps bring advanced processing to phones the maker never targeted. They can improve night shots dramatically on some sensors. They can also crash or produce worse colours on other sensors because the tuning was built for different hardware.
Install a port only from a source you trust and keep the stock app as a fallback. Test the port in daylight and in low light and with portraits before relying on it for an important event. Compare the same scene across both apps on a computer screen rather than on the phone alone.
Configuration files matter as much as the app itself. A config tuned for your exact sensor model can transform results. A generic config can make them worse. Search for configs by your precise model name and test two or three before settling on one.
Stabilisation tricks without new hardware
Budget phones often lack optical stabilisation. You can still shoot steady video with technique. Hold the phone with both hands and tuck your elbows against your body. Walk slowly with bent knees for moving shots and let your body absorb steps.
Use a cheap tripod or a bag of rice as a rest for still scenes. A steady base matters more than any software stabiliser for night photos. For video enable electronic stabilisation if the app offers it and accept the slight crop it applies.
Burst mode helps with moving children and pets. Hold the shutter and capture a sequence then pick the sharpest frame. One sharp frame from twenty attempts beats a single blurred attempt every time. Readers who admire flagship imaging should also try Pixel features worth trying on other phones for ideas that translate well to budget hardware.
Check what the camera system reports
The command below lists camera system information through a computer connection. It helps you confirm which camera hardware the phone reports before you chase a mode your sensor cannot support. Run it once and save the output for reference.
adb shell dumpsys media.cameraThe snippet above was written for this article as a read only camera diagnostic. It displays system information and it changes nothing on the phone. Look for reported resolutions and capabilities in the output. A mode that exceeds the reported hardware limits will not appear no matter which app you install.
Edit on the phone for better results
Good editing rescues photos that straight capture cannot perfect. Crop to remove distractions at the edges and straighten horizons that tilt slightly. Adjust brightness in small steps rather than dragging sliders to extremes. A gentle edit preserves natural skin tones while fixing the most obvious flaws.
Use the built in editor before installing a heavy editing app. The stock editor handles cropping and rotation and light balance well enough for most shots. A dedicated editor earns its place only when you need selective adjustments such as brightening a face without washing out the sky.
Save edited copies separately from originals when the app offers that choice. An original remains available for a different edit later. Editing is a creative process and a first attempt rarely represents the best possible version of a scene.
Protect the lens and the sensor
A clean lens matters more than any mode. Wipe the lens with a soft cloth before important shots because pocket lint and fingerprints soften every photo. Check the lens in bright light for smudges that hide in shade. A ten second wipe often improves a photo more than a new app.
Store the phone with the lens facing away from keys and coins. Scratches scatter light and create permanent flare in night shots. A case with a raised lip around the camera module protects the glass during daily use without affecting image quality.
Test portrait mode at several distances before an important shoot. A portrait taken too close distorts facial features while a portrait taken too far loses background blur. Step back to roughly an arm and a half away from the subject for the most natural proportions. Check the edge of hair against a busy background because budget portrait modes often blur stray strands. A quick distance test prevents disappointing portraits at events you cannot restage.
Clean the front camera before video calls too. A smudged front lens softens your face on every call. A quick wipe before meetings keeps you looking sharp without any new equipment.
Common mistakes
The biggest mistake is judging a budget camera by a single automatic shot in bad light. Automatic mode makes safe choices that favour brightness over detail. Manual mode and night mode exist precisely for those scenes. Test all modes before declaring the hardware weak.
Another mistake is installing every ported app at once. Multiple camera apps compete for permissions and storage. Install one port and test it thoroughly. Remove it cleanly if it disappoints before trying another.
People also overuse digital zoom. Digital zoom crops the sensor image and magnifies noise. Walk closer when possible or crop later on a bigger screen where you control the result. A clean wide shot cropped carefully beats a noisy zoomed shot.
Finally avoid covering the lens with a cheap case that intrudes into the frame. A case lip that casts flare ruins night shots in particular. Test the case by photographing a bright light at night. Replace the case if flare appears.
Frequently asked questions
Can a ported app damage my camera?
No. A camera app only reads sensor data and writes files. It cannot harm hardware. The worst outcome is a crash or poor photos. Keep the stock app installed so you always have a working fallback.
Why does night mode take so long?
Night mode captures several frames and merges them into one brighter image. The process needs seconds of steady holding. Use a rest or a tripod for the sharpest result and warn subjects to stay still briefly.
Is raw capture worth the storage cost?
Raw capture suits photos you plan to edit carefully such as landscapes and portraits. It wastes space for casual snapshots. Enable raw only for special scenes and convert keepers to standard formats after editing.
Conclusion
Cheap phones hide more camera power than their default modes reveal. Full exploration and manual controls and careful port testing together unlock photos that surprise owners. Technique matters as much as software because steady hands and good light help any sensor.
Your concrete next step is to open the camera More menu today and try every mode once. Photograph the same scene in automatic and manual and night modes. Compare the three on a bigger screen tonight. For the wider tuning journey continue with ten hidden settings that reshape daily use as a companion guide.

