

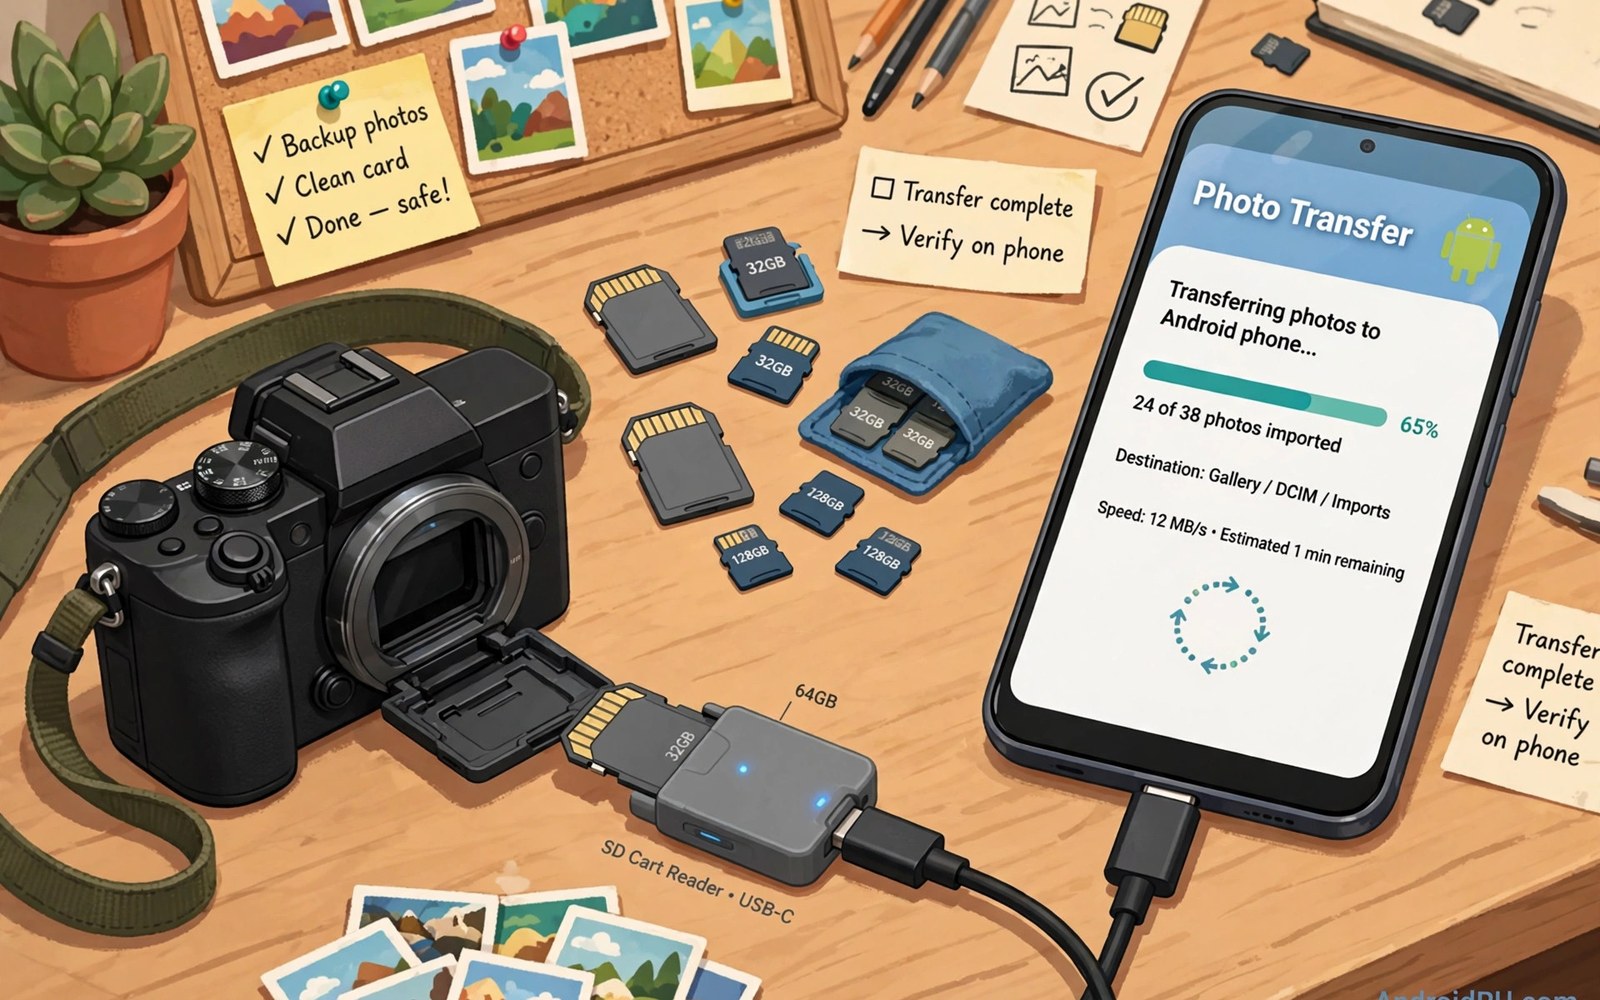
A card reader adapter bridges a camera and a phone. The camera writes photos to a memory card. The reader reads that card. The phone copies the photos. No computer is needed. That workflow suits travel photography. A photographer can review shots on a larger phone screen. A photographer can share shots at once. A photographer can back up shots to a second card. The adapter is small and light. It fits in a camera bag pocket. This guide explains card types and formats. It covers transfer speed and safety. It helps you build a reliable field workflow.
Cameras use several card formats. SD cards are the most common. MicroSD cards suit action cameras and drones. CFexpress cards suit high end cameras. Each format needs a matching reader slot. A reader with several slots covers several cameras. A single slot reader suits one camera type. Check your camera card type before buying. A reader without the right slot helps no one. A reader with the right slot plus a spare slot adds flexibility. Spare slots help when friends share cards. They also help when you upgrade cameras later. A multi slot reader costs slightly more. It pays for itself in flexibility.
Card Types and Reader Slots
Full size SD cards come in several speed classes. Older cards use slower interfaces. Newer cards use faster interfaces. The reader must support the card interface to reach full speed. A slow reader caps a fast card. A fast reader cannot speed up a slow card. The slower part decides the result. Check the reader spec for interface support. A reader that supports the fastest common interface suits most cameras. It also future proofs the purchase. A reader that supports only older interfaces limits new cards. That limit frustrates users with new cameras. A modest price increase buys a faster reader.
MicroSD cards need either a dedicated slot or an adapter sleeve. A sleeve converts a microSD card to full SD size. The sleeve fits into a full SD slot. Sleeves are cheap and easy to lose. A reader with a dedicated microSD slot avoids sleeves. That design is tidier for drone and action camera users. Those users handle microSD cards often. A dedicated slot saves fumbling with sleeves in the field. Field fumbling risks dropping a tiny card. A dropped card in grass may be lost. A dedicated slot reduces that risk. It also speeds card swaps.
CFexpress and other high end formats need specialised readers. Those readers cost more. They also need faster phone ports to show their speed. A phone with a slow port caps a fast CFexpress reader. The card still works. It simply transfers at the phone limit. Check phone port speed before investing in a high end reader. A high end reader on a slow phone wastes money. A mid range reader may match the phone limit at lower cost. Match the reader to the phone as well as the camera. That matching saves money and avoids disappointment.
Connecting the Reader to a Phone
Plug the reader into the phone USB-C port. Insert the card into the reader slot. Wait for a detection notification. The notification names the card or the reader. Tap it to open the file manager. The file manager shows the card folders. Camera folders usually sit in a DCIM folder. Open that folder to find photos. Select photos to copy. Paste them into phone storage. Eject the card before removing it. Ejecting prevents corruption during writes. A card removed during a write can lose files. Always eject after copying. The habit takes seconds and protects precious photos.
Some readers need no extra power. They draw power from the phone. That power draw is modest. Large transfers drain the battery somewhat. Start transfers with a good charge. A power bank helps for long transfers. A hub with power input can charge while reading. That hub adds bulk. It suits a hotel desk rather than a field bag. A simple reader suits field use. It is light and quick. A powered hub suits bulk transfers at a desk. Choose the form for the location. Field work favours lightness. Desk work favours power and stability.
File managers vary in copy features. The built in manager copies files reliably. It may lack batch rename features. A third party manager can rename batches. It can sort by date. It can move rather than copy. Moving deletes the original after copying. Moving risks loss if the copy fails. Copy first and verify. Delete originals only after verification. That safe order protects photos. A verified copy gives confidence. An unverified move gives risk. Take the extra minute to verify. The minute is cheap compared with lost photos.
File Formats and Compatibility
Cameras write photos in JPEG and RAW formats. JPEG files open on any phone. RAW files need specific app support. A phone gallery may not show RAW files. A dedicated photo app can open them. Check RAW support before a trip. Install a RAW capable app in advance. A trip without the app leaves RAW files unviewable. JPEG plus RAW shooting gives a safe pair. JPEG gives instant sharing. RAW gives editing flexibility later. Copy both formats to the phone. Share JPEG at once. Edit RAW at home with full software.
Video files from cameras vary in codec support. Most phones play common camera video formats. Some high end codecs may fail on a phone. A failed video shows a vague error. Transcoding on a computer fixes it. Field review may be impossible for those codecs. Check codec support before relying on field review. A test clip at home reveals support quickly. Record a short test in each camera mode. Copy it to the phone and play it. Note which modes play smoothly. Note which modes stutter or fail. Plan shooting modes around phone support when field review matters. That planning prevents surprises.
Card file systems affect phone reading. Most camera cards use exFAT or FAT32. Phones read both widely. A card formatted in a camera usually works at once. A card formatted on a computer may use a different system. That system may fail on a phone. Format cards in the camera when possible. Camera formatting creates the expected folder structure. It also sets a compatible file system. A card formatted elsewhere may lack the DCIM folder. The phone can still read files. The camera may not recognise the card later. Formatting in camera avoids that mismatch. It keeps camera and phone in agreement.
Transfer Speed in Practice
Transfer speed depends on card and reader and phone. The slowest part decides the result. A fast card in a slow reader moves slowly. A slow card in a fast reader moves slowly too. A fast pair on a slow phone port moves at the phone limit. Test speed with a known set of photos. Time a copy of one hundred photos. Divide total size by time taken. That rate is your real speed. Compare it with the card rating. A large gap points to a bottleneck. Swap the reader first to test. Swap the phone port if possible. Each swap isolates one part. A systematic test finds the limit.
Many small photos transfer slower than a few large videos. Each file needs setup work. Setup work adds overhead. A thousand small JPEG files copy slower than a single large video of the same total size. That overhead is normal. It reflects file system work. Archiving small files into one package can speed copying. The package copies as one large file. Extract it after copying. That trick helps for bulk backups. It adds a step. It saves time on slow links. For normal sharing the trick is unnecessary. Copying directly is simpler for a few dozen photos.
Heat can slow transfers during long copies. A reader working hard warms up. A hot reader may throttle speed. Throttling protects the reader chips. It shows as a sudden speed drop. Let the reader cool and resume. A metal reader spreads heat better than plastic. A reader on a hard surface cools better than one in a pocket. Avoid covering the reader during long copies. Airflow keeps speed steady. A cool reader holds its rated speed longer. A hot reader frustrates with slow progress. Readers who copy large sets should also note OTG adapters for connecting flash drives directly to phones for related host mode tips.
Organising Photos After Transfer
Organise photos immediately after copying. Create folders by date and event. Move copied photos into those folders. A clear structure speeds later editing. It also prevents duplicate copies. Duplicates waste phone storage. They also confuse sharing. A simple folder per day works for trips. A folder per event works for family occasions. Use consistent naming. A pattern like year month day plus event is easy to sort. The pattern needs no special software. Any file manager can create it. Consistency matters more than cleverness.
Back up phone copies to cloud storage when a network is available. Cloud backup creates a third copy. A third copy protects against phone loss. It also protects against card loss. Upload over wireless when possible. Uploading over mobile data may incur costs. Check data limits before uploading large sets. A hotel wireless link suits bulk uploads. A mobile link suits a few key shots. Prioritise the best shots for mobile upload. Upload the full set later on wireless. That priority ensures key shots survive even if the phone is lost. It is a simple insurance habit.
Delete from the card only after verification. Open several copied photos on the phone. Check that they display fully. Check file sizes against the card originals. Matching sizes suggest a complete copy. A photo that fails to open suggests a corrupt copy. Recopy that photo before deleting. A card with verified copies can be formatted in camera. Formatting frees the card for more shooting. A card formatted too early risks total loss. Patience during verification pays off. It is the cheapest insurance in photography.
- Match the reader slot to your camera card type.
- Format cards in the camera for best compatibility.
- Copy files first and verify before deleting originals.
- Eject the card before removing it from the reader.
- Organise copied photos by date and event at once.
Photo transfer checklist:
1. Card type: SD microSD or other
2. Reader slot: matches card
3. Connect: reader then card
4. Copy: DCIM folder to phone folder
5. Verify: open samples and check sizes
6. Backup: cloud upload when possible
7. Finish: eject then format in camera
Troubleshooting Reader Problems
A card that never appears has several causes. First check the card seating in the slot. Push the card fully until it clicks. Next try another card. A faulty card is a common cause. Next try another reader. A faulty reader is another common cause. Next check phone OTG support. A phone without host support cannot read any reader. Work through swaps one at a time. Each swap isolates one part. A reader that works with another card points to the card. A card that works in another reader points to the reader. Systematic swaps save time.
Slow transfers often come from a mismatched reader or card. Test the card in the camera first. A card that reads slowly in camera is slow itself. Test the reader with a known fast card. A reader that caps a fast card is the limit. Test on another phone if possible. A phone port limit explains a persistent cap. Replace the limiting part when the cap hurts workflow. A faster reader costs little. A faster card costs more. Choose the upgrade that removes the bottleneck. Upgrading a non limiting part wastes money. Test before upgrading.
Corrupt photos after copying point to unsafe removal or a failing card. Always eject before removing. A card removed during writing corrupts files. A failing card corrupts files even with safe removal. Test the card with a full format in camera. A card that fails formatting needs replacement. Do not trust a card that corrupts repeatedly. Replace it before an important shoot. A new card costs far less than lost photos. Keep a spare card in the bag. A spare card saves a shoot when a card fails. Preparation beats recovery every time.
Final Thoughts on Card Readers
A card reader adapter makes a phone a field photo station. It enables review and sharing without a computer. It enables backup without a computer. It needs a matching slot and a compatible format. It needs a phone with host support. It rewards careful verification before deletion. A small adapter thus carries large responsibility. Photos are irreplaceable. A careful workflow protects them. A careless workflow risks them. The difference is a few habits.
Readers may also find video capture cards connected to Android devices for mobile streaming useful for a related setup. Readers may also find multi-port hubs that connect keyboards and power to phones useful for a related setup.
Start by matching the reader to your camera card. Format cards in the camera. Copy and verify before deleting. Eject before removing. Back up to cloud storage when possible. The steps above follow the approach described in the official developer documentation for external storage and safe removal. That approach stresses verification and ejection before disconnecting any storage. Follow it and your camera photos will move to your phone safely every time.

