

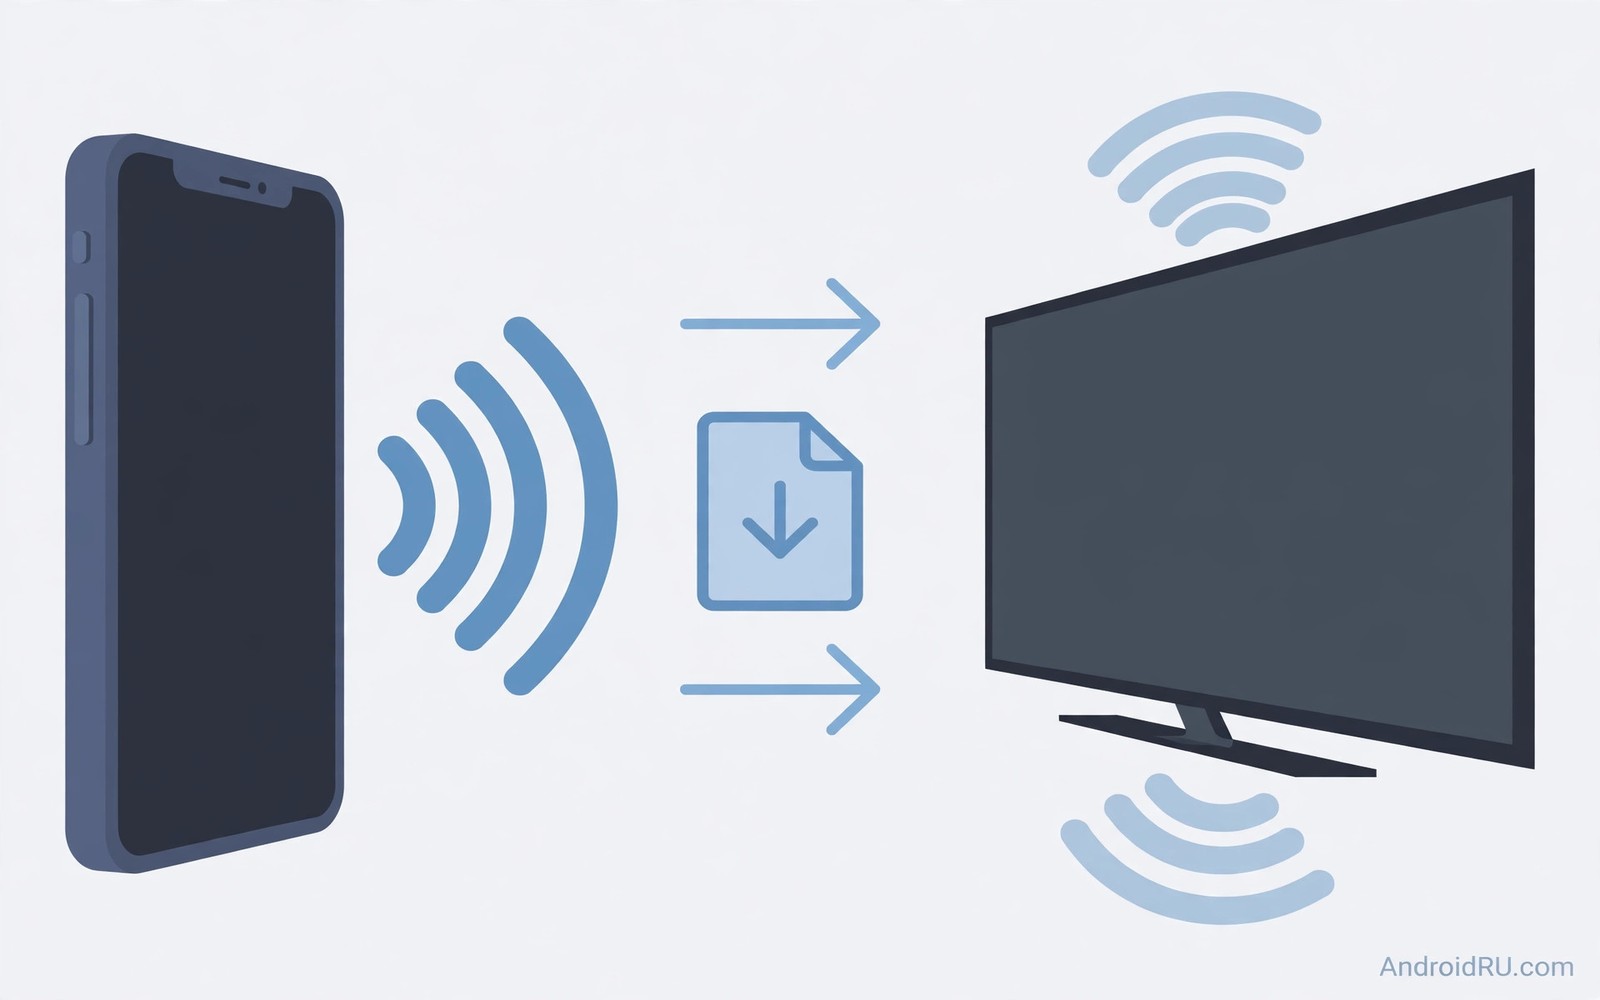
How to Transfer Downloaded APK Files from Phone to TV Wirelessly
Moving an app file from a phone to a television sounds simple until you try it. The television has no file manager you recognise, the phone has no cable that fits the television, and the app you want lives in a folder you cannot find. Wireless transfer solves all three problems at once. It sends the file over your home network and lets the television install it without a computer in the middle. I moved a dozen apps to my living-room TV this way, and after the first successful test the whole process took less than two minutes per app.
The key is choosing a method both devices support and keeping the file intact during the move. A transfer that silently corrupts the file wastes more time than a slow transfer, because the install fails with a vague error and you cannot tell whether the file or the television is at fault. This guide covers four wireless methods, the install step that follows, and the checks that prove a transfer worked, so you can move apps with confidence instead of guesswork.
Start with safety before speed. Transfer only app files from sources you trust, and only apps you intend to install on your own television. A wireless transfer does not make an untrusted file safe. It only moves the file faster. Check the file size after transfer and compare it with the original size on the phone. A matching size suggests a complete transfer, while a smaller size suggests a broken one that should be repeated.
What You Need Before You Send an APK File to Your TV
Three things decide whether a wireless transfer works: both devices on the same local network, a file manager or sharing app on the television that can receive files, and install permission granted to the app that will open the file. Sort those three out before you send anything, and the transfer itself becomes the easy part.
First, check the network. Open Settings on the phone, then Network and internet, then Wi-Fi, and note the network name. Open Settings on the television, then Network and internet, and confirm the same name. A phone on mobile data cannot reach a television on home Wi-Fi, and a phone on a guest network may also fail to reach the television on the main network, because guest networks often isolate devices from each other for security. Use the main home network for transfers.
Second, check the file itself. Note the app name, version and file size on the phone before you send it. A file of 85 MB should arrive as 85 MB, not 84 MB and not 12 MB. That note takes ten seconds and becomes your proof later. Third, check television storage. Open Settings, then Device Preferences, then Storage on the TV, or the equivalent path on your model, and confirm there is room for the file plus the installed app, which needs extra space beyond the file size.
Same Wi-Fi network and same band
Sharing the network name is usually enough, but the Wi-Fi band matters too. Many routers broadcast a 2.4 GHz network and a 5 GHz network under different names, and some devices discover each other only when they share the same band. If discovery fails, move the phone to the same band as the television and try again. The 5 GHz band transfers faster at short range, while 2.4 GHz reaches further through walls. Pick the band that both devices can hold steadily from their actual positions.
A home router creates a local network even when the internet service is down, so direct Wi-Fi sharing needs a local network, not internet access. That detail matters during an outage: your phone and TV can still talk to each other through the router, even when neither can reach the outside world.
Where the file lives on your phone
Before you send a file, know where it is. Files saved from a browser usually land in the Downloads folder. Files saved by a file manager may land in a folder named after the app that saved them. Open your file manager, find the file, and note its exact name and size. If the name is a jumble of letters and numbers, rename the copy you plan to send to something clear, such as the app name plus its version. A clear name prevents you from sending the wrong file and makes the television side much easier to navigate.
Checking free space on the television first
Televisions ship with far less storage than phones, and a full television fails installs in confusing ways. Check the free space before you transfer a large file, and clear space if needed by removing apps you never open or clearing cached data from streaming apps. The guide on how to expand storage on an Android TV box covers the options when the built-in storage is genuinely too small, including USB storage and adoptable storage on models that support it. A transfer that lands on a television with no room is a wasted trip.
Method 1: Send APK Files with a File Sharing App on Both Devices
A file sharing app installed on both devices is the most reliable method for most people. Apps built for this job, such as Send Files to TV and LocalSend, handle discovery, transfer and saving without extra setup. Install the same app on the phone and on the television, open it on both, and let them discover each other on the same Wi-Fi network. Discovery usually takes seconds when both devices share the same network name.
Send the file from the phone sharing menu and accept it on the television. The television app saves the file to its downloads folder or to a folder you choose. Note that folder name, because the installer needs to find the file later. A clear folder name such as TV Apps prevents hunting through random download folders when it comes time to install.
Send Files to TV step by step
Send Files to TV is the classic choice for Android TV, and its flow shows the pattern every sharing app follows. Install it on the phone from the Play catalogue and on the television from the TV app catalogue. Open it on the television first and tap Receive. The screen shows the television waiting for a file. Open the app on the phone, tap Send, pick the file, and tap the television name when it appears in the list. The transfer starts immediately and shows a progress bar on both screens.
When the transfer finishes, the television app shows the file in its received list with its size. Compare that size with the size you noted on the phone. If the numbers match, the transfer worked. If the television never appears in the phone list, check the network name on both devices, restart the app on both devices, and try again. Discovery usually succeeds after that reset.
LocalSend as an open-source alternative
LocalSend is an open-source sharing app that works across Android, Windows, macOS, Linux and iOS, and it needs no account and no internet connection. Install it on the phone and on the television, open it on both, and the devices find each other on the local network. Send the file from the phone, accept it on the television, and the file lands in the LocalSend folder. Its main strength is that nothing leaves your home network: files travel directly between devices, with no cloud server in the middle.
LocalSend also handles large files well, because it streams the file rather than loading it into memory first. A 500 MB game file transfers in one continuous stream, and the progress display shows the speed so you can tell whether the network is the bottleneck. If the speed drops below a few megabytes per second, move the phone closer to the router or switch to the 5 GHz band.
Testing the method with a small file first
Test the method with a small file first. A small file transfers quickly and reveals network problems early, while a large transfer that fails halfway wastes far more time. Pick a file under 20 MB, send it, and confirm it arrives with the right size. Once that small test succeeds, you can trust the method for larger apps. If the small test fails, you have learned the problem cheaply, and the fix is usually the network name or the band, not the app.
Method 2: Local Network Sharing Without Extra Apps
Some televisions support local network file sharing through a built-in file manager, which avoids installing a sharing app on the television at all. That suits televisions with limited storage, where every extra app matters. The television exposes a network share, and the phone uploads the file to it through a browser or file manager.
Enable network sharing on the television and note the address it shows, which usually looks like an IP address with a port number. Open that address from the phone browser or file manager and upload the file. The television file manager shows the file in the shared folder as soon as the upload finishes. This method is less polished than a dedicated sharing app, but it needs nothing installed on the television beyond what the manufacturer already put there.
Setting up the television share
The exact menu path varies by television brand, but the pattern is consistent: open the file manager app on the television, look for a network, remote or sharing section, and enable the share. The television displays an address and sometimes a username and password. Write the address down exactly, including the port number, because one wrong digit sends the phone to the wrong place. If the file manager has no sharing option, your model does not support this method, and a sharing app is the better choice.
Some file managers on the phone, such as MiXplorer and X-plore, can also connect to a television share directly. In the phone file manager, add a new network location, enter the television address, and browse the shared folder like any other folder. Copy the file into it and the transfer runs inside the file manager, with progress shown as a normal copy operation.
Turning the share off when you finish
Turn off network sharing after the transfer finishes. An open share on a television invites unwanted access from other devices on the network, and sharing should be a temporary door that you close after use. That habit protects the television even on a trusted home network, and it costs nothing: enabling the share again takes less than a minute the next time you need it.
Why guest networks break this method
Guest networks isolate devices from each other by design, which is exactly what breaks local sharing. A phone on the guest network cannot see a television on the main network, even though both reach the internet fine. The fix is to put both devices on the same main network for the transfer, then move the phone back to the guest network afterwards if that is your usual setup. The isolation is a security feature doing its job, not a fault in either device.
Method 3: Cloud Storage as a Bridge Between Phone and TV
Cloud storage works when direct sharing fails. Upload the file from the phone to a cloud folder, then open the same cloud account on the television browser or cloud app and fetch the file. This method works across different networks and it works when devices cannot discover each other directly. It costs extra time for upload and download, but it rarely fails outright, which makes it a dependable fallback.
Use a private folder for app files and do not share the folder link publicly. A public link exposes the file to anyone who finds it, while a private folder keeps the transfer between your own devices. Delete the cloud copy after the television install succeeds. A leftover cloud copy wastes storage and creates confusion later when you cannot remember which version you installed.
Google Drive and Dropbox step by step
On the phone, open the cloud app, create a folder named TV Apps, and upload the file into it. Wait for the upload to finish completely before you touch the television; a half-uploaded file looks complete in the file list on some apps. On the television, open the same cloud account in the browser or the cloud app, open the TV Apps folder, and download the file. The television saves it to its downloads folder, where the file manager can find it.
Google Drive works well here because many televisions already have a browser that can reach it, and the Drive app is available on some TV models. Dropbox behaves the same way. Either service works, and the choice matters less than the habit of using a private folder and deleting the copy afterwards.
Cloud limits on large files
Watch for cloud storage limits on large app files. Some free accounts limit single file size or total storage, and a large game file may exceed that limit. Split the problem by using direct sharing for large files and cloud sharing only for smaller apps. Each method suits a different file size, and using the right one for each file saves time overall. Also remember that cloud transfer uses your internet connection twice, once up and once down, so a slow connection makes this method much slower than a direct local transfer.
Deleting the cloud copy after install
Delete the cloud copy once the app opens correctly on the television. The installed app no longer needs the file, and the cloud copy only consumes space and invites confusion about which version is current. If you want a backup, keep one copy on the phone or on a USB drive with a clear version label, not a forgotten file in a cloud folder you never open.
Method 4: ADB Over Wi-Fi for Advanced Users
Android Debug Bridge over Wi-Fi skips the file transfer and the manual install in one move: it pushes the file from a computer straight into the television installer. This method needs a computer on the same network and a television with developer options enabled, so it suits advanced users rather than first-timers. Its strength is precision. You see every step in the terminal, and an error message tells you exactly what went wrong instead of hiding behind a generic failure screen.
The flow has three steps. Enable developer options on the television, connect the computer to the television over the network, then install the file with a single command. Once the connection works, installing a second app takes seconds, which makes this the fastest method for people who move apps to a TV regularly.
Enabling wireless debugging on the television
Open Settings on the television, then Device Preferences, then About, and tap the Build entry seven times until the screen says developer mode is enabled. Go back to Device Preferences, open Developer options, and turn on USB debugging and, on Android 11 and later, Wireless debugging. The television shows an IP address and a port number. Write them down, because the computer needs them to connect.
On some televisions the wireless debugging option sits under a different name, such as Network debugging or ADB over network. The idea is the same in every case: the television listens for a debug connection on your home network. If the option is missing entirely, your model may not support wireless debugging, and a sharing app is the better choice.
Finding your TV IP address
The television IP address also appears in Settings, then Network and internet, then your Wi-Fi network name, where the details page lists the IP address. Use the address shown there if the developer options screen does not display one. The address usually looks like 192.168.1.50, and the debug port is usually 5555. Both must be right for the connection to work, so copy them carefully rather than typing from memory.
The two ADB commands
On the computer, with the platform tools installed, run these two commands, replacing the example address with your own television address:
adb connect 192.168.1.50:5555
adb install /path/to/app.apk
The first command connects to the television, and the television may ask you to allow the debugging connection on screen. Accept it. The second command sends the file and installs it, showing progress in the terminal and a success message when it finishes. The everyday wireless path for most readers uses a sharing app on the phone and television, but ADB is the tool to reach for when sharing apps fail and you want a precise answer about why.
Installing the Transferred APK File on Android TV
A transferred file is only half the job. The install step turns the file into a working app, and it has its own permission to sort out. Open the television file manager and find the transferred file in the folder where the sharing app saved it. Open the file, and Android TV asks you to allow installation from that file manager. The permission applies to that file manager app only, not to every app on the television. Granting it once lets future transfers install through the same manager without repeated prompts.
The detailed install walkthrough in the guide on how to sideload any app onto a smart TV covers this step with screenshots of the permission screens, including what to do when the television blocks the install. Read it before your first transfer if you have never sideloaded anything, because the permission screens look different from phone screens and the wording can be confusing the first time.
The install permission screen
Android TV asks for install permission per source app, just like a phone does. When you open the file, the screen says the television is not allowed to install unknown apps from this source, and offers a Settings button. Tap it, turn on Allow from this source for that file manager, go back, and open the file again. The install screen then shows the app name, version and permissions, and you confirm to install.
Grant permission only to the file manager you actually use. Broad permissions increase risk without improving convenience, because any app with the permission could install files. A narrow permission keeps the television safer, and it costs nothing in daily use.
Checking the app before you delete the file
Check the app after install before you delete the file. Open the app and confirm it launches and shows the correct version. A successful launch proves the transfer and the install both worked. Keep the file for a week in case you need to reinstall after an update problem, then delete it to free space. Deleting the file immediately after a failed install is a common mistake, because a failed install often needs a second attempt with the same file, and deleting early forces a whole new transfer.
What to do when the install button is greyed out
A greyed-out install button usually means the television has too little free space, the file is corrupt, or the app needs a newer Android version than the television runs. Check free space first, then check the file size against the phone original, then check the app requirements. One of those three explains almost every greyed-out install button, and each one points to a different fix.
Verifying File Integrity After a Wireless Transfer
A transferred file that looks complete can still be corrupt. Corruption happens when a network drop interrupts the transfer silently, and the file size may look close to correct while the internal data breaks. Installing a corrupt file fails with a vague parse error, and verifying before install saves confusion about whether the file or the television caused the failure.
Compare file size first as a quick size check. A size that matches the phone original exactly suggests a complete transfer, while a size that differs by even a small amount proves a problem. Retransfer the file when sizes differ. Size comparison takes seconds and it catches most transfer failures, which is why it should be the first check every time.
Using a checksum when the source provides one
A checksum is a short fingerprint of the file contents, and matching checksums prove the transferred file equals the original byte for byte. Many trusted sources publish checksums alongside their files. Compute the checksum on the phone with an app such as Hash Droid, compute it on the television with a file manager that shows checksums, such as MiXplorer, and compare the two strings. A matching checksum gives confidence that no network error altered the file, while a mismatch means the transfer must be repeated even if the sizes look right.
Checksums also protect you against a subtler problem: a file that was replaced mid-transfer by a different version. Size alone cannot catch that, because two versions of the same app can be nearly the same size. A checksum catches it instantly, because the fingerprint changes completely.
Keeping a transfer log
Keep a transfer log for apps you move often. Note the app name, version, transfer date and result. A log helps you spot patterns, such as a particular app failing repeatedly, and it helps you remember which version you installed last. A simple note on the phone serves as a perfectly good log, and it takes less than a minute per transfer. After a few months the log becomes a useful record of what is actually on the television.
Retransferring after a failed verification
When a verification fails, delete the broken copy from the television before you retransfer. A second transfer that lands next to the broken copy creates two files with similar names, and the installer may pick the wrong one. Delete first, retransfer, verify again, and only then install. That order removes the most common source of repeated failures.
Organising and Updating Transferred Apps on Your TV
Transferred apps can clutter the television app list quickly, and a little organisation keeps the home screen usable. Create folders for sideloaded apps separate from the apps that came from the TV catalogue. A folder keeps transferred tools together and easy to find, and it prevents transferred apps from crowding the main home screen. Organisation after transfer matters as much as the transfer itself.
Label transferred apps clearly when the television shows generic icons. Some sideloaded apps lack proper television banners and show blank tiles, so a custom icon or a clear folder name helps identify them. Identification prevents opening the wrong app by mistake, and a labelled library feels professional even when the apps came from outside the catalogue.
Monthly update checks for sideloaded apps
Update transferred apps by repeating the transfer with the newer file. Android TV updates the existing app when the new file uses the same package name and a higher version, and it will not create a duplicate app. That update path keeps sideloaded apps current without a catalogue. Check for new versions monthly for apps you use often, because a monthly check keeps sideloaded apps current without daily effort, and current apps run more reliably and securely than outdated ones.
Keep the same one-source rule you use on the phone: one app, one source. An app installed from a transferred file should be updated by transferring a newer file from the same source, not by mixing sources. Mixed sources create signature conflicts that block updates with confusing errors.
Keeping a fallback cable ready
Wireless transfer fails occasionally even on a good home network, and a USB cable fallback saves the day when wireless discovery refuses to work. Keep a cable that fits both phone and television adapter in a drawer nearby. A fallback cable turns a failed wireless session into a quick wired success, and preparedness beats frustration every time.
Test the wired fallback once before you actually need it. A cable that looks right may carry power only and not data, and a data cable test with a small file proves the cable works. A proven fallback gives confidence during wireless failures, while an unproven cable adds another variable to troubleshoot at the worst moment.
Essential apps to install first on a TV box
Once transfers work, the next question is what to put on the television. A good file manager, a sideload launcher for apps without TV banners, and a media player cover most needs. The list of essential apps for Android TV box owners is a solid starting point, and every app on that list can be moved to the television with the methods in this guide. Install the file manager first, because everything else depends on it.
Frequently Asked Questions About Wireless APK Transfers
Can I transfer APK files without Wi-Fi?
Direct Wi-Fi sharing needs a local network but not internet access, because a home router creates that network even when the internet service is down. Bluetooth transfer also works for small files, but it is much slower than Wi-Fi, often ten times slower, so it suits files under 20 MB only. A USB cable is the fastest option without Wi-Fi, and it doubles as the fallback when wireless discovery fails.
Why does the television not see the phone?
The devices likely sit on different networks or different bands. Connect both to the same Wi-Fi name and the same band, then restart the sharing app on both devices. Discovery usually succeeds after that reset. If it still fails, check that the television and the phone are not separated by a guest network, a VPN on the phone, or a router setting that isolates wireless clients from each other.
Is wireless APK transfer safe?
Transfer safety depends on the file source and not on the transfer method. A trusted file stays trusted after wireless transfer, and an untrusted file stays risky no matter how you move it. Check the source before you install, verify the file size after transfer, and grant install permission only to the file manager you actually use. Those three habits cover almost all of the risk.
How long does a large APK transfer take?
A 500 MB file on a good 5 GHz connection at 30 megabytes per second takes under twenty seconds, while the same file on a weak 2.4 GHz connection at 3 megabytes per second takes nearly three minutes. The network, not the file, decides the time. If a transfer crawls, move the phone closer to the router, switch bands, and close streaming apps that compete for bandwidth on either device.
Can I transfer split APK files to a TV?
Split app bundles need an installer that understands them, such as SAI, installed on the television first. Transfer the bundle file to the television, open it with the split installer, and let the installer pick the pieces that match the television. A plain file manager cannot install a split bundle on its own, so the installer app is a required step for that format rather than an optional one.
Your First Wireless Transfer Tonight
Wireless transfer turns a fiddly cable job into a quick network task. Use a sharing app for most files, local network sharing when you want nothing extra installed, cloud storage as a backup when discovery fails, and ADB when you want precise control. Each method suits a different situation, and knowing all four means a failed method never ends the evening.
The biggest mistake is sending the file over mobile data or a guest network and wondering why discovery fails. Both devices must share the same local network for direct transfer, so check the network name on both devices before you troubleshoot anything else. The second mistake is deleting the file immediately after a failed install, when a second attempt with the same file often succeeds. The third is granting install permission to every app that asks for it, when only the file manager you use needs it.
Your concrete next step is to install one file sharing app on your phone and television tonight and send one small file as a test. Once that test file installs and opens correctly, you can transfer larger apps with confidence. If storage runs tight as your library grows, the storage guide linked above will help you use the new space well, and the essential-apps list will help you decide what deserves a place on the home screen first.

