

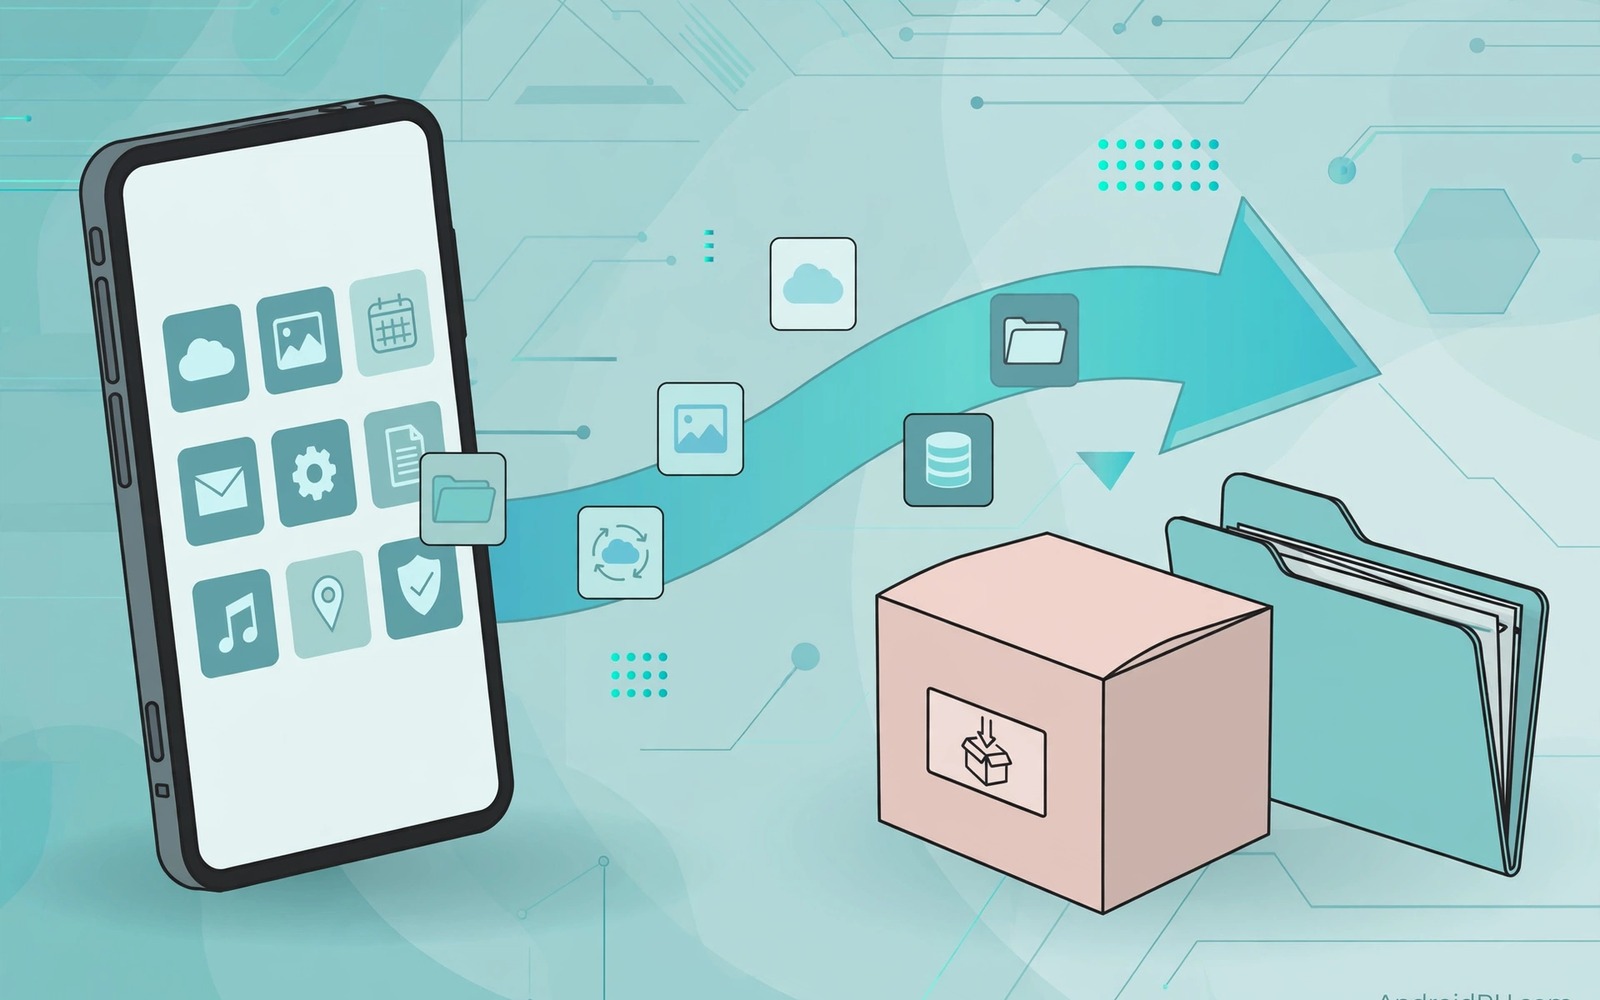
How to Extract Installed App Packages as Backup APKs Without Root
I lost a good version of a notes app once. An update removed the one feature I actually used every day, and the listing had already changed by the time I went looking for the old version. There was no way back. I searched for the older build, found three shady mirrors, and gave up. That afternoon I started keeping my own copies of the apps I care about, pulled straight from my own phone.
Extracting an installed app as a backup APK means copying the install file of an app that is already on your device and saving it somewhere safe. The file comes from your own phone, not from a mirror you have never heard of. That origin matters. When the app was originally installed from a trusted source, the extracted copy carries the same signature and the same code, which makes it far more trustworthy than a random reupload with the same name.
You do not need root for any of this. Modern Android lets you pull your own installed packages with a trusted extractor app or with Android Debug Bridge from a computer. This guide walks through both routes, explains how to handle split apps, and shows how to verify and archive what you extract. Extraction pairs naturally with local APK archiving, because an extracted file is only useful if you can find it again six months later.
Why Extracting an Installed App as a Backup APK Makes Sense
Apps disappear from listings. Developers pull old versions, regions lose access, and companies shut down. An app you rely on today can be gone from the listing tomorrow, and the Play listing does not keep a public archive of every version it once hosted. Your own phone may hold the only copy of the version that works for you.
Updates break things too. A redesign can bury a feature, a new permission can change how an app behaves, and a bug can slip into a release that worked fine the day before. When you hold the previous install file, you can go back to the version that worked while you wait for a fix. Without it, you are stuck with whatever the latest release does.
A phone reset is the third reason. After a factory reset or a move to a new handset, reinstalling from a listing gives you the newest version of everything. That sounds fine until one of those newest versions drops support for your device or removes a feature you depend on. A personal archive of extracted install files lets you put back the exact versions you had.
There is also the quiet case of region-specific apps. Some apps only appear in certain countries, and a listing that was available on holiday may not be available at home. If you extracted the file while the app was installed, the region problem disappears. You already own the file.
What Extraction Copies and What It Leaves Behind
Extraction copies the app package files from your phone. It does not copy your data. Messages, saved files, login sessions, settings, and game progress live in a separate area that most extraction methods cannot reach. That split surprises people, and it is the single most common misunderstanding in this whole topic.
Plan data export separately before you uninstall anything. Open the app and look for an export or backup option inside its own settings. Some apps export to a file, some sync to an account, and some offer nothing at all. If the app offers nothing, take screenshots of important settings and accept that the data may not survive a reinstall. Never uninstall an app on the assumption that the extracted install file carries your data with it.
Some apps resist extraction in other ways. Split apps arrive as several files that must stay together. Apps with licence checks may refuse to run after extraction on a different device, even when the file itself is complete. Apps tied to a specific device or account can fail the same way. Extraction preserves the file, but it cannot promise the app will behave identically somewhere else. Test extracted apps on the target device before you depend on them.
System apps are a separate limit. User-installed apps extract most reliably, and those are the ones you chose and might lose. System apps often cannot be extracted fully without root, and they usually return with a system reset or an update anyway. For backup purposes, that limit is acceptable. Focus your archive on the apps you installed yourself.
How to Extract an APK With a Trusted Extractor App
An extractor app is the fastest route for most people. It lists your installed apps, lets you pick one, and saves a copy of its install file to a folder you choose. The whole job takes under a minute once the app is set up.
Picking an extractor you can trust
Choose an extractor with a clear privacy policy and narrow permissions. An extractor needs file access so it can save the file. It needs no access to your contacts, messages, or location for its core job. Reject any extractor that demands unrelated permissions, and be wary of one that shows aggressive ads on every screen. A trusted extractor from an open-source repository is a strong choice, and so is one from a developer with a visible track record and a recent update history.
Check the listing page before you install. Look at the last update date, read a few recent reviews, and confirm the app still works on your Android version. An extractor abandoned two years ago may fail on split apps or on newer Android releases. The best extractor is boring: it does one job, asks for little, and stays updated.
Step-by-step extraction on your phone
Follow these steps in order. They work on most Android phones running Android 10 or later, with only small menu name differences between brands.
- Install your chosen extractor and open it. Grant file access when asked, and decline any unrelated permission the app requests.
- Wait for the app list to load. It shows every user-installed app on your phone, usually with the name, version number, and size.
- Tap the app you want to back up. Check the version number against Settings, then Apps, then the same app name, so you know you are copying the version you think you are.
- Tap Extract, Backup, or Save, depending on the extractor. Choose your archive folder as the destination instead of the generic Downloads folder.
- Wait for the confirmation message. Do not switch away from the extractor until it reports the save as finished.
- Open your file manager, go to the archive folder, and confirm the file is there with a sensible size.
Naming the file so future you can find it
Use a naming pattern and stick to it. A good pattern is app-name, version, and date, for example notes-app-4.2.1-2026-11-07.apk. That name tells you everything at a glance, and it sorts cleanly in a folder. A file called app.apk or base.apk tells you nothing, and a folder full of files like that becomes a puzzle within a month.
Checking the file size before you trust it
Compare the extracted file size with the installed app size shown in Settings, then Apps, then Storage. A tiny file for a large app suggests the extraction failed or captured only part of a split set. Large gaps deserve investigation before you trust the backup. A quick size check catches most extraction errors in seconds, and it costs nothing.
How to Extract Split APKs Without Losing Parts
Many modern apps arrive as split packages, sometimes called app bundles. The base file holds the core code, and separate split files hold screen-density resources, processor-specific libraries, and language packs. Together they form one working app. Apart, they form a broken one.
Why a single base APK is not enough for split apps
A base-only backup of a split app will install and then crash, or install and then show missing images and broken layouts. I learned this the hard way with a mapping app: the base file installed cleanly, opened once, and then failed every time it tried to load its map tiles. The split files I had skipped held the resources it needed. The backup looked complete and was useless. That is why a complete split set is the only backup worth keeping for a bundled app.
Android itself treats splits as one unit. The installer expects the full set, and a missing split is a failed install or a broken app. There is no partial credit here. Either you keep every part, or you do not have a backup.
Extracting the full split set
A good extractor saves the base file and all split files together, usually into one folder named after the app and version. Check the output folder after every extraction of an app you suspect is split. If you see several files with names like base.apk, split_config.arm64_v8a.apk, and split_config.en.apk, you have a split set. Keep all of them in the same version folder, and do not rename the split files, because installers match them by name.
Test a split extraction by reinstalling the set on a secondary profile when your phone supports one. Go to Settings, then System, then Multiple users, and add a secondary profile if the option exists. Install the split set there with a split-aware installer. A successful reinstall proves the set is complete. A failed reinstall reveals the missing part while the original app still works on your main profile.
Labelling split sets in your archive note
Write a short note in each split folder listing the base version and every split file present. That note helps future you reinstall correctly without guessing which files belong together. Split sets without notes become puzzles months later, especially when two versions of the same app sit in nearby folders. A two-line text file costs nothing and saves real confusion.
How to Extract APKs With ADB From a Computer
A computer with Android Debug Bridge, usually called ADB, can extract apps without installing any extractor on the phone. This route avoids granting a new app permissions, and it gives you precise control over exactly which files you copy. It takes a little setup, but it is the most reliable method for split apps.
Turning on USB debugging safely
Open Settings, then About phone, and tap Build number seven times until you see the message that developer mode is on. Go back to Settings, then System, then Developer options, and turn on USB debugging. Connect the phone to your computer with a cable, and tap Allow on the authorisation prompt that appears on the phone. Check the box to always allow from this computer only if it is your own machine.
Keep this window short. USB debugging is a powerful tool, and it should be on only while you are actively using it. The steps below end with turning it off again, and that step is part of the method, not an afterthought.
Finding the package path and pulling the file
With the phone connected and debugging on, run these commands from a terminal on your computer. Replace com.example.app with the real package name of the app, which you can find in the listing URL or in the app info screen on some phones.
adb shell pm path com.example.app
adb pull /data/app/com.example.app-1/base.apk backup/app-name-1.0.apk
adb shell pm list packages -f | grep example
The first command prints the path where Android keeps the installed package. The second copies that file to a backup folder on your computer. The third lists every package path matching a word, which helps when you are not sure of the exact package name. Run the first command, copy the path it prints, and use that exact path in the pull command.
Pulling every split path for one app
For a split app, the path command prints several lines: one base path and one line per split. Pull each one into the same version folder on your computer. A typical set looks like base.apk plus split_config.arm64_v8a.apk, split_config.xxhdpi.apk, and one language split per language. Miss one and the set is incomplete, so compare the count of pulled files with the count of paths the command printed before you disconnect the phone.
Turning USB debugging off again
Go back to Settings, then System, then Developer options, and turn USB debugging off. You can also turn off Developer options entirely, which hides the menu again. Leaving debugging on permanently increases risk if the phone is lost or plugged into a computer you do not trust. A short enable-and-disable routine keeps the benefit without the lasting exposure.
Comparing the Three Extraction Methods Side by Side
There is no single best method. The right choice depends on whether the app is split, how often you extract, and how much setup you tolerate. This table puts the trade-offs in one place.
| Method | Setup needed | Split apps | Speed | Best for |
|---|---|---|---|---|
| Extractor app | Install one app | Good, if the extractor supports splits | Under a minute | Quick backups on the phone |
| ADB from a computer | Developer options, USB cable, ADB tools | Excellent, every path listed | A few minutes | Split apps and precise control |
| File manager with backup feature | None, if your phone includes one | Often poor, base file only | Under a minute | Simple single-file apps |
For a routine monthly backup of ordinary apps, an extractor app is enough. For a split app you truly care about, ADB is worth the extra minutes. For a quick one-off copy of a small single-file app, a built-in file manager backup works. Match the method to the app, and re-check the result either way.
How to Verify and Archive Extracted APKs
An unverified backup is a guess. A file can corrupt silently during a copy, a transfer can truncate it, and a wrong file can sit in the right folder for months before anyone notices. Verification turns a stored file into a backup you can rely on.
Hashing every file you extract
Compute a hash for each extracted file and record it in the archive note. A SHA-256 hash is a fingerprint: copy the file, hash the copy, and compare. If the two fingerprints match, the copy is identical. If they differ, something changed during the move, and you should re-copy from the original. On a computer, sha256sum filename.apk prints the hash on Linux and macOS, and Get-FileHash filename.apk -Algorithm SHA256 does the same in PowerShell on Windows. On the phone, several file managers and hash apps can compute it too.
Record the hash next to the file name, version, and date in a small text note inside the version folder. That note is the reference you check against later. Without a recorded hash, a later check has nothing to compare with, and you are back to guessing.
Building one archive for extracted and downloaded files
Use one archive structure for everything, whether a file was extracted from your phone or obtained elsewhere. App name folders with version subfolders work well, and they mean you search one place for any backup file regardless of origin. A split archive with separate places for extracted and downloaded files wastes time during urgent reinstalls, because you have to remember which origin a file had before you can even start looking.
Keep the archive note habit in both cases. A version folder should hold the install files, the hash note, and a line about where the file came from. That provenance line matters when you later wonder whether a file is your own extraction or a copy from elsewhere.
Copying the archive off the phone
Copy the archive to a computer regularly. A phone-only archive disappears with the phone, and it does nothing for you after a loss or a theft. A computer copy survives phone loss and reset. Monthly copies suit most users. Weekly copies suit people who extract often. Pick a rhythm you will actually maintain, and set a repeating reminder for it. Make verifying APK hashes part of every copy run, because it catches silent corruption before you need the file and keeps the archive trustworthy over years rather than months.
Reinstalling From an Extracted APK and Avoiding Common Mistakes
Reinstalling from an extracted file follows normal sideloading steps. The process is simple, but the order matters: confirm the file, install it, test it, and only then think about data.
The reinstall checklist
- Confirm the file name, version, and hash against your archive note before you install anything.
- Allow install permission for the file manager or installer you use, for that single install only. Android asks per app, so the permission stays narrow.
- Read the install screen and confirm the app name and version match what you expect. If they do not, stop.
- Open the app and test its core features before restoring any data. A clean test prevents data problems from hiding install problems.
- Restore data only after the extracted app runs correctly. Import exported data gradually and test after each major import.
Watch for signature behaviour during reinstall. An extracted file carries the original signature when extraction preserved it correctly. Android will refuse an update from a different source with a different signature, and that refusal protects you. Do not bypass it to force a reinstall from a mismatched source. A signature mismatch means the file is not the same app, whatever its name says.
Related methods sit close to this one. If the version you extracted is not the one you want, downgrading to older versions covers the full process of moving back a release. If you want to stop a working version from changing at all, freezing app builds explains how to hold an app at the build you trust.
Three mistakes that ruin a backup
The first mistake is assuming extraction also backs up app data. Extraction copies the app file only, and users who uninstall after extraction without a separate data export lose messages and settings permanently. Export data first, extract second, uninstall last.
The second mistake is extracting only the base file for a split app. Base-only backups fail to reinstall fully, and the failure often appears only when you need the backup most. Check for split parts every time, and keep them together in one version folder.
The third mistake is leaving USB debugging on after computer extraction. Debugging left on creates a lasting security exposure on a lost or borrowed phone. Turn it off the moment the extraction session ends. Short debugging windows are safe. Permanent debugging is not.
Build an extraction routine for essential apps
Extract essential apps on a regular schedule rather than only when trouble appears. A monthly extraction of your five most important apps creates a rolling backup that stays current. That routine takes little time once the archive structure exists, and it reveals extraction problems early, while the original app still works.
During each routine extraction, check that previous extracted files still open and still match their recorded hashes. Storage can damage files silently over months, and a hash check during routine extraction catches corruption before you need the file. Replace any corrupted file with a fresh extraction at once. A routine backup is far more reliable than an emergency extraction done under pressure, after the listing has already changed.
A major Android update is a natural trigger for an archive refresh. After a system update, test your most important extracted backups on a secondary profile. That test reveals compatibility problems before you need the backup urgently. Re-extract an app when its old extracted file fails on the new system, because a fresh extraction from the updated system captures the current working version.
When a friend asks how you backed up an app, teach the method rather than sending the file. Sending extracted files can violate licences, and it spreads files you cannot control. Teaching the method empowers your friend to back up their own apps. A short explanation of extractor choice and archive naming helps more than a file transfer, and good backup habits spread best through teaching.
Frequently Asked Questions About Extracting APKs Without Root
Is extracting apps I own legal?
Extracting an app you installed, for personal backup on your own devices, is generally accepted. Sharing extracted files with others may violate app licences, and re-uploading them to a public mirror almost certainly does. Keep extracted backups for your own devices rather than distributing them, and check the licence terms of any app you are unsure about.
Can I extract paid apps I purchased?
Paid apps you purchased can often be extracted for personal backup in the same way as free apps. Licence checks may still require your account on reinstall, and some paid apps check the licence every time they open. Extraction does not remove licence requirements for apps that enforce them, so keep the purchase tied to the same account you bought it with.
Why does my extracted app fail on another phone?
Device-specific splits, licence checks, and Android version differences are the usual causes. A split set built for one processor or screen density may not fit another phone, and an app that checks its licence against your account may refuse to run under a different one. Test extracted apps on the target device early, and extract a fresh set on that device when the first one fails.
Do extracted APKs include my app data?
No. Extraction copies the install files only. Messages, settings, saved files, and progress stay behind. Use the app’s own export or backup feature for data, and treat the install file and the data export as two separate parts of one backup. If the app offers no export at all, your data may not survive a reinstall, whatever you do with the install file.
Can I extract system apps without root?
Mostly no. System apps often sit in protected areas that extraction methods cannot fully copy without root. Some extractors will save a partial file, but it usually will not reinstall cleanly. User-installed apps are the reliable case, and they are the ones worth archiving, since system apps return with a reset or an update anyway.
Your Next Step: Extract One Essential App Today
Pick the one app you would miss most if its next update went wrong. Extract it with a trusted extractor, name the file with its version and date, record its hash, and copy the folder to your computer before the week ends. That single backup is the whole system in miniature, and repeating it monthly for your five most important apps builds an archive that actually holds up when you need it.
Extraction without root is a quiet skill. It takes minutes to learn, it costs nothing, and it pays off exactly once, on the day an update or a delisting leaves you with no other way back. Do it before that day arrives, and keep the archive verified so the file you reach for is the file you expect.

