

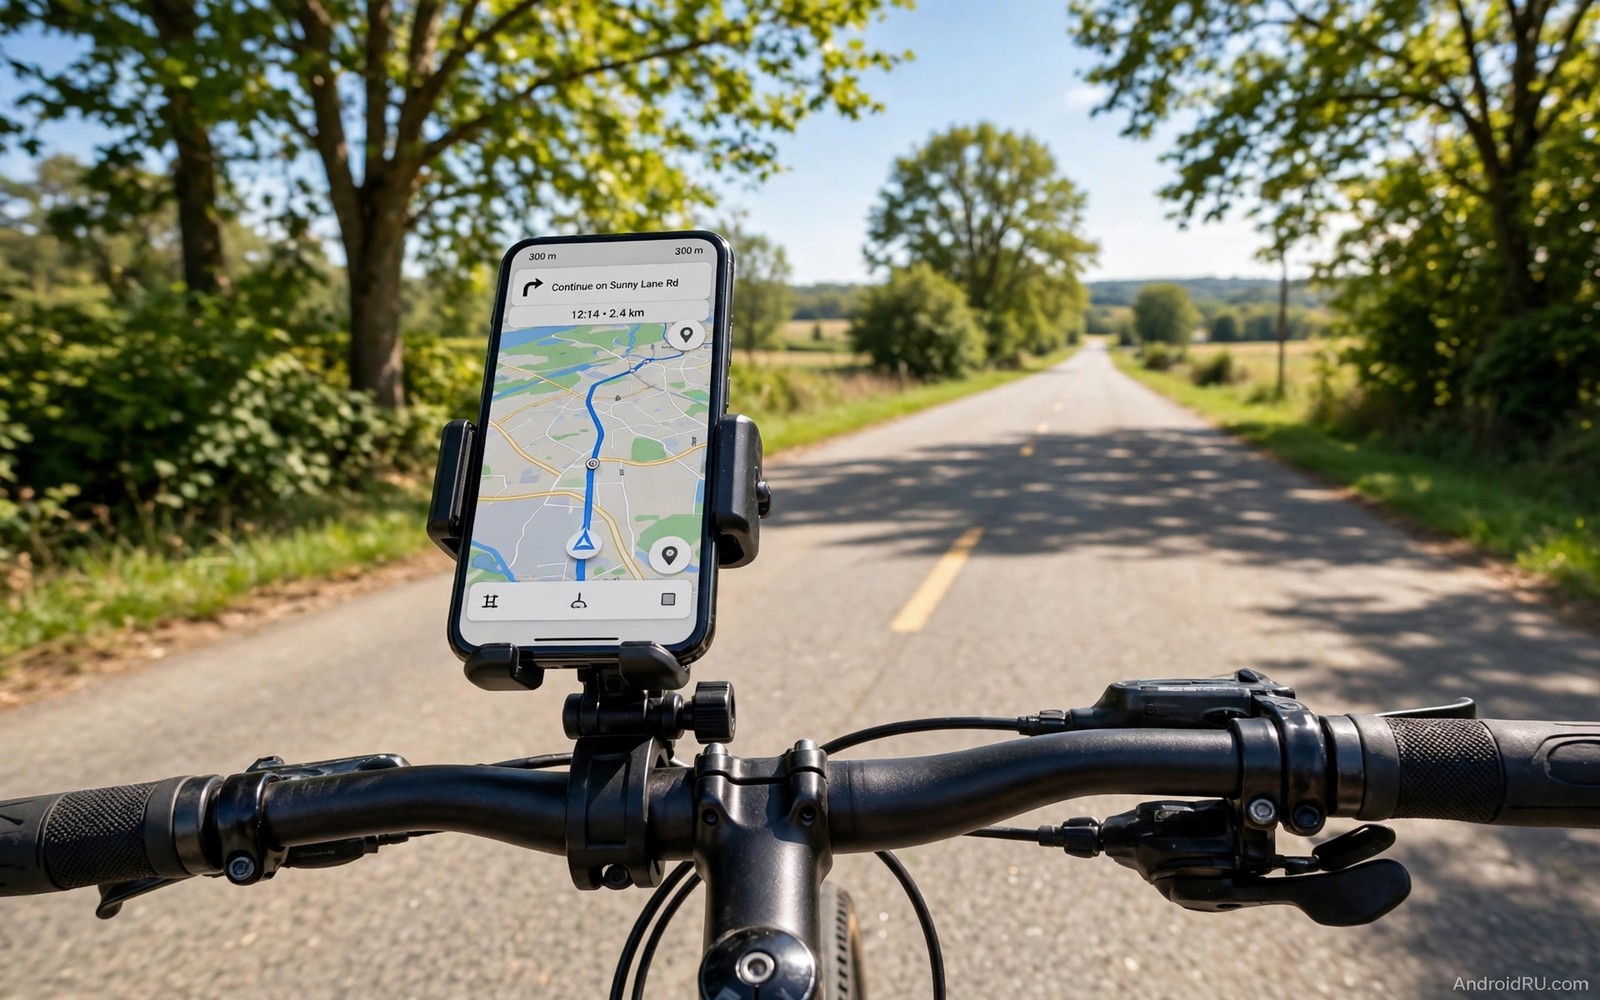
Stop Phone Falling Off Mounts: Best Handlebar Mounts for Bikes
My phone hit the tarmac once on a descent I had ridden a hundred times before, and the sound it made is the reason I stopped trusting cheap mounts. The clamp had looked solid in the shop, the phone had felt snug on the driveway, and the first pothole at speed undid all of it. A cracked screen cost me more than the most expensive mount on this list, and that is the maths every rider should do before choosing one. A good handlebar mount is not an accessory. It is the only thing between a very expensive phone and the road.
This guide covers the mounts that actually hold, the locking designs that survive rough trails, and the fitting mistakes that cause most falls. You will get seven named mounts with honest pros and cons, a comparison table with real prices and materials, and a fitting routine you can do in ten minutes at home. Whether you ride a city commuter, a road bike, or a full-suspension mountain bike, the right mount is out there, and the wrong one will tell you about it at the worst possible moment.
I have tested mounts on road bikes with 31.8 mm bars, a mountain bike with 35 mm bars, and a flat-bar commuter with 22.2 mm bars, in rain, on gravel, and on a long descent with heavy braking. The mounts that passed all three bikes are not always the most expensive ones. What matters is the lock, the clamp, and how the mount deals with vibration. Price helps, but a clever locking design beats a fancy brand name every time.
Why Phones Fall Off Bike Handlebar Mounts on Rough Roads
Most falls are not caused by one dramatic failure. They are caused by three small problems stacking up: a clamp that slowly rotates on the bar, a holder that vibrates loose, and a rider who only notices when the phone is already gone. Vibration is the quiet killer here. A mount that feels tight at a standstill can walk itself loose over twenty minutes of chatter from a rough surface, especially if the clamp bolt has no locking nut or threadlocker.
Bar diameter is the first thing to get right, because a clamp made for a 31.8 mm road bar will never grip a 22.2 mm flat bar properly, even with a shim bodged in from an old inner tube. Road bikes usually use 31.8 mm at the clamp area, mountain bikes often use 31.8 mm or 35 mm, and flat-bar hybrids and city bikes commonly use 25.4 mm or 22.2 mm. Measure the bar where the mount will actually sit, not at the grip, because many bars taper. A 31.8 mm handlebar clamp with proper shims is the most flexible starting point if you own more than one bike.
The holder design matters just as much as the clamp. Two side arms that rely on spring tension alone will lose to a big bump, because the phone’s own weight works against the spring at exactly the wrong moment. Four-corner grips, a locking lever, or a twist-lock mount interface all beat spring tension, because they need a deliberate action to release. If a mount can be removed by yanking the phone hard, it can also be removed by a pothole. That is the test I apply to every mount now, and most cheap ones fail it.
Quad Lock vs Peak Design vs SP Connect: Which Locking System Holds Best
These three brands dominate the top end of bike mounts, and they solve the same problem in three different ways. Quad Lock uses a twist-lock interface with a small lever: you twist the phone a quarter turn and it clicks into place, and a lever locks it there. Peak Design uses a magnetic SlimLink system with a mechanical lock that clicks when the phone seats, and a button releases it. SP Connect uses a twist-and-lock bayonet that turns 90 degrees into the mount head, with a vibration dampener option on some models.
On rough trails, all three hold well when fitted correctly, and I would trust any of them on a mountain bike. The differences show up in daily use. Quad Lock is the fastest to dock one-handed, which matters at traffic lights. Peak Design feels the most secure when you pull straight up on the phone, because the lock resists that direction. SP Connect sits in the middle: a firm twist, a solid click, and a low profile that keeps the phone close to the bar. That said, each system locks you into its own case ecosystem, so the real cost is the case plus the mount, not the mount alone.
Here is the catch with all three: none of them will save you from a badly fitted clamp. I have seen a Quad Lock spin on a bar because the rider skipped the shim, and a Peak Design rattle because the clamp bolt was never torqued. The locking head is only as good as the clamp underneath it. Buy the system whose case you are happy to live with every day, fit the clamp properly, and any of these three will keep your phone where it belongs.
What makes a twist-lock mount safer than a spring clamp?
A twist-lock needs a deliberate rotation to release, so vibration and bumps cannot reproduce the release motion by accident. A spring clamp only needs a force greater than the spring, and a pothole can deliver that force for a split second. Twist-lock mounts also give you a clear click or a visible lever position that confirms the phone is locked, while a spring clamp gives you only a feeling. That confirmation matters when you are about to ride into traffic.
Does a magnetic mount hold on a mountain bike?
A magnetic mount on its own does not, and the good brands know it. Peak Design pairs strong magnets with a mechanical lock, so the magnets guide the phone into place and the lock does the holding. A mount that relies on magnets alone, with no mechanical lock, is a city-only product in my experience. On a trail it will drop the phone on the first hard landing, and no magnet strength rating on the box changes that physics.
Best Handlebar Mounts for Bikes: 7 Named Mounts Compared
The seven mounts below cover every budget and every riding style, from a ten-dollar universal clamp to a top-end twist-lock system. Each one has been judged on the same four questions: does the lock need a deliberate action to release, does the clamp fit standard bar sizes without slipping, does it survive vibration on rough ground, and can you still reach your buttons and see the screen. Prices are typical street prices at the time of writing, so check the current price before you buy, because mount prices move with sales and new versions.
| Mount | Typical price | Material | Bar compatibility | Locking method |
|---|---|---|---|---|
| Quad Lock Out Front Mount Pro | around $70 | anodised aluminium | 31.8 mm and 35 mm with shims | twist-lock with lever |
| Peak Design Mobile Bike Mount | around $80 | anodised aluminium | 22.2, 25.4, 31.8 and 35 mm with shims | magnetic SlimLink with mechanical lock |
| SP Connect Bike Bundle II | around $90 with case | aluminium and reinforced plastic | 25.4 to 31.8 mm with shims | twist-lock bayonet |
| Rokform Pro Series Bike Mount | around $70 | aircraft-grade aluminium | 25.4 to 35 mm with shims | twist-lock with magnet assist |
| GUB G-85 Aluminium Mount | around $20 | aluminium alloy | 22.2 to 31.8 mm | four-corner claw with screw lock |
| Bone Bike Tie Pro 4 | around $35 | silicone tie with plastic base | 22.2 to 35 mm | silicone wrap with safety strap |
| Lamicall Bike Phone Mount | around $15 | aluminium and silicone pads | 22.2 to 31.8 mm | clamp arms with locking knob |
1. Quad Lock Out Front Mount Pro
The Quad Lock Out Front Mount Pro is the mount I reach for on my road bike, and it is the one I recommend first to riders who want a phone that simply does not move. The mount head sits ahead of the bar on a short arm, which puts the phone in a natural line of sight without blocking the stem, and the twist-lock interface clicks in with a quarter turn. A small lever on the head locks the twist, so the phone cannot rotate out by vibration. The anodised aluminium body feels solid, the clamp fits 31.8 mm bars directly and 35 mm bars with the included shim, and the whole unit weighs little enough that you forget it is there.
It is for road riders, commuters, and anyone who docks and undocks the phone several times a day. Pros: the fastest one-handed docking I have used; a very low profile that keeps the phone out of the wind; a vibration dampener is available as an add-on for rough roads; and the case ecosystem covers most popular phones. Cons: you must buy a Quad Lock case or a universal adaptor, which adds cost; the out-front position can clash with a front light on crowded bars; and the dampener is sold separately rather than included. Verdict: the best all-round top-end mount for road and city riding, and the safest default choice if you want to stop worrying about your phone.
Quad Lock Out Front Mount Pro price and bar compatibility
Expect to pay around $70 for the mount alone, plus the cost of a case if you do not already own one. The clamp covers 31.8 mm bars out of the box, and the included shim adapts it to 35 mm oversized mountain bike bars. Check the current case range for your phone model before ordering, because a mount without a matching case is useless.
2. Peak Design Mobile Bike Mount
The Peak Design Mobile Bike Mount is the most over-engineered mount on this list, and I mean that as a compliment. The SlimLink system uses magnets to guide the phone into place and a mechanical locking tooth to hold it there, so docking feels almost automatic and removing the phone needs a firm press of the release button. The aluminium clamp adjusts across 22.2, 25.4, 31.8 and 35 mm bars with the included shims, which makes it the most flexible top-end mount if you swap it between bikes. The mount head rotates, so you can run the phone in portrait for navigation or landscape for a bike computer app.
It is for riders who own several bikes and want one mount that fits all of them. Pros: the widest bar compatibility of any top-end mount here; the lock resists straight upward pulls, which is the direction bumps try to take the phone; and the case doubles as a everyday case with a finger loop. Cons: it is the most expensive mount on this list at around $80 before the case; the mount head is heavier than a Quad Lock; and the case range is smaller than the big brands. Verdict: the best choice for multi-bike households and riders who value a mount that fits everything they own.
3. SP Connect Bike Bundle II
The SP Connect Bike Bundle II is a complete kit: mount, case, and a weather cover in one box, which makes it the easiest top-end option to buy without a second order. The twist-lock bayonet turns 90 degrees into the mount head with a solid click, and the low-profile head keeps the phone close to the bar, which reduces the lever force that vibration can apply. SP Connect sells a vibration dampener that sits between the head and the clamp, and on a mountain bike I would fit it without hesitation. The bundle includes a rain cover that actually works, unlike the afterthought covers some brands ship.
It is for mountain bikers and all-weather commuters who want a ready-to-ride kit. Pros: everything you need in one box, including the weather cover; a firm bayonet lock that survives rough trails; and a wide range of accessories, from lights to power banks, that share the same mount. Cons: the case is required, so the total cost is around $90; the bayonet needs two hands to dock until you learn the motion; and the head sits higher than a Quad Lock out-front mount. Verdict: the best bundle for riders who want to buy once and ride in any weather.
4. Rokform Pro Series Bike Mount
The Rokform Pro Series Bike Mount pairs a twist-lock with a strong magnet, and the combination gives you two layers of holding before the phone can move at all. The aircraft-grade aluminium clamp is one of the toughest on this list, and the mount is rated for the kind of vibration that kills lesser holders. Rokform cases are built like armour, with a magnetic mounting point on the back that also works with the brand’s car mounts and other accessories, so the case earns its keep off the bike too.
It is for riders who want a rugged mount and a rugged case as one system. Pros: a very strong clamp and a dual lock-plus-magnet hold; a tough case that protects the phone if it ever does fall; and good accessory support across car and bike mounts. Cons: the case range is narrower than Quad Lock or Peak Design; the mount is heavier than the other top-end options; and the price sits at the top end at around $70 before the case. Verdict: the toughest top-end mount here, and a good pick for heavy phones and rough terrain.
5. GUB G-85 Aluminium Mount
The GUB G-85 is the budget surprise of this list, and it proves that a good mechanical design does not have to cost a fortune. Four aluminium claws grip the corners of the phone, a screw lock tightens the arms, and a 360-degree ball joint lets you set any angle. The aluminium alloy clamp fits bars from 22.2 to 31.8 mm, and the whole mount costs around $20. I fitted one to a commuter bike and it survived a winter of potholes and rain without a single slip, which is more than I can say for mounts three times its price.
It is for city riders, commuters, and anyone who wants a solid mount without buying into a case ecosystem. Pros: very low price for an all-metal mount; works with almost any phone and any case, because the claws adjust to the phone; and the screw lock gives a clear, deliberate hold. Cons: the four claws can cover screen edges on phones with curved displays; docking takes two hands and a few seconds; and the ball joint needs occasional retightening. Verdict: the best value mount on this list, and the one to buy if you want a strong universal holder for little money.
GUB G-85 fitting tip for thick rugged cases
Measure your phone with its case on before ordering, and check the claw range against that measurement rather than the bare phone size. A thick rugged case adds several millimetres on each side, and a mount that fits the bare phone will not close on the cased phone. The G-85 handles most cases, but a very thick case with a kickstand can still defeat the claws.
6. Bone Bike Tie Pro 4
The Bone Bike Tie Pro 4 looks odd and works brilliantly, which is a combination I have learned to respect. Instead of a rigid clamp, it uses a silicone tie that wraps around the phone and the bar mount, with a hard plastic base that keeps the phone stable. The silicone absorbs vibration better than any metal mount I have tested, and the phone screen stays fully visible because nothing covers the corners. It fits bars from 22.2 to 35 mm, it weighs almost nothing, and it costs around $35.
It is for gravel riders, commuters, and anyone whose phone suffers from vibration blur on rough surfaces. Pros: the best vibration damping of any mount here, thanks to the silicone; a very light and simple design with nothing to strip or seize; and it fits almost any phone size. Cons: docking takes longer than a twist-lock; the silicone tie wears over time and needs replacing; and it looks less polished than an aluminium mount. Verdict: the best mount for vibration-sensitive phones and rough-surface riding on a budget.
7. Lamicall Bike Phone Mount
The Lamicall Bike Phone Mount is the cheapest mount on this list that I would still trust, and that distinction matters, because there are plenty of cheaper mounts I would not trust at all. Two aluminium arms with silicone pads grip the phone from the sides, a locking knob tightens them, and a ball joint sets the angle. The clamp fits 22.2 to 31.8 mm bars, the mount costs around $15, and it works with almost any phone and case. It is not a trail mount, and I would not take it on a mountain bike, but for city streets and cycle paths it holds up well.
It is for casual riders and commuters on smooth routes who want a cheap, universal mount. Pros: the lowest price here for a mount that actually holds; a universal fit that works with any phone and case; and simple, tool-free fitting. Cons: the side-arm design is weaker than a four-corner or twist-lock holder on rough ground; the locking knob needs checking regularly; and the ball joint can drift on very bumpy roads. Verdict: the best cheap mount for smooth city riding, and a fine first mount while you decide whether you need a top-end system.
Handlebar Diameter and Clamp Fit: 22.2 mm, 25.4 mm, 31.8 mm and 35 mm
Getting the clamp size wrong is the single most common reason a mount slips, and it is also the easiest mistake to avoid. Measure the bar with a caliper if you have one, or wrap a strip of paper around the bar, mark where it overlaps, measure the length, and divide by 3.14 to get the diameter. Do this at the exact spot where the mount will sit, because many handlebars taper from 31.8 mm at the centre to 22.2 mm at the grips. A mount fitted on a taper will creep toward the narrow end under vibration, no matter how tight you make it.
Shims are the honest answer to a bar that falls between sizes, and every good mount ships with them. A shim is a thin sleeve that fills the gap between the clamp and the bar, and it should be a proper plastic or rubber shim, not a wrap of tape. Tape compresses, creeps, and leaves adhesive on the bar, while a proper shim spreads the clamping force evenly. Fit the shim, tighten the clamp evenly, then push the mount firmly with your hand. If it rotates under moderate pressure, add a thicker shim or choose a different clamp size. A mount that rotates in your hand will rotate on the road.
Carbon handlebars need extra care, because over-tightening a clamp can crush the fibres. Use a torque wrench if you have one and follow the bar maker’s torque limit, which is often printed on the bar itself. A carbon-safe assembly paste, sometimes called friction paste, adds grip without extra torque, and it is cheap insurance on an expensive bar. Never use a clamp with a sharp edge on a carbon bar, and check the bar for marks after the first ride. A mark on a carbon bar is a warning, not a cosmetic issue.
How to Fit a Bike Phone Mount So It Never Slips
Fitting a mount properly takes ten minutes and saves you a phone, so do it at home with the bike on a stand or leaning against a wall, not in a rush before a ride. Clean the bar first with a dry cloth, because dust and old grip residue reduce friction more than most riders expect. Place the mount near the stem where the bar is straight, because a clamp on a curve will always try to slide toward the straight section. Tighten the clamp bolts evenly, a little at a time on each side, rather than fully tightening one side first, which twists the clamp.
- Measure the bar diameter at the mounting spot and fit the correct shim for that size.
- Clean the bar, place the clamp near the stem on the straight section, and tighten the bolts evenly.
- Push the mount hard with your hand and check for any rotation or sliding before the phone goes on.
- Fit the phone with its case on, lock the holder, and pull the phone firmly in every direction to test the lock.
- Set the viewing angle while stationary, lock the ball joint or angle adjustment, and check that the phone does not block the bell or brake levers.
- Route any charging cable with a short cable and a clip, then turn the bars fully left and right to confirm the cable stays slack.
- Ride a short, rough loop near home and check the clamp and the holder again before any long ride.
That short rough loop is the step most riders skip, and it is the step that catches problems while they are still cheap. A mount that passes a ten-minute loop over bad tarmac will almost always pass a full day out. A mount that fails the loop will fail on the road, and finding out at home costs you nothing. Check the clamp bolt after the loop, because the first ride often settles the clamp and the shim, and a quarter turn of the bolt at that point is normal.
Vibration Damping and Rain Protection for Phone Mounts
Vibration does two things to a mounted phone: it loosens the mount over time, and it can damage the phone’s camera. Apple and several Android makers have warned that prolonged exposure to high-amplitude vibration can harm optical image stabilisation in phone cameras, which is why a vibration dampener is worth fitting on a mountain bike or a motorbike, and on any bike with a rigid fork on rough roads. The dampener sits between the mount head and the clamp and absorbs the sharp shocks before they reach the phone. It adds a few millimetres of height and a little cost, and on rough terrain it is the cheapest camera insurance you can buy.
Rain changes the grip between the holder and the phone case, and a wet silicone pad can be slipperier than a dry one. A rain cover or a waterproof case adds grip as well as protection, and it keeps the screen readable when water would otherwise pool on it. Angle the phone slightly back so rain runs off the screen rather than pooling, and wipe the holder and the case dry after a wet ride to stop corrosion on metal parts and bolts. A mount that lives in the rain without drying will seize or rust, and a seized bolt is the start of a mount that never gets checked again.
Heat and cold affect mounts too, in opposite directions. A plastic mount left in hot sun can soften and lose its grip, while the same mount in freezing weather can turn brittle and crack. Metal mounts handle temperature better, which is one more reason to prefer aluminium for a mount that lives on the bike all year. Keep the bike in shade when you can, and give the mount a quick squeeze and twist before each ride. That five-second check catches a cracked holder, a loose bolt, or a perished silicone tie before it becomes a fall.
Safety Tether and Pre-Ride Check for Rough Trails
A safety tether is the cheapest backup in cycling, and on a rough trail it is the difference between a dropped phone and a lost phone. Attach one end to the phone case or a lanyard loop and the other end to the handlebar or a bag strap, with enough slack to view the screen and steer normally but not enough slack to let the phone hit the ground. Test it at home by gently pulling the phone from the holder and checking that the tether holds its weight without snagging on brake levers. A safety tether that snags on a lever is worse than no tether at all, so test the full steering range before you trust it.
Build a pre-ride check into your routine and it will take less than a minute. Bar diameter measured and shim fitted. Clamp tight with no rotation under a firm push. Phone holder locked with the case on. Angle set for a quick glance without tilting your head down. Backup strap or tether attached for rough rides. Charging cable routed with slack at full steering lock. Run through that list before every long ride and after any mount adjustment, and carry a small multi-tool in a saddle bag for the clamp bolt size your mount uses. A loose clamp fixed at a safe stop costs you a minute. A loose clamp ignored costs you a phone.
What is the safest handlebar mount design for rough trails?
A metal clamp with a four-corner locking holder or a twist-lock head is the safest design for rough trails, with a silicone safety strap as a backup layer. That combination holds through jumps and drops better than a simple side-arm holder. Test the combination on a short rough path before a long trail, and check the clamp after each rough ride because vibration loosens bolts over time.
Common Mistakes That Drop Phones From Bike Mounts
The most common mistake is buying a mount without measuring the bar diameter, which leads to a clamp that slips or cannot close at all. The second mistake is trusting a friction-only holder for rough rides, because a holder with no locking lever may work on smooth roads and fail on the first trail. The third mistake is mounting the phone where it blocks the bell or a brake lever, which trades safety for convenience. Safety controls must stay reachable at all times, even with the phone mounted.
People also overload a mount with a heavy phone, a thick case, and a battery pack hanging off it, which increases vibration and lever force on the clamp. Keep the mounted load light, charge the phone before the ride, and put the power bank in a frame bag with a short cable to the phone. The final mistake is adjusting the mount while riding to fix an angle or a slip, which takes your eyes and your hands away from steering. Stop safely before any adjustment. A stopped fix takes a minute and a riding fix risks a fall.
Frequently Asked Questions About Bike Handlebar Mounts
Can I use a phone mount in the rain?
Yes, if the mount and the phone protection suit wet conditions. Use a waterproof case or a rain cover, and check that the holder grip stays firm when the case is wet, because some holders slip more on a wet surface. Test the setup in light rain before a long wet ride, and dry the holder and the clamp bolt area afterwards to prevent corrosion.
Should the mount go on the handlebar or the stem?
A handlebar position near the stem works for most riders because it is stable and visible, and it fits almost any bike. A stem mount can work if your stem design allows a secure clamp, but it is less universal. Test both positions if your bike and mount allow it, and choose the one that gives a clear glance without blocking controls or catching glare.
Will a bike mount damage my phone camera?
Prolonged high-amplitude vibration can harm optical image stabilisation in some phone cameras, and phone makers have warned about mounting phones on motorbikes and bicycles without damping. Fitting a vibration dampener, choosing a mount with silicone damping, and avoiding rigid mounting on very rough surfaces all reduce the risk. If you ride rough trails daily, a dampener is worth the small extra cost.
How do I stop my phone mount from rotating on the bar?
Check three things in order: the bar diameter and the shim, the cleanliness of the bar surface, and the clamp bolt torque. A wrong shim size is the usual cause, followed by a dusty bar and a bolt that was never fully tightened. Carbon-safe friction paste can add grip on smooth bars without extra torque, and a clamp with a wider contact area resists rotation better than a narrow one.
Conclusion: Measure, Lock, Tether, Then Ride
A secure bike mount starts with a correct bar fit and a locking holder design, not with a brand name or a low price. Metal clamps and backup straps add safety for rough rides, the correct angle keeps navigation readable without distraction, and regular checks catch loosening before a fall. The mounts on this list all pass that test in their own riding style, and the best one for you is the one that matches your bar, your phone, and the roughest ride you actually do.
Your next step is simple: measure your handlebar diameter tonight and check your current mount for rotation under a firm push. If it rotates, add a shim or replace the clamp before your next ride. If it holds firm, add a backup tether and test it on a short rough loop this week. Do that, and your phone will stay on the bar where it belongs.

