

How to Find the Least Crowded Wi-Fi Channel Using Android Tools
Your video call freezes, your game lags, and your download crawls, yet the speed test you ran at midnight looked fine. The problem may not be your internet plan at all. Your router may be sharing a channel with ten neighbours, and every one of those networks is fighting for the same slice of airtime. Wi-Fi channels are like lanes on a busy road: a crowded lane slows every driver in it, while a free lane lets traffic flow even when the road itself is the same. A five-minute scan from your Android phone can show you which lanes are jammed and which ones are clear, and moving your router to a quieter channel is often the fastest free speed fix in a home.
Your router usually picks a channel when it starts and then stays there for weeks or months. Neighbours add new routers, a new flat upstairs gets a mesh system, and the old choice quietly becomes the most crowded channel in the building. You do not need a laptop or a paid tool to find out. A free scanner app on Android reads the networks around your phone and draws the picture as a graph, with tall bars for strong nearby networks and empty space where channels are free. Walk from room to room with the scanner open and you will see the picture change, because walls, distance, and the neighbour router on the other side of one wall all change which channels matter most.
This guide shows you how to do the whole job from your phone: which scanner apps to install, how to read the channel graph for the 2.4 GHz and 5 GHz bands, how to pick a channel that stays calm morning and evening, and how to change it in your router settings without breaking a single device. I have run this scan in flats, small houses, and offices, and the pattern repeats every time: the channel the router picked on its own is rarely the best one, and the fix takes less time than the complaint that led to it.
Why Your Wi-Fi Feels Slow Even When Your Internet Plan Is Fast
Wi-Fi and internet speed are two different links in one chain. Your internet plan decides how fast data arrives at your router from the outside world. Your Wi-Fi channel decides how fast that data moves from the router to your phone through the air in your home. When the channel is crowded, your router has to wait its turn to talk, retry packets that collide with a neighbour transmission, and slow down to a speed every device on the channel can follow. The result is lag on calls, stutter on video, and downloads that stall, even when a wired test shows the full speed of your plan.
Crowding is worst in flats and terraced houses, where a single scan can show twenty or thirty networks, and it is worst in the evening, when everyone streams video after work. A channel that looked free at noon can be packed at eight in the evening, which is why one quick scan is never enough and why this guide asks you to scan twice. The other cause of slow Wi-Fi that people confuse with crowding is distance and walls: a phone three rooms from the router on the 5 GHz band will struggle even on a free channel, because 5 GHz does not pass through walls as well as 2.4 GHz. A channel scan tells you which problem you actually have, so you fix the right one.
How Wi-Fi channels work in plain language
Think of the 2.4 GHz band as a road with three clean lanes and the 5 GHz band as a road with many more lanes that are wider and faster. On 2.4 GHz, only channels 1, 6, and 11 are truly separate from each other in most regions, and every other channel overlaps its neighbours, which means a router on channel 3 interferes with routers on channels 1 and 6 at the same time. On 5 GHz there are many more channels, and they are wider, so crowding matters less, but it still matters in flats where every neighbour has a 5 GHz router too. Your job is to find the cleanest lane for each band, not the lane that simply looks empty on a list.
Channel width matters as well. A 2.4 GHz channel is normally 20 MHz wide, and a 5 GHz channel can be 20, 40, or 80 MHz wide. A wider channel carries more data, but it also takes up more room and is more likely to overlap a neighbour. If your 5 GHz network is set to 80 MHz in a crowded flat, dropping it to 40 MHz can cut interference enough to make the connection faster in practice, even though the headline speed number goes down. Speed on paper and speed in your living room are not the same thing.
Best Android Wi-Fi Analyzer Apps for Finding the Least Crowded Channel
You need one good scanner app, not five. Install it from your usual app store, grant it location permission when it asks, and stand near your router for the first scan. Android ties Wi-Fi scanning to location access, so an app that cannot see your location cannot see nearby networks either. That permission is normal for this kind of tool, and you can remove it again after the job is done if you prefer.
WiFi Analyzer by farproc
WiFi Analyzer, made by farproc, is the classic free scanner and the one I reach for first. It shows a channel graph with a coloured curve for every network it can hear, a channel rating screen that scores each channel from one to ten stars, and a list view with signal strength in dBm for every network. The channel rating view is the most useful screen in the app for this job: it looks at every network on each channel, weighs their signal strength, and tells you which channel is best for 2.4 GHz and which is best for 5 GHz. The app is free with ads, it works without an account, and it has been updated for years, which is why it stays the default recommendation.
WiFiman by Ubiquiti
WiFiman, from Ubiquiti, is the cleanest-looking scanner of the group and the best choice if you want a speed test in the same app. Its wireless screen shows nearby networks on a graph, its scan screen lists every device on your own network, and its built-in speed test lets you check the result of a channel change without opening another app. The interface is simpler than WiFi Analyzer, which suits a first-time scan, and the device list helps you spot an unknown gadget on your network while you are there. It is free and it does not demand an account for the basic scan.
NetSpot and Fing for deeper checks
NetSpot for Android gives you a survey mode where you walk around your home and tap to record signal strength on a floor plan, which is useful when you want a proper map of dead zones rather than a single scan. Fing is a network scanner first and a channel tool second: it lists every device on your network with its maker and address, which helps you confirm that a slow network is really a channel problem and not a neighbour or an unknown device eating your bandwidth. Use NetSpot when you want a map, use Fing when you want to know what is on your network, and use WiFi Analyzer or WiFiman when you want the fastest answer to which channel to pick.
What to look for in any scanner app you install
Whatever app you choose, it should show a channel graph, a list of networks with signal strength in dBm, and a rating or recommendation for each channel. It should not ask for payment before showing the graph, and it should not ask for permissions beyond location and nearby devices. Skip any scanner that promises to boost your speed by itself or that fills the screen with ads before the first scan finishes. A scanner reads the air and reports what it finds. That is the whole job, and any app that claims more is selling you something.
How to Read a Wi-Fi Channel Graph on Android
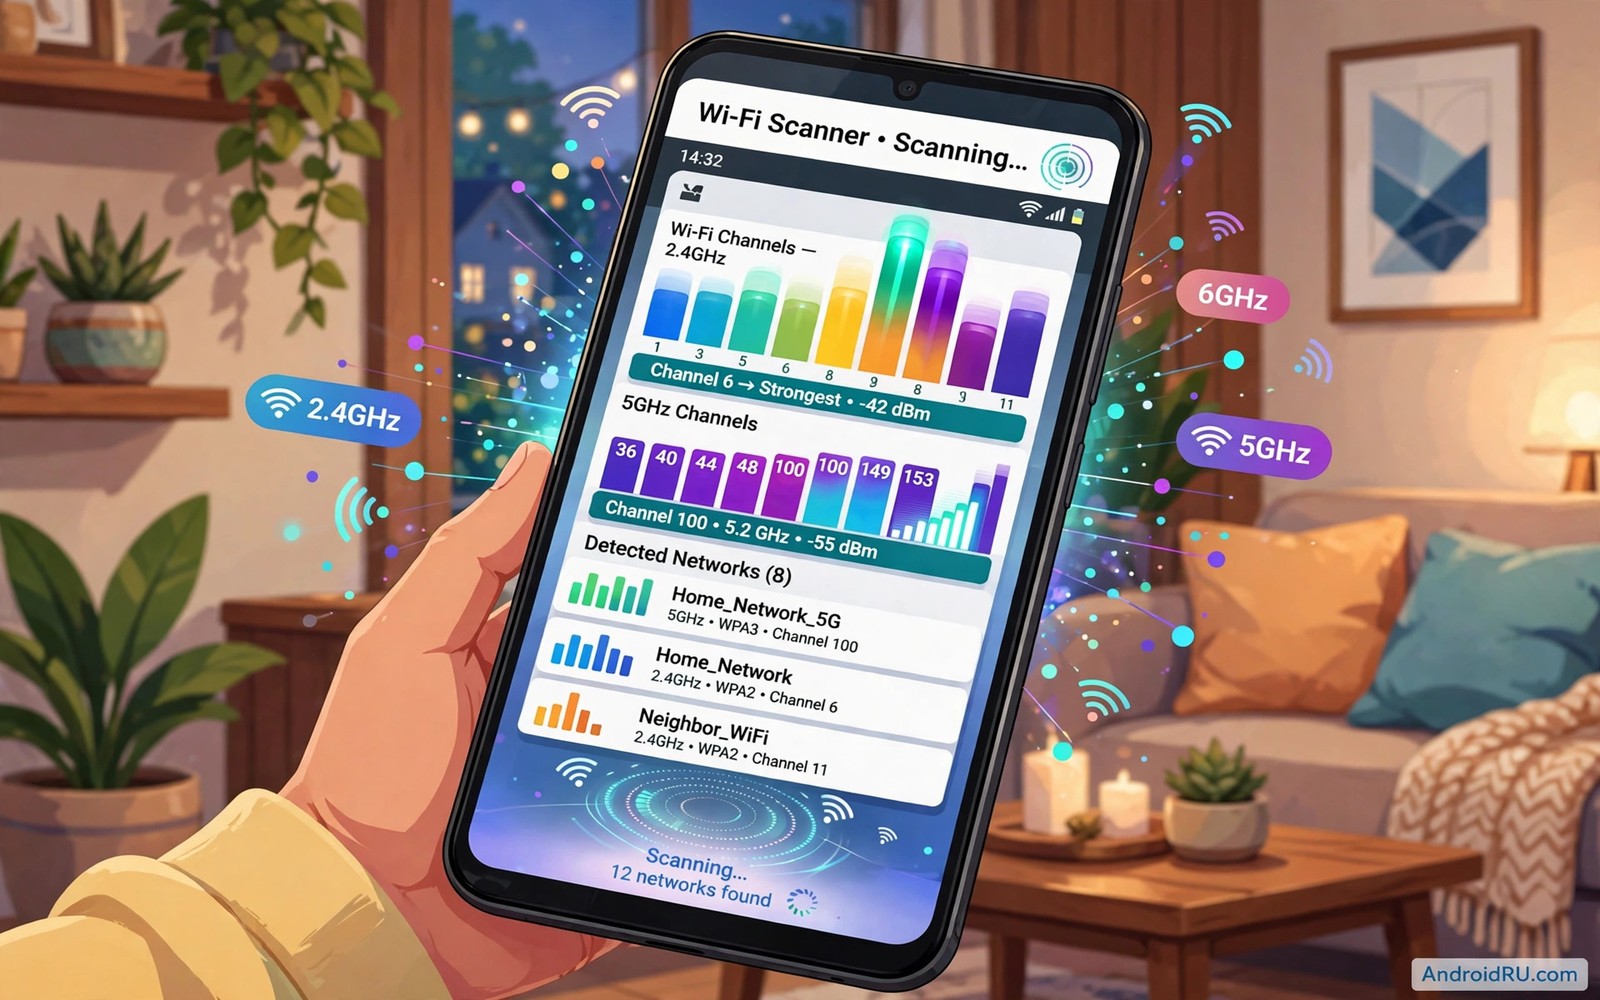
Open your scanner, tap the channel graph, and you will see a set of curves, one per network, spread across the channel numbers at the bottom. Each curve peaks at the channel that network uses, and the height of the peak shows its signal strength: a tall curve near the top of the graph is a strong neighbour, and a short curve near the bottom is a weak one you can mostly ignore. Your own network appears as one of those curves, usually highlighted or marked, and the goal is to move it to a gap where the fewest tall curves overlap it.
Start on the 2.4 GHz graph. You will see that the curves cluster around channels 1, 6, and 11, because routers know those are the clean choices, and the spaces between them are where overlapping channels from careless setups spill over. Count the tall curves on each of the three clean channels and pick the one with the fewest strong neighbours. A channel with three weak networks is better than a channel with one very strong network, because a strong neighbour talks over you far more than a weak one does.
Reading the 2.4 GHz graph: channels 1, 6, and 11 only
On 2.4 GHz, pick one of channels 1, 6, or 11, even if another channel looks free on a simple list. A channel such as 3 or 8 overlaps its neighbours on both sides, so it interferes with two clean channels at once and suffers interference from both. A busy clean channel beats a free overlapping channel almost every time, because overlapping interference is harder for Wi-Fi to work around than a neighbour sharing the same channel politely. If all three clean channels look busy, pick the one whose strongest neighbour is weakest, and check again in the evening before you settle.
Reading the 5 GHz graph: more channels, wider choices
The 5 GHz graph looks emptier because the band has many more channels, including 36, 40, 44, 48, 149, 153, 157, and 161 in most regions, plus the radar channels in between that some routers avoid. Pick the channel with the lowest use and a strong signal from your own router, and prefer a non-radar channel if your router warns about radar detection, because a radar channel can force a sudden switch that drops your connection without warning. Check the channel width as well: if your router is set to 80 MHz and the graph shows neighbours crowding the channels next to yours, dropping to 40 MHz can give you a cleaner, steadier link.
What the bars and curves actually mean
Each curve is one network, its peak is its channel, and its height is its signal strength. A curve that reaches near the top of the graph is a network your phone hears loudly, and that is the one that will fight you for airtime. A curve that barely rises above the bottom is a distant network your router can mostly ignore. The width of a curve shows the channel width that network uses, so a wide, tall curve is a bigger problem than a narrow, short one. Read the graph by height first, then by how many curves overlap the channel you are considering.
What dBm numbers mean and which ones matter
Signal strength is measured in dBm, and the numbers are negative, so minus 40 dBm is a very strong signal and minus 85 dBm is a very weak one. Your own network should read between minus 30 and minus 65 dBm in the rooms where you use it most. A neighbour at minus 50 dBm on your channel is a serious rival, while a neighbour at minus 80 dBm is background noise. Use the dBm list in your scanner to check the numbers behind the graph, because two curves that look similar can hide a ten-decibel difference that changes the answer.
Step by Step: Scan for the Least Crowded Wi-Fi Channel
Follow these steps in order, and write down what you find at each stage, because the notes are what stop you from changing three things at once and then wondering which one helped. The whole scan takes about ten minutes, and the notes take one more.
- Install WiFi Analyzer or WiFiman from your usual app store and grant location permission when asked, because Android will not show nearby networks without it.
- Stand next to your router and open the channel graph for 2.4 GHz. Note the cleanest of channels 1, 6, and 11, and write down the strongest neighbour on each.
- Switch the graph to 5 GHz and note the least used channel and the channel width your router is using now.
- Walk to the room where Wi-Fi feels slowest and run both graphs again. Note the best channel for that room as well as the best channel near the router.
- Scan again in the evening, when neighbours stream video after work, and compare the two scans. Pick a channel that stays calm in both.
- Write down your current channel settings before you change anything, and take a screenshot of the router wireless page, so you can go back in one minute if a device misbehaves.
- Change the channel in the router to your scanned choice, save the settings, and wait one minute for the wireless radio to restart.
- Reconnect and rescan to confirm your network now sits on the new channel, then test a video call or a large download in the room that felt slow before.
Your final choice should work well in both the router room and the slow room. A channel that is free near the router but crowded in your office will not fix the real problem, and a channel that is free in the office but crowded near the router will slow every device in the house. If the two rooms disagree, pick the channel that is best in the room where you work or watch video most, and check whether moving the router a metre or two changes the picture before you settle.
How long to watch a channel before you trust it
Give a new channel a full week before you judge it. Crowding changes with the neighbours schedule, with the weather, and with the school holidays, and a single good evening proves nothing. Keep a short note of the channel, the date you changed it, and how calls and streaming felt each evening. If the week is clearly better, keep the channel. If it is no better, scan again at the busy evening hour and try the second-best channel from your scan, changing one thing at a time so the result stays clear.
How to Change the Wi-Fi Channel on Your Router
Your phone can scan and recommend, but only the router can change the channel. Open your router admin page from a browser on your phone or a computer. The address is often printed on a sticker under the router, commonly 192.168.1.1 or 192.168.0.1, or a name such as routerlogin.net or tplinkwifi.net depending on the brand. Log in with the admin password from that sticker or from your setup notes, and if you never changed the default password, change it while you are there, because a router with a default password is an open door.
Find the wireless settings page and look for a channel option for each band, usually under Wireless, Wireless Settings, or Advanced Wireless. Change the 2.4 GHz channel to your scanned choice of 1, 6, or 11, and change the 5 GHz channel to your scanned choice, then save the settings and wait one minute for the router to restart its wireless radio. Reconnect your phone, run the scanner again, and confirm that your network now sits on the new channel. Test a video call or a large download in the room that felt slow before, and keep the new channel for a week before you judge it.
Menu paths for common router brands
On a TP-Link router, go to Advanced, then Wireless, then Wireless Settings, and set the channel for each band. On an ASUS router, go to Wireless, then General, and set the channel and channel bandwidth for each band. On a Netgear router, go to Advanced, then Setup, then Wireless Setup, and set the channel for each band. On a Huawei or Xiaomi router, look under Wi-Fi Settings or Advanced Wi-Fi for the channel option. The labels differ, but the shape is the same on every brand: a wireless settings page, a channel dropdown per band, and a save button. If your router has an Auto channel option, that is what picked the crowded channel in the first place, so switch it to manual and pick the channel yourself.
Channel width settings worth checking while you are there
While the wireless page is open, check the channel width for each band. On 2.4 GHz, leave it at 20 MHz, because a 40 MHz channel on 2.4 GHz overlaps two clean channels and causes more harm than the extra speed is worth. On 5 GHz, try 40 MHz in a crowded flat and 80 MHz in a quiet house, and if a device drops off after the change, drop the width before you blame the channel. Width and channel work together, and a narrow clean channel often beats a wide crowded one in real use.
Scan at Different Times and Map Dead Zones Room by Room
A morning scan can miss the evening crowd entirely. Neighbours stream video after work, their routers fill channels that looked free at noon, and a channel that is free only at noon will disappoint you at night. Scan once in the morning and once in the evening for a fair picture, compare the two scans, and pick a channel that stays calm in both. Repeat the scan after a new neighbour moves in, after you add a new access point, or after a mesh node moves, because each of those changes the picture.
Map your home room by room while you are scanning. Start at the router and walk slowly toward the farthest room, running a scan in each doorway and noting the strongest neighbours in that spot. A doorway scan shows how signal changes as you cross a wall, and walls with metal or dense brick change the picture more than thin walls. Mark each room with the best channel and the worst neighbour: a bedroom may suffer from a neighbour router on one side of the building, a kitchen may suffer from a microwave that leaks interference during cooking, and a home office may suffer from a mesh node placed too close to a wall. Room facts let you fix the room that matters instead of changing the whole network blindly.
Test a video call in each marked room after a channel change, because a call reveals stutter that a speed test can miss. Note which rooms improve and which rooms stay slow. A room that stays slow after a channel change may need a better router position rather than a different channel, and a room that improves confirms that channel crowding was the real cause. Share the room map with anyone else who manages the home network, so a second person does not undo a good channel choice, and update the map when furniture or routers move.
Why evening scans tell a different story
Evening is when home networks work hardest. Streaming, gaming, video calls, and cloud backups all run at once, and the routers that were quiet at noon are now talking non-stop. An evening scan shows you the worst case, and a channel that survives the evening will survive the rest of the day too. If you only have time for one scan, make it the evening one, at the hour when your own Wi-Fi normally feels worst.
Fixing Problems After a Channel Change
Some older devices may struggle on a new 5 GHz channel. If a smart speaker, a camera, or a printer drops off after the change, check which channels that device supports, and move it to the 2.4 GHz band if it cannot use the new channel. Keep a note of the old channel so you can return fast if a device fails, because a channel change should help the whole home and not break one device. If speed drops after the change, check for a hidden neighbour on the same channel by running a scan at the exact time when speed drops: a neighbour router may wake at night for updates and crowd your channel, and the second-best channel from your scan is the next thing to try.
Do not change the channel, the router position, and the password at the same time. Change one thing, test it for a day, and only then change the next, so you know which change helped and which one hurt. If a device cannot connect at all after a change, forget the network on that device and join it again, because a saved network profile can hold the old channel information. And if the phone connects but nothing loads, the fault is often not the channel at all: the classic case of a Wi-Fi link that is connected but dead is covered by the fixes for Wi-Fi connected but no internet access, which walk through the phone-side checks that a channel scan cannot see.
If home speed still disappoints after a channel change, try the phone-side fix in the guide to doubling your Wi-Fi speed on Android with a simple setting, which covers a setting on the handset that can lift throughput on a link that is already on a clean channel. Channel choice and phone settings work together: the channel removes the crowding in the air, and the phone setting makes sure your handset uses the link it has been given.
When a channel change is not the answer
A free channel cannot fix a slow internet plan, a router that is ten years old, or a phone that is three rooms away through two brick walls. If a wired device plugged into the router tests fast while every wireless device tests slow on every channel, the router wireless radio may be failing, and if only one room is slow on every channel, the room needs a better router position or an access point, not a different channel. Test your plan speed with a wired device if you can, compare that result with your wireless result after the channel change, and let the gap between the two tell you whether the problem is the plan, the router, or the air.
5 GHz vs 2.4 GHz: Picking the Right Band for Each Room
Small homes can benefit most from 5 GHz because distance is short and the band is faster. A short distance lets 5 GHz deliver high speed without range problems, and the extra channels mean less crowding. Check whether your main devices support 5 GHz before you rely on it, because older smart devices may support only 2.4 GHz and they need that band to stay on. Keep both bands active and let each device use its best band: phones and laptops on 5 GHz near the router, smart speakers and cameras on 2.4 GHz where range matters more than speed.
Place the router centrally in a small home for the best 5 GHz coverage, because a router in a corner wastes half its signal outside the home and a central spot reaches every room with a stronger signal. A central router also reduces the need for a mesh node, and one well placed router can beat two poorly placed nodes. Test 5 GHz in the farthest room before you rely on it for work calls: if the farthest room drops on 5 GHz, keep that room on 2.4 GHz, because a mixed-band home is normal and it is not a failure. The goal is steady speed in each room, not a single band everywhere.
Phones sometimes cling to a weak 2.4 GHz link even when a strong 5 GHz network is available, because Android prefers the network it already knows. If that happens to you, the guide to forcing Android to connect to 5 GHz Wi-Fi shows the setting that makes the phone prefer the faster band, and it is worth reading after you have fixed the channel, because a good channel on 5 GHz only helps if the phone actually uses it. Revisit band choice after you add new devices, because a new camera may need 2.4 GHz range and a new laptop may benefit from 5 GHz speed, and a yearly band review takes minutes and prevents slow decline.
| Band | Best channels | Strengths | Weaknesses | Best for |
|---|---|---|---|---|
| 2.4 GHz | 1, 6, 11 | Long range, passes through walls well | Only 3 clean channels, crowded | Smart devices, far rooms, large homes |
| 5 GHz | 36, 44, 149, 157 | Fast, many channels, less crowding | Short range, weak through walls | Phones, laptops, video calls near router |
| 6 GHz | Wi-Fi 6E channels | Very fast, almost no neighbours yet | Needs Wi-Fi 6E router and phone | New devices in the same room as router |
Should you split the bands into two network names
Many routers offer one network name for both bands or two separate names, and splitting them gives you control: join your phone to the 5 GHz name near the router and to the 2.4 GHz name in the far room, and the phone stops guessing. The trade-off is that devices on different names can struggle to find each other for casting and printing, so if you split the bands, keep a note of which device is on which name. For most homes, one name with band steering switched on is simpler, and splitting is the answer only when the phone keeps picking the wrong band.
Wi-Fi Channel Questions Answered
How often should I scan for a better Wi-Fi channel?
Scan when Wi-Fi feels slow and once every few months as a habit, and scan again after a neighbour moves in or after you add a new router or a mesh node. A quick evening scan takes only a few minutes, and regular scans catch crowding before it becomes a daily frustration. Keep the date of each scan with your notes so you can see whether the best channel in your building changes over the year.
Does a free channel guarantee faster internet?
No. A free channel removes local wireless crowding, but it cannot fix a slow internet plan, an old router, or a phone that is too far from the router. It can still help a lot when crowding was the real limit, and the way to tell is to test your plan speed with a wired device and compare it with your wireless result after the channel change. If the wired test is fast and the wireless test is slow, the channel was the problem. If both are slow, the plan or the router is the problem.
Can my Android phone change the router channel itself?
No. The phone can only scan and show the results, and you must change the channel in the router admin page or in the router maker app on your phone. Some router apps let you change it from the phone, but the change still happens on the router, not on the handset. The phone is the measuring tool, and the router is the thing being adjusted.
Why does my Wi-Fi slow down every evening?
Evening is when every neighbour streams video, plays games, and backs up photos at once, so the channels that were quiet at noon fill up after work. An evening scan shows this directly: the same graph that looked empty in the morning is full of tall curves at eight in the evening. Pick a channel that stays calm in the evening scan, not the morning one, and if no channel stays calm, a wired connection for your main work device is the honest answer.
What to Do Tonight for Calmer Wi-Fi
Run a scanner app tonight in the room where Wi-Fi feels worst. Note the cleanest channel for each band, change the router to that channel, and test a real video call after the change. Keep the new setting for a week, scan again in the evening, and try the second-best channel if the crowd returns. That simple loop costs ten minutes and keeps your home Wi-Fi calmer than any guesswork, and it is the habit that turns a slow network from a mystery into a number you can see, a channel you can pick, and a result you can measure.
Start with the scan, not with a new router or a faster plan. Most slow home Wi-Fi I have fixed was a crowded channel, not a broken plan, and the fix was free. If the scan shows a clean channel and the speed is still poor, you have learned something valuable too: the problem is the plan, the router, or the distance, and you can spend money on the right fix instead of guessing. Either way, the scanner gives you the fact first, and the fact is what makes the next step obvious.

