

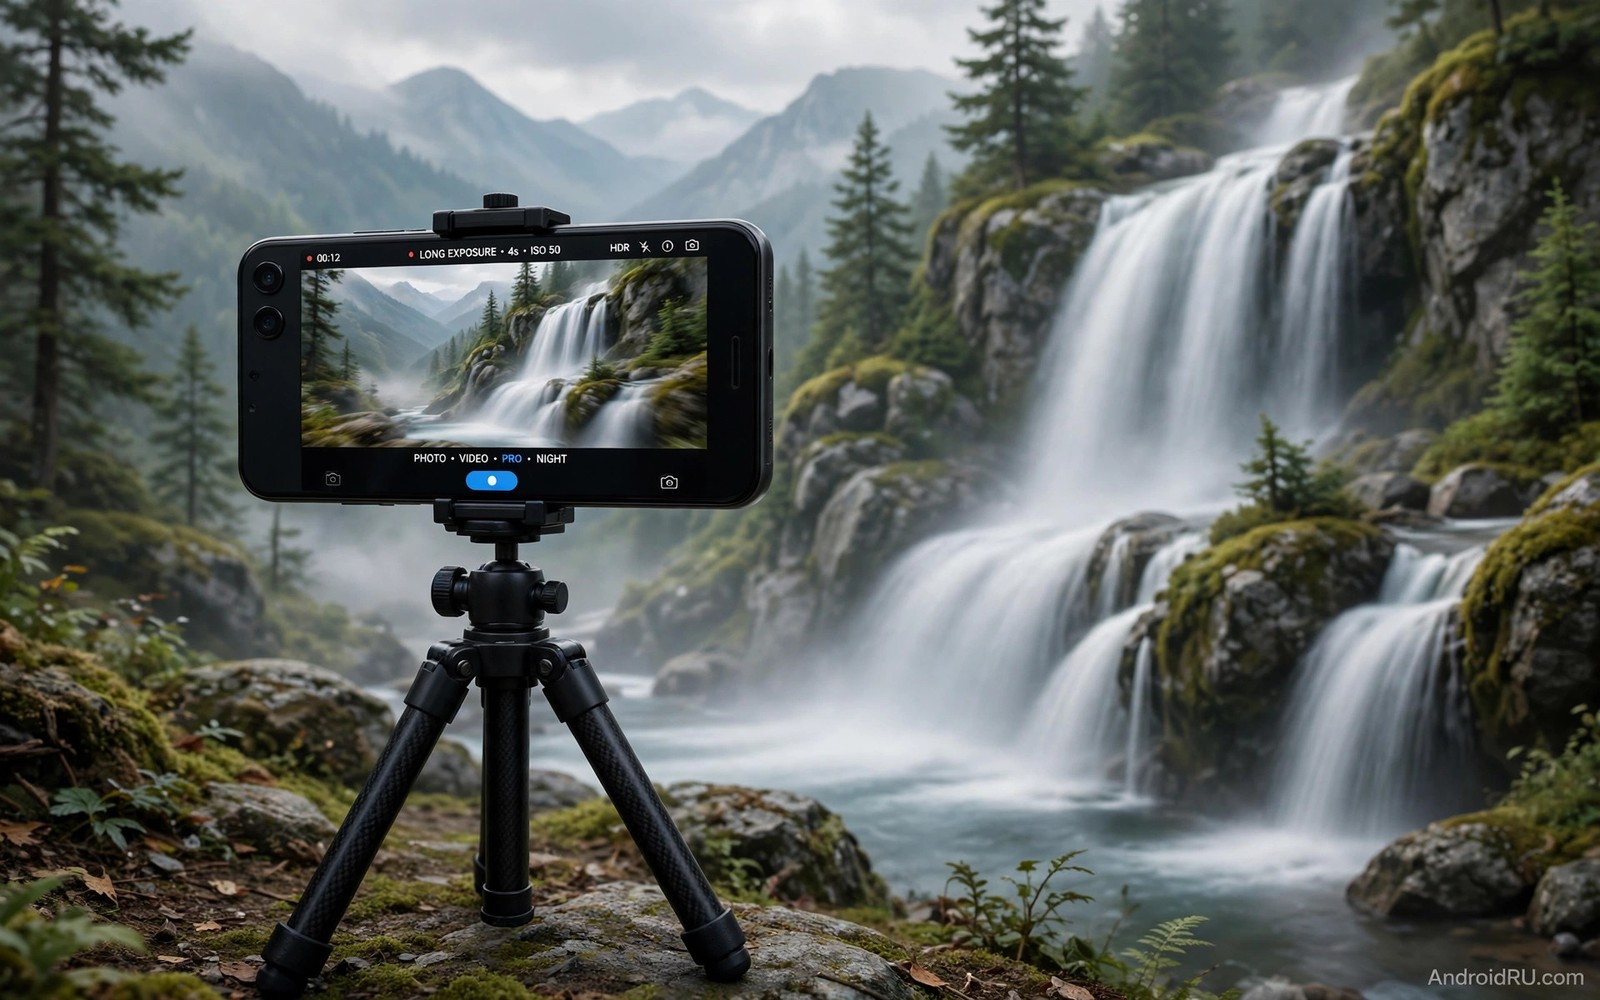
Waterfall photos look magical when water turns silky and rocks stay sharp. That silky look comes from a long exposure. The camera records moving water over seconds rather than a fraction of a second. Moving water blurs into smooth ribbons. Static rocks stay crisp. A phone can create this effect with a tripod and manual settings. No expensive camera is required.
Start with stability because long exposure punishes any movement. A tripod is essential for exposures longer than a second. A mini tripod on a rock works for low angles. A full tripod works for eye level views. Weigh the tripod down in wind and spray. Water spray can shake a light tripod. A stable base is the difference between silk and mush.
Use a remote or timer to trigger the shot without touching the phone. Touching the phone shakes it at the start of exposure. A two second timer lets vibrations settle. A Bluetooth remote avoids touch completely. A remote plus tripod gives the sharpest possible long exposure. That combination costs little and helps every long exposure subject.
Choose Exposure Length By Water Speed
Fast waterfalls need shorter long exposures. A powerful fall may need only one second for silk. A gentle cascade may need four seconds for full silk. Start at two seconds and review the water texture. Increase time when water still looks choppy. Decrease time when water loses all texture and turns white. Texture matters as much as smoothness. Pure white water without texture looks blown out.
Test several exposure lengths at the same viewpoint. Shoot one second and two seconds and four seconds. Compare water texture across the set. Note which length suits that specific fall. Different falls need different lengths. A test set takes minutes and teaches more than a chart. Keep the best length as a note for that location. Return visits benefit from saved notes.
Watch the sky and rocks while testing water length. Long exposures brighten the whole scene. A bright sky may blow out at four seconds. Rocks may lose detail at long lengths. Balance water silk against overall exposure. A slightly shorter exposure with a clean sky beats a longer exposure with a white sky. Overall balance matters more than maximum silk.
Control Light With Filters And Timing
Bright daylight makes long exposures hard. Too much light forces a short exposure even at low ISO. A neutral density filter reduces light entering the lens. Clip on neutral density filters exist for phones. A filter lets you use seconds long exposures in daylight. Choose a moderate filter strength first. Very dark filters make framing and focus difficult. Moderate filters balance control and usability.
Shoot waterfalls in overcast light or shade when possible. Overcast light is softer and dimmer. Softer light allows longer exposures without filters. Shade from trees also reduces light naturally. Morning and late afternoon give lower light than midday. Lower light plus a tripod gives silk without extra gear. Timing is a free filter that many photographers ignore.
Set ISO to the lowest value your phone offers. Low ISO gives clean files with minimal noise. Low ISO also allows longer exposures. Lock ISO manually rather than leaving it auto. Auto ISO may rise and shorten exposure unexpectedly. Manual low ISO keeps exposure predictable. Predictable exposure makes test sets comparable. Comparable tests lead to better length choices. Composition tricks for stunning landscape photos helps frame falls within their surroundings.
Keep Rocks And Foliage Sharp
Focus manually on a static rock near the water. Autofocus may hunt on moving water. Manual focus locks onto the rock reliably. Use focus magnification to confirm sharpness. A sharp rock anchors the whole image. A soft rock makes the whole image feel out of focus. Water silk cannot rescue a soft anchor subject.
Protect the lens from spray during long exposures. Spray drops create soft blobs on the lens. Wipe the lens before each test frame. Shield the lens with your hand between frames. A lens hood or a small shade helps in heavy spray. Check the preview for blobs after each frame. A blob discovered at home ruins a whole set. A blob discovered on location costs only a wipe.
Keep foliage sharp by shooting in calm wind when possible. Wind moves leaves during long exposures. Moving leaves blur into green mush. Calm mornings give sharp foliage plus silky water. Windy days force a choice between water silk and leaf sharpness. Choose a shorter exposure on windy days. A shorter exposure keeps leaves acceptable while water still softens. Compromise beats a fully blurred scene.
Compose Waterfalls With Foreground
Include foreground rocks or logs to lead the eye. A foreground element gives scale to a tall fall. It also creates depth from front to back. Place a foreground rock on a third line. Let the fall rise behind it. That layering turns a snapshot into a landscape. Without foreground a fall can feel flat and distant.
Use leading lines from streams to guide the eye. A stream entering from a bottom corner leads naturally to the fall. Position the stream diagonally across the frame. Diagonal lines feel dynamic. Horizontal lines feel calm. Choose diagonal lines for powerful falls. Choose calm lines for gentle cascades. Line direction should match water energy.
Frame vertically for tall falls and horizontally for wide cascades. Vertical framing suits a single tall drop. Horizontal framing suits a wide multi tier fall. Match frame shape to fall shape. A mismatched shape wastes frame space. A matched shape fills the frame purposefully. Check frame edges for distracting branches. A branch entering a corner distracts from the fall. Locking exposure for sunset photos teaches exposure locking that also helps waterfall scenes.
Review And Refine On Location
Review long exposure frames at full zoom on location. Zoom into rocks for sharpness checks. Zoom into water for texture checks. Zoom into foliage for wind blur checks. Full zoom review reveals problems that thumbnails hide. A problem found on location can be fixed. A problem found at home cannot be fixed. Location review is part of long exposure craft.
Adjust one variable at a time during refinement. Change exposure length alone first. Change filter strength alone next. Change focus point alone last. Single variable changes show clear cause and effect. Multiple changes confuse diagnosis. A confused diagnosis wastes test frames. Patient single changes converge on the best setup fast.
Save your best waterfall settings as a note for future trips. Note exposure length and ISO and filter used. Note time of day and weather conditions. Future falls with similar conditions start from a proven baseline. A baseline saves test time on the next trip. Notes turn one successful shoot into a repeatable method. Repeatable methods build confidence for harder locations.
Visit the same waterfall in different seasons for varied long exposure results. Spring flows run strong and fast. Autumn flows run gentle and clear. Different flows need different exposure lengths. Seasonal visits build a location portfolio. A portfolio shows the same fall in many moods. Varied moods make a stronger photo collection than one visit alone.
waterfall_tripod = locked and weighted
waterfall_trigger = timer or remote
waterfall_iso = lowest manual value
waterfall_test = 1s 2s 4s comparison
waterfall_lens = wiped before each frame
The snippet above is an original waterfall checklist written for this guide. It lists only standard camera steps for your own Android phone. It does not copy instructions from any outside source.
Respect waterfall locations and stay on marked paths while shooting. Marked paths protect fragile banks and vegetation. A damaged bank harms the scene for future visitors. Staying on paths also keeps you safe near slippery rocks. Safety and respect matter more than a slightly better angle. A responsible photographer returns home with photos and no harm done.
Carry a small towel for drying tripod legs and hands near waterfalls. Wet legs slip on rocks. Wet hands drop phones. A dry towel restores grip quickly. Dry gear lasts longer in spray environments. A towel weighs little and helps constantly near water. Pack it with the tripod rather than in main luggage.
Share waterfall settings with hiking companions who ask how you did it. A shared setting list helps beginners succeed on their first try. Beginners who succeed enjoy photography more. Enjoyment leads to more practice and better photos. Sharing knowledge costs nothing and builds community. A helpful photographer is remembered longer than a secretive one.
Common Mistakes
One common mistake is to shoot long exposure handheld. Handheld long exposures blur everything including rocks. Use a tripod always. Another mistake is to use maximum exposure length for every fall. Maximum length turns water pure white without texture. Test lengths and keep texture.
A third mistake is to ignore spray on the lens. Spray blobs ruin otherwise perfect frames. Wipe before each frame. A fourth mistake is to leave ISO on auto. Auto ISO shortens exposure unpredictably. Lock ISO low manually. Shooting incredible time-lapse videos on mobile shares tripod discipline for long captures.
Frequently Asked Questions
Do I need a filter for waterfall long exposures?
Filters help in bright daylight. Overcast light and shade often allow long exposures without filters. Start without a filter in soft light. Add a moderate filter for bright midday falls. A filter is a tool rather than a requirement.
Why are my rocks soft in long exposures?
Soft rocks usually come from tripod movement or focus error. Weigh the tripod down. Focus manually on a rock. Use a timer or remote trigger. Check sharpness at full zoom on location. A stable tripod plus manual focus solves most soft rock issues.
How long should a waterfall exposure be?
Start at two seconds and test around it. Fast falls may need one second. Gentle cascades may need four seconds. Keep water texture rather than chasing maximum silk. Test one and two and four seconds at each fall. The best length varies by water speed.
Conclusion
Find a local stream this weekend and bring a tripod and a timer. Shoot the same cascade at one and two and four seconds from a stable position. Compare water texture and rock sharpness at full zoom. Keep the length that balances silk and texture as your personal waterfall baseline.

