

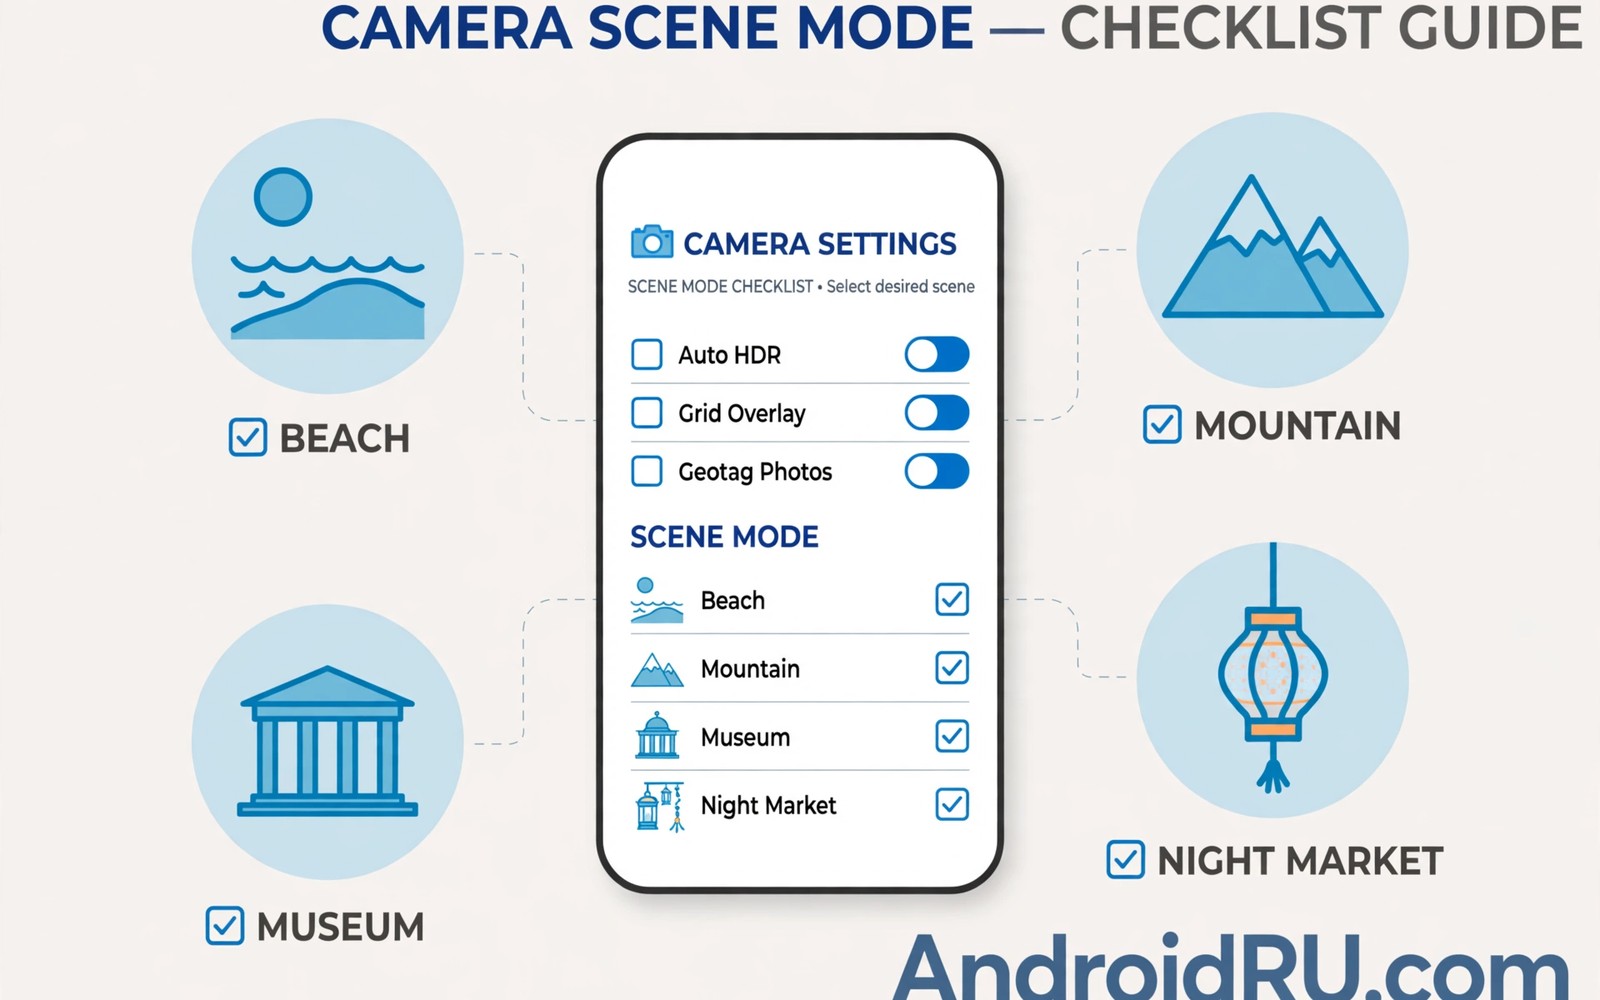
Vacation photos often disappoint because default settings suit everyday snaps. Travel scenes span beaches and mountains and museums and night markets. Each scene needs different handling. Seven setting changes before departure cover most travel situations. Make them at home in calm conditions. A prepared phone shoots better than a hurried phone on a busy beach.
Start with a full settings review the night before travel. Open camera settings and check resolution and format. Check grid and level guides. Check location tagging preferences. Check storage destination. A calm home review prevents fumbling at a viewpoint. Fumbling loses light and patience. Preparation is the cheapest travel photography upgrade.
Back up existing photos before you leave. Free storage for thousands of new vacation frames. A full phone during a trip forces painful deletions. Deletions under pressure often remove keepers. Back up to cloud or computer before departure. Start the trip with maximum free space. Free space lets you shoot freely without worry.
Set Resolution And Format For Travel
Set photo resolution to the highest quality your phone offers. Vacation photos may be printed large later. High resolution prints well at large sizes. Low resolution limits print size permanently. Storage cost is worth it for travel memories. Transfer files regularly during the trip to manage space. High resolution plus regular transfer gives quality and capacity.
Choose RAW plus JPEG when your phone and editing habit support it. RAW files allow major exposure recovery later. JPEG files allow instant sharing during the trip. A dual format gives both benefits. A RAW only workflow slows sharing. A JPEG only workflow limits recovery. Dual format suits travellers who edit after returning home. Casual travellers can choose JPEG only for simplicity.
Set video resolution to 4K at 30 frames for travel clips. Travel video benefits from cropping and stabilisation freedom. 4K gives that freedom while 1080p does not. Lower frame rates keep heat and battery manageable. Save 60 frames for action activities like surfing. Default to 4K at 30 for scenery and city walks. A consistent video default prevents setting confusion on location.
Turn On Grid And Level Guides
Turn grid lines on for composition help at viewpoints. Grid lines guide horizon placement and subject thirds. Viewpoints tempt rushed centred shots. A grid encourages balanced compositions quickly. Leave the grid on for the whole trip. It costs nothing and improves every frame. Grid discipline becomes habit within days.
Turn level guides on when your phone offers them. Level guides prevent tilted horizons at beaches and lakes. A tilted sea horizon distracts instantly. A level horizon looks professional. Check the level indicator before each landscape shot. A two second level check saves cropping later. Level shots also stitch better into panoramas.
Turn on location tagging only if you want location memory. Location tags help you remember where a photo was taken. They also embed location data in shared files. Disable tagging before sharing sensitive locations like a home stay. Review privacy settings before departure. A deliberate tagging choice protects privacy while preserving travel memory. Smartphone lens protection tips pairs with settings preparation for travel.
Prepare For Bright Sun And Night Markets
Prepare a bright sun preset for beaches and snow. Bright scenes trick meters into dark subjects. Lock exposure on the subject face rather than the bright background. Use HDR for high contrast beach scenes. HDR recovers sky and shadow detail together. Test HDR at a local bright park before travel. A tested HDR habit works fast on a real beach.
Prepare a night preset for markets and old towns. Night scenes need higher ISO and steady handling. Set a manual ISO ceiling that balances noise and sharpness. Use night mode for static scenes only. Night mode blurs moving people. Use normal mode with higher ISO for moving night subjects. A night preset prevents fumbling in dark streets. Fumbling in dark streets loses the best market moments.
Prepare a museum preset for indoor low light. Museums often ban flash. Flash also ruins atmosphere in museums. Use a higher ISO and a steady grip instead. Lean against walls for support. Use burst mode for sharp frames in low light. One sharp frame among a burst beats a single blurred frame. Indoor presets save museum visits from blur.
Protect Battery And Storage On The Road
Carry a power bank and charge it nightly during travel. Camera use drains battery faster than normal phone use. GPS tagging and video drain battery further. A power bank extends shooting through long days. Charge the bank each night alongside the phone. A dead bank on day three helps nobody. Nightly charging is a travel routine worth keeping.
Carry a lens cloth and clean the lens daily. Travel dust and fingerprints soften every photo. A daily clean takes seconds and protects quality. Clean the lens after beach and rain exposure especially. Salt spray and rain drops leave residue. A clean lens at breakfast gives sharp photos all day. A dirty lens gives hazy photos that editing cannot fully fix.
Transfer photos to backup each evening during a long trip. Evening transfers free phone storage for the next day. They also protect against phone loss or theft. A lost phone with no backup loses the whole trip. A lost phone with nightly backup loses at most one day. Evening backup is the most important travel habit. It matters more than any camera setting. Lighting accessories every mobile photographer must carry helps for evening portraits on vacation.
Test Everything Before Departure
Test all seven settings on a local outing before travel. Shoot a bright park scene and a night street scene. Shoot a museum style indoor scene if possible. Review results at full size at home. Adjust any setting that disappointed. A local test outing reveals problems while fixes are easy. A travel location reveals problems when fixes are hard.
Test your tripod and remote and power bank together. A tripod that slips wastes group photo time. A remote that fails wastes group patience. A power bank cable that disconnects wastes charging time. Test the full kit as a system. A system test finds interface problems. Individual tests miss system problems. Pack only tested gear for travel.
Test your backup workflow end to end before departure. Transfer a test batch to cloud or computer. Verify the batch opens correctly. Verify location and date data survived transfer. A backup workflow that fails on day one is useless. A tested workflow runs automatically each evening. Test once at home for peace throughout the trip.
vacation_resolution = highest quality
vacation_format = RAW plus JPEG
vacation_grid = on
vacation_level = on
vacation_backup = nightly transfer
vacation_power = bank charged nightly
The snippet above is an original vacation checklist written for this guide. It lists only standard camera steps for your own Android phone. It does not copy instructions from any outside source.
Pack a small notebook for vacation photo notes. Note settings that worked at each location. Note light direction at favourite viewpoints. Notes help you return to a viewpoint at better light. A viewpoint visited twice with notes beats a viewpoint visited once blindly. Notes also help friends who visit later. Share notes with travel companions for better group photos.
Check travel insurance coverage for camera gear before departure. A phone is valuable and fragile on travel. Insurance cannot replace photos but it can replace hardware. Know the claim process before you need it. A claim process learned at home saves stress abroad. Photograph your gear serial numbers for claim records. Records speed up any claim dramatically.
Learn local photography rules for each destination before you travel. Some temples and museums restrict photography entirely. Some markets restrict flash but allow stills. Respecting rules avoids embarrassment and fines. Rules also protect fragile sites from flash damage. A quick rule check before each visit saves trouble. Respectful photography is good travel behaviour as well as good practice.
Common Mistakes
One common mistake is to leave default settings for a whole vacation. Defaults suit everyday snaps rather than travel scenes. Change settings before departure. Another mistake is to start a trip with a nearly full phone. A full phone forces deletions under pressure. Back up before departure.
A third mistake is to use flash in museums and night markets. Flash ruins atmosphere and annoys others. Use higher ISO and steady support instead. A fourth mistake is to skip nightly backup. A lost phone without backup loses the trip. Back up every evening. Lens cleaning hack for hazy photos keeps travel photos sharp daily.
Share vacation photos in small batches rather than one huge dump. Small batches let viewers enjoy each photo. A huge dump overwhelms viewers and hides keepers. Curate each batch to ten strong photos. A curated batch tells a travel story clearly. Curation is the final vacation editing step.
Frequently Asked Questions
Should I shoot RAW on vacation?
RAW suits travellers who edit after returning home. RAW allows major recovery later. It uses more storage and slows sharing. Dual RAW plus JPEG gives editing room plus instant sharing. Casual travellers can choose JPEG only for simplicity.
How do I save battery for a full day of shooting?
Carry a charged power bank. Lower screen brightness. Close background apps. Use 4K at 30 rather than 60 frames. Transfer and delete failures in the evening. A power bank plus efficient settings lasts a long day.
What if I forget a setting on location?
Use auto mode as a safe fallback. Auto mode handles most scenes acceptably. Return to manual settings when time allows. A good auto photo beats a missed manual photo. Preparation reduces forgetting but auto mode covers lapses.
Conclusion
Review your camera settings tonight and make the seven changes in this guide. Test them on a local outing this weekend with bright and night scenes. Pack a charged power bank and a lens cloth with your tested kit. That preparation will make your vacation photos sharper and more memorable.

