

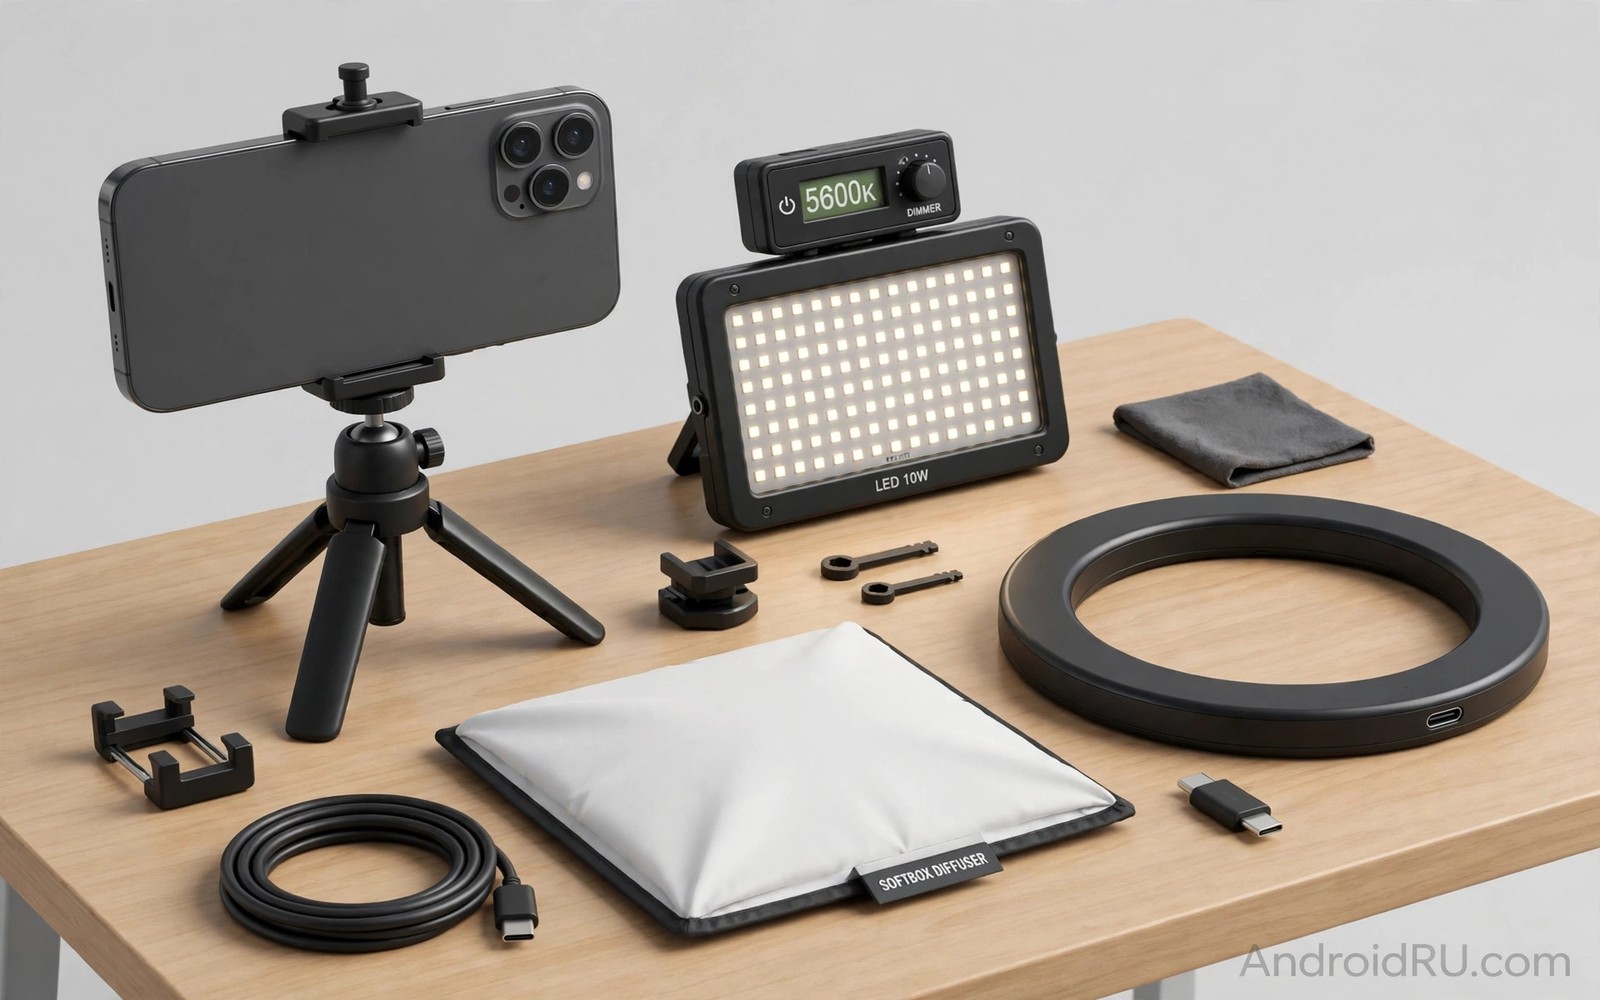
Good light matters more than a new phone. A small LED panel can turn a dull evening portrait into a clean and flattering image. Most phone cameras handle daylight well. They struggle when light is weak or harsh or mixed. That struggle shows up as noise and flat skin tones and lost detail. A pocket light kit fixes the problem at the source. It adds light where the sensor needs it most.
Start with the light you already have before you buy anything new. Stand near a window during the day and face the light source. Step into open shade when the sun is harsh at midday. Turn off a strong overhead lamp that casts hard shadows down the face. These free moves teach you how light direction shapes a portrait. They also show you where a small accessory will help most. A kit should support your habits rather than replace good judgement.
The five accessories in this guide fit in a jacket pocket or a small pouch. Each one solves a different problem. One softens harsh light. One adds a gentle fill for faces in shadow. One gives you a steady video light for clips. One lets you bounce light without a second person. One keeps your kit charged and ready on a long day out. Together they cover streets and cafes and parks and indoor events. You do not need studio gear to get studio calm results.
Pick A Pocket LED Panel First
A pocket LED panel is the most useful first buy for mobile photography. Choose a panel with adjustable brightness and adjustable colour temperature. Warm light suits evening portraits. Cool light suits daylight fill. A panel with a cold shoe mount and a phone clamp will fit most rigs. Test the panel at low brightness first. A soft low light often looks better than a harsh full power blast.
Hold the panel at arm’s length and slightly above eye level for portraits. Move it closer for a softer falloff on the face. Move it further away for a more even light across a small group. Watch the catchlight in the eyes as you move the panel. A small bright catchlight makes a portrait feel alive. A large blown out patch on the forehead means the light is too close or too strong. Step back and lower the brightness until skin texture returns.
Use the panel as a fill light outdoors rather than as the main light. Let the sun or a window do the heavy work. Add just enough panel light to lift shadows under the eyes and chin. This balance keeps the scene natural. It also avoids the flat look that comes from blasting a face with direct light. Fixing blurry night shots pairs well with this approach because steady light helps the camera choose a faster shutter speed.
Add A Ring Light And A Small Diffuser
A ring light wraps light evenly around the lens axis. That even wrap reduces harsh nose shadows in close portraits. It works well for selfies and product shots and short talking clips. Pick a compact ring that runs from a power bank. Avoid a huge ring that needs a mains socket. A small ring with a phone holder keeps your setup portable and fast to pack.
A diffuser matters even more than raw power. A bare LED can create hard edges and shiny hot spots on skin. A small softbox or a frosted panel spreads the light across a wider area. The result is a gentle roll from highlight to shadow. You can make a test diffuser from a sheet of baking paper in a pinch. A proper clip on diffuser lasts longer and gives a more even spread. Keep one diffuser in your pouch at all times.
Try the ring light for video calls and short reels as well as stills. Set the phone at eye level and place the ring just behind the phone. Look into the lens rather than at your own preview image. This simple shift makes eye contact feel direct on screen. Lower the ring brightness until your face looks lit but not washed out. Check the background too. A lit face against a dark room still looks odd. Add a small background lamp to balance the frame.
Carry A Reflector And A Phone Tripod
A collapsible reflector is cheap and light and hard to beat outdoors. A silver side adds crisp fill on a cloudy day. A white side gives a softer fill for close portraits. A gold side warms skin tones at sunset. Fold it down to a small disc for your bag. Hold it low and angle it up toward the face. Ask a friend to hold it while you shoot if you can. If you shoot alone then prop it against a bag or a low wall.
A phone tripod turns a light accessory into a full shooting station. It frees both hands for holding a panel or a reflector. It also lets you use longer exposures at dusk without blur. Choose a tripod with a ball head that locks firmly. Test the lock with your phone and a clip on light attached. A weak head will droop during a long exposure and ruin the frame. A sturdy mini tripod weighs little and earns its place on every walk.
Combine the tripod with a timer or a remote shutter for group shots. Set the frame first and lock the tripod head. Place the light panel on a second mini stand if you own one. Step into the group and let the timer do the work. This method beats asking a stranger to hold your phone in poor light. It also keeps the light position steady across every shot. Using night sight instead of flash is a good backup when you have no panel at all.
Build A Simple Kit Checklist
Pack your kit the night before a shoot. Charge the LED panel and the power bank fully. Clean the phone lens with a soft cloth. Put the diffuser and the reflector in the same pouch as the panel. Add a short cable and a spare phone clamp. A kit that lives in one pouch gets used. A kit spread across three drawers stays at home.
kit_check = LED panel charged
kit_check = diffuser packed
kit_check = reflector folded
kit_check = tripod locked
kit_check = power bank full
The snippet above is an original checklist written for this guide. It uses plain labels for your own packing routine. It does not copy code from any outside source.
Test the full kit once at home before a real shoot. Take the same portrait with no light and then with each accessory in turn. Compare the eyes and the skin texture and the background balance. Note which accessory helped most in your living room light. That note tells you what to grab first on location. It also stops you from carrying gear you never use. A lean kit that you know well beats a heavy bag that slows you down.
Test Light In Real Rooms And Streets
Test your kit in a dim cafe before you trust it at an event. Sit a friend near a window with a dark wall behind them. Take one frame with no extra light. Take a second frame with the panel at low power from the side. Take a third frame with the panel bounced off a white menu or a napkin. Compare skin tones and background depth across the three frames. The bounced frame often wins even though it uses less direct power. That test teaches you to value direction over brightness.
Test outdoors at golden hour when the sun sits low. Stand with the sun behind your subject for a rim light effect. Add panel fill from the front at low power. Watch for a bright halo around hair and shoulders. Lower the fill until the face matches the warm background light. This rim plus fill combination flatters faces and keeps the sunset colours rich. It works for couples and solo portraits and small groups alike. Keep the panel power low so the sunset stays the hero of the frame.
Test in a night market with mixed neon and street lamps. Mixed colour light is the hardest test for a small kit. Set the panel temperature close to the dominant street light. Avoid adding a cool white panel to a warm street scene. Take a test frame and check the white balance on the phone screen. Adjust the panel temperature one step at a time. A matched temperature gives cleaner skin and easier editing later. An unmatched temperature creates patchy colour that no filter fully fixes.
Test video light separately from still light. Video needs steady light across several seconds. A flickering panel or a dying battery ruins a clip in a way a still can hide. Record a ten second test clip with your panel at the planned power. Watch the clip for brightness shifts and colour shifts. Check the audio too because a panel fan or a loose mount can add noise. A quiet steady panel earns its place in a video kit. A bright but unstable panel does not.
Common Mistakes
One common mistake is to point a bright panel straight at a face from close range. Direct light from close range flattens features and creates shiny skin. Move the light back and angle it slightly to one side. Another mistake is to mix warm and cool lights without thinking. Mixed colour casts make skin look patchy and hard to edit. Match your panel temperature to the main room light before you shoot.
A third mistake is to forget the background while lighting the face. A bright face against a pitch black room looks like a police interview shot. Add a low background light or move near a lit window. A fourth mistake is to leave the panel at full power for video. Full power drains the battery fast and heats the panel. Use the lowest power that still lifts shadows. Your battery and your subject will both last longer. Camera settings to change before a vacation covers exposure and white balance checks that pair with any lighting kit.
Frequently Asked Questions
Do I need an expensive light for good mobile photos?
No. A small adjustable LED panel and a diffuser cover most everyday scenes. Expensive lights add power and finer control. They do not replace good placement and good timing. Learn placement first and upgrade only when you hit a clear limit.
Is a ring light good for outdoor portraits?
A ring light works outdoors as a gentle fill light. It struggles as a main light in bright sun. Use it close to the subject for catchlights and shadow fill. Let daylight stay the main light source. This balance keeps outdoor portraits natural.
How do I avoid harsh shadows with a small LED panel?
Move the panel further away and add a diffuser. Angle the light from slightly above and to one side. Lower the brightness until shadows soften. Bounce the light off a white wall when you can. Bounced light is the softest light a small panel can produce.
Conclusion
Build your pocket kit this week starting with a panel and a diffuser. Take ten portraits with the panel as fill light and compare them with ten shots without it. Keep the two accessories that made the clearest difference in your pouch. Leave the rest at home until a specific shoot demands it. That small test will give you a kit you actually carry and actually use.

