

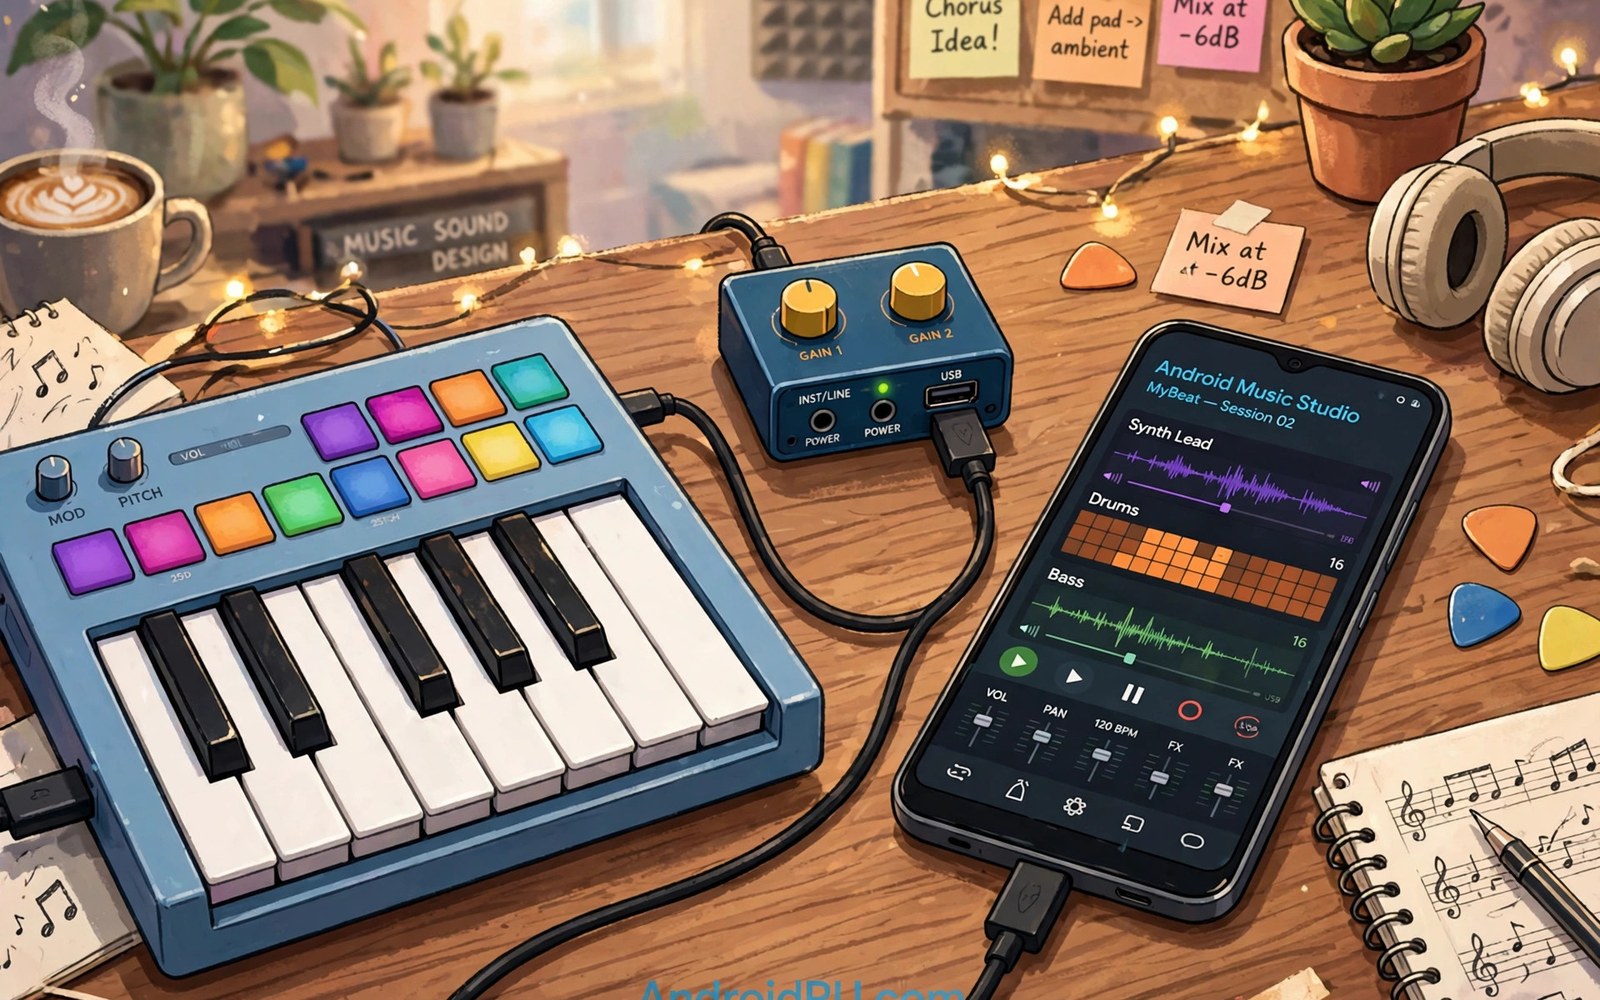
Android phones can become portable music studios. A MIDI keyboard adds real keys. An audio interface adds quality inputs. A USB cable links them to the phone. Music apps turn key presses into sound. Recording apps capture vocals and instruments. That setup suits songwriters on the move. It suits students learning music. It suits creators sketching ideas anywhere. This guide explains the connection in plain terms. It covers compatibility and latency. It covers power and app setup. It helps you build a mobile studio that works.
MIDI carries performance data rather than sound. A key press sends a note message. The message includes pitch and velocity. Velocity describes how hard the key was struck. A phone app receives the message. The app plays a sound from its instrument library. That separation gives flexibility. One keyboard can play piano or strings or drums. Changing the app instrument changes the sound. The keyboard stays the same. That flexibility makes MIDI powerful. It also makes it lightweight. MIDI data uses very little bandwidth. A simple USB link handles it easily. Latency matters more than bandwidth for MIDI.
Class Compliance and Compatibility
Class compliant devices work without special drivers. Android includes drivers for the standard MIDI class. It includes drivers for the standard audio class. A class compliant keyboard works at once. A class compliant interface works at once. Non compliant devices need maker drivers. Maker drivers rarely exist for Android. A non compliant device may fail on a phone. It may work on a computer with drivers. Check the product spec for class compliance. The spec should state it clearly. A spec that omits it deserves doubt. Owner reports from Android users confirm compliance. A device with many Android success reports is safe.
USB connection mode matters for some devices. Some interfaces offer a mode switch. The switch selects class compliant mode or maker mode. Set the switch to class compliant mode for Android. Maker mode may offer extra features on a computer. Those features vanish on a phone without drivers. The basic functions still need class mode. Check the device manual for the switch location. A switch hidden on the back is easy to miss. A device stuck in maker mode looks broken on a phone. Flipping the switch fixes it at once. That simple fix saves a needless return. Always check for a mode switch first when a device fails.
Android version affects audio support. Newer Android versions handle USB audio better. They offer lower latency paths. They handle MIDI routing more cleanly. Older versions may add more delay. They may lack some routing features. Update the phone system before testing a new device. An update may fix a compatibility issue. A device that fails on an old version may work after updating. Check app requirements too. Music apps list minimum Android versions. A phone below that minimum may run the app poorly. Match phone version and app version to device needs. That matching prevents frustration.
Connecting a MIDI Keyboard
Connect the keyboard to the phone with a USB-C cable or an OTG adapter. A keyboard with a USB-C port connects directly. A keyboard with a USB-B port needs a suitable cable. A keyboard with only traditional MIDI ports needs a MIDI to USB adapter. That adapter converts old style MIDI to USB MIDI. It adds a small cost. It also adds a link that can fail. Prefer a keyboard with direct USB when possible. Direct USB is simpler and more reliable. Plug the keyboard in before opening the music app. The app then detects the keyboard on launch. Opening the app first may miss detection. Restart the app if detection fails.
Power for the keyboard usually comes from the phone. A small keyboard draws little power. A phone supplies it easily. A larger keyboard with many controls may draw more. A keyboard with built in sounds may draw much more. Such a keyboard may need its own power supply. Connect its power supply when provided. A keyboard that flickers or resets likely lacks power. Use a powered hub for such keyboards. A powered hub supplies the keyboard from a charger. The phone then handles data only. That split keeps the keyboard stable. It also preserves phone battery. A stable keyboard responds consistently. An unstable keyboard drops notes.
Configure the keyboard inside the music app. Open the app MIDI settings. Select the keyboard from the device list. Enable it if a toggle exists. Test a few keys. Each key should trigger a sound. Test velocity by playing soft and hard. Soft playing should sound quieter. Hard playing should sound louder. A keyboard that plays at one volume only may have a velocity setting off. Check keyboard settings for velocity curves. A curve setting shapes response to playing force. A linear curve suits most players. An exponential curve suits expressive playing. Experiment with curves to find a natural feel. A natural feel encourages longer practice.
Connecting an Audio Interface
An audio interface adds microphone and instrument inputs. It also adds headphone outputs. Connect it to the phone with a USB-C cable or a hub. A small interface may draw power from the phone. A larger interface needs its own power supply. Connect power before testing. Open a recording app. Select the interface as the input device. Select it as the output device too. Test with headphones connected to the interface. Speak into the microphone. The app level meter should move. A moving meter confirms input. A silent meter points to a routing issue. Check app input settings again. Restart the app if routing fails.
Gain staging matters for clean recordings. Gain controls input sensitivity. Too little gain gives a quiet noisy recording. Too much gain gives a distorted recording. Set gain so loud sounds peak below distortion. A level meter helps here. Aim for peaks in the upper range without clipping. Clipping shows as a red indicator. Red means distortion is occurring. Lower gain until red disappears. Test with the loudest sound you will record. A vocal test should include loud singing. An instrument test should include hard playing. Proper gain gives a clean recording with low noise. It is the most important recording skill. Practice it before important takes.
Monitoring through the interface avoids delay. Direct monitoring sends input sound straight to headphones. It bypasses phone processing. Bypassing processing removes delay. Delayed monitoring confuses performers. A singer hears their voice late. That delay disrupts timing. Enable direct monitoring on the interface when available. The control may be a knob or a switch. Turn it until the live voice sounds immediate. Blend direct sound with playback as needed. A good blend lets the performer hear both clearly. That clarity improves performance. It also reduces retakes. Direct monitoring is a key interface feature for recording.
Latency and How to Reduce It
Latency is the delay between playing a note and hearing it. Low latency feels immediate. High latency feels sluggish. A delay above about 20 milliseconds disturbs many players. A delay below about 10 milliseconds feels natural. Android latency varies by phone and app. Newer phones with low latency audio paths perform better. Older phones may struggle. App choice also matters. Apps built for low latency use special audio paths. Apps built for casual use may add delay. Choose an app known for low latency performance. Reviews from musicians reveal latency performance. A casual app may suit listening. It may fail for live playing.
Buffer size controls latency and stability. A small buffer gives low latency. It also risks audio dropouts. A large buffer gives stability. It also adds latency. Find the smallest buffer that stays stable. Start with a medium buffer. Lower it step by step. Test playing at each step. Note when dropouts appear. Raise the buffer one step above that point. That setting balances latency and stability. Buffer settings live in app audio settings. Some apps hide them in advanced settings. A phone under heavy load needs a larger buffer. Close other apps during music sessions. A free processor keeps audio stable at low buffers.
Sample rate also affects latency and quality. A standard rate suits most mobile music. A higher rate adds processor load. Added load can increase dropouts. It rarely improves mobile listening noticeably. Keep the sample rate at the app default unless a reason exists to change it. A higher rate suits studio mixing on a computer. Mobile sketching needs reliability more than extreme quality. Reliability keeps ideas flowing. A dropout during a good take ruins the moment. A stable standard rate preserves it. Prioritise stability for mobile music. Reserve high rates for final studio work.
Apps and Workflow for Mobile Music
Choose an app that matches your goal. A keyboard app suits playing and sketching. A recording app suits vocals and instruments. A full workstation app suits arranging complete songs. Each app type handles MIDI and audio differently. A keyboard app may lack recording. A recording app may lack instrument libraries. A workstation app may do both but cost more. Try free versions before buying. A free trial reveals latency and compatibility. It also reveals interface comfort. An uncomfortable interface discourages practice. A comfortable interface encourages daily use. Comfort matters as much as features.
Build a simple workflow before a complex one. Start with one keyboard and one app. Learn that pair well. Add an audio interface next. Learn recording with it. Add effects later. Each addition brings new settings. Learning one addition at a time prevents confusion. A complex setup built at once often fails in several places. A simple setup built gradually works reliably. Document settings that work. Note buffer size and gain levels. Notes speed future setup. They also help when an update resets settings. A documented setup restores quickly. An undocumented setup needs rediscovery.
Save projects frequently during mobile sessions. Phone batteries die unexpectedly. Apps can crash during heavy use. A lost idea frustrates any creator. Autosave helps when available. Manual save adds safety. Save after each good take. Save before changing instruments. Save before closing the app. Export finished ideas to cloud storage. Cloud export protects against phone loss. It also enables studio continuation. A mobile sketch can grow into a full song on a computer. That growth path makes mobile music valuable. It captures ideas at the moment they appear. For headphone listening during sessions see headphone adapters with built-in DAC versus passive analog adapters for wired audio options.
- Choose class compliant keyboards and interfaces for Android.
- Set device mode switches to class compliant mode.
- Use a powered hub for keyboards needing extra power.
- Find the smallest stable buffer size for low latency.
- Save projects frequently and export to cloud storage.
Mobile music setup checklist:
1. Device class: class compliant confirmed
2. Connection: USB-C cable or OTG adapter
3. Power: phone power or powered hub
4. App MIDI: keyboard selected and tested
5. App audio: interface input and output set
6. Gain: peaks below clipping
7. Buffer: smallest stable size
Troubleshooting Music Connections
A keyboard that produces no sound has several causes. First check app MIDI settings. The keyboard must be selected and enabled. Next check the instrument loaded in the app. An app with no instrument loaded stays silent. Load an instrument and test again. Next check keyboard power. A keyboard without power sends no messages. A powered hub fixes power issues. Next try another app. An app specific bug may block MIDI. A keyboard that works in one app but not another points to the app. A keyboard that fails in every app points to the device or connection. Swap cables to isolate the link.
An interface that produces no input also has several causes. First check app input selection. The interface must be the selected input. Next check gain. Gain at minimum gives silence. Raise gain gradually while testing. Next check the microphone or instrument connection. A loose cable gives silence. Push connectors fully into jacks. Next check interface power. An interface without power cannot convert sound. Connect its power supply. Next try headphones on the interface output. Headphone sound confirms interface output. A silent headphone output points to the interface. A working headphone output with a silent app points to app routing.
Dropouts during playing point to buffer or load issues. Raise the buffer size one step. Close background apps. Disable wireless sync during sessions. Sync tasks steal processor time. A phone in power saving mode may throttle the processor. Disable power saving for music sessions. A throttled processor causes dropouts. A cool phone performs better than a hot phone. Let a hot phone cool before a session. Heat throttling also causes dropouts. A stable session needs a cool phone and a sensible buffer. Those two factors solve most dropout complaints. For video streaming setups see video capture cards connected to Android devices for mobile streaming for a related capture workflow.
Final Thoughts on Mobile Music Connections
USB MIDI and audio turn a phone into a creative tool. A keyboard adds expressive control. An interface adds quality sound capture. Class compliance makes connection simple. Power and latency need attention. A powered hub solves power limits. A sensible buffer solves latency issues. A simple workflow built gradually stays reliable. A complex workflow built at once often frustrates. Patience during setup pays off in creative freedom. A phone studio fits in a bag. It captures ideas anywhere.
Readers may also find multi-port hubs that connect keyboards and power to phones useful for a related setup.
Start with one class compliant keyboard and a low latency app. Test keys and velocity. Add an interface and set gain carefully. Find a stable buffer size. Save often and export to cloud storage. The steps above follow the approach described in the official developer documentation for USB audio and MIDI device handling. That approach stresses class compliance and buffer tuning for reliable performance. Follow it and your mobile studio will respond naturally to every note you play.

