

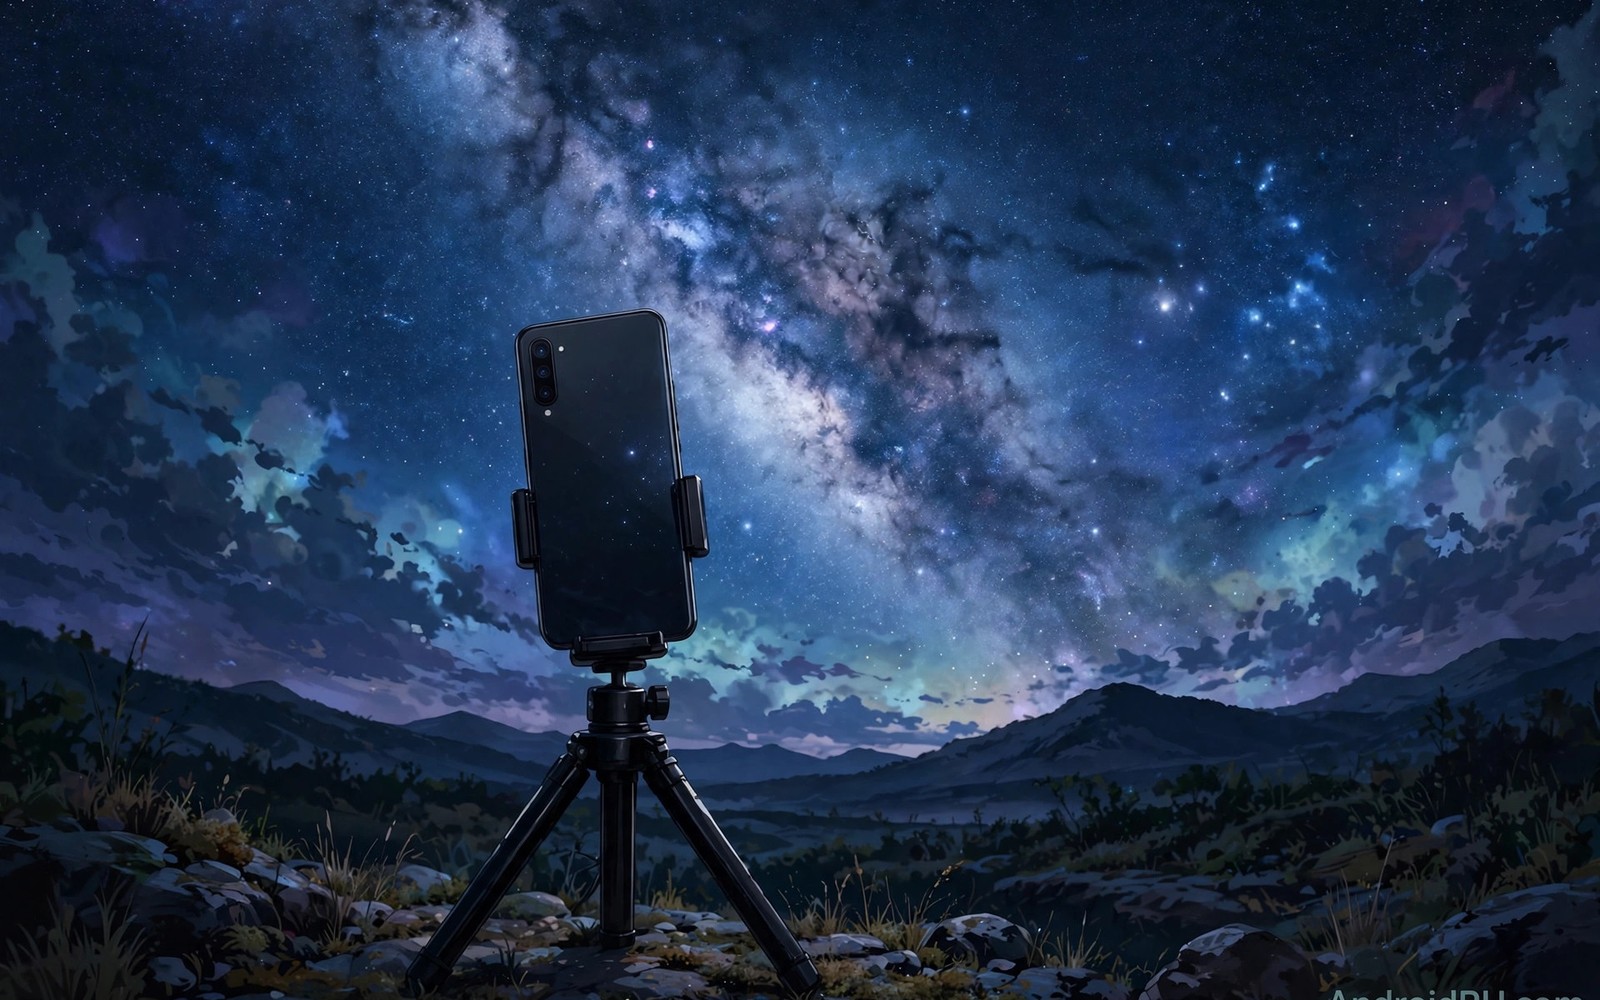
Pixel astrophotography mode captures the Milky Way with a phone by stacking many long exposures over several minutes. It feels like magic when it works because the phone reveals stars that eyes barely see. Unsupported phones can often run the same feature through a GCam port that includes astrophotography support. The port plus a dark sky plus a steady tripod unlocks the feature.
Astrophotography mode differs from night mode because it expects a completely still phone and a very dark scene. The phone detects stillness and darkness and then offers the astro option automatically in many ports. If the phone moves or the scene stays bright then the option hides itself. Understanding that trigger helps you set up correctly instead of wondering why the mode never appears. Readers starting with GCam should first follow installing a GCam port step by step for a working base.
Start by finding a truly dark location away from city lights because light pollution washes out faint stars. Check a dark sky map for your area and drive beyond the city glow when possible. A moonless night gives the best results because moonlight brightens the sky like a lamp. Plan around the moon phase and check the forecast for clear skies before you travel.
Choose a port with astro support
Not every GCam port includes astrophotography mode because the feature depends on specific processing code. Look for port release notes that mention astro or astrophotography explicitly for your processor family. Older ports may include the feature while newer ports sometimes drop it for certain models. Match the port to your phone model and test astro support before a real night trip.
Install only one astro capable port at a time and grant camera and storage permissions. Open night sight mode and point the phone at a dark sky to see whether an astro prompt appears. Some ports show a stars icon while others extend the capture time automatically when stillness is detected. Read the port guide for your build because the trigger varies between developers.
Load a config tuned for astro when one exists for your model because astro processing needs different noise and colour values. A daylight config can overprocess stars into blobs or erase faint stars as noise. Test the astro config at home under dark conditions before travelling to a remote location. That home test reveals crashes or missing features early.
Set up a rock steady tripod
Astrophotography captures over minutes so any movement ruins star points and creates trails. Use a sturdy tripod and tighten every joint before capture begins. Hang a bag from the tripod centre for extra stability in wind. Avoid touching the phone during capture because even a small tap shifts stars across frames.
Use a remote shutter or a timer delay so your finger never shakes the phone at the start. A two second timer works when no remote exists. Shield the tripod from wind with your body or a car when gusts threaten. Check the tripod legs on soft ground because sinking legs tilt the frame during a long capture.
Point the phone toward the darkest part of the sky away from town glow for the cleanest stars. Include a foreground silhouette such as a tree or a hill for composition interest. A pure sky photo can feel empty while a silhouette anchors the scene and gives scale. Frame the Milky Way diagonally when it appears for a dynamic composition.
Trigger astro mode correctly
Astro mode triggers when the phone sits still in darkness for a few seconds. Place the phone on the tripod and wait without touching it while night sight analyses the scene. The capture button or prompt should change to indicate a longer astro capture. If the prompt never changes then the scene may be too bright or the phone may still sense movement.
Cover the phone screen during capture when possible because screen glow can affect the sensor or distract your night vision. Use a red filter app or low brightness if you must check progress. Do not move the tripod to check the screen mid capture because that movement breaks the stack. Wait for the full capture to finish even when it takes four minutes.
Stars move during a long capture so the phone aligns frames to keep them sharp. That alignment works only when the tripod stays perfectly still. Wind shaking the tripod creates soft stars that no stacking can rescue. Choose sheltered spots on windy nights or wait for calmer air.
Process and edit astro photos gently
Astro photos from a port already contain heavy processing so edit them lightly. Lift shadows slightly to reveal faint stars without turning the sky grey. Reduce noise carefully because aggressive noise reduction erases the faintest stars first. Keep the sky dark and natural rather than brightening it into daylight.
White balance shapes the sky colour strongly in astro photos because mixed light pollution tints the sky. Adjust temperature until the sky looks deep blue or neutral rather than orange or green. Avoid oversaturating stars because unnatural colours look fake quickly. A gentle edit preserves the wonder of a real dark sky.
adb shell dumpsys media.camera | grep -i astro
adb shell settings put system camera_astro_mode 1
adb shell ls /sdcard/DCIM/Camera/
The commands above follow the standard Android developer workflow for checking camera astro features from a computer. Credit for this method belongs to the wider Android developer community that lists these tools for everyday astro feature checks.
Plan around moon and weather
Moon phase controls sky darkness more than any camera setting because a full moon floods the sky with light. Shoot during new moon or after moonset for the darkest skies. Check moonrise and moonset times for your location before planning a trip. A bright moon suits landscape night photos but it hurts faint star capture.
Clouds ruin astro photography because they block stars and reflect city light. Check hourly forecasts rather than daily summaries because clear windows can open briefly between clouds. Arrive early and wait for a clear gap rather than cancelling on a partly cloudy forecast. Patience often rewards astro photographers with a sudden clear hour.
Altitude helps because thinner air and less haze improve star visibility. Mountain locations above city haze give noticeably cleaner skies. Dress warmly and bring spare battery power because cold nights drain phone batteries faster. A power bank keeps the phone alive through several long astro captures.
Compose astro photos with foreground
A foreground silhouette transforms a star photo from a sky record into a landscape story. Choose a tree or a building or a mountain edge that reads clearly against the stars. Place the silhouette low in the frame so the sky dominates while the ground anchors the image. That balance keeps the stars as heroes while giving viewers a place to stand.
Light painting can add interest to foreground objects during a long astro capture. Briefly shine a dim light on a tree or a rock during part of the exposure. Keep the light brief and dim because a strong light overwhelms the stars and looks artificial. Practice light painting at home before a remote trip so timing feels natural.
The Milky Way core offers the most dramatic astro subject when it rises above the horizon in your season. Check Milky Way visibility charts for your latitude and month before planning. Point the phone toward the galactic centre region for dense star clouds rather than a random dark patch. A planned Milky Way shot rewards research with a far richer sky.
Timelapse astro sequences extend single photos into moving sky films when your port supports interval capture. Keep the tripod perfectly still for the whole sequence and shoot many frames over an hour. Assemble the frames later into a short clip that shows stars wheeling overhead. Timelapse work demands battery and patience but the result feels magical.
Common mistakes
The biggest mistake is trying astro mode in a bright city sky and blaming the port when stars stay hidden. Light pollution limits every camera and no software fully overcomes a glowing sky. Travel to darker skies for real astro results rather than fighting city glow at home.
Another mistake is moving the phone during the long capture to check progress. That movement breaks frame alignment and softens every star. Trust the timer and wait for the capture to finish before touching the phone at all.
People also forget to disable flash and automatic screen brightness during astro sessions. Flash ruins night vision and bright screens distract from the sky. Turn flash off and dim the screen before you start the first capture.
Frequently asked questions
How long does an astro capture take?
Most astro captures take between one and four minutes depending on darkness and phone model. The phone stacks many frames during that time to build a clean star image.
Can I shoot astro photos without a tripod?
A tripod is almost essential because handheld movement over minutes destroys star sharpness. A stable rest such as a rock or a car roof can work in a pinch.
Why does astro mode not appear on my port?
The port may lack astro support or the scene may be too bright or the phone may detect movement. Check port notes and test in a darker still location before changing ports.
Conclusion
Pixel astrophotography on unsupported phones comes from a capable GCam port and a dark sky and a steady tripod used with patience. Trigger astro mode correctly and edit gently and plan around moon and weather. Those habits reveal stars that ordinary night mode misses.
Share your first successful astro photo with other owners of your phone model and note the port build you used. That sharing helps developers improve astro support and it helps other owners find a working setup faster. Community notes turn a solitary night hobby into a shared learning project.
Your concrete next step is to test your port for astro support tonight in the darkest spot near your home. If the astro prompt appears then plan a moonless trip to a dark location this month. Readers who love night work will enjoy night shots that stay sharp without a tripod and turning a cheap sensor into a night vision camera as natural follow-ups.

