

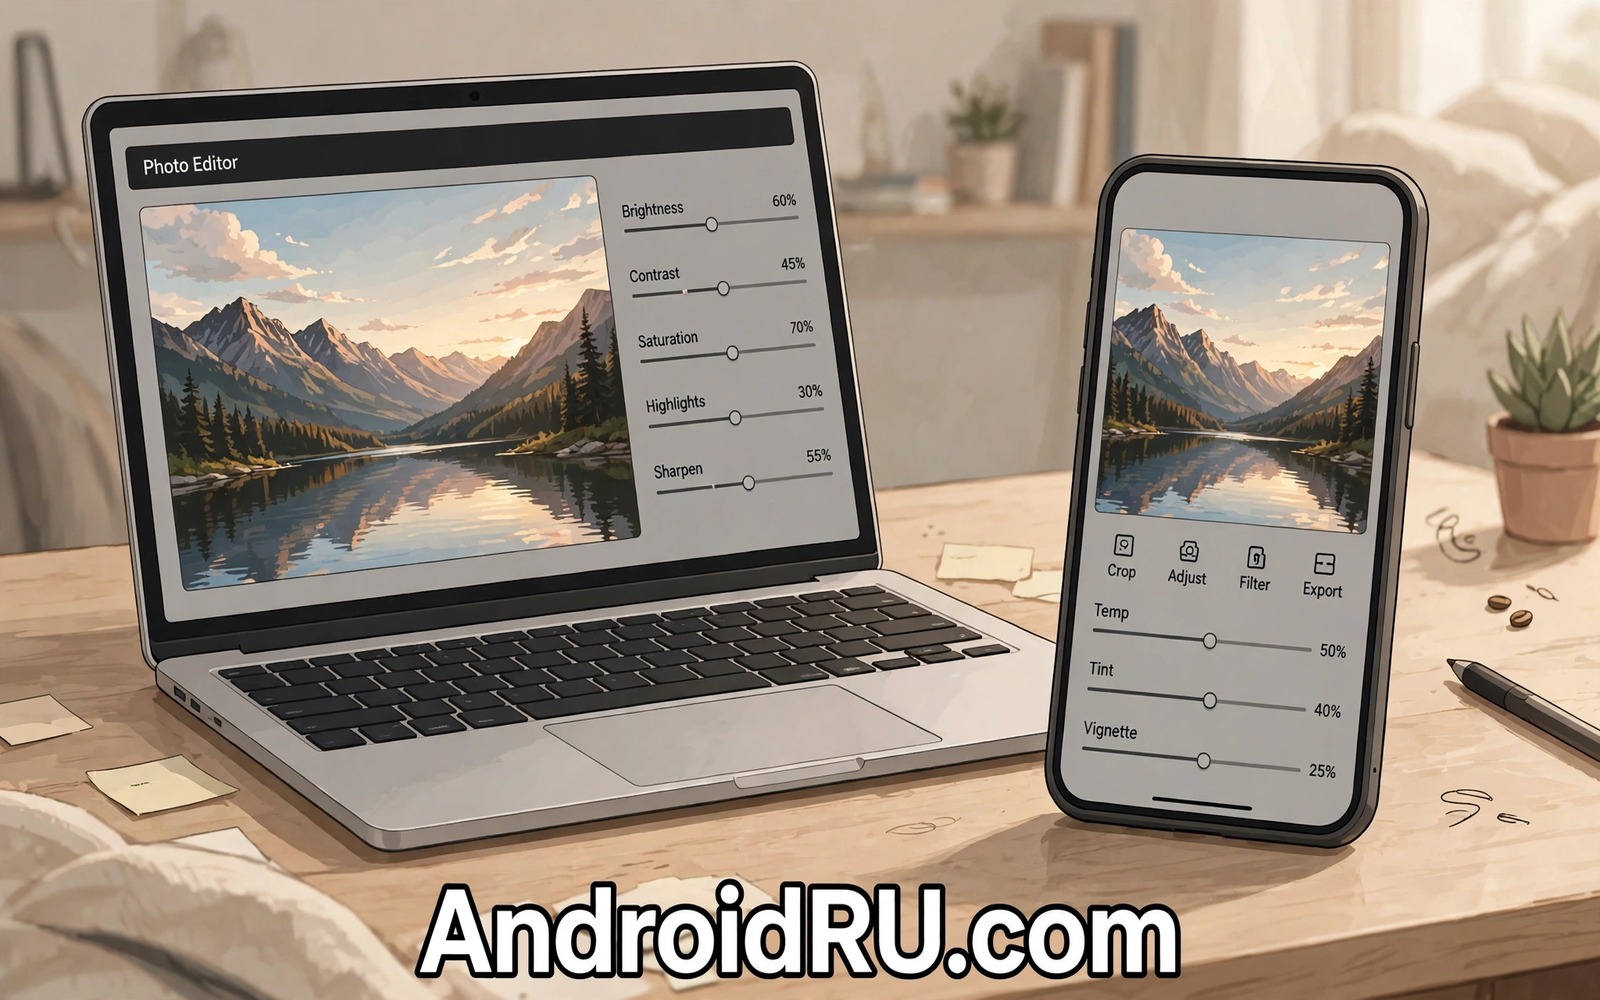
RAW files keep everything your sensor captured before the phone decides how the photo should look. A JPEG throws away shadow detail and highlight detail to save space and that loss limits every later edit. A RAW file keeps that information and lets you recover skies and lift shadows without banding. Professional editing starts with that extra information rather than with a preset.
Android phones that support RAW capture save files in DNG format and most serious editing apps can open them. The file sizes are large and the initial preview looks flat because no strong processing has been applied yet. That flat look is normal and it is actually good news because it means you control contrast and colour yourself. Readers new to camera software should first read installing a GCam port step by step for capture basics before diving into RAW.
Start with one well exposed RAW photo rather than a batch of difficult shots. Learn the editing sliders on a good file and you will understand what each control does. Difficult files teach bad habits because you push sliders to extremes to rescue them. A calm learning photo builds a workflow you can repeat under pressure later.
Capture RAW correctly in the field
Enable RAW capture in your camera app and check that both RAW and JPEG save together when that option exists. The JPEG gives a quick shareable version while the RAW file waits for careful editing. Storage fills faster with RAW so carry enough free space before a long shoot. Delete failed RAW files promptly because they consume space that good files need.
Expose for highlights when shooting RAW because recovered highlights look cleaner than recovered shadows. A slightly dark RAW file still holds shadow detail that editing can lift gently. A blown highlight in RAW still loses information that no slider can rebuild. Check the histogram after important shots and keep the brightest tones just below clipping.
Hold the phone steady and focus carefully because RAW editing cannot fix blur or missed focus. RAW rewards good capture and it punishes sloppy capture with large files that still look soft. Use a rest or a tripod for landscapes where detail matters most. That discipline in the field saves hours of futile editing later.
Set white balance and exposure first
White balance is the first edit because it defines whether the scene feels warm or cold. RAW files store white balance as a suggestion rather than a baked decision so you can change it freely. Use the eyedropper on a neutral grey area when one exists in the scene. When no neutral area exists then adjust temperature until skin and sky look believable rather than following a number.
Exposure comes next because it sets overall brightness before finer controls work properly. Raise exposure slowly until shadows open without washing out highlights. Lower it when the sky turns white or skin looks shiny. Small exposure moves often beat large moves because RAW files respond smoothly to gentle adjustments.
Contrast should follow exposure rather than lead it because contrast applied too early hides detail at both ends. Add a little contrast to restore depth after exposure correction. Check dark and bright areas after each move and stop when texture remains visible in both. A natural image keeps detail everywhere even when contrast feels strong.
Recover highlights and shadows with care
Highlight recovery pulls detail back from bright skies and lit surfaces without darkening the whole image. Drag the highlight slider down gradually and watch cloud texture return. Stop before skies turn grey and flat because over recovery looks artificial. Shadows work in mirror fashion by lifting dark areas without touching bright areas.
Shadow lifting reveals detail in dark foliage and clothing but it also reveals noise hiding there. Lift shadows only as far as the scene needs and accept some darkness as mood. A photo with pure black areas feels deeper than a photo where every shadow turns grey. Balance matters more than maximum recovery in professional work.
Whites and blacks sliders set the extreme ends of the tone range after highlight and shadow work. Push whites until the brightest detail just starts to clip and then pull back slightly. Pull blacks down until the darkest area feels solid without crushing texture. Those two endpoints give the image a full tonal range that prints well.
Shape colour without oversaturation
Colour editing on RAW files starts with vibrance rather than saturation because vibrance protects skin tones. Saturation pushes every colour equally and skin turns orange quickly under that pressure. Vibrance lifts muted colours while leaving already strong colours alone. That restraint keeps portraits believable while landscapes gain richness.
Use individual colour controls when one colour misbehaves such as grass turning neon or sky turning cyan. Reduce the offending colour slightly rather than shifting the whole image. Small targeted moves preserve the rest of the scene and they look professional because viewers notice restraint. Check colour on a calibrated screen when possible because phone screens exaggerate saturation.
adb shell ls /sdcard/DCIM/*.dng
ffmpeg -i input.dng -vf scale=1600:-1 preview.jpg
adb pull /sdcard/DCIM/photo.dng /home/user/photos/
The commands above follow the standard Android developer workflow for listing and copying RAW files and creating previews from a computer. Credit for this method belongs to the wider Android developer community that teaches these tools for everyday file and preview handling.
Sharpen and reduce noise last
Sharpening belongs near the end because earlier edits change how detail appears. Apply moderate sharpening and zoom to full size to check for halos around edges. Halos signal too much sharpening and they look worse in print than on a phone screen. Mask sharpening to edges when your editor offers that option so smooth skies stay clean.
Noise reduction should target colour noise first because colour speckles distract more than fine grain. Luminance noise can stay at a low level because it reads as texture in many photos. Heavy noise reduction erases feather and fabric detail that RAW capture worked hard to preserve. Keep the lowest setting that controls ugly speckles and stop there.
Export a full resolution copy for archiving and a smaller copy for sharing from the same edit. Name exports clearly with the edit date and the output size so later versions stay organised. Keep the original RAW file untouched because future editors and future taste may improve the same photo again. Archiving RAW originals protects your best work for years.
Build a repeatable editing workflow
A workflow saves time because you follow the same steps in the same order for every photo. Write your order on a card and keep it beside your editing screen until it becomes automatic. White balance and exposure and tone and colour and sharpening form a logical chain that avoids rework. Skipping steps creates confusion when a later slider undoes an earlier correction.
Presets can speed a workflow when they capture your usual starting point rather than a finished look. Create a preset with gentle baseline values and apply it to every new RAW file. Adjust from that baseline for each scene instead of starting from zero each time. A baseline preset keeps a portfolio consistent across many shoots and many lighting conditions.
Review edits after a break because fresh eyes catch colour casts and over sharpening that tired eyes miss. Step away for an hour and return to the photo with a clear mind. Small flaws stand out after a break while they hide during a long editing session. That pause is a professional habit that costs little time and improves many photos.
Common mistakes
The biggest mistake is editing on a bright phone screen outdoors because glare hides exposure errors. Edit indoors with moderate screen brightness and check the histogram often. Outdoor edits often look too dark once viewed inside because the screen fought sunlight during editing.
Another mistake is pushing every slider to its extreme in search of drama. Extreme edits look impressive for a minute and dated soon after because they break natural light logic. Restraint ages better than spectacle in professional portfolios and in family albums alike.
People also judge RAW edits only on the phone screen and miss colour shifts that appear on larger displays. Check final edits on a computer or tablet before sharing widely because larger screens reveal banding and noise that small screens hide. That extra check takes a minute and it prevents embarrassing exports.
People also overwrite originals by exporting over the RAW file or saving edits destructively. Always export a new file and keep the original safe in a separate folder. That habit costs a little storage and saves irreplaceable photos from accidental loss.
Frequently asked questions
Do all Android phones shoot RAW?
No. RAW capture needs Camera2 support at Full level or better on most phones. Check your camera app settings and a capability app to confirm RAW support on your model.
Are RAW files worth the storage cost?
RAW files suit important photos where editing matters and they waste space on casual snapshots. Shoot RAW plus JPEG and keep RAW only for photos you plan to edit carefully.
Can I edit RAW on the phone itself?
Yes. Several capable mobile editors handle DNG files fully on Android without a computer. A larger screen helps for fine work but phone editing works well for most adjustments.
Conclusion
Professional RAW editing on Android follows a calm order from white balance and exposure through tone recovery and colour to sharpening. Each step builds on the previous one and restraint keeps results natural. Practice that order on good files and your edits will gain consistency quickly.
Your concrete next step is to shoot one RAW plus JPEG pair today and edit only the RAW file tonight. Compare the edited RAW with the original JPEG tomorrow and note where RAW recovered detail. Readers who enjoy camera tuning will also like GCam XML configs that unlock finer detail and free editing apps that outperform Lightroom Mobile as natural follow-ups.

