

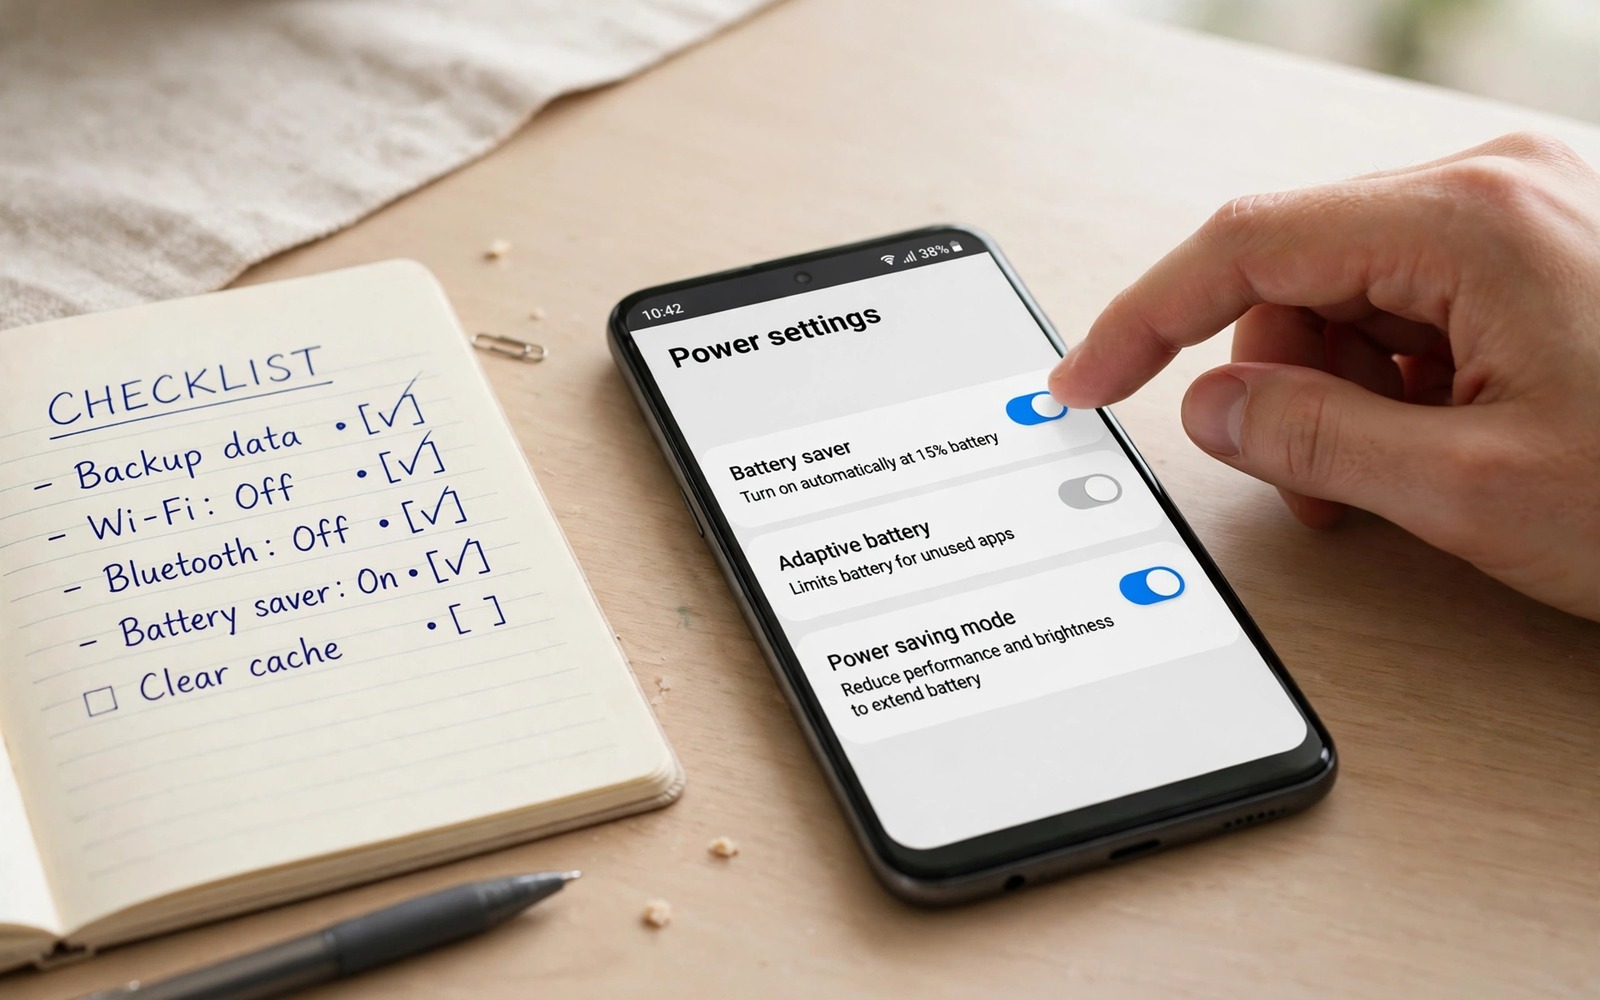
7 Battery Settings to Tweak Immediately After Android OS Upgrade
An Android upgrade lands, the phone looks fresh, and the battery quietly falls apart. The phone that used to reach bedtime with 30 percent left now asks for a charger at dinner. The usual suspect is the new software itself, yet in my experience the software is rarely the villain. The upgrade reset a handful of battery controls to their defaults, switched on new features you never asked for, and wiped the usage patterns the system had spent months learning about you.
Each reset costs a little power on its own. A saver schedule that used to kick in at 20 percent is now off. An app that used to sleep now runs freely in the background. Location scanning that you turned off is on again. Add those small leaks together and you get the sudden drain that makes a good upgrade feel like a bad one. The fix is not a new battery or a factory reset. It is a short review of seven named controls, in the right order, taking about ten minutes.
This guide gives you those seven controls with their exact menu paths, what to choose for each one, and how to tell whether the change worked. It also covers the normal settling period after an upgrade, the mistakes that make drain worse, and the answers to the questions every reader asks after the first week. Check the controls in order, give the phone two days to settle, and judge the result on the third day, not the first.
Why an Android OS upgrade resets battery behaviour on your phone
An OS upgrade is not a coat of paint. It replaces system apps, rewrites permission rules, and often introduces new background features that arrive switched on. The installer migrates your data, but it does not always migrate every toggle you set two years ago. Some controls return to their factory defaults by design, because the new version changed what the default should be. Others reset because the feature itself was rebuilt and the old preference no longer maps to the new one.
On top of the resets, the system has to relearn you. Adaptive Battery builds a picture of which apps you open, when you open them, and how long you use them, and it uses that picture to decide which apps may run in the background. An upgrade can clear that learned picture, so for the first days every app gets a fair chance to run, and the battery pays for the experiment. That learning period is normal, and it is also the reason you should not judge an upgrade on day one.
What the system relearns in the first 48 hours after an upgrade
In the first two days the phone re-indexes files, re-optimises apps for the new runtime, and rebuilds its usage model from scratch. You will notice the phone feels warm after the update, apps take a second longer to open, and the battery graph shows a steeper slope than usual. That is the system doing housekeeping, not a fault in the new version. Charge the phone fully, leave it on Wi-Fi overnight, and let the optimisation finish before you change anything drastic.
Why the first two days always look worse than the week that follows
The first two days combine three separate costs at once: the one-time optimisation work, the cleared usage model, and the new features running at their defaults. By day three the optimisation is done, the model has a fresh picture of your habits, and the controls in this guide have had time to take effect. If the drain is still heavy after a full week of normal use, with the seven controls set correctly, then you have a real problem worth investigating app by app.
How to tell normal settling drain from a real battery problem
Open the battery usage screen and look at the shape, not just the total. Settling drain is spread across the system itself: Android System, the package installer, and the optimisation service sit near the top for a day or two, then fade. A real problem shows one app far above the rest, day after day, with high background minutes while you were not using it. That single-app pattern is the one to chase, and the controls below give you the tools to chase it.
Battery settings 1 to 3: saver schedule, Adaptive Battery, and background limits
Start with the three controls that shape the whole phone. They decide when the phone starts saving power, how cleverly it predicts your habits, and how much freedom background apps get. Set these three first and the other four become fine tuning instead of rescue work.
1. Battery Saver schedule — Settings > Battery > Battery Saver
Open Settings > Battery > Battery Saver and check the schedule first, because upgrades love to reset it. A schedule you set to switch on at 20 percent may now be off, or set to a threshold you never chose. Turn the schedule on, pick the percentage that fits your day, and check whether the saver is set to turn off automatically at 90 percent charge, which is the behaviour most people want.
Battery Saver works by trimming background sync, dimming the screen slightly, and limiting vibration and location checks. It is a blunt tool, and it can delay messages if it is too aggressive, which is why the schedule matters more than the switch. A saver that starts at 20 percent protects the evening without touching the morning. A saver left on all day saves power and costs you timely notifications, and readers who want the full story should read about the battery saver setting that breaks notifications before they set the saver to its most aggressive mode.
2. Adaptive Battery — Settings > Battery > Adaptive Battery
Open Settings > Battery > Adaptive Battery and make sure it is switched on. This is the control that learns which apps you actually use and quietly limits the ones you do not. After an upgrade it is often off, or on but with an empty memory, which means it needs a few days of normal use before it starts helping. Leave it on, use the phone normally, and do not judge it until day three.
Adaptive Battery is patient by design. It watches for a week, sorts apps into buckets by how often you open them, and then throttles the rarely used ones so they cannot wake the phone at night. The trade-off is a small delay the first time you open a rarely used app after a long gap, because the system has to wake it from a deep sleep. For most people that delay is a second or two, and the overnight saving is worth far more.
3. Background usage limits — Settings > Battery > Background usage limits
Open Settings > Battery > Background usage limits and look at the three groups the phone sorts apps into: sleeping apps, deep sleeping apps, and never sleeping apps. Sleeping apps may run in the background only now and then. Deep sleeping apps cannot run in the background at all and will not send notifications until you open them. Never sleeping apps are free to run whenever they like, and that list is where the drain usually hides after an upgrade.
Move the apps you rarely open into deep sleep, keep messaging and email out of it, and check the never sleeping list for anything that does not need to be there. Deep sleeping apps cannot run in the background at all, so a shopping app or a game has no business running all day, yet upgrades often leave such apps in the free group because they were active during the update. The full technique is worth a deeper read in the setting that cuts background app battery usage, which walks the same screen with screenshots of the exact lists to check.
Battery settings 4 to 7: per-app optimisation, location, display, and charging
The next four controls are narrower, and that is their strength. Each one fixes a single leak: one app that ignores the global rules, location scanning that runs all day, a screen that stays bright and fast when it does not need to, and charging habits that wear the battery down over months. Work through them in order and check the battery graph after each change.
4. Battery optimisation for individual apps — Settings > Apps > Special app access > Optimize battery usage
Open Settings > Apps > Special app access > Optimize battery usage, switch the filter to show all apps, and look for any app set to not optimised. Optimised is the default you want for almost everything: it lets the system pause the app when you are not using it. Not optimised means the app asked for an exemption, or the upgrade granted one, and it can now run freely in the background.
Be careful with the exceptions. Messaging apps, authenticator apps, health trackers, and smartwatch companions genuinely need to run, and optimising them can delay a message or break a connection. Optimise the shopping apps, the games, the social apps you open twice a week, and the news apps that push alerts all day. Leave the apps that must reach you instantly alone, and note which ones you exempted so you can revisit the list after the next upgrade.
5. Location scanning — Settings > Location > Location services
Open Settings > Location > Location services and check Wi-Fi scanning and Bluetooth scanning. Both let apps and the system find your position even when Wi-Fi and Bluetooth look switched off, and both are often switched back on by an upgrade. Turn off the ones you do not need, and set location permission for each app to only while using the app, instead of all the time, for every app that does not need to know where you are in the background.
Location is one of the most expensive sensors to run, because it wakes the radio, the GPS chip, and the apps listening for a change. A weather app that checks your position every hour and a shopping app that watches for nearby offers can together cost more than an hour of screen time. The fix takes two minutes: scanning off, background location off for everything except maps and ride apps, and precise location kept only for the apps that navigate you somewhere.
6. Adaptive brightness and screen timeout — Settings > Display > Adaptive brightness
Open Settings > Display > Adaptive brightness and make sure it is on, then open Settings > Display > Screen timeout and set it to 30 seconds. Adaptive brightness and a 30-second timeout together tame the single biggest battery user on most phones, and an upgrade often resets brightness to a fixed high level and stretches the timeout to two minutes. Adaptive brightness learns the levels you prefer in each place and dims the screen when you do not need full power.
The timeout is the quieter saving. A phone left on a desk with a two-minute timeout burns power for two minutes after every glance, and those minutes add up across a day of notifications. Thirty seconds is short enough to matter and long enough to read a message without the screen going dark in your hands. If you read long articles on the phone, use the keep-screen-on option inside the reading app instead of raising the global timeout.
7. Battery protection and the charging limit — Settings > Battery > Battery protection
Open Settings > Battery > Battery protection and choose the charging limit that fits your routine. The 80 percent limit is the one that protects long-term battery health: the phone stops charging at 80 percent and the battery spends its life away from the stressful top of the range. Adaptive charging is the gentler alternative, charging slowly overnight and reaching full only just before your alarm.
This control does not save power today. It saves capacity across two or three years, which is the difference between a phone that still reaches bedtime at year three and one that needs a midday charge. Pick the 80 percent limit if you charge every night and rarely need a full battery before lunch. Pick adaptive charging if your days are unpredictable and you sometimes need every percent. Either choice beats leaving the phone at 100 percent on a charger all night, every night.
How to read Battery usage and spot the real drain after an upgrade
Open Settings > Battery > Battery usage and look at the last 24 hours as a list, not as a single number. The list ranks apps by the power they used, and it splits each app into foreground minutes and background minutes. Foreground minutes are yours: you opened the app and used it. Background minutes are the app’s: it ran while you were doing something else, and those are the minutes that signal a problem.
A healthy list after an upgrade shows the screen-heavy apps you actually used at the top, with background minutes close to zero for most of them. An unhealthy list shows one app with hundreds of background minutes and a battery share that makes no sense for how little you opened it. That app is your target. Restrict it, check it again the next day, and if it still drains, clear its cache, then consider removing it and finding a lighter alternative.
Reading the per-app battery screen the right way
Tap any app in the battery usage list to see its detail screen, which shows exactly how many minutes it ran in the foreground and in the background, and whether it used location, mobile data, or the camera. A social app with 40 background minutes and heavy mobile data is syncing constantly. A game with background location use is doing something it has no reason to do. The detail screen turns a vague feeling of drain into a named cause with a named fix.
What a normal overnight drain looks like on a healthy phone
A healthy phone loses 2 to 5 percent overnight on Wi-Fi with the screen off, depending on the model and the number of accounts syncing. Losing 10 percent or more overnight, with the phone untouched on a bedside table, means something woke it repeatedly. Check the battery graph for the hours you were asleep: a flat line is healthy, a staircase of small drops is an app waking the phone, and a steep drop in one hour is usually a single app or a failed sync loop.
When a single app is the problem and what to do about it
When one app owns the drain, work the ladder: restrict its background use first, then clear its cache, then check for an app update, then remove and reinstall it if the drain survives. Reinstalling clears corrupted data that survives an OS upgrade and often fixes a drain that no setting can touch. If the drain survives a reinstall too, the app itself is the problem on the new OS version, and the honest fix is to replace it or wait for the developer to update it.
When the drain is not a setting: sync, new features, and weak signal
Sometimes all seven controls are correct and the phone still drains, and the cause sits outside the battery menu. The most common is sync: an upgrade can re-enable auto-sync for accounts you had paused, or restart a cloud backup that uploads thousands of photos over mobile data. Open the accounts screen, check which accounts are syncing, and pause the ones you do not need until you are on Wi-Fi and charging.
New features are the second suspect. An upgrade often switches on features like nearby device scanning, cross-device sharing, or live captions, and each one runs quietly in the background. Walk through the new features list in Settings, turn off the ones you will never use, and keep only the ones that earn their power. Weak signal is the third: a phone hunting for a signal in a basement or a rural road burns power fast, and no battery control can fix a radio problem. Switch to Wi-Fi calling where it is offered, or use aeroplane mode in a dead zone instead of letting the radio search all day.
The biggest hidden drain after an upgrade is usually background sync that restarted without asking, so check the accounts screen before you blame the battery itself. That one check has saved more phones in my experience than any single toggle in the battery menu.
Common mistakes after an Android OS upgrade that make battery drain worse
The most common mistake is judging the upgrade on the first evening. The phone is still optimising, the usage model is empty, and the battery graph looks terrible for reasons that will vanish by day three. Wait, charge fully, leave the phone on Wi-Fi overnight, and only then start changing controls. Changing ten things on day one means you never learn which one actually helped.
The second mistake is the opposite: turning on every saver at once. Maximum Battery Saver, ultra power mode, background restrictions on every app, and location off entirely will save power and break the phone as a communication tool. Messages arrive late, the watch disconnects, the alarm app cannot run, and the user blames the upgrade for a problem they created. Use the measured controls in this guide instead, and keep the aggressive modes for the day you genuinely need the phone to last until midnight.
The third mistake is trusting a battery app that promises to fix the drain with one tap. Most of these apps do nothing the system cannot do, and some run constantly in the background themselves, which makes the drain worse. The system battery screen already shows the truth, and the seven controls in this guide already give you the levers. A cleaner app that kills background tasks can also fight Adaptive Battery, which is trying to learn the same apps, and the two together produce worse results than either one alone.
- Do not factory reset on day one: the drain is usually settings and settling, not a broken install.
- Do not restrict messaging, authenticator, or watch apps, or you will miss messages and break connections.
- Do not install a battery booster app that runs all day to save power it cannot measure.
- Do not compare your battery to a review unit running different apps in a different country on a different network.
- Do not change a control and judge it after one hour; give each change a full day of normal use.
Frequently asked questions about battery drain after an Android OS upgrade
How long does battery drain last after an Android OS upgrade?
Most of the extra drain fades within 48 hours, once app optimisation finishes and the phone has relearned your habits. A smaller improvement continues across the first week as Adaptive Battery builds its picture. If the drain is still clearly worse after seven days of normal use, with the seven controls in this guide set correctly, look at the per-app battery screen for a single app that dominates the list, because that is no longer settling drain.
Should I factory reset my phone after a major Android upgrade?
Almost never, and certainly not as a first step. A factory reset is a day of work: backing up, reinstalling, signing in, and reconfiguring everything, and it often brings back the same drain because the upgrade resets the same defaults on a clean phone. Try the seven controls first, give them a week, and consider a reset only if a single app or system service still dominates the battery list after every other fix has failed.
Will turning on Battery Saver all the time damage my phone?
It will not damage the battery or the phone, but it will change how the phone behaves. Battery Saver limits background sync, reduces vibration, and can delay notifications from apps that are not exempted. That is fine for a long day out, and annoying as a permanent state. Use the schedule so the saver starts when the battery is low, instead of leaving it on from a full charge.
Why does one app use so much battery after the upgrade when it was fine before?
Upgrades change the rules apps run under, especially around background work and location, and an app built for the old rules can misbehave under the new ones. It may retry a sync that now fails, request location more often, or wake the phone on a schedule the new system no longer batches. Restrict its background use, check for an app update from the developer, and if the drain survives a reinstall, the app needs an update for the new OS version before it will behave again.
A 10-minute post-upgrade battery routine you can repeat after every update
Here is the routine in one pass. Open Battery Saver and set the schedule, switch Adaptive Battery on, and sort the background usage lists. Then open the per-app optimisation screen, fix location scanning, set adaptive brightness with a 30-second timeout, and choose a charging limit. Check the battery usage screen the next morning, note the overnight loss, and check it again on day three. That is the whole job, and it fits in a coffee break.
Keep the habit for the next update too. Every major upgrade resets something, and the ten minutes you spend after it are the cheapest battery fix there is. For the daily side of the same habit, the daily battery optimization checklist turns this one-time review into a short routine you can run each morning, so the next upgrade never catches your settings off guard again.

