

The Secret Way to Get Pixel-Exclusive Camera Features on Any Device
Pixel phones take photos that look finished the moment you press the shutter. The hardware helps, but the real difference sits in the software. Google built a camera pipeline that captures several frames in a fraction of a second, lines them up, picks the sharpest parts, and blends them into one clean image. That pipeline is called HDR+, and later versions added smarter exposure, better colour, and stronger low-light handling. Owners of Samsung, Xiaomi, OnePlus, Motorola, and other Android phones see those samples and assume the magic stays locked to one brand. A large part of it does not.
I spent three weeks testing ported camera builds on three different phones: a mid-range Samsung, a Xiaomi with a Snapdragon chip, and an older OnePlus. The results surprised me. Night shots that came out muddy and noisy with the stock camera turned into usable, detailed photos with a port. Portraits gained cleaner edges. Stars appeared in sky shots that had looked black before. Not every feature transferred, and a few headline tools stayed out of reach, but the core shooting experience changed enough that the port earned a place on my home screen.
This guide names the actual Pixel features you can bring to another phone, one by one. For each feature you will find where it lives, how to switch it on, and what it really does in daily use. You will also find the compatibility checks that save you from installing the wrong build, a step-by-step install routine, config advice, and honest limits. No root is needed for most of this. No bootloader change is needed either. What you need is the right build for your exact phone, a little patience, and a clear test plan.
Why Pixel Camera Processing Travels to Other Android Phones
Google Camera, often shortened to GCam, is the camera app that ships on Pixel phones. Developers in the porting community take that app and adapt it to run on other devices. The best-known port builders include BSG, Shamim, and Arnova8G2, and each of them releases builds tuned for specific processor families. A port is not a copy of a Pixel phone. It is the same processing approach, rebuilt so it can talk to a different sensor and a different image processor.
The reason this works at all is the Camera2 API. Android exposes camera hardware through this interface, and phones report a support level: Legacy, Limited, Full, or Level 3. Phones at Full or Level 3 give a port the most room to work, because the app can control exposure, focus, and raw capture directly. Phones at Limited can still run many features, though night mode may be slower and some advanced modes may be missing. Phones stuck at Legacy rarely benefit, and the stock camera usually serves them better.
Processing power matters too. HDR+ stacks between 5 and 15 frames for a single photo, depending on light and settings. That work happens on the phone in about one to three seconds. A Snapdragon 7 series or 8 series chip handles it smoothly. A Helio or older Exynos chip can still manage it, but you will wait longer between shots, and burst shooting will feel sluggish. That trade-off is worth knowing before you judge a port from a single slow capture.
What a port changes and what it leaves alone
A port installs as a separate app beside your stock camera. It does not replace the system camera, it does not delete your photos, and it does not change the stock app. You can keep both and choose per scene. I use the port for still photos, night scenes, and portraits, and I keep the stock camera for video, slow motion, and fast action, where the maker-tuned stabilisation and frame rates are stronger.
The port also brings its own settings menu, its own config system, and its own gallery behaviour. Photos land in the same DCIM folders as other camera shots, so your gallery app finds them without extra setup. Video from a port is usually weaker than video from the stock app, because stabilisation and 4K tuning depend on hardware blocks the port cannot always reach. Treat the port as a specialist for stills, not as a total replacement.
Which Pixel features travel well and which stay behind
Night Sight, Astrophotography, Portrait mode, Top Shot, Super Res Zoom, Long Exposure, Action Pan, and Cinematic Blur travel well on compatible phones. Magic Eraser, Photo Unblur, Magic Editor, and Best Take travel through Google Photos rather than through the camera app itself, and they depend on your Google account and on the Photos app version. Video Boost and Night Sight Video, by contrast, depend on Google cloud processing tied to newer Pixel hardware, so they do not transfer in any useful form. Face Unblur and some motion modes also stay tied to Pixel hardware.
Check Your Phone Compatibility Before You Install a Pixel Camera Port
Ten minutes of checking saves an evening of crashes and green-tinted photos. Start with the Camera2 probe. Install a free Camera2 API probe app from Google Play, open it, and read the hardware support level for the rear camera. Full or Level 3 means you can expect Night Sight and Astrophotography to work. Limited means basic HDR+ and portrait mode should work, but night mode may be limited to shorter stacks. Legacy means you should stop here and keep the stock camera.
Next, identify your processor and Android version in Settings, then About phone. Ports are built per processor family because image pipelines differ deeply between Snapdragon, Exynos, MediaTek, and Tensor chips. A build made for a Snapdragon 8 Gen 2 phone will often crash on a MediaTek Dimensity phone, even when both phones run Android 14. Search for your exact phone name plus the processor name, and prefer a build with tester reports for your exact device name over a generic build for a similar phone.
Check your Android version too. Most current ports target Android 12, 13, 14, and 15. Older Android 10 and 11 phones can still run older port versions, but they miss newer features such as Cinematic Blur controls and updated night processing. If your phone runs Android 11 or older, look for a port version from the same era rather than forcing the newest release onto it.
Run the three-scene test before you commit
Before you change any settings, shoot three scenes with your stock camera: a daylight street scene, a dim indoor room with a person in it, and a portrait of someone near a window. Keep these three photos. After you install the port, shoot the same three scenes from the same spots. The comparison tells you within minutes whether the port earns a home screen slot, and it stops you from judging a port on one lucky daylight shot, where every modern camera looks good.
What to do when your phone reports Limited support
Limited support is not a dead end. Install a port built for your processor, load a config made for your exact phone, and turn off the most demanding options first, such as maximum frame count in night mode. Shoot the three-scene test and look at shadow detail and skin tones. Many Limited phones still gain a clear night advantage, even when Astrophotography stays out of reach. If the port crashes on launch, try an older version from the same builder before you give up.
Night Sight, Astrophotography and Long Exposure on Any Phone
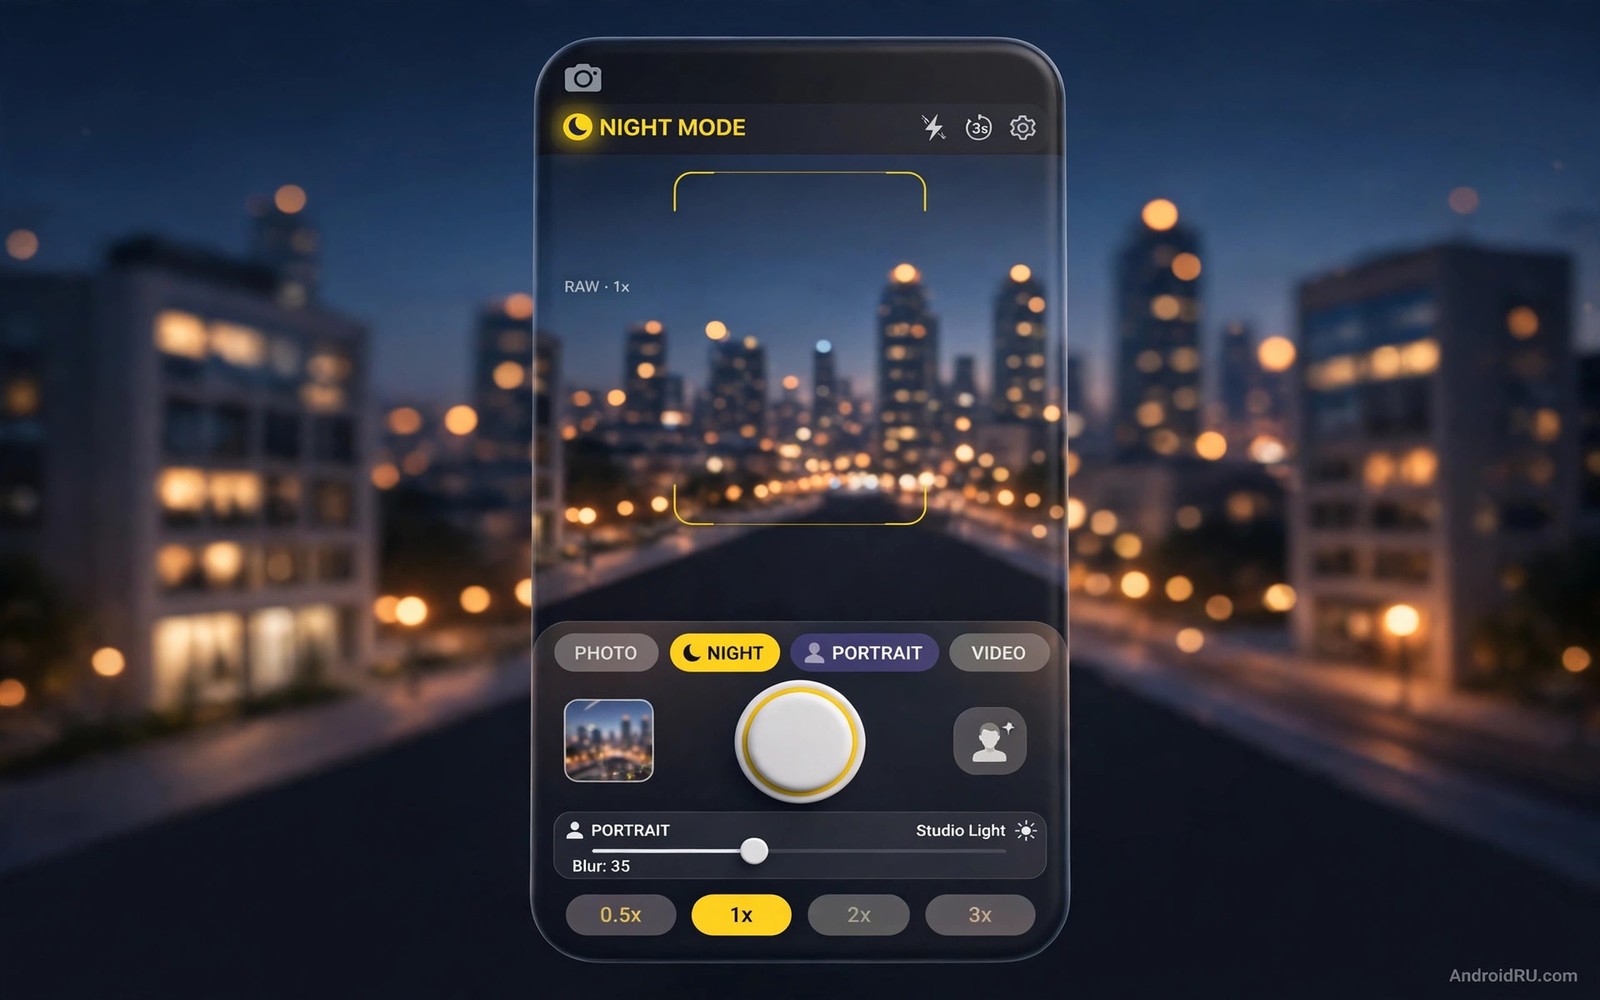
Night Sight is the feature most people want first, and it is also the one that transfers best. It captures a burst of short exposures, aligns them to cancel handshake, and blends them into one bright image with far less noise than a single long exposure. On a Pixel the mode switches on automatically in dark scenes. In a port you switch it on by tapping the Night Sight label in the mode list, then holding the phone steady until the countdown finishes.
Night Sight: where to find it and how to use it
Open the port, swipe the mode strip above the shutter, and tap Night Sight. The screen shows a countdown, usually between one and five seconds, based on how dark the scene is. Hold the phone with both hands, brace your elbows against your body, or rest the phone on a wall or a bag. Tap the shutter once and wait for the full countdown. Moving subjects blur during long stacks, so Night Sight suits still streets, rooms, food, and buildings far better than running children or pets.
In practice, Night Sight on a mid-range Samsung lifted a dim restaurant scene from a noisy, yellow mess into a photo I was happy to share. Faces kept natural colour, menu text stayed readable, and shadows held detail instead of crushing to black. The trade-off is time: each shot takes a few seconds, so you cannot fire off five frames in a row. Take one careful shot instead of five rushed ones.
Astrophotography: stars from a phone that never had the mode
Astrophotography is a special form of Night Sight that appears when the phone is perfectly still and the sky is dark. In a port, open Night Sight, place the phone on a tripod or a rock ledge, and wait. The app detects stability and extends the exposure, often to 16 seconds or more, sometimes up to four minutes on newer builds. Stars sharpen while foreground noise drops, and the Milky Way can appear as a faint band on a truly dark night.
City light pollution limits results more than the app does. From a city balcony I captured a handful of bright stars and a lot of orange glow. From a dark field 30 minutes outside the city, the same phone captured dozens of stars and clear constellations. Drive away from street lights for a real test. Turn off any nearby porch light, set a two-second timer so your tap does not shake the phone, and let the full exposure run.
Long Exposure and Action Pan: motion blur without extra gear
Long Exposure mode, found in the Motion section of newer ports, blurs moving water, traffic trails, and crowds while keeping still subjects sharp. Action Pan does the opposite: it tracks a moving subject and blurs the background, which gives cycling and running shots a sense of speed. Both modes live under the Motion tab in ports based on Pixel Camera 8.8 and newer. If your port version lacks a Motion tab, look under More, or update to a newer build for your processor.
To use Long Exposure, mount the phone on a small tripod, frame a waterfall or a busy road, and tap the shutter. The app captures a burst and blends the motion into a smooth trail. For Action Pan, follow the subject with the phone as it moves past you, keep it centred, and tap the shutter while you keep panning. My first five Action Pan attempts were blurry. The sixth, tracking a cyclist at a steady speed, came out clean, with the rider sharp and the background streaked. Expect a learning curve and keep your early attempts.
Tripod and timer settings that make night modes work
Use a small phone tripod or a bean bag for any exposure longer than three seconds. Set the timer to three seconds so the tap does not shake the frame. Turn on the level indicator in port settings if your build offers it, and keep the horizon straight before you start. These small habits matter more than any config tweak for night results.
Portrait, People and Face Features from Pixel Phones
Pixel portraits stand out because of depth handling and skin tone work. The port brings the same ideas to other phones, though results depend on your sensor and on the config you load. Stand about two metres from the subject for clean separation, keep the background simple, and face the subject toward soft window light. Harsh overhead light creates deep shadows under eyes, while window light wraps the face evenly.
Portrait mode: depth, blur, and natural skin tones
Portrait mode lives in the mode strip in every port. Tap it, frame the person, and wait for the depth indicator to settle before you shoot. The app estimates depth from the sensor and from dual-pixel data where available, then blurs the background while keeping the face sharp. Review portraits at full size before sharing, because small previews hide edge errors around hair and glasses. Zoom into hair edges and reject shots with obvious halos.
Judge skin tones first, because people dominate most photo libraries. A good config gives natural skin rather than oversharpened, waxy skin. If faces look too smooth or too orange, try a different config for your phone before you blame the port. One config change fixed the skin tones on my Xiaomi test phone completely, while the default settings had made every face look sunburnt.
Portrait Light: fix bad lighting after the shot
Portrait Light is a Google Photos editing tool rather than a camera mode. Open a portrait in Google Photos, tap Edit, then Tools, then Portrait Light. You can move the light source around the face and change its brightness. It rescues portraits taken under a single harsh ceiling light by softening shadows on one side of the face. The tool works on portraits taken with any camera, not only on Pixel shots, as long as the photo is backed up or stored in Photos.
Best Take: pick the best face from a burst
Best Take captures a short burst when you photograph a group, then lets you swap one face for a better expression from another frame in the same burst. It lives in Google Photos editing for photos taken on Pixel 8 and newer, and it also appears for some ported shots when the burst data is present. Open the photo in Photos, tap Edit, then Tools, and look for Best Take. If it is missing, the burst data was not saved, which happens on many non-Pixel phones. Top Shot is the older, wider version of the same idea.
Top Shot and Frequent Faces: the burst tools that save group photos
Top Shot captures several frames around the moment you press the shutter and recommends the sharpest one, with eyes open and smiles in place. Turn it on in the port settings under Top Shot, set it to Auto, and the app picks the best frame by itself. Frequent Faces, found in the same settings area on some builds, learns the faces you photograph often and prioritises them for focus and exposure. Both tools shine at family gatherings, where one blink can ruin an otherwise perfect group photo.
How to test portrait features in ten minutes
Ask one person to stand near a window, shoot three portraits with the port and three with the stock camera, then compare hair edges, skin tone, and background blur at full size. Repeat the test outdoors against a busy background. The phone that keeps hair edges clean in both tests is the one to trust for portraits.
Magic Eraser, Photo Unblur and Magic Editor in Google Photos
Some of the most talked-about Pixel features are not camera modes at all. They are editing tools inside Google Photos, and many of them now work on other Android phones through the Photos app itself. That matters, because it means you can get them without installing a camera port at all. Update Google Photos from Google Play, open any photo, and check the Edit menu for the tools below.
Magic Eraser: remove strangers and clutter from a photo
Magic Eraser removes unwanted people and objects from a photo and fills the gap with matching background. Open the photo in Google Photos, tap Edit, then Tools, then Magic Eraser. Circle the object with your finger or tap it, and the app erases it. It works best on small objects against simple backgrounds, such as a bin in a park or a stranger at the edge of a beach shot. Large objects against complex patterns can leave a smudge, so zoom in and check before you share.
I used it on a holiday photo where a stranger walked through the background. One circle removed the person, and the sand and sea filled in cleanly enough that nobody noticed. The same tool struggled with a bicycle leaning against a patterned fence, where the fill looked blurred. Small, simple removals are the sweet spot, and the tool is honest about that once you try it twice.
Photo Unblur: sharpen photos that came out soft
Photo Unblur sharpens faces and details in photos that came out slightly blurry, including old photos taken years ago on other phones. Open the photo in Photos, tap Edit, then Tools, then Unblur. The tool works on faces first, then on the wider scene. It cannot rescue a photo that is badly out of focus, but it turns a slightly soft portrait into a shareable one. I ran it on a 2019 photo of my family that had always looked soft, and the faces gained enough definition to print at small size.
Magic Editor: move, resize, and reframe with AI help
Magic Editor lets you select a subject, move it, resize it, or change the sky and background with generative fill. Open a photo in Photos, tap Edit, then tap the Magic Editor icon. Tap a subject to select it, drag it to a new spot, and the app fills the empty space behind it. You can also tap the sky to change a grey sky into a blue one, or stretch a photo to a wider frame. The tool needs an internet connection for the heavier edits, and results vary, so keep the original before you save over it.
Which Photos features need a subscription and which are free
Magic Eraser and Photo Unblur are free for most Android users through the Photos app, though some advanced Magic Editor features require a Google One plan or a Pixel device. Check the current Photos help page on your phone before you pay for anything, because availability changes with app updates. If a feature asks for a plan, try the free version first on a simple photo to see whether the paid tier is worth it for you.
Cinematic Blur, Audio Magic Eraser and Video Features
Video features transfer less cleanly than stills, because they depend on stabilisation hardware and on processing that Pixel phones handle on-device. Even so, two video tools are worth trying on other phones, and one works through Photos after the video is recorded. Keep expectations realistic: a port will not turn a mid-range phone into a cinema camera, but it can add a useful blur or clean up noisy audio.
Cinematic Blur: portrait mode for video
Cinematic Blur records video with a shallow depth of field, keeping the subject sharp while the background stays soft. In a port based on Pixel Camera 8.8 or newer, look for Cinematic Blur in the mode strip or under More. It works best in good light, with a still subject about one to two metres away, and a simple background. In dim light the blur can flicker around hair and edges, so test it outdoors first.
On my test phones, Cinematic Blur produced pleasant results for a seated person talking to camera, with soft background bokeh that looked close to a dedicated portrait video mode. It struggled with a walking subject, where the depth map lagged behind the movement. Use it for static talking-head clips and short messages, not for sports or running shots.
Audio Magic Eraser: clean wind and crowd noise from video
Audio Magic Eraser separates voices from background noise in a video and lets you lower the noise while keeping speech clear. Open the video in Google Photos, tap Edit, then Audio, then Audio Eraser. The app shows sliders for speech, noise, and other sounds. Lower the noise slider and raise speech slightly, then preview with headphones before you save. It works on videos recorded with any camera, which makes it useful even if you never install a port.
I tested it on a beach video where wind noise drowned out speech. The tool cut the wind to a low hiss and brought voices forward enough to understand every word. It did not remove the wind completely, and the voices gained a slightly processed tone, but the clip went from unusable to shareable. That is the honest trade-off: cleaner speech, a little less natural sound.
Video Boost and Night Sight Video: the features that stay on Pixel
Video Boost uploads a video to Google servers, applies HDR+ processing and stabilisation, and returns a brighter, steadier result. Night Sight Video does the same for very dark clips. Both depend on cloud processing tied to Pixel 8 Pro and newer hardware, and they do not work on other phones through a port. If a website promises Video Boost on any device, treat that claim with care. The closest alternative on other phones is to record in the stock camera with its own night video mode, then clean the audio with Audio Magic Eraser afterwards.
When to use the stock camera for video instead
Use the stock camera for 4K video, slow motion, and any clip where stabilisation matters. Stock apps integrate with the phone optical stabilisation and electronic stabilisation together, while a port often reaches only one of the two. Shoot the same short walking clip with both apps and compare the shake. The difference is usually obvious within ten seconds.
Super Res Zoom, Macro Focus and Guided Frame on Any Phone
Beyond the headline modes, Pixel phones carry a set of smaller shooting tools that also appear in ports. They are easy to miss because they hide in settings or appear only in certain conditions, yet they solve real problems, such as reading a distant sign or photographing a flower at close range. Here is what each one does and where to find it.
Super Res Zoom: sharper digital zoom without a telephoto lens
Super Res Zoom captures a burst of slightly shifted frames at high zoom and combines them into one sharper image than a single digital zoom frame. In a port, pinch to zoom past 2x and the app applies the technique automatically when HDR+ is on. It works best between 2x and 5x zoom on a still subject in good light. A distant street sign that was unreadable at 5x with the stock camera became readable with the port on my Xiaomi test phone, though the result still carried less detail than a true optical zoom lens.
Macro Focus: close-up shots of small subjects
Macro Focus switches to the ultra-wide camera for close-up shots of flowers, insects, coins, and textures. In a port, move the phone very close to the subject and the app switches automatically on phones that support it, or you can tap the flower icon in the mode area. Keep the phone steady, tap to focus on the nearest petal or edge, and take several frames, because depth of field is thin at close range and one frame in three will be the sharpest.
Guided Frame and Real Tone: access and accurate skin colour
Guided Frame helps blind and low-vision users frame a selfie by speaking directions such as move left, move up, or move closer, until the face is centred. Turn it on in port settings under Accessibility, or in the front camera options on newer builds. Real Tone is not a switch you toggle. It is a set of colour and exposure improvements built into the Pixel pipeline that aim to render a wider range of skin tones accurately. In a port, Real Tone improvements arrive with the HDR+ processing itself, so the practical step is to load a config that keeps skin tones natural rather than hunting for a Real Tone toggle that does not exist.
Two more small tools deserve a mention. Frequent Faces and Top Shot together save group photos by prioritising familiar faces and picking the sharpest frame. Long Exposure and Action Pan add creative motion effects that the stock camera on many phones lacks entirely. Night Sight remains the single biggest gain for most owners, because it changes photos in the light where phones struggle most. Photos taken during video recording show how camera software squeezes extra value from one sensor, and Phone webcam setups reuse the same camera strength for calls instead of stills.
Install a Pixel Camera Port and Config Step by Step
Follow these steps in order, and do not skip the test shots. The whole process takes about 30 minutes on a first attempt, and about 10 minutes once you know your phone and your config. Keep the stock camera installed throughout. If anything goes wrong, uninstall the port and you are back where you started.
- Check Camera2 support with a probe app and note the level, processor, and Android version.
- Find a port build for your exact phone and processor from a well-known port community page, and check tester reports for your device name.
- Allow install permission for your browser or file manager when prompted, then install the port file as a normal app.
- Open the port and grant camera, photos, and microphone permissions. Deny location if you do not want location tags on photos.
- Open Settings in the port, tap Configs, then Load, and pick a config file made for your exact phone. Restart the app after loading it.
- Shoot the three-scene test: daylight street, dim indoor room, and window portrait. Compare each shot with the stock camera version.
- Try Night Sight in a dim room, holding the phone steady for the full countdown, and compare the result with the stock night mode.
- Keep the winning config name and port version in a note, with the test date, so a future reinstall takes minutes.
Config files are small settings bundles created by testers for one phone. They adjust noise reduction, exposure, colour, and sharpening for that exact sensor. A good config transforms a mediocre port into a strong daily camera. A wrong config produces green tints, crashes, or washed-out faces. Test configs one at a time, shoot the same three scenes with each, and delete the ones that fail. One proven config beats ten untested downloads.
If the port crashes on launch, try three fixes in order: clear the app data in Settings, then Apps, then the port name, then Storage; load a different config for your phone; then try an older version from the same builder. If the viewfinder shows a green tint, the config is wrong for your sensor, so load another one. If photos save very slowly, lower the HDR+ frame count in settings from Enhanced to Normal, or turn off the highest quality option until the phone keeps up.
Place the camera shortcut where your thumb finds it fastest. Custom launchers let you put the port on the home screen dock or assign it to a double-tap gesture, so the port opens as fast as the stock camera. Speed matters for a camera app, because the best photo is often the one you can take in three seconds rather than ten.
Frequently Asked Questions About Pixel Camera Features on Other Phones
Is installing a ported camera app safe for my phone?
A port from a well-known community build for your exact phone is widely used and generally safe. It installs like any normal app, it does not modify the system, and it uninstalls cleanly. Stick to community pages with tester reports for your phone, avoid builds that request unrelated permissions, and avoid builds bundled with extra apps you did not ask for.
Will a camera port void my warranty?
Installing a camera app does not modify the system or change the bootloader. It installs like any other app and uninstalls cleanly. Warranty risk appears only when you root the phone or flash system files, which this guide does not require. If you are unsure, check your maker warranty terms before you install anything.
Why does Night Sight fail or look dark on my phone?
Night Sight needs strong Camera2 support and a compatible sensor pipeline. Limited support phones may capture dark or noisy results, and a wrong config can make exposure worse. Try a different config file for your exact phone, hold the phone steadier, and test in a room with at least some light before you judge a very dark scene.
Can I get Magic Eraser without installing a camera port?
Yes. Magic Eraser lives in Google Photos, not in the camera app. Update Google Photos, open any photo, tap Edit, then Tools, then Magic Eraser. The same applies to Photo Unblur and Audio Magic Eraser, which also work through Photos on videos and photos taken with any camera.
Which Pixel feature gives the biggest improvement on a mid-range phone?
Night Sight gives the biggest visible gain for most owners, because it changes photos in dim rooms, restaurants, and evening streets, where mid-range stock cameras struggle most. Portrait mode with a good config comes second, followed by Super Res Zoom for distant subjects in good light.
Should I delete the stock camera after installing a port?
No. Keep the stock camera for video, slow motion, and fast action, where maker tuning and stabilisation are stronger. Use the port for stills, night scenes, and portraits. Two cameras on one phone is a strength, and each tool covers the weakness of the other.
What to Try First Tonight
Check your Camera2 support level tonight with a probe app. Find one port build made for your exact phone and processor. Install it beside the stock camera, load one config made for your phone, and shoot the three-scene test from this guide. Compare the night shot first, because that is where the difference shows up fastest.
You may discover that your phone already owned better photos. The sensor was waiting for smarter processing, and a careful port install brings that processing without buying a new phone. Start with Night Sight, keep the stock camera for video, and let the comparison shots decide whether the port stays on your home screen.

