

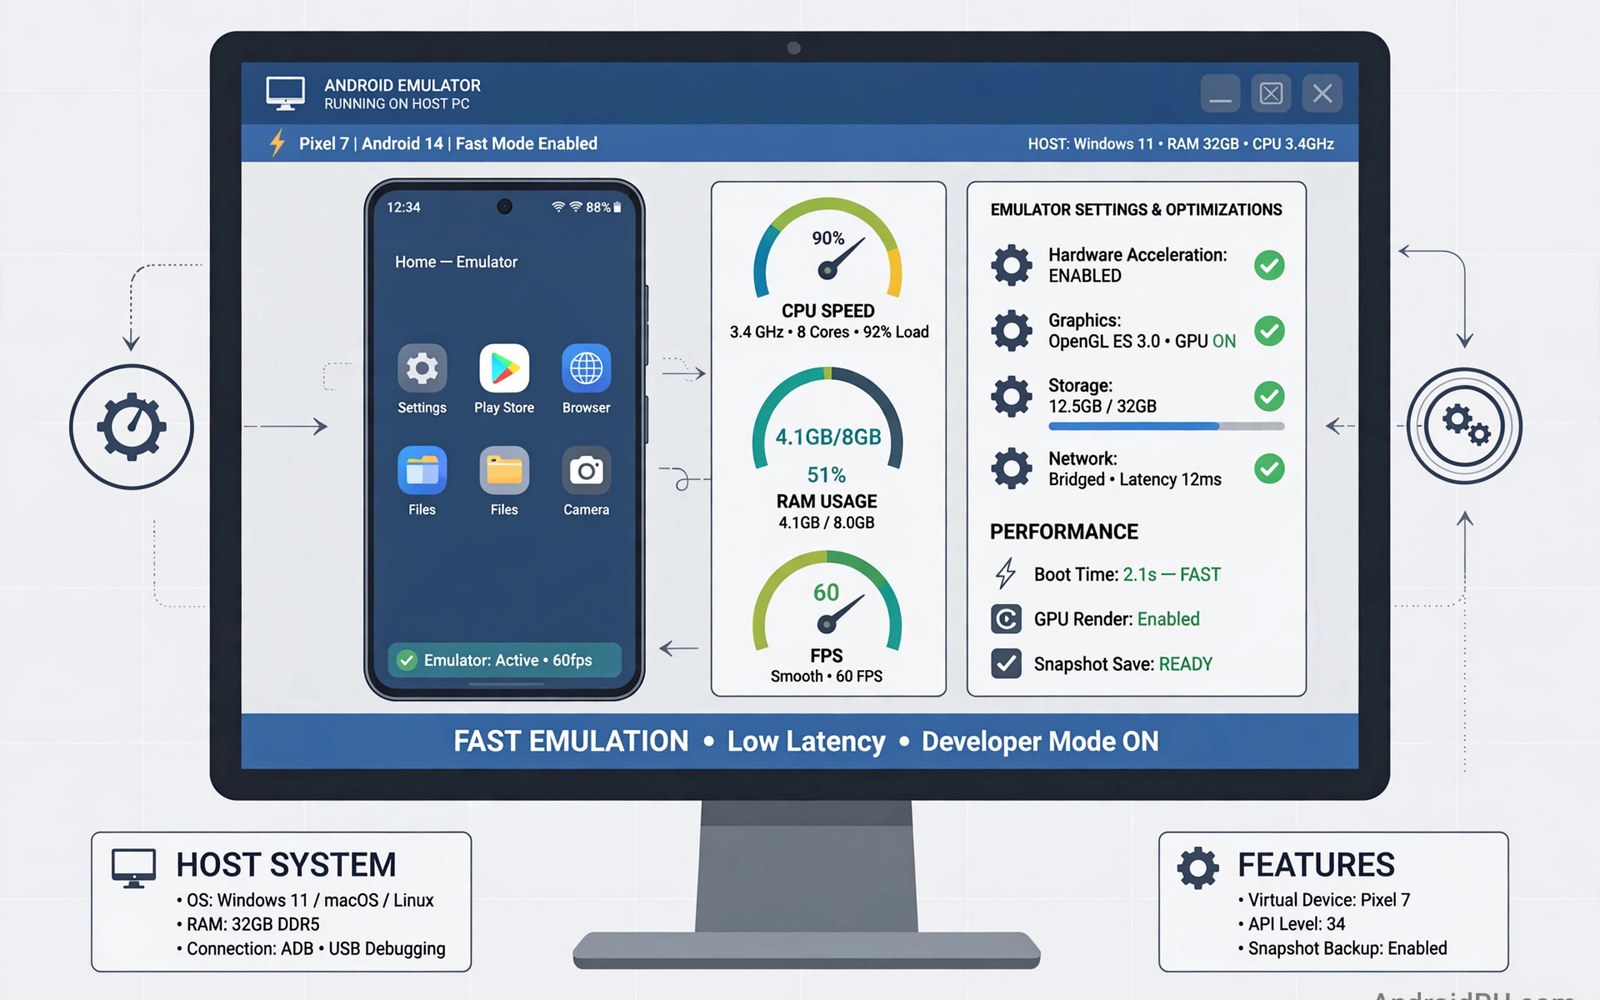
A slow emulator can ruin an otherwise productive development session because every small interface change then requires a long wait before you can see the result on screen. Many developers blame the emulator itself when the real problem is a poor device profile or insufficient memory or a graphics setting that forces software rendering on a capable machine. A few careful choices at creation time and a few habits during daily use can turn a sluggish emulator into a fast and reliable test device. This guide covers hardware acceleration and memory settings and snapshots and image choices in a practical order that you can apply today. You will learn how to measure improvement too so you know which change actually helped your specific computer.
Start by understanding what the emulator does because it runs a full Android system on your computer and it shares processor and memory and graphics resources with the editor and the build system. That sharing means an emulator cannot be fast in isolation if the host machine is already overloaded by browsers and other heavy programs during a build. Closing unnecessary programs before a test session frees resources and it often improves emulator responsiveness more than any single emulator setting change. A solid state drive also helps because system images and snapshots load faster and app installation completes sooner than on a slow drive. Treat the host machine as part of the test setup and keep it tidy for the best results.
Enable Hardware Acceleration First
Hardware acceleration lets the emulator use your processor virtualisation features to run Android code near native speed instead of translating every instruction in software. On most modern computers you need virtualisation enabled in firmware settings and you need a hypervisor driver that matches your operating system and processor type. Check firmware settings once and confirm that the emulator reports hardware acceleration as active because a silent fallback to software mode explains many slow boot times. Graphics acceleration is equally important because hardware rendering keeps animations smooth and prevents the interface from feeling laggy even when the processor is fast enough. Use the automatic graphics mode first and switch to a specific hardware mode only when automatic mode shows rendering problems on your machine.
If acceleration cannot be enabled then consider testing on a physical phone for interface work and reserve the emulator for quick checks that do not need fluid animation. A physical device also gives real sensor and battery behaviour that an emulator can only approximate through simulated controls in its side panel. Do not spend days fighting firmware restrictions on a locked work computer when a phone in your pocket already runs the app at full speed. For most learners a phone plus an emulator for a second screen size is a practical combination that covers the main testing needs. Hardware acceleration remains the single most valuable emulator optimisation and it deserves attention before any other tuning step.
- Enable virtualisation in firmware so the emulator runs with hardware acceleration active.
- Use hardware graphics rendering for smooth animations and responsive touch input.
- Confirm acceleration status in emulator settings before changing other performance options.
- Close heavy host programs during emulator sessions to free processor and memory resources.
- Use a physical phone when firmware limits block acceleration on a managed computer.
Choose the Right Device Profile and Image
Device profile choice affects performance because a high resolution screen with a large memory allocation demands more graphics and memory work than a modest phone profile that matches your app audience. Choose a common phone profile with a standard resolution for daily testing and reserve large tablet profiles for specific layout checks that truly need that screen size. System image choice matters too because images with extra services take longer to boot and use more memory than lean images without those services for a simple app test. A recent application programming interface level is important for compatibility but you do not need every image installed when one well chosen image covers your current target. Keep the number of virtual devices small so each one gets proper maintenance and snapshot care instead of cluttering the manager with unused profiles.
Application binary interface choice also affects speed because an image that matches your host processor runs faster than an image that needs translation for a different processor architecture. On a modern computer choose the image built for your host architecture when it is available for your target platform version. Storage size for the virtual device should be generous enough for app data and test files but not so large that snapshots become huge and slow to save and restore. A balanced profile boots quickly and leaves room for the editor and the build system to work beside it without constant swapping. Review your virtual devices every few months and delete profiles you no longer use so updates and snapshots stay manageable.
Memory Storage and Snapshot Habits
Memory allocation is a balance because too little memory makes Android kill background processes and reload apps slowly while too much memory starves the host editor and build system. A typical phone emulator works well with two gigabytes of device memory on a host with sixteen gigabytes of total memory and you can raise it slightly for memory heavy apps with care. Device storage should cover your app and test data with headroom but huge storage allocations increase snapshot size and slow down save operations during daily work. Snapshot settings deserve attention because a quick boot snapshot lets the emulator restore a running state in seconds instead of performing a full system boot every time. Save a clean snapshot after first boot and after installing test data that you reuse often so you can return to a known state quickly.
Automatic snapshot saving can slow shutdown so consider manual snapshots for profiles you use in a stable workflow and automatic snapshots for experimental profiles where losing state matters less. Cold boot remains useful when you need to test first launch behaviour or boot completed receivers that only run after a full system start. Use cold boot deliberately for those tests and use quick boot for normal interface iteration where speed matters more than a pristine boot sequence. If snapshots become corrupt then delete the snapshot and take a fresh one after a clean boot rather than tolerating strange behaviour across many test runs. Good snapshot habits save minutes every day and those minutes add up across a long project.
Graphics Network and Sensor Settings
Graphics settings control how the emulator draws the screen and a wrong choice can make a fast device feel slow even when processor and memory settings are correct. Hardware graphics mode uses your computer graphics processor and it usually gives the best animation quality and the lowest input latency for interface testing. Software graphics mode can help when a graphics driver has a bug but it should be a temporary workaround while you update drivers rather than a permanent setting for daily work. Screen scaling also matters because rendering a huge emulator window at full resolution costs more graphics work than a scaled window that still shows layout clearly. Choose a window size that lets you read text comfortably without forcing the graphics system to render far more pixels than needed.
Network and sensor simulation should stay simple during performance testing because extra simulated GPS movement or network throttling adds work that can distort timing results for normal interface checks. Enable location simulation only when testing a location feature and disable it afterwards so background location work does not compete with your app during unrelated tests. Camera simulation also adds overhead when a virtual camera feeds images into the app so use a simple webcam or image input only for camera specific tests. Keep the emulator side panel closed when you do not need extended controls because those panels can consume resources and distract from the main test task. A lean emulator configuration focuses resources on your app and gives cleaner performance signals.
Daily Workflow for Fast Testing
A fast workflow starts with the emulator already running before you build because launching the emulator after a build adds waiting time that feels like build time even though it is separate. Use instant run style deployment features and apply changes where possible so small layout tweaks reach the running app without a full reinstall and restart. Test on the emulator in short cycles and switch to a physical device for final checks on performance and battery and real sensor behaviour before release. You can improve your overall setup through setting up Android Studio for beginners when host performance needs attention beyond emulator settings. You can also read profiling guidance for Android Studio to separate emulator slowness from real app performance problems.
Measure boot time and app launch time before and after each change so you can tell whether a setting helped or merely felt faster because you expected improvement after changing it. Keep a short note of your best profile settings so you can recreate them after a tools update resets a value or after you move to a new computer. Update emulator images on a schedule rather than every day so new image downloads do not interrupt a focused work session unexpectedly. Finally remember that testing Android apps with unit and Espresso tests reduces reliance on manual emulator checks for logic that automated tests can verify faster. A disciplined workflow turns the emulator from a bottleneck into a reliable daily tool for Android development.
A final habit keeps emulator testing fast because you should record boot time and app launch time for your main virtual device once a week and note any sudden change after a tools update. That record helps you spot a settings reset early instead of tolerating a slow emulator for weeks without knowing when it changed. Clean up unused virtual devices each month so updates and snapshots stay focused on profiles that your team actually uses for daily testing. A tidy emulator setup encourages frequent testing and frequent testing catches layout and behaviour problems before they reach users.
# Start emulator from command line with more memory
emulator -avd Pixel_8_API_34 -memory 2048 -gpu host

# List available virtual devices
emulator -list-avds
The steps above follow the approach described in the official developer documentation for this platform and reflect common practice used by experienced developers when they build and test Android apps in a careful and organised way.

