

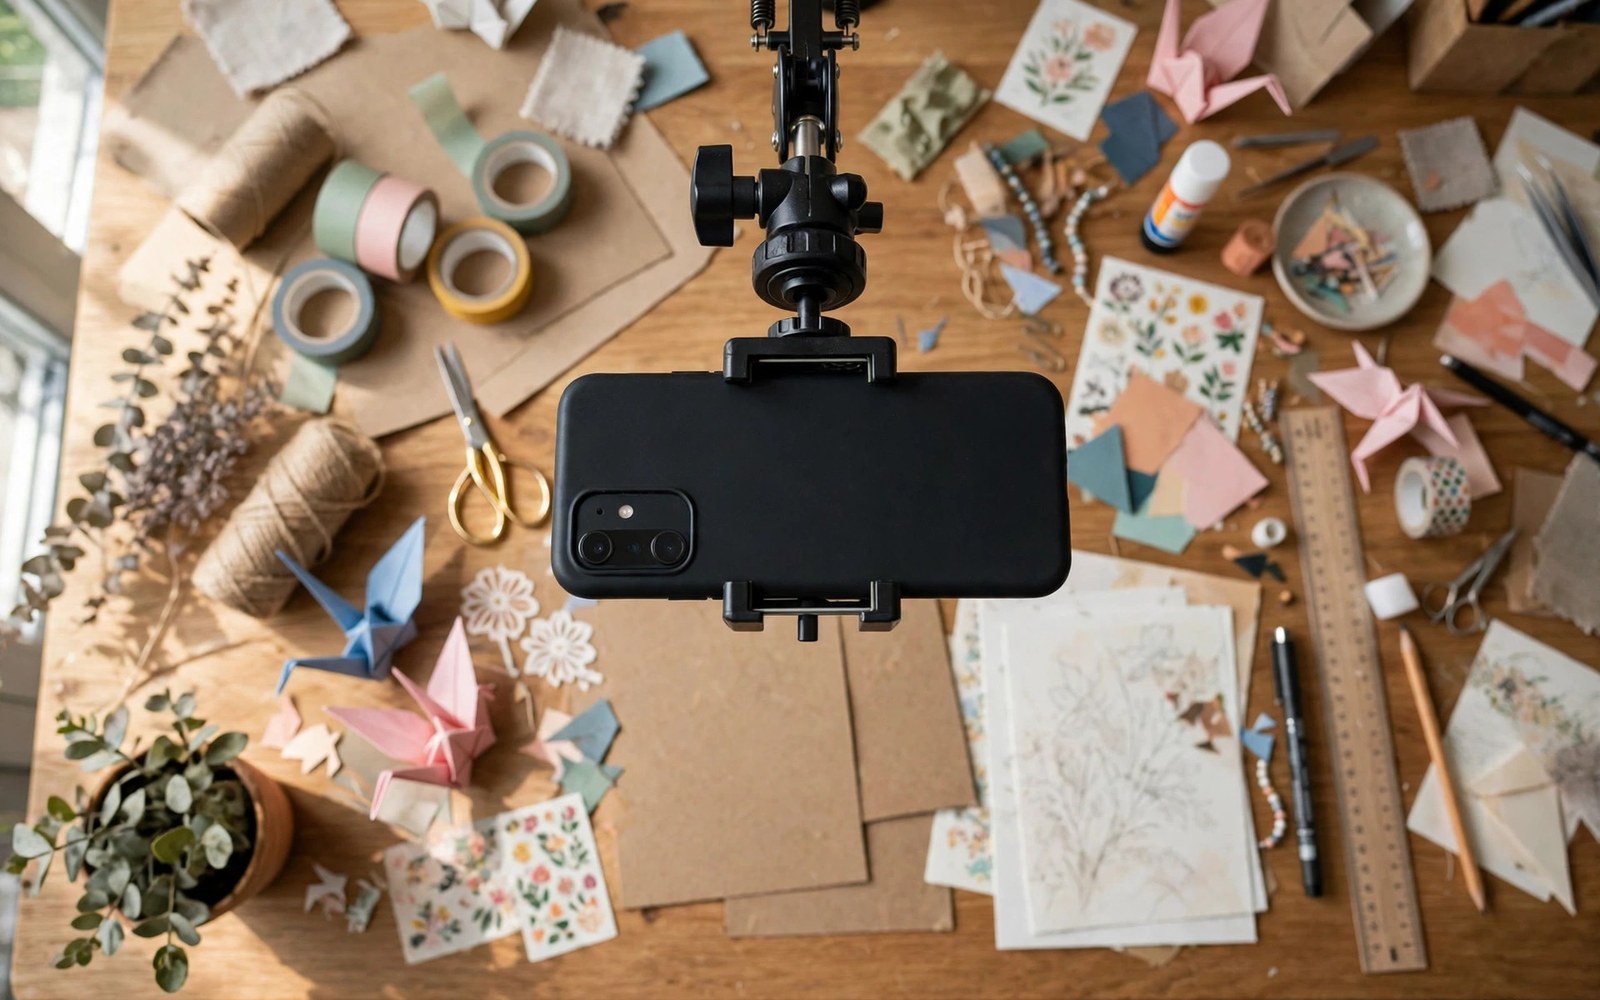
Overhead video shows hands and objects from directly above. Cooking steps and craft techniques and product demos all read clearly from this angle. A tabletop arm stand holds the phone steady above the desk for this view. The creator works with both hands free while the camera watches from above.
Holding a phone overhead by hand fails quickly. Arms tire and the frame drifts and shakes. An arm stand locks the top-down angle for the whole session. The footage stays stable and the framing stays consistent from start to finish.
This guide explains arm stand types and setup and balance. It covers lighting for overhead scenes and the framing habits that make top-down video clear. The goal is a desk studio that produces clean overhead content every time.
Arm Stand Types for Desks
A clamp arm stand grips the desk edge and extends an arm over the workspace. It suits desks with a sturdy edge and limited surface space. The clamp leaves the desk surface clear for the work itself. Check desk thickness against the clamp range before buying.
A weighted base stand sits on the desk with a heavy foot and a vertical post. It suits desks without a clampable edge and glass desks. The base occupies desk space but moves easily between desks. Weight decides stability so heavier bases hold steadier.
An articulated arm uses several joints to position the phone precisely. Each joint locks independently for fine control. Articulated arms suit varied overhead angles and heights. They cost more but offer the most flexible framing.
A fixed overhead frame holds the phone at one height above a set area. It suits repeatable product demos with a fixed workspace. The simplicity brings rock-solid stability. Fixed frames suit studios more than mobile creators.
Balance and Stability
An arm extended over a desk acts as a lever on its base or clamp. A heavy phone at full extension can tip a light base. Keep the extension as short as framing allows. A shorter arm with the phone closer to the post stays far more stable.
Counterbalance helps when long extension is unavoidable. Some stands include a counterweight on the rear arm section. Others accept a small weight added behind the post. Balance the arm so it neither rises nor falls when released.
Tighten every joint firmly before recording. A joint that slips mid-take drops the framing gradually. Check joints again after repositioning the arm. Vibration from desk taps can loosen weak joints over a session.
Avoid bumping the desk during overhead recording. Desk vibrations travel straight into the arm and shake the frame. Work gently and keep tools from striking the desk surface. A stable desk matters as much as a stable stand.
Framing the Overhead Shot
Centre the workspace in the frame with margin on all sides. Hands enter from the frame edges during work and need room to move. Tight framing cuts off hands and tools at the edges. A margin of empty desk around the work area keeps action visible.
Set the phone height to fit the full work area plus margin. Too low crops the workspace. Too high shrinks details and wastes resolution. Adjust height until the work area fills most of the frame with margin intact.
Check focus across the whole work area before recording. Overhead scenes span a flat plane so focus should hold evenly. Tap focus on the centre of the work area and lock it when the app allows. Locked focus prevents hunting when hands move.
Test the full workflow once before the real recording. Perform each step while watching the frame edges. Adjust arm position when a step leaves the frame. A rehearsal prevents ruined takes and reshoots.
Lighting Overhead Scenes
Overhead lighting must light the desk evenly without casting hand shadows over the work. A light from the side creates hand shadows that move with the work. Two lights from opposite sides reduce shadows greatly. Even light suits instructional video best.
A ring light around the phone position lights from the camera axis. It minimises shadows because light comes from the viewing direction. Ring light suits overhead work well when the ring fits the arm mount. The even light flatters hands and objects alike.
Avoid a single overhead room light directly above the desk. It casts strong hand shadows onto the work surface. Add fill light from the sides to soften those shadows. Soft even light keeps every step visible.
Colour temperature should match across all lights in the scene. Mixed warm and cool lights create uneven colour across the desk. Set all panels to the same temperature before recording. Consistent colour makes editing easier.
- Keep arm extension short and joints tight so the phone never drifts mid-take.
- Frame the work area with margin so hands and tools stay visible at the edges.
- Lock focus on the work plane to prevent hunting when hands move.
- Light from two sides or from the camera axis to minimise hand shadows.
- Rehearse the full workflow once and adjust framing before real recording.
Audio for Overhead Video
Overhead phone microphones sit far from the speaker mouth. Voice sounds distant and room echo grows. A lavalier microphone restores close clear voice for overhead tutorials. Clip it as usual and route the cable clear of the work area.
A desk microphone on a small stand can also serve overhead sessions. Place it near the speaker but outside the frame. Check the frame edges to confirm the microphone stays hidden. Hidden audio gear keeps the visual scene clean.
Reduce desk noise by working on a soft mat under noisy tools. A cutting mat or a silicone mat damps taps and scrapes. Hard tools on a bare desk create sharp sounds that distract viewers. A mat improves audio with no other changes.
Monitor a test recording for audio before the full session. Listen for echo and desk noise and voice distance. Adjust microphone position based on the test. Audio checks take a minute and save reshoots.
OVERHEAD DESK STUDIO CHECK
1 Arm clamped or based firmly with short extension
2 Joints tightened and balance tested
3 Work area framed with margin on all sides
4 Focus locked on the work plane
5 Even lighting from sides or camera axis
6 Lavalier or desk mic tested before recording
Overhead Audio and Voiceover
Overhead tutorials often add voiceover after filming rather than live narration. Silent filming lets the creator focus on hand movements. Voiceover recorded later can be cleaner and better scripted. The workflow suits detailed tutorials with precise steps.
Live narration during overhead filming feels more natural for casual content. A lavalier captures live voice clearly while hands work. Live narration risks mistakes and pauses that editing must fix. Choose live or voiceover based on content style.
Record voiceover in a quiet room with soft furnishings to reduce echo. A closet full of clothes makes an excellent voiceover booth. Read the script slowly and clearly for tutorial pacing. Good voiceover elevates simple overhead footage greatly.
Overhead Product Photography
Overhead stills suit flat products like books and clothes and food layouts. The top-down angle shows the full layout without perspective distortion. A tripod arm holds the phone perfectly level for stills. Level framing matters more for stills than for video.
Flat lay styling needs a clean background and thoughtful arrangement. A plain board or fabric sheet creates a tidy base. Arrange products with space between items for visual breathing room. Cluttered flat lays confuse viewers.
Lighting for overhead stills should be even across the whole layout. Two side lights balance shadows better than one top light. Check corners for darkening before shooting the final layout. Even light makes products look professional.
Multi-Angle Desk Setups
Multi-angle setups combine an overhead phone with a front phone for tutorials. The overhead angle shows hand work while the front angle shows the presenter face. Editing cuts between angles to keep viewers engaged. Two phones double the editing work but improve the result.
Sync two phones with a clap visible in both frames. The clap gives an audio and visual sync point for editing. Start both recordings before the clap. Sync marks make multi-angle editing straightforward.
Keep the front phone out of the overhead frame. A visible second phone distracts viewers from the work. Position the front phone low and outside the overhead view. Check the overhead frame edges before recording both angles.
Overhead Cooking Video Tips
Cooking videos need clear views of ingredients and techniques from above. Arrange ingredients in small bowls around the work area before recording. Pre-measured ingredients keep the workflow smooth and visible. A cluttered counter confuses viewers and hides techniques. Preparation before recording defines cooking video quality.
Hands move quickly during cooking and can blur in overhead video. Use good light and moderate frame rates to keep hand motion clear. Bright light allows faster shutters that freeze hand movement. Dim kitchens produce blurred hands that hide techniques. Light is the key to clear cooking footage.
Narrate cooking steps clearly while working or add voiceover afterwards. Live narration feels warm and immediate for casual cooking channels. Voiceover allows precise explanations without cooking distractions. Choose the style that matches the channel tone. Consistency across videos builds audience expectations.
Overhead Craft Tutorial Framing
Craft tutorials need framing that shows fine hand work clearly. Position the phone close enough to reveal thread and tool details. A tight overhead frame suits detailed crafts like jewellery making. A wider frame suits larger crafts like painting. Match frame tightness to craft detail size.
Craft tools should enter the frame from consistent directions. Tools appearing randomly from all edges confuse viewers. Arrange tools on one side of the work area. Consistent tool entry looks professional and helps viewers follow steps. Organisation on the desk translates to clarity on screen.
Show finished craft stages as reference during tutorials. A completed example beside the work area guides viewers. The example also motivates viewers to finish their own projects. Keep the example visible but outside the main work zone. Reference examples enrich tutorials without cluttering the work area.
For better light on the desk, see ring lights and portable LED panels for mobile video shots and choose panels for even overhead light.
For mounting accessories on a rig, see cold shoe mount adapters for lights and mics on phone rigs which hold lights above the workspace.
For a full filming frame, see professional phone camera cages and rig attachments for filmmakers which add handles and mounts to desk rigs.
The steps above follow the approach described in the official developer documentation and standard manufacturer guidance for studio supports and mobile video capture. The balance advice and framing habits reflect common practice for overhead phone video. Use them as a baseline and adapt the stand to your desk and your content type.

