

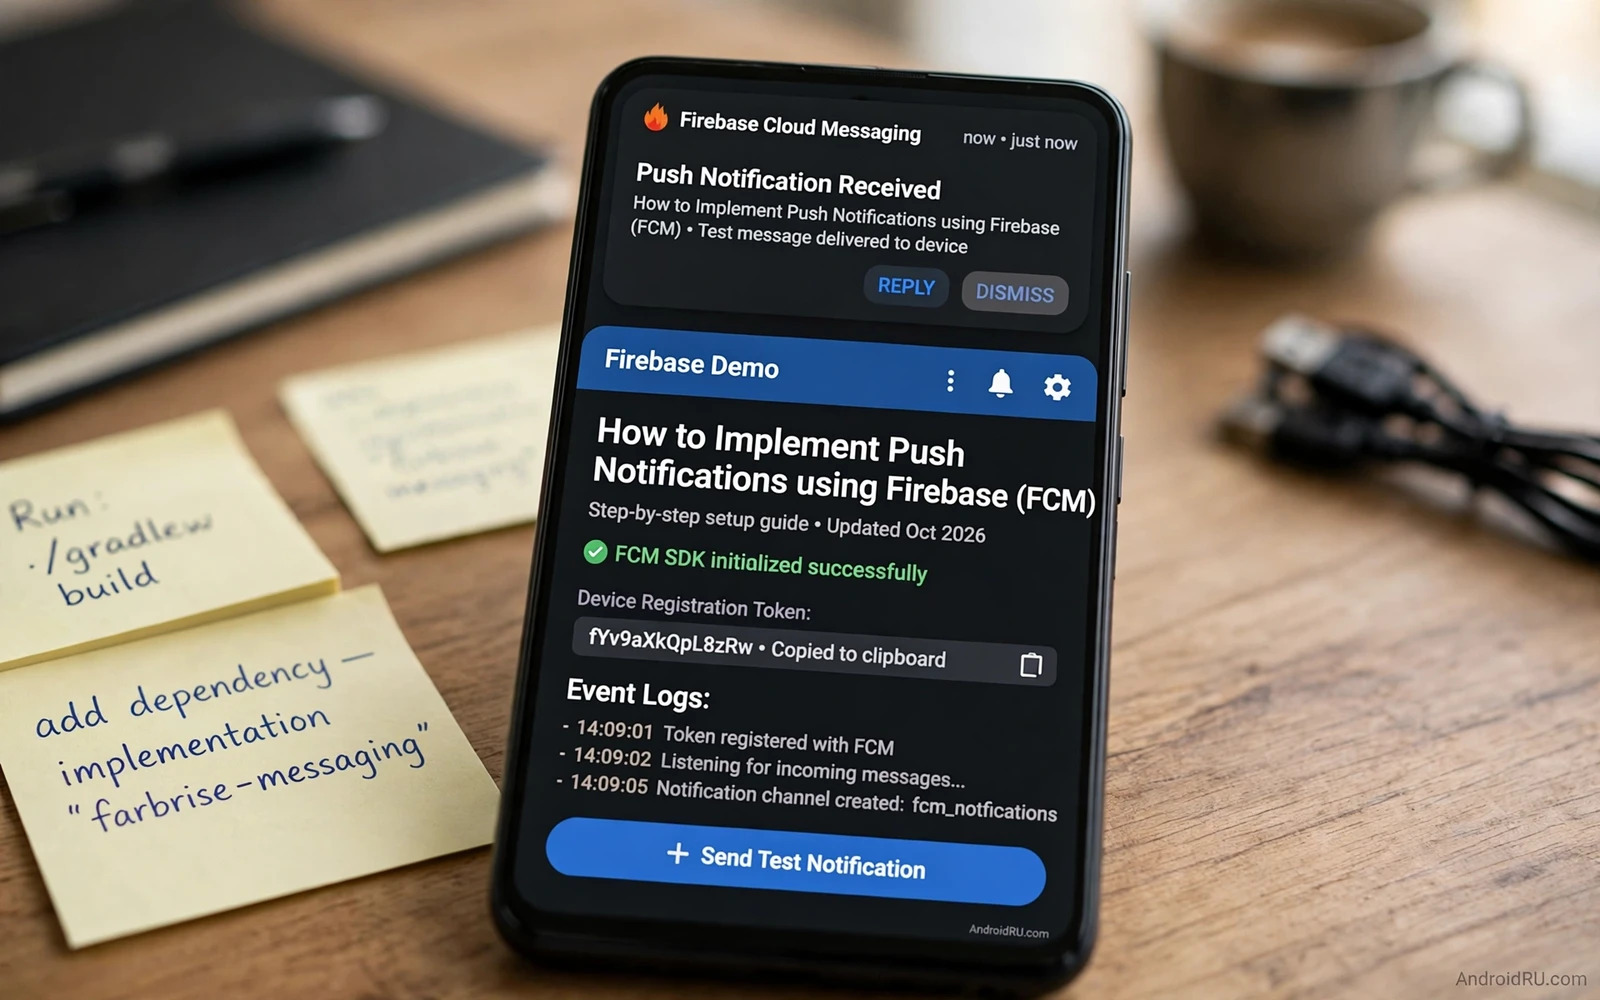
How to Implement Push Notifications using Firebase (FCM)
A push notification is the shortest path between your server and a user’s attention. One short message can pull someone back into a chat, warn them that a delivery is at the door, or remind them that a file they asked for is ready. Get it right and the notification feels like a helpful tap on the shoulder. Get it wrong and the same message feels like spam, and the user switches the whole channel off or removes the app entirely.
Firebase Cloud Messaging, usually called FCM, is the delivery channel Google provides between a server and Android devices. Your server sends a message to a device token, Google routes it, and the device either shows it or hands it to your app code. The moving parts are small: a Firebase project, a messaging service in your app, a token your server stores, and a permission the user grants. The hard part is making all of them behave in every app state, on every vendor’s phone, without annoying the person on the other end.
This guide walks through the full implementation in order. You will set up Firebase in Android Studio, register a messaging service, handle token refresh, ask for the notification permission at the right moment, handle messages while the app is open, in the background, and fully closed, design channels users can control, and build the server side so tokens stay clean and messages stay relevant. I have shipped this flow in production apps, and the steps below are the ones that survived contact with real devices.
Firebase Cloud Messaging message types: notification messages vs data messages
Everything in FCM starts with a choice between two message types, and the choice decides how much control your app has over what the user sees. A notification message carries a title and a body, and the Android system can display it on its own without running your code. A data message carries custom key-value pairs and nothing else, and your app code decides what to do with them. Many production apps send data messages and build the notification themselves, because that gives them full control over the title, the body, the tap target, and the channel.
| Aspect | Notification message | Data message |
|---|---|---|
| Payload | Title and body in the notification object | Custom key-value pairs in the data object |
| Display in background | Shown automatically by the system tray | Your code builds the notification |
| Foreground behaviour | Delivered to onMessageReceived, not shown automatically | Delivered to onMessageReceived |
| Control over display | Limited: system decides the look | Full: channel, style, actions, deep link |
| Best for | Simple alerts that need no logic | Chat, sync hints, custom display, silent work |
| Risk | Tap may open the wrong screen | More code, and you must handle every state |
When a notification message is the right call
A notification message fits alerts that are self-contained: a reminder, a status change, a short announcement. The payload already holds the text, the system shows it, and a tap opens the app with the data attached. If your message never needs logic, a notification message is the shortest route to a working feature. Small apps and early versions of a feature often start here, and that is a reasonable place to start.
When a data message gives you more control
A data message fits everything else. A chat app needs to check whether the conversation is already open before deciding to show a banner. A news app wants a quiet in-app banner instead of a system notification when the reader is already looking at the story. A sync hint should trigger a background refresh and show nothing at all. In all of these cases the app must run code first, so the message has to be a data message. The trade-off is real: you write the notification builder, the channel logic, and the tap handling yourself. In practice, that extra code pays for itself the first time a product decision changes how a message should look.
Setting up Firebase in Android Studio step by step
Setup takes about fifteen minutes when nothing goes wrong, and most of the time it goes wrong in exactly one place: the configuration file. Follow the steps in order, and check the result after each one instead of racing to the end and debugging everything at once.
Step 1: Create the Firebase project and add your Android app
Open the Firebase console in a browser and create a new project, or reuse an existing one. Give it a name that matches your product, pick your Analytics region, and finish the wizard. Then click Add app, choose the Android icon, and enter your application ID exactly as it appears in your app-level build.gradle file, under android then defaultConfig then applicationId. A single wrong character here produces a token that never arrives, and the error message will not tell you why. Add a nickname for the app so you can recognise it later, and add the SHA-1 fingerprint if you plan to use other Firebase products that need it.
Step 2: Add google-services.json and the Gradle plugin
The console gives you a google-services.json file. Place it in the app module directory of your project, next to the app-level build.gradle file, not in the project root and not inside src. Then add the Google services plugin to the project-level build.gradle file:
plugins {
    id 'com.android.application' version '8.5.0' apply false
    id 'com.google.gms.google-services' version '4.4.2' apply false
}
Apply the plugin in the app-level build.gradle file, and add the messaging dependency in the same file:
plugins {
    id 'com.android.application'
    id 'com.google.gms.google-services'
}

dependencies {
    implementation 'com.google.firebase:firebase-messaging:24.0.1'
}
Sync the project with Gradle files. If the sync fails with a message about google-services.json, check the file location first. Nine times out of ten it is in the wrong folder.
Where google-services.json belongs in the project tree
The file belongs at app/google-services.json, beside app/build.gradle. If you use product flavours, each flavour can have its own copy under app/src/flavourName/google-services.json, and Gradle picks the matching one. Never commit the file to a public repository. It holds project identifiers, not secrets in the strict sense, but there is no reason to publish it, and a private repository keeps the decision out of your hands.
Verifying the Firebase connection on first run
Run the app once after the sync. Open the Firebase console, go to Project settings, and check that the app appears with the right package name. Then open Cloud Messaging in the console and send a test message to the app from the console composer. If the test message arrives, the whole chain from console to device works, and any later failure is in your code or your server, not in the setup.
Step 3: Add the Firebase Messaging dependency and sync
The dependency line above pulls in the messaging SDK. After the sync, Android Studio should resolve FirebaseMessagingService without a red underline. If it does not, run File then Invalidate Caches and restart, then sync again. Version numbers move over time, so check the current release in the Firebase documentation before you copy a version from an old tutorial into a new project.
Registering FirebaseMessagingService and handling token refresh
The messaging service is the heart of the client implementation. It receives messages and token events, and it should stay light. A service that performs long network work directly risks being killed before the work finishes, so delegate heavy work to a worker the system can schedule.
class MyMessagingService : FirebaseMessagingService() {
    override fun onMessageReceived(message: RemoteMessage) {
        val data = message.data
        val title = data["title"] ?: "New update"
        val body = data["body"] ?: ""
        showNotification(title, body, data["deep_link"])
    }

    override fun onNewToken(token: String) {
        TokenRepository.upload(token)
    }
}
Register the service in AndroidManifest.xml so the system can start it when a message arrives, even if the app is not running:
<service
    android:name=".MyMessagingService"
    android:exported="false">
    <intent-filter>
        <action android:name="com.google.firebase.MESSAGING_EVENT" />
    </intent-filter>
</service>
The onNewToken callback and why tokens change
The registration token is a device address, not a user identity. One user may own several devices with several tokens, and one device may receive a new token after an app reinstall, after the user clears app data, or when Firebase rotates it. The onNewToken callback fires whenever that happens. Your job is simple: send the new token to your server at once, and remove the old token from the server record. A server that keeps sending to an old token will see failures grow, and those failures will hide behind inflated send counts in your analytics.
Sending the token to your server the right way
Obtain the token after setup with FirebaseMessaging.getInstance().token, and send it together with the user account identifier and the device model. Store tokens per device on the server, never one token per user, because a user with a phone and a tablet needs two rows. Send the token over HTTPS, retry once on a transient failure, and never log the full token in debug output. Treat token hygiene as boring work that decides whether notifications actually arrive, because that is exactly what it is.
Requesting the notification permission on Android 13 and later
Permission behaviour changed on Android 13, API level 33. Before that, apps could post notifications by default. From Android 13 on, the app must request the POST_NOTIFICATIONS runtime permission before any notification can appear, and the system shows the standard permission dialog. An app that targets Android 13 or higher and never asks simply stays silent, and the user never knows a message arrived.
Why POST_NOTIFICATIONS changed everything
The change moved notification permission into the same category as camera and location: something the user must actively grant. That is good for users and uncomfortable for developers who relied on notifications as a default channel. The practical effect is that your onboarding flow, your settings screen, and your feature prompts all need a moment where the permission makes sense. Asking at first launch with no context invites a denial, and a denied permission can be changed later in system settings, but many users never return to fix it.
A permission flow users actually accept
Ask at the moment the value is obvious: right after the user enables alerts in settings, joins a chat, or follows a topic. Show a short in-app explanation first, one sentence about what they will receive and how often, then trigger the system dialog. The code uses the activity result API:
private val requestPermissionLauncher = registerForActivityResult(
    ActivityResultContracts.RequestPermission()
) { isGranted ->
    if (isGranted) {
        // Notifications are allowed; register the token if needed
    } else {
        // Respect the choice; offer a settings shortcut later
    }
}

if (Build.VERSION.SDK_INT >= Build.VERSION_CODES.TIRAMISU) {
    requestPermissionLauncher.launch(Manifest.permission.POST_NOTIFICATIONS)
}
On Android 12 and lower the permission does not exist, so guard the request with the version check shown above. Earn the permission with a clear explanation first, and the grant rate will be far higher than a cold request at launch.
What to do when the user denies twice
After two denials the system stops showing the dialog, and the only path left is the app settings page. Do not loop the request. Instead, show a calm note in your notification settings screen with a button that opens the system settings for your app, using Settings.ACTION_APP_NOTIFICATION_SETTINGS with the package extra. One clear path back beats five repeated prompts.
Handling FCM messages in foreground, background, and killed states
Message handling splits into three states, and each one behaves differently. Test all three before you ship, because most push bugs live in exactly one state and pass unnoticed in the other two.
Foreground: onMessageReceived runs your code
When the app is open, every message type reaches onMessageReceived, and the system shows nothing on its own. Decide whether to show a notification or update the screen silently. A chat app may update the conversation view without a banner when that conversation is already open. A news app may show a quiet in-app banner instead of a system notification. Match the handling to what the user already sees, and avoid a banner that repeats information already on screen.
Background: the system tray takes over notification messages
When the app is in the background, a notification message displays through the system tray without running your code, and a tap opens the app with the message data attached to the launch intent. A data message wakes your app code within system limits, so you build the notification yourself and the display stays consistent with the foreground case. That consistency is the main reason production apps prefer data messages. Test background handling by swiping the app away from recents and then sending a message. Many bugs appear only in that state, and the emulator will not always reproduce them.
Killed app: test with force stop before you ship
Force stop the app from system settings and send a message. Check whether the notification appears and whether a tap restores the right screen. Some devices restrict background work aggressively and delay messages, and vendor customisations change notification behaviour in small ways. Document expected behaviour for those devices rather than promising instant delivery everywhere. Users on restricted devices need an in-app refresh path as a backup, and that refresh is part of the feature, not an afterthought. Readers who design that refresh can continue with the piece on handling network connectivity loss gracefully and build an offline-first flow that does not rely on push alone. Push is a hint that new data exists. The app still needs a reliable sync when it opens.
PendingIntent flags that survive a tap
Build the tap target with a PendingIntent that carries the deep link and the message identifier, and use FLAG_UPDATE_CURRENT together with FLAG_IMMUTABLE on Android 12 and higher. A mutable PendingIntent without a clear reason is a security smell, and the system will reject it on newer versions. Mark the message as read when the user opens it through the notification, so the badge count and the in-app state agree.
Notification channels, grouping, and tap targets that respect attention
A notification needs a clear title, a short body, and a tap target that opens the relevant screen. A tap that opens the generic home screen wastes the attention the notification earned. Use a deep link that carries the message identifier, and keep the channel design thoughtful, because channels let users control categories independently.
Designing a small set of stable channels
Channels group notifications by type, such as messages, promotions, and system alerts. Create them at setup with sensible defaults for sound and vibration, and never create a new channel for every message, because users cannot manage dozens of channels. A small set of stable channels builds trust over time, and users can disable a noisy channel without losing important alerts. Create the channel once, with a clear name and description:
if (Build.VERSION.SDK_INT >= Build.VERSION_CODES.O) {
    val channel = NotificationChannel(
        "messages", "Messages", NotificationManager.IMPORTANCE_DEFAULT
    ).apply {
        description = "Direct messages and replies"
    }
    getSystemService(NotificationManager::class.java)
        .createNotificationChannel(channel)
}
Channel settings survive an app update, and the user owns them after creation. Your code can create a channel, but it cannot change its importance later. That is why the defaults you pick on day one matter more than most developers expect.
Grouping, summaries, and quiet hours
When several messages arrive at once, group them under one summary notification so the shade stays readable. Set a group key on each notification and post a summary with setGroupSummary(true). Frequency control matters more than any technical detail: a user who receives too many notifications disables them all or uninstalls the app. Batch non-urgent updates into a digest when possible, send urgent alerts at once, defer marketing messages to a sensible hour, and respect quiet hours and the device Do Not Disturb setting. A notification strategy that respects attention keeps the channel open for messages that truly matter.
Server-side FCM design: tokens, collapse keys, TTL, and rate limits
Server design decides push reliability more than client code does. Store tokens with device and account and app version. Update tokens on refresh callbacks without delay. Remove tokens that return permanent errors. A token store with stale entries wastes sends and hides real delivery problems behind inflated send counts.
Storing tokens per device, not per user
Keep one row per device token, with the account id, the device model, the app version, and the last-seen timestamp. When onNewToken fires, replace the old row instead of adding a second one. When the FCM API returns a NotRegistered error, delete the row at once. When it returns an Unavailable error, retry with backoff. That split between permanent and temporary errors is the whole of token hygiene, and it takes about twenty lines of server code.
Collapse keys and time-to-live for queued messages
A collapse key replaces older queued messages of the same type with the newest one. A score update should collapse, because only the latest score matters. A chat message should not collapse, because every message matters. Time-to-live sets how long FCM keeps a message for an offline device. Set a TTL that matches the value lifetime of the message: an expired promotion should not arrive a day late as if it were still valid. A message sent while the device is offline waits for reconnection within system limits, and the TTL decides when waiting stops being useful.
Rate limits that turn a server bug into a contained incident
A bug that sends the same message in a loop can spam thousands of devices in minutes. Cap sends per user per hour for non-urgent types, and alert on a sudden send spike before users complain. A cap turns a server bug into a contained incident. No cap turns it into a mass uninstall event. Message construction needs templates per message type: a chat template carries sender and preview rules, a promotion template carries expiry and deep-link rules. Templates keep messages consistent and prevent a developer from sending sensitive data in a body by mistake.
A complete FCM HTTP v1 send payload
The current FCM API is HTTP v1, authenticated with a service account and an OAuth 2.0 access token. The legacy server key API is deprecated and should not be used in new work. A typical send looks like this:
{
  "message": {
    "token": "DEVICE_TOKEN",
    "data": {
      "title": "New reply",
      "body": "Ana replied to your comment",
      "deep_link": "myapp://thread/4821"
    },
    "android": {
      "collapse_key": "thread_4821",
      "ttl": "86400s",
      "priority": "HIGH"
    }
  }
}
Send to one token for a single device, or use a topic when many devices should receive the same message. Topics suit public broadcasts, such as a news alert, and they remove the need to store every token for that audience. Keep topic names stable and documented, because a renamed topic silently drops an audience.
Testing, monitoring, and privacy-safe sending habits
Push notifications work best as a quiet servant. They arrive at the right moment with the right information and open the right screen. Build the token flow carefully, handle every app state, and respect user attention. An app that masters those basics earns a permanent place in the notification shade. An app that spams loses that place fast.
A test matrix across vendors and app states
Test with a small set of real devices before a wide rollout. Send test messages to each device state, including foreground, background, and killed. Check the tap target, the channel, and the sound on each device. Vendor customisations change notification behaviour in small ways: some vendors delay background delivery aggressively, some kill the messaging service after a swipe, and some add their own battery screens that block delivery by default. A test matrix across vendors catches those differences before users do. Include at least one Samsung, one Xiaomi, and one Pixel in the matrix, because those three cover the most common quirks.
Delivery vs engagement: two metrics, two fixes
Monitor delivery and engagement after launch. Track sends, deliveries, and taps by message type. Delivery analytics should separate technical delivery from user engagement: technical delivery measures whether devices received the message, and engagement measures whether users tapped it. A message with high delivery and low taps needs better content. A message with low delivery needs token or channel investigation. A high send count with low taps signals a relevance problem. A high disable rate for one channel signals a frequency problem. Separating the two metrics prevents fixing content when the problem is delivery, and adjusting content and frequency based on those signals beats sending more messages to chase attention.
Privacy rules for lock-screen content and protected screens
Never put sensitive data in a notification body that appears on a lock screen. A message preview on a locked phone can expose private content to anyone nearby, so send only a generic alert through push and fetch the full content after the user opens the app. Let users choose lock-screen visibility in settings, and privacy-conscious users will thank the app for that control. A notification tap should not bypass login for protected content. Readers who protect screens can continue with the piece on implementing biometric authentication in Android apps and require the normal sign-in before showing protected message content. Push opens the door to the app. Authentication still guards the room inside.
Accessibility and notification text that stays readable
Accessibility services can read notifications when the user enables them, and the notification channel name and the message text both reach assistive tools. Readers who build automation features can continue with the piece on accessibility services and automation and review how notification content flows to assistive tools. Keep notification text concise so assistive reading stays clear and useful, and avoid stuffing the body with codes or identifiers that a screen reader would read aloud.
Frequently asked questions about FCM push notifications
How do I test FCM push notifications on a real device?
Use the Firebase console composer first: pick Cloud Messaging, write a test message, and target your app by package name or by a single device token, which you can print from FirebaseMessaging.getInstance().token during development. Then repeat the test in all three app states: open, backgrounded, and force-stopped. Log the token, the message data, and the tap result for each test, because a test that only checks the foreground state hides most real bugs.
Why do FCM notifications arrive late on some phones?
Late delivery usually comes from the device vendor, not from Firebase. Some manufacturers apply aggressive battery optimisation that delays background work, and a messaging service that was killed by the vendor’s power manager cannot wake until the system allows it. Check the battery optimisation settings for your app, ask the user to exempt the app from battery restrictions where that fits, and use high priority only for messages that genuinely need it. High priority on every message trains the system to ignore your priority.
What happens to my FCM token when a user reinstalls the app?
A reinstall generates a new token, and the old token stops working. Your onNewToken callback fires on the first run after reinstall, and that is the moment to send the new token to your server. The server should also delete tokens that return a NotRegistered error, because that error is FCM telling you the token is dead. If you skip both steps, your server keeps sending to a dead address and your delivery rate quietly falls.
Can I send push notifications on Android without Firebase?
Yes, but the alternatives carry real costs. You can keep a persistent connection from your own server, but Android will kill it in the background, battery use climbs, and delivery becomes unreliable. Third-party push providers exist, and they usually run on FCM underneath anyway. For most Android apps, FCM is the practical choice because the system already keeps its connection alive, and the cost is a dependency on Google services, which most Android devices already have.
Start today with one concrete step: send a test data message from the Firebase console to your own phone, tap it, and check that it opens the right screen. If the tap lands on the home screen instead of the conversation, the thread, or the order, you have found your first fix. Push notifications are a small feature with an outsized effect on retention, and the apps that treat them as a product decision, not a side effect, are the ones users keep.

: setup, tokens, channels, and background handling, with working code and a test checklist.)