

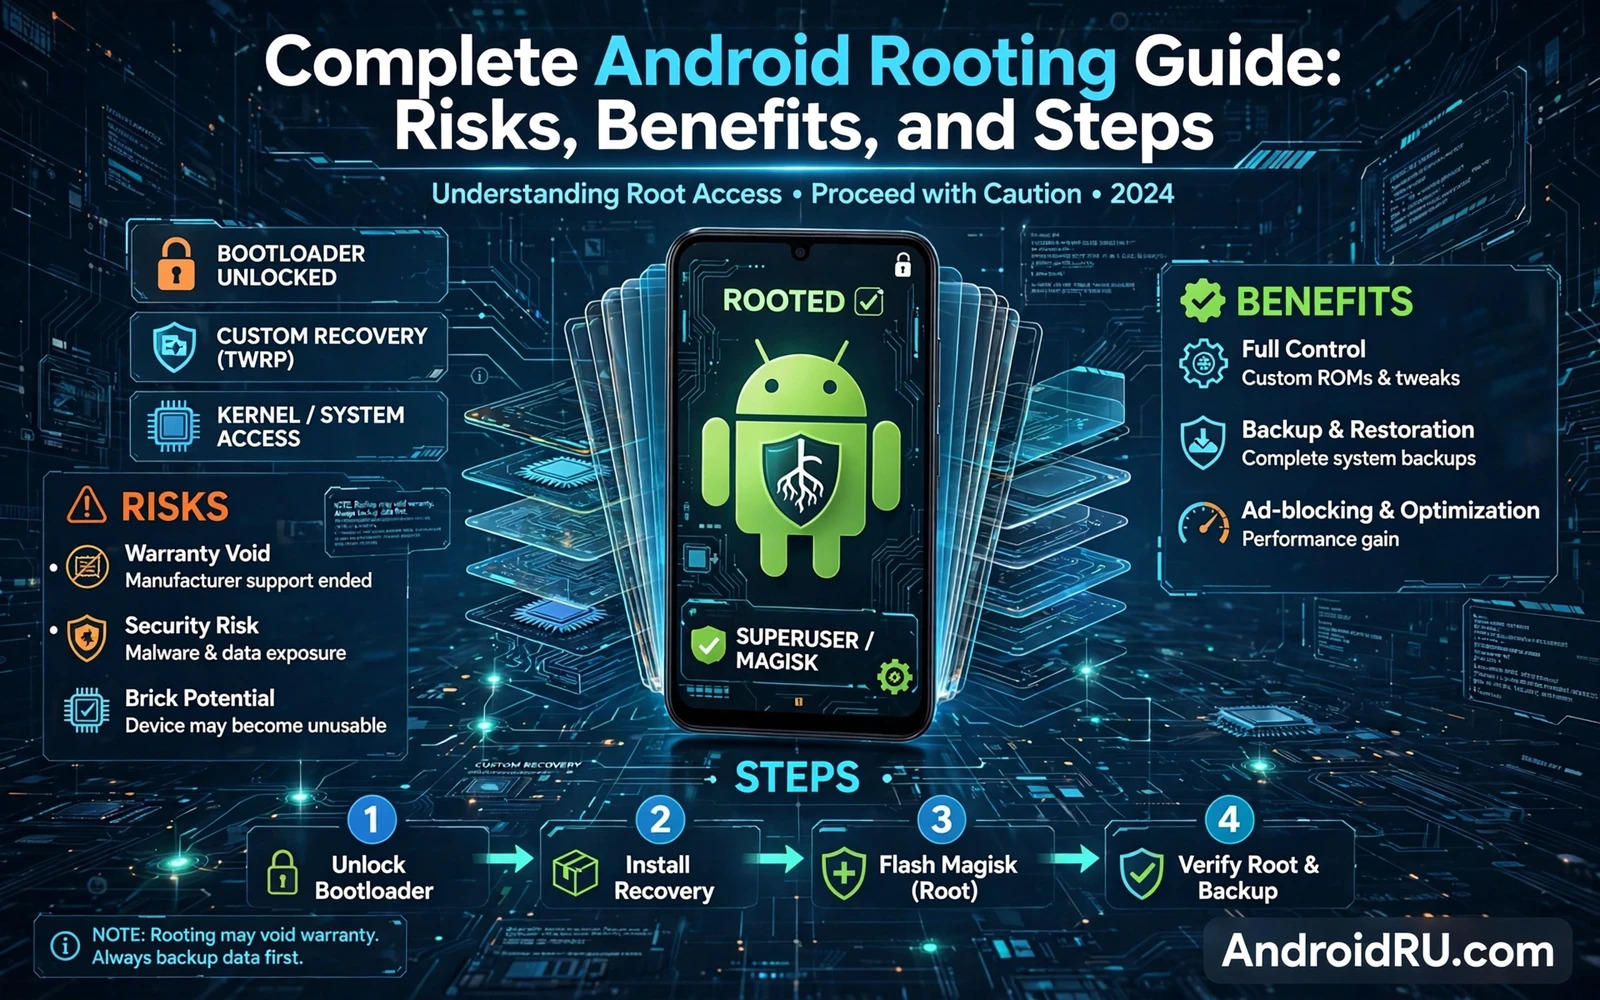
Root access gives you control over the deepest parts of Android. Root access lets you change system files and system behavior. Root access also removes safety nets that protect a normal phone. This guide explains the risks and the benefits in plain language. It also explains the steps in a safe order. Read the whole guide before you touch any tool. A rushed root attempt causes more damage than a slow one.
Many users root a phone to remove limits set by the maker. Many users root a phone to extend the life of an older device. Many users root a phone to run tools that need system level access. Each reason is valid on its own. Each reason also carries a cost. You must weigh the gain against the risk for your own daily use. A phone that runs banking apps and work apps needs extra care. A second phone that you use for learning carries less risk.
What Root Access Really Means
Android runs apps in separate sandboxes. Each app gets its own user identity. Each app can only touch its own data by default. System files stay outside the reach of normal apps. Root access breaks that boundary for an app that you approve. A rooted app can read system files. A rooted app can change system settings. A rooted app can hook into other apps. That power is useful and dangerous at the same time.
Modern root methods work without changing the system partition. The system partition stays clean on disk. Changes load into memory during boot instead. This approach is called systemless root. Systemless root is easier to remove than older root methods. Systemless root still changes what the device trusts at boot. Security checks can still detect a modified boot image. Do not assume that systemless means invisible.
Root is not the same as an unlocked bootloader. An unlocked bootloader lets you flash custom software. Root lets apps run with full system rights. Most root paths need an unlocked bootloader first. Some devices also need a patched boot image. Some devices need a custom recovery as well. Learn the exact path for your model before you start. A guide for another model can brick your phone.
Benefits Worth Considering
Full backup is one strong benefit of root access. Root backup tools can save app data that normal backup skips. Root backup tools can save settings for many apps at once. A full backup makes a later restore far easier. A full backup also needs safe storage. Keep backup copies off the phone as well as on the phone. A backup that lives only on a wiped phone is useless.
Debloating is another common benefit. Makers preinstall apps that you may never open. Carriers preinstall apps that you may never open. Root tools can remove or freeze those apps fully. A leaner system can feel faster. A leaner system can use less background power. Remove only apps that you have researched first. Removing a system service can break calls or messages or the camera. Freeze an app first and test for a few days. Remove it only after the test period passes cleanly.
Automation and customization grow with root access. Root tools can change behavior that settings cannot reach. Root tools can automate tasks across apps. Root tools can adjust audio processing at system level. Root tools can change interface details beyond the theme menu. These gains matter most to users who enjoy tuning a device. These gains matter less if you only want a stable daily phone.
Older devices gain a second life through root and custom software. Maker support ends after a set period. Community software can keep an old phone updated longer. Root access opens the door to that community software. Root access also opens the door to newer tools on old hardware. Hardware limits still apply. A new system cannot fix a weak battery or a slow modem. Judge an old phone by real use after the change.
Risks You Must Accept First
Data loss is the first risk. Unlocking the bootloader wipes the device on most phones. Flashing a wrong file can wipe the device again. A bootloop can block access to your files. Back up photos and contacts and messages before you start. Back up files that live only on the phone. Check that the backup finished. A backup that you never checked may fail when you need it most.
Warranty support can change after root. Some makers refuse warranty service for a rooted device. Some makers allow service for hardware faults that root did not cause. Rules vary by maker and by region. Read the warranty terms for your device before you proceed. A hardware fault after root can become an expensive repair. Keep the stock firmware ready so you can return to stock if service needs it.
Security risk grows with root access. A malicious app with root rights can do deep damage. A malicious app can read data from other apps. A malicious app can install hidden changes. A malicious app can survive a normal uninstall in some cases. Grant root only to apps that you trust fully. Grant root only to apps that need it for a clear job. Review root grants on a regular basis. Revoke root from any app that you no longer use.
Banking apps and payment apps may refuse to run on a rooted device. Streaming apps may limit video quality on a rooted device. Work apps may block a rooted device for security reasons. Device integrity checks may fail after root. These problems can appear even when the phone works well in every other way. Test your critical apps on a second device first if you can. Do not root your only banking phone without a fallback plan.
System updates become more complex after root. A normal over the air update may fail on a modified boot image. A normal over the air update may remove root access. A normal over the air update may fail halfway and leave the phone in a strange state. Root users often update by manual steps instead. Manual updates need care and patience. Read the update guide for your root method before you accept any update.
Before You Start Checklist
Research comes before any flashing step. Find the exact model name of your phone. Find the exact software version on your phone. Find the exact root guide for that model and version. Check recent reports from other users with the same model. Check known problems with the camera and the modem and the fingerprint sensor. A guide that ignores your model is not a guide for you.
Prepare the tools and the files in advance. Install the Android platform tools on your computer. Download the stock firmware for your exact model. Download the correct boot image for your exact software version. Verify file hashes when the maker or the project provides them. A corrupt download can cause a failed flash. A wrong model file can cause a hard brick. Keep all files in one clearly named folder.
- Back up photos contacts messages and files and verify the backup
- Charge the phone to a high level and keep a cable ready
- Write down the exact model and software version
- Download stock firmware for your exact model
- Read the full root guide for your model before any step
- Set aside calm time with no urgent calls ahead
Charge and time matter more than users expect. A phone that shuts down during flashing can suffer damage. A rushed session leads to skipped steps. A calm session lets you read each warning. Plan at least an hour of free time for a first root attempt. Keep the computer awake during the whole process. Do not unplug the cable until the guide says it is safe.
Unlocking The Bootloader
Bootloader unlock is the gate for most root paths. The bootloader controls what software the phone will boot. A locked bootloader only boots signed maker software. An unlocked bootloader lets you boot patched images. Unlock steps vary by maker. Some makers offer an official unlock tool. Some makers need an unlock code from a maker portal. Some makers block unlock on carrier models entirely. Check your maker policy before you assume unlock is possible.
Unlock wipes the device on most phones. Back up first even if you plan to restore later. Enable developer options on the phone. Enable USB debugging in developer options. Enable the bootloader unlock option when the phone shows it. Follow the maker unlock steps in order. Read every warning on the phone screen. Confirm only when you accept data loss and warranty effects.
After unlock the phone may show a warning at every boot. The warning tells you that the bootloader is unlocked. The warning is normal and expected. The warning does not mean the phone is broken. Some phones also lose hardware backed security features after unlock. Those features may affect payment apps and protected media. Weigh that loss before you unlock a daily driver.
Choosing A Root Method
Three modern methods dominate current root practice. Magisk uses a patched boot image and a manager app. KernelSU works at kernel level and adds its own manager. APatch patches the kernel and offers a different module path. Each method has strengths for different devices. Each method has limits for different Android versions. Before you pick one, weigh Magisk and KernelSU and APatch root methods against your device support and your module list and your critical apps.
Pick the method with the best support for your exact device. Check kernel support for KernelSU based methods. Check boot image patching support for Magisk based methods. Check Android version support for APatch based methods. A method that works well on one phone may fail on another phone. Community reports for your model matter more than general praise for a method.
Module support also shapes the choice. Magisk has the largest module collection today. KernelSU supports modules through its own system. APatch supports modules with its own rules. Think about which modules you actually need. A large collection means little if your needed module is missing. A small collection can still win if it covers your needs cleanly.
Rooting Steps In Safe Order
Work in this order and do not skip steps. First back up and charge the phone. Second unlock the bootloader through the official path. Third obtain the correct boot image for your software version. Fourth patch the boot image with your chosen root tool. Fifth flash the patched image with fastboot. Sixth boot the phone and check the manager app. Seventh test root with a trusted root checker tool. Eighth install modules one at a time with testing between each install.
Flashing needs exact commands for your device. A fastboot command that works on one model may fail on another model. A fastboot command for an A only device may differ from a command for an A B device. Read the device guide for slot handling. Read the device guide for partition names. The choice between TWRP and OrangeFox custom recovery matters here because a reliable recovery can restore a backup when a flash goes wrong.
Test root carefully after the first boot. Open the manager app and check the status screen. Grant root to one trusted tool and test a simple task. Check that calls and messages and mobile data still work. Check that the camera still works. Check that fingerprint unlock still works. A problem found early is easier to fix than a problem found after many changes.
adb devices
adb reboot bootloader
fastboot devices
fastboot flash boot patched-boot.img
fastboot reboot
The commands above show the general shape of a boot image flash. File names and partition names vary by device. Do not copy these commands blindly for your phone. Replace the file name with your own patched file. Replace the partition name when your device guide says so. Read each command before you run it. A wrong flash target can damage the device. A computer that cannot see the phone will fail every later step, so setting up ADB and Fastboot for Windows Mac and Linux before you flash is time well spent.
After Root Daily Discipline
Root discipline starts with grant control. Treat every root prompt as a security decision. Ask why the app needs full system rights. Ask what the app will change. Deny root when the reason is vague. Deny root for games and simple tools that should not need system rights. A short pause at each prompt prevents most root damage.
Module discipline comes next. Install one module at a time. Reboot and test after each module. Note which module you installed and when you installed it. A clear note makes troubleshooting far easier. Remove a module at the first sign of trouble. A module that causes crashes is not worth keeping. A module that drains battery fast is not worth keeping.
Update discipline protects a rooted phone over time. Do not accept a system update without reading the root update guide. Do not update the manager app and the core tool at different times without checking compatibility. Keep a known good backup before any update. Keep stock firmware ready for recovery. A rooted phone rewards patience and punishes haste.
Integrity checks deserve honest attention. Root changes can break device integrity checks. Banking apps may stop working after an update. Payment apps may stop working after an update. Hiding tools exist but results vary by device and by update. The Play Integrity and SafetyNet on rooted devices discussion sets out the levels and the limits without promises. Never rely on a hiding tool for critical payments without a fallback device.
Fixing A Bootloop After Root
A bootloop means the phone restarts again and again without reaching the home screen. A bootloop often follows a bad module or a bad flash. Stay calm and do not flash random files. Boot into safe mode when your root tool supports module disable in safe mode. Remove the last module you installed. Reboot and test again. Remove modules one by one when the faulty module is unclear.
A custom recovery can help when safe mode is not enough. A recovery backup can restore a working system. A recovery file manager can remove a module folder by hand when needed. A recovery wipe of cache can fix some boot problems. Do not wipe data as a first step. Data wipe should be the last resort after backup restore fails.
When nothing works return to stock firmware. Flash the stock boot image first. Flash full stock firmware when the boot image alone does not fix the problem. Follow the maker flashing guide for your model. After stock restore test the phone fully before you try root again. A second root attempt without learning the first failure often repeats the failure.
When Root Is Not The Right Choice
Root is not right for every user. Root is not right for a phone that must run banking apps without trouble. Root is not right for a work phone under strict security policy. Root is not right for a user who dislikes troubleshooting. Root is not right for a phone with no stock firmware available. In those cases stock software with good settings is the better path.
Stock software today offers strong customization without root. Themes and launchers and widgets cover most visual needs. A theme change is easy to undo. A root change is not. Think twice when the only goal is a small visual change.
Root remains a powerful choice for users who accept the work. Root rewards research and backups and patience. Root punishes shortcuts and missing backups. Start with a clear goal. Start with a full backup. Start with the exact guide for your model. Keep notes at every step. A careful root user enjoys control without constant crisis.

