

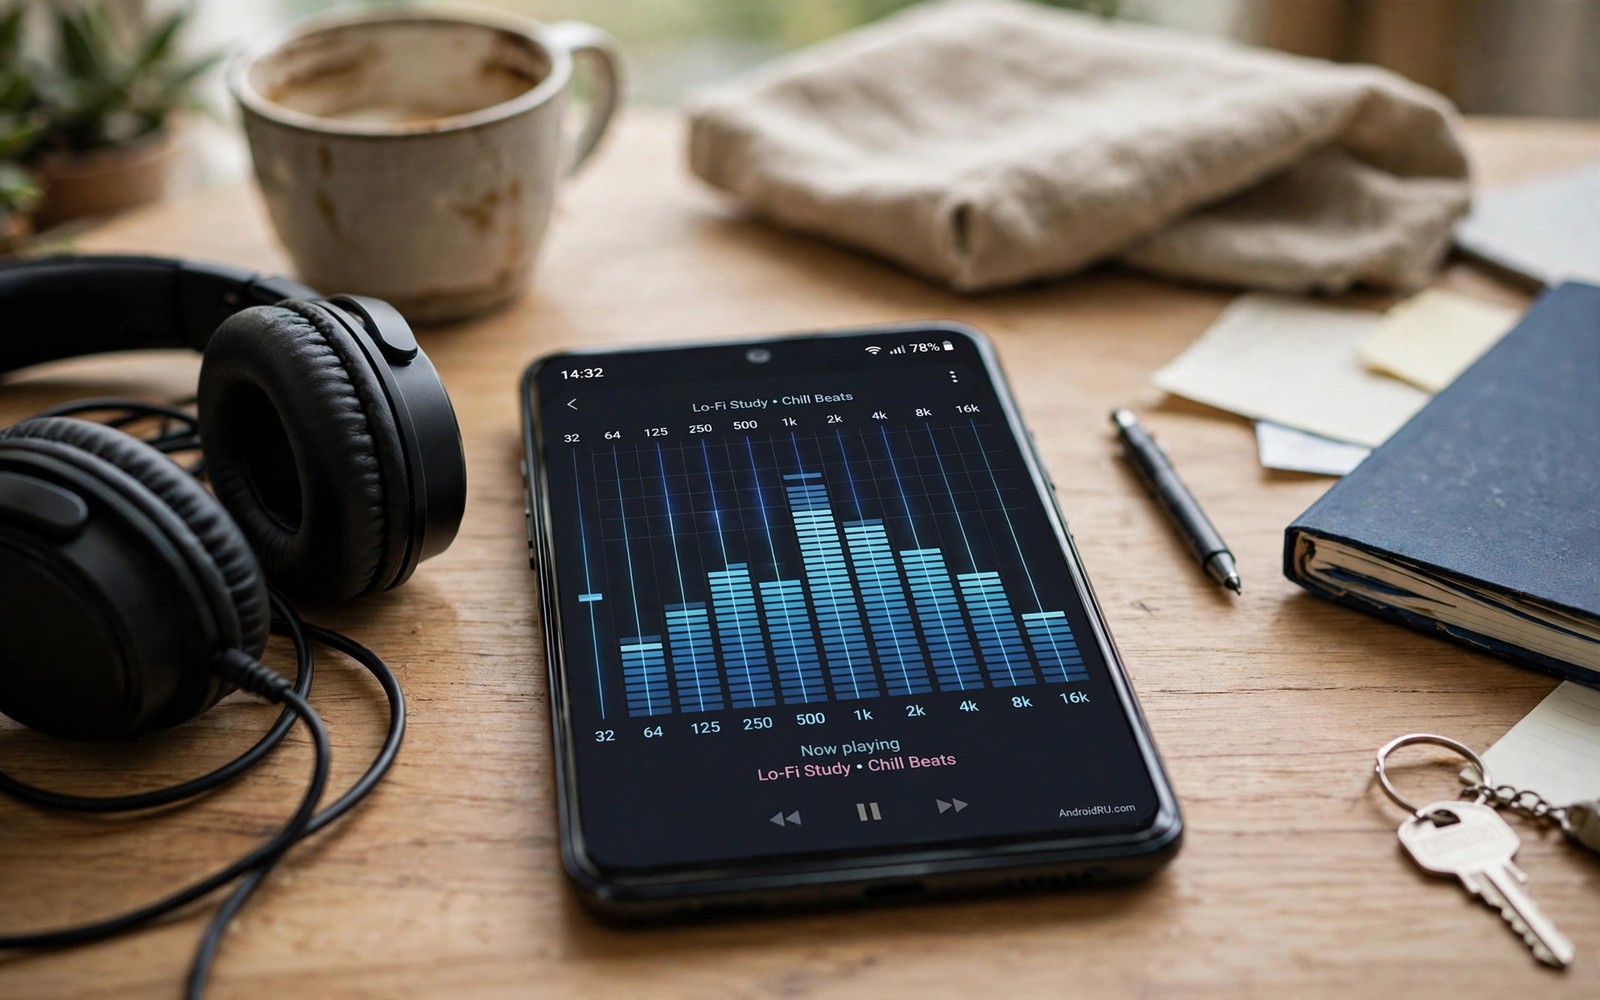
Clipping is the harsh crackle that appears when an audio signal exceeds its clean limit. The waveform gets cut off at the top and the smooth sound turns into a rough buzz. Small speakers clip first on bass peaks. Headphones clip when a boosted band pushes the total signal too high.
Calibration means setting each frequency band with intent rather than guesswork. Each band controls a slice of the sound spectrum. Low bands control bass body. Mid bands control voice presence. High bands control detail and air. Knowing what each slice does lets you fix a problem without creating a new one.
This guide uses a flat start and a preamp rule that prevents most clipping. You will learn to identify which band causes the crackle. You will learn to cut rather than boost when possible. You will finish with a profile that stays clean at your normal listening volume.
Understand the frequency bands in plain terms
Think of the spectrum as three neighbourhoods. The low neighbourhood covers deep bass and kick drum weight. The middle neighbourhood covers voices and guitars and most musical detail. The high neighbourhood covers cymbals and consonants and room sparkle.
A five band equalizer splits those neighbourhoods into finer slices. A ten band equalizer splits them further. More bands give finer control yet they also invite over tuning. Start with the broad neighbourhoods and only use fine bands when a broad move fails to fix the issue.
Bass bands cause clipping most often because they carry the most energy. A small bass boost can add a large peak to the total signal. Treble bands cause harshness more often than clipping because their energy is lower. Mid bands affect voice clarity most directly.
Start flat and find the clipping band
Reset the equalizer to flat and play a track that clips with your current settings. Listen for the exact moment of crackle. Note whether it happens on bass hits or on loud vocal peaks or on cymbal crashes. That timing points to the guilty band.
Lower the suspected band by two steps and play the same passage again. If the crackle disappears then you have found the cause. If the crackle stays then reset that band and try the next suspect. This one band at a time method is slower than guessing yet it gives a reliable answer.
Use a passage with a steady beat for bass testing. Use a spoken passage for midrange testing. Use a track with bright cymbals for treble testing. Each test isolates one neighbourhood and it prevents a bass fix from hiding a treble problem.
Use the preamp as your safety valve
The preamp lowers the whole signal before equalization. It creates headroom for boosts. A boost of three steps without a preamp cut can easily clip. The same boost with a matching preamp cut stays clean because the peak never exceeds the limit.
Set the preamp to minus three decibels when you plan any large boost. Listen for a drop in overall loudness and raise the phone volume slightly to compensate. The phone volume after the equalizer is safer than a hot signal inside the equalizer. The final loudness can match while the internal signal stays clean.
Cutting is often better than boosting. If a song sounds too bass heavy then cut the bass instead of boosting everything else. Cutting lowers the total signal and it reduces clipping risk at once. A clean cut often sounds more natural than a stack of boosts.
Calibrate for speaker and headphones separately
Phone speakers clip on bass far earlier than headphones. A speaker profile should cut deep bass by one or two steps. That cut frees headroom for voice clarity. Headphones can keep a flatter bass shape because their drivers handle low frequencies better.
Save the two profiles under clear names. Switch profiles when you switch outputs. A single compromise profile will either clip on the speaker or sound thin on headphones. Two profiles take seconds to switch and they protect both listening modes.
Test the speaker profile outdoors as well as indoors. Outdoor noise tempts you to raise volume past the clean ceiling. Note the clean ceiling for your favourite songs and stay below it outdoors. A guide to making your Android speaker louder without distortion explains that ceiling test in detail.
Build a clipping test playlist
Choose four tracks that stress different bands. Pick a bass heavy track and a vocal track and a bright track and a quiet acoustic track. Play them in the same order for every calibration round. A fixed order makes changes easy to compare.
Keep the volume identical across rounds. Changing volume between rounds hides the effect of the equalizer change. Use the same headphones or speaker for the whole test. A change of output device resets the test and it confuses the result.
Track type 1: bass heavy with steady beat
Track type 2: vocal track with clear speech
Track type 3: bright track with cymbals
Track type 4: quiet acoustic track
Rule: one band change per round
The playlist plan above is an original illustration created for this guide. It uses only general calibration practice and it keeps each test round comparable. Repeat the playlist after you save a new profile to confirm that clipping stays gone.
Learn the sound of each band by ear
Ear training makes calibration faster over time. Play a song and raise one band by three steps for a few seconds. Listen to what changes in the mix and then return the band to flat. That brief exaggeration teaches the ear what the band controls. Repeat for each band on separate days.
Low bands change weight and warmth. Mid bands change voice body and guitar presence. High bands change sparkle and air. A trained ear can name the problem band from a single listen. That skill saves many rounds of guessing during calibration.
Use a familiar voice recording for ear training. A spoken voice is easier to judge than a full band mix. Raise the midrange and hear the voice grow fuller. Raise the treble and hear consonants sharpen. Those lessons transfer directly to music calibration.
Calibrate for different rooms and times
A profile tuned in a quiet room may sound different outdoors. Street noise masks bass and forces a louder midrange for speech. A second outdoor profile with a slightly clearer midrange can help. Switch profiles when the environment changes rather than raising overall volume.
Evening listening also benefits from a gentler profile. A softer treble at night reduces fatigue and keeps housemates comfortable. A morning profile can be brighter for alertness during a commute. Time based profiles sound like extra work yet they take seconds to switch once saved.
For speaker specific calibration read about making your Android speaker louder without distortion. That guide covers the clean ceiling test for small speakers. It complements the band by band method in this article.
Fix clipping in specific apps
Some apps clip while others play cleanly on the same phone. That pattern points to an app internal volume or processing setting. Open the clipping app settings and look for loudness or equalizer options. Turn off extra processing in that app and test again with the same track.
Video apps often add their own loudness boost for dialogue. That boost can clip on loud scenes even when music apps stay clean. Lower the app volume slightly and raise system volume to compensate. That swap keeps dialogue clear without a hot internal signal.
Browser audio can also clip because web players use varied volume handling. Test the same video in a dedicated app when possible. A dedicated app usually gives cleaner volume control than a browser player. That comparison isolates the app rather than the phone.
Note which apps clip and which apps stay clean. A short list helps you set per app expectations. An app that always clips may need a lower internal volume as a permanent setting. Accepting that limit beats fighting the same clip every day.
For speaker loudness that respects the clean ceiling read about making your Android speaker louder without distortion. That guide explains how to find the clean maximum for each song. It complements app specific clipping fixes.
Common mistakes
The worst mistake is boosting every band to gain loudness. That move raises the total signal across the spectrum and it guarantees clipping on peaks. Loudness should come from the phone volume after a clean equalizer. It should not come from stacked boosts inside the equalizer.
Another mistake is calibrating with only one song. A single song may hide a band problem that another song exposes at once. Use at least three kinds of content before you finalise a profile. A profile that survives varied content will survive daily listening.
People also forget to disable a second equalizer. A music app equalizer plus a system equalizer can double the boost without showing it clearly. Turn off all but one equalizer during calibration. A free systemwide sound engine helps by replacing scattered equalizers with one consistent stage.
Frequently asked questions
What does clipping sound like?
Clipping sounds like a harsh crackle or buzz on loud peaks. It often appears on bass hits first. It can also appear as a rough edge on loud vocals. A clean signal sounds smooth even at high volume while a clipped signal sounds broken and tiring.
Can clipping damage my speaker?
Repeated heavy clipping can stress a small speaker over time. Occasional brief clipping during testing is unlikely to cause instant damage. Avoid sustained extreme boost and keep the sound clean for long sessions. Clean loud sound is safer than distorted loud sound.
Why does clipping disappear on headphones?
Headphones handle bass energy better than a tiny phone speaker. A profile that clips on the speaker may play cleanly on headphones. That difference is why separate profiles matter. Calibrate each output on its own terms.
Conclusion
Stopping clipping is mostly about headroom and discipline. Start flat and find the guilty band with isolated tests. Use the preamp to protect peaks and prefer cuts over boosts. Save separate profiles for speaker and headphones.
Your concrete next step is to reset your equalizer to flat today and play one bass heavy track that used to crackle. Lower the deep bass by two steps if it still crackles. If bass control is your main goal then continue with boosting bass on wireless earbuds without muffled sound.

