

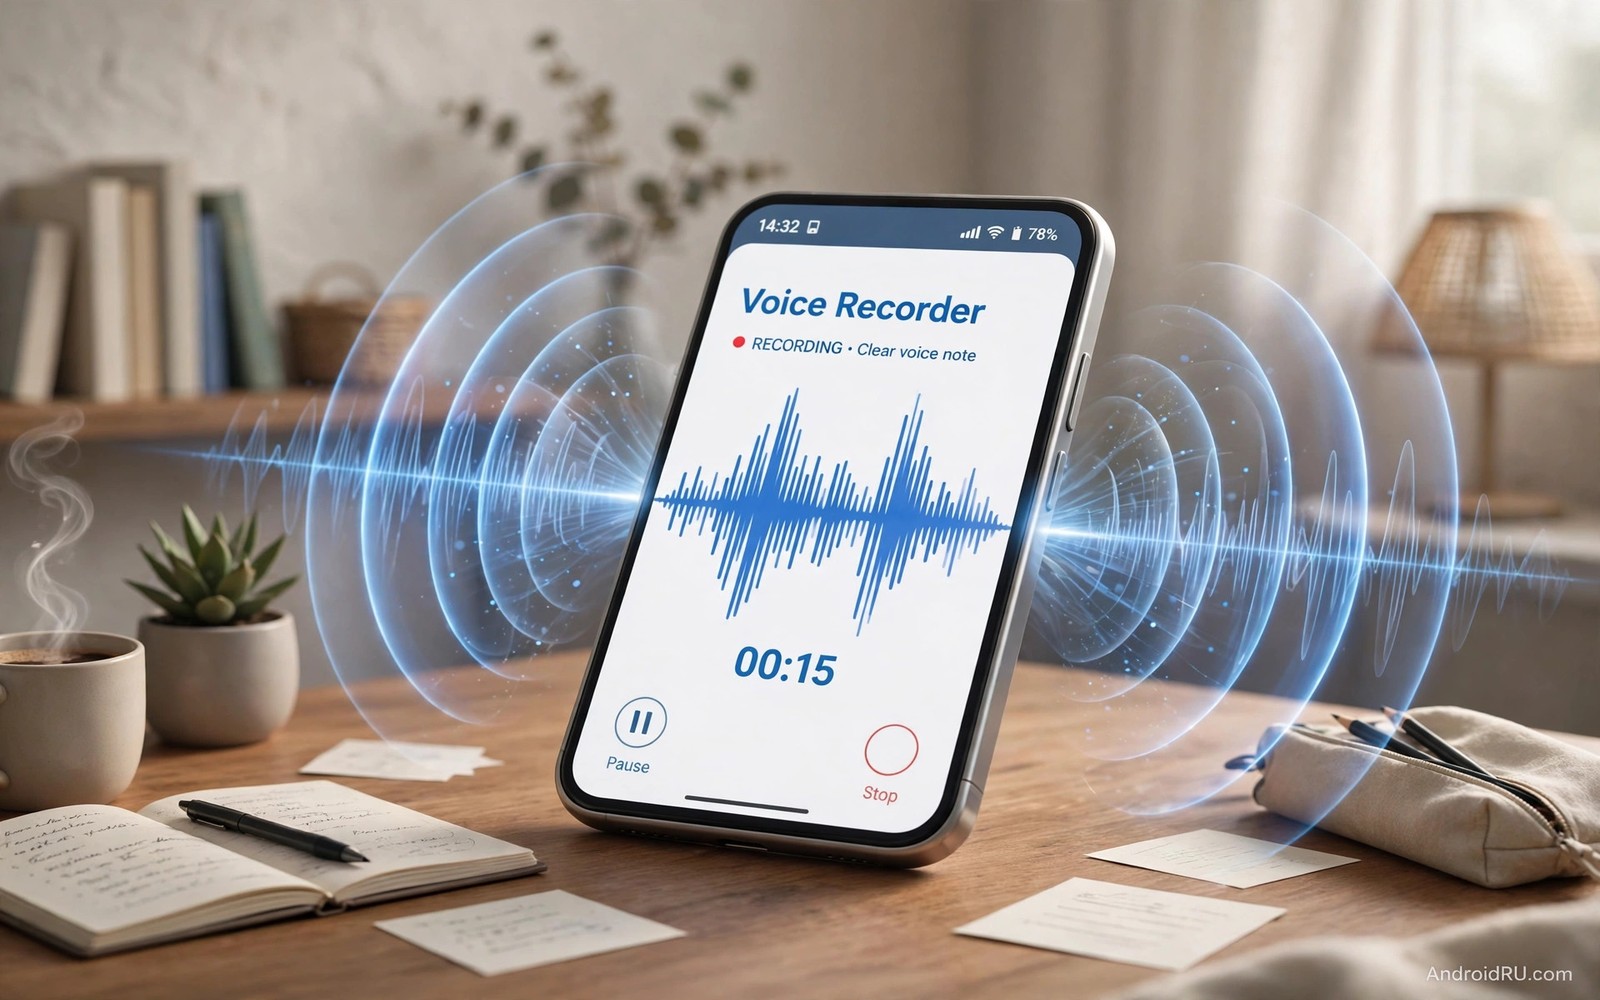
Background hiss ruins otherwise good voice notes. Hiss comes from electronic noise and room noise and gain that is set too high. A phone microphone amplifies everything around it. When the voice is quiet the phone raises the gain and hiss rises with it. When the voice is strong and close the gain stays low and hiss stays hidden.
High fidelity recording on a phone does not need studio gear. It needs a quiet room and a steady distance and a recording app that does not add heavy processing. Those three choices control most of the final quality. Expensive microphones help later yet they cannot fix a noisy room or a shaky hand.
This guide gives a practical routine for notes and interviews and lectures. You will learn how to choose a room and place the phone. You will learn how to set gain and format. You will learn how to review a test clip before a long recording begins.
Choose a room that helps the microphone
A small room with soft furnishings gives the cleanest phone recording. Curtains and carpets and bookshelves absorb reflections. A large empty room adds echo that makes speech sound distant. A room near a busy road adds a constant low rumble that is hard to remove later.
Close windows and doors before you start. Turn off fans and air conditioning if the recording is short. Those devices add a steady hiss that the ear notices during quiet pauses. A short comfortable recording in a warm room beats a long recording full of fan noise.
Place the phone on a stable surface rather than holding it. A table or a stack of books keeps the distance steady. Holding the phone invites handling noise from fingers and clothing. If you must hold it then grip it firmly and avoid shifting your hand during speech.
Set distance and gain with a test clip
Speak at a natural volume from about fifteen centimetres away. That distance gives a full voice without harsh pops. Closer recording adds bass boom and breath noise. Farther recording adds room echo and forces the gain higher which raises hiss.
Record a ten second test clip before the real note. Speak a normal sentence and then pause for two seconds. Listen to the pause on headphones. The pause reveals hiss and room noise that speech can hide. If the pause sounds noisy then move closer or choose a quieter corner.
Set the recording gain manually if the app allows it. Aim for peaks that reach about three quarters of the meter without hitting the top. Peaks at the top cause harsh clipping. Peaks at the bottom force later amplification which raises hiss. A steady middle level is the safest target.
Choose the right format and app
Use a lossless or high bitrate format for important notes. A WAV file preserves detail and it avoids compression artefacts. A high bitrate AAC file is a good compromise for long lectures because it saves storage while keeping voice clear. Avoid low bitrate voice formats for music or detailed interviews.
Choose a recording app with a simple interface and manual gain control. Avoid apps that add automatic noise gates that cut quiet speech. A gate that is too aggressive can clip the start of words. A clean raw recording is easier to edit than an over processed one.
Check storage before a long session. A lossless hour can use several hundred megabytes. Free space prevents a recording from stopping mid sentence. A set of hacks for microphone sound quality on calls covers similar placement and gain ideas for live conversations.
Handle wind and handling noise outdoors
Outdoor recording needs wind protection. A simple foam cover over the microphone can reduce wind rumble greatly. Shield the phone with your body when wind comes from one direction. Record with your back to the wind when possible.
Keep the phone still during outdoor notes. Walking while recording adds footstep thumps and clothing rustle. Stop for important sentences and then continue walking. That habit gives you clean segments that are easy to find later.
Accept that outdoor recordings will never match an indoor room. The goal outdoors is intelligible speech rather than studio silence. A clear voice with light wind noise is a success. Chasing perfect silence outdoors wastes time and misses the content.
Review and name the recording at once
Listen to the first minute on headphones right after recording. Check for hiss and clipping and missing words. A quick review catches a bad gain setting before the speaker leaves. It is far easier to re-record a short note than to repair a long damaged file later.
Name the file with a date and a topic in plain words. A clear name saves search time later. Add a short note about the room and the distance if the recording was important. Those notes help you repeat a good setup in future sessions.
Distance: about 15 cm from speaker
Gain target: peaks near three quarters
Test clip: ten seconds plus two second pause
Format: WAV for important notes
Review: first minute on headphones
The routine above is an original illustration created for this guide. It uses only general recording practice and standard phone controls. It is meant as a quick pre recording check rather than a specification for any single app.
Prepare the speaker and the script
A prepared speaker records cleaner notes than an unprepared speaker. Read the key points once before pressing record. A short pause to gather thoughts beats a long rambling take full of corrections. Preparation also keeps the voice steady because the speaker is not searching for words mid sentence.
Drink water before a long recording session. A dry throat creates clicks and throat clearing that distract from content. A small sip between sections keeps the voice smooth. Avoid noisy snacks during recording because chewing sounds carry clearly through a phone microphone.
Place a short written outline beside the phone. Glance at it between points rather than during speech. Paper rustle near the microphone can ruin a sentence. Keep the outline flat and still while you speak.
Edit lightly and keep the original
Light editing preserves the natural voice better than heavy processing. Trim long pauses at the start and end. Apply only a gentle noise reduction if the room was not perfect. Save the edited file under a new name and keep the original untouched. That backup protects you if an edit goes wrong.
Listen to the edited file fully before sharing it. An edit can accidentally cut a word or create a jump in tone. A full listen catches those errors while the speaker is still available for a retake. A quick skim of the waveform is not a substitute for listening.
For live voice work read about five hacks that improve microphone sound quality on calls and about custom tuning sound profiles for your ears. Those guides share placement and listening habits that help recorded and live voice alike.
Record in different environments with a plan
Each recording environment needs a different plan. A quiet office needs only steady distance and a stable surface. A busy hall needs a closer microphone and a quieter corner. A car needs a parked position and closed windows. Planning for the environment prevents a wasted session.
Visit the recording location early when possible. Listen for fans and traffic and echo before the speaker arrives. A five minute scout reveals noise sources that are easy to miss during a busy session. Early scouting gives time to move furniture or close a door.
Bring a small backup recorder or a second phone when the recording matters. A backup protects against a full storage card or a dead battery. A second device running in parallel costs little effort and it can save an irreplaceable interview. Redundancy is professional practice for important content.
Label recordings immediately after each session. A clear date and topic name prevents confusion later. Unlabelled files pile up and become hard to find. A minute of labelling after recording saves an hour of searching later.
For clean gameplay recording without microphone noise read about capturing clean internal game audio without mic noise. That guide uses internal capture to keep game sound pure. Its test clip habit also works for voice recording.
Common mistakes
The most common mistake is recording from too far away. A phone on the far side of a table picks up more room than voice. The gain rises to compensate and hiss rises with it. Move the phone closer and the voice will dominate the noise without any extra processing.
Another mistake is trusting automatic gain completely. Automatic gain can pump the level up during pauses and create audible hiss swells. Manual gain with a steady distance gives a more natural result. Use automatic gain only for unpredictable speakers who move a lot.
People also record in a pocket or a bag by accident. A covered microphone sounds muffled and it forces the gain high. Check that the microphone holes are clear before you press record. A quick visual check prevents a wasted session.
Frequently asked questions
Why do my recordings hiss even in a quiet room?
Electronic hiss rises when gain is high and the voice is quiet. Move closer and speak at a natural strong volume. That change lowers the relative hiss without any filter. A quiet room alone cannot fix a distant voice.
Should I use a noise reduction filter?
A light noise reduction filter can help a finished recording. A heavy filter can make voices sound metallic and unnatural. Record clean first and apply only light reduction later. Heavy filtering cannot rescue a badly placed recording.
Does a wired headset record better than the phone mic?
A wired headset can reduce handling noise and keep distance steady. It can also add cable rustle if the cable moves. Test both options with the same sentence and keep the one that sounds cleaner for your use. The best option depends on the room and the task.
Conclusion
Clean voice notes come from a quiet room and a steady distance and a sensible gain level. Choose soft furnishings and a stable surface. Record a test clip and listen to the pause. Use a high quality format for important content.
Your concrete next step is to record a ten second test clip today in your usual room and listen to the two second pause on headphones. If hiss dominates the pause then move fifteen centimetres closer and test again. For live voice clarity continue with five hacks that improve microphone sound quality on phone calls.

